The Projects Page#

The PROJECTS page, also known as the Project Explorer, is your central location for viewing, opening, and creating projects. You can also run demos and explore sample projects.

To access the Projects page, click the PROJECTS button in the vertical navigation bar on the left of your screen. The Projects page displays on the right.

The Projects page, which is also known as the Project ExplorerThe Projects page, which is also known as the Project Explorer

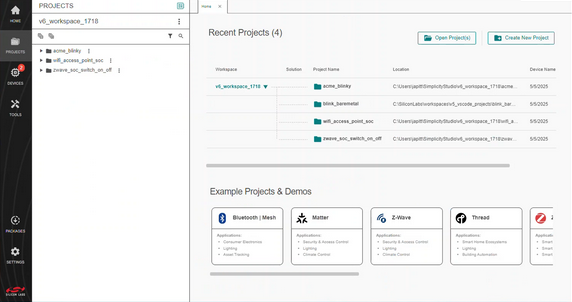
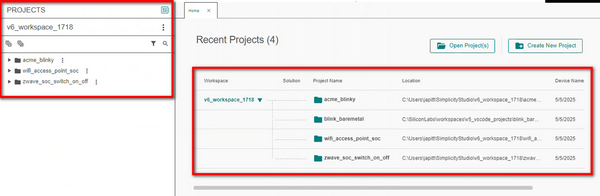
In the example above, there are four projects in a project workspace. Each project is in a separate folder. The projects are displayed in a tree structure in the panel on the left side of the page and in a table under the Recent Projects area on the right.

Examples of project folders, also known as projects, in a workspace on the Projects pageExamples of project folders, also known as projects, in a workspace on the Projects page

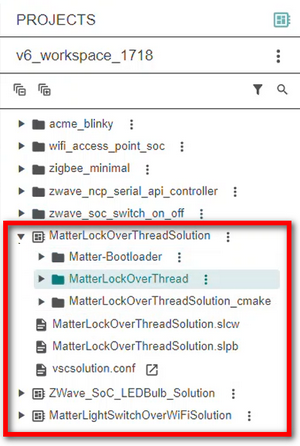
If you create any solutions, these will also display in this panel. A solution consists of multiple projects. A square icon indicates a solution in the panel. In the example below, there are three solutions.

Examples of projects and solutions in a workspace on the Projects pageExamples of projects and solutions in a workspace on the Projects page

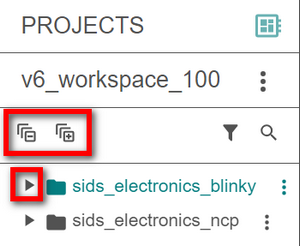
Expand and Collapse Projects#

In the panel, click the arrowhead on the left of a folder name to expand it, and click again to collapse it. Expand all folders by clicking the + above the tree structure, or click - to collapse them.

The arrowhead at the left of a folder name used to expand the contents of the folder in the panel on the left side of the Projects page. The Collapse All icon, the minus sign, and the Expand All icon, the plus icon, are above the folder list on the left side of the panel.The arrowhead at the left of a folder name used to expand the contents of the folder in the panel on the left side of the Projects page. The Collapse All icon, the minus sign, and the Expand All icon, the plus icon, are above the folder list on the left side of the panel.

Find and Filter Projects#

To search for a project by keywords, click the Search icon and enter the teams in the field that displays.

The Search icon, a magnifying glass, at the top right of the left panel on the Projects page. A Search field displays below the Search icon, where the ncp keyword has been entered.The Search icon, a magnifying glass, at the top right of the left panel on the Projects page. A Search field displays below the Search icon, where the ncp keyword has been entered.

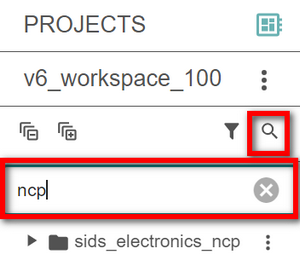
Clear your search terms by clicking the X on the right of the Search field.

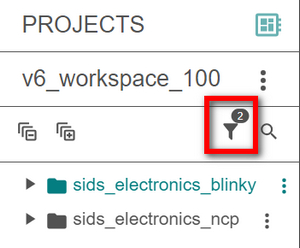
Narrow your search by clicking the Filter icon.

The Filter icon at the top right of the left panel on the Projects pageThe Filter icon at the top right of the left panel on the Projects page

The Filter window displays with a range of filtering options in the Pre-Defined Filters tab. Check the filters you want to use, and then click OKAY in the bottom right corner of the window. Remove your selections by clicking Clear All.

The filtering options with checkboxes at the left of each filter name in the Pre-Defined Filters tab of the Filter window. The Show hidden files and .crc resources options are selected.The filtering options with checkboxes at the left of each filter name in the Pre-Defined Filters tab of the Filter window. The Show hidden files and .crc resources options are selected.

Note: Selecting the Show hidden files filter option lets you see any files that are hiding in your projects.

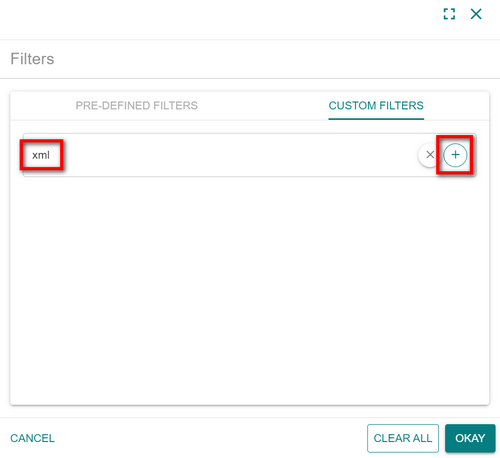
You can also create custom filters in the Custom Filters tab. Enter the name of the filter in the field and click the + button.

Example of a custom filter created in the Custom Filters tab of the Filters windowExample of a custom filter created in the Custom Filters tab of the Filters window

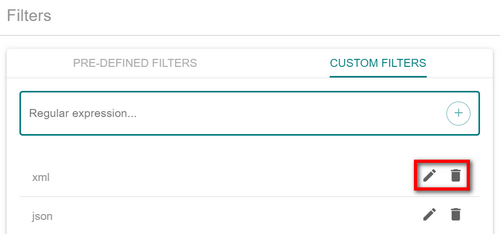
After you add a filter, edit it by clicking the Edit icon (pencil) or delete it by clicking the Delete icon (trash can) on the right of the filter name.

The Edit and Delete icons at the right of a custom filter name in Custom Filters tab of the Filters windowThe Edit and Delete icons at the right of a custom filter name in Custom Filters tab of the Filters window

When you're finished creating custom filters, click OKAY on the bottom right corner of the Filters window. If you decide to remove all custom filters, click CLEAR ALL.

When you click OKAY, the Filters window closes. The number of filters you selected displays on the top right corner of the Filter icon. In the example below, two filters are selected.

The number of filters selected displayed on the top right corner of the Filter icon. In this example, two filters were selected.The number of filters selected displayed on the top right corner of the Filter icon. In this example, two filters were selected.

Example Projects and Demos#

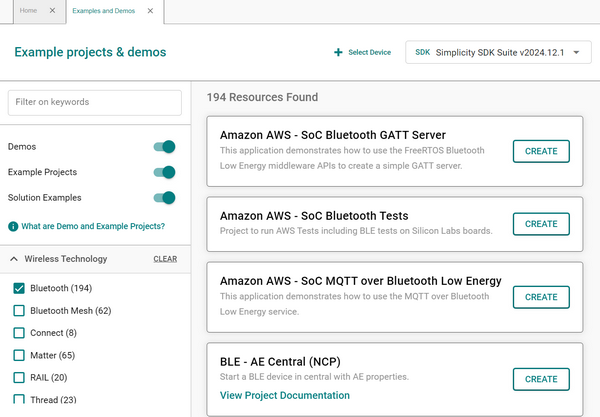
In the Example Projects & Demos area at the bottom right of the page, you can filter sample projects and demos by technology: Bluetooth | Mesh, Matter, Z-Wave, Thread, Zigbee, Wi-Fi, and Wi-SUN.

The Example Projects and Demos area on the Projects pageThe Example Projects and Demos area on the Projects page

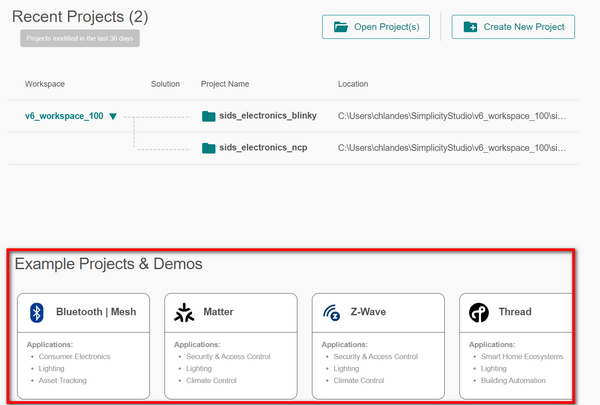
Click a tile to display the example projects and demos available for the technology in the SDK Explorer. In the example below, Bluetooth | Mesh was selected.

Examples of sample projects and demos available for the Bluetooth Mesh technology in the SDK ExplorerExamples of sample projects and demos available for the Bluetooth Mesh technology in the SDK Explorer