Usage#
This section contains information on adding the Third-Party Hardware Drivers GSDK Extension and importing Application Example projects into Simplicity Studio.
Importing Simplicity Studio projects#
Simplicity Studio projects are typically stored under the SimplicityStudio folder inside each project's folder in the Git repositories.
File Formats#
*.sls
Legacy projects provide *.sls files. These Simplicity Studio files contain each source file required to build the project (except GSDK files).
*.slcp
Newer projects provide only *.slcp files; these files contain the project configuration, such as the configured software components, source files, headers, includes paths, etc.
*.btconf
This file contains configuration interpreted by the Bluetooth GATT Configurator Tool, and it contains the GATT database with the configured services and characteristics.
*.pintool
The configuration files used by the Pin Tool, these files contain hardware pin assignments and mode configurations.
Importing *.sls projects#
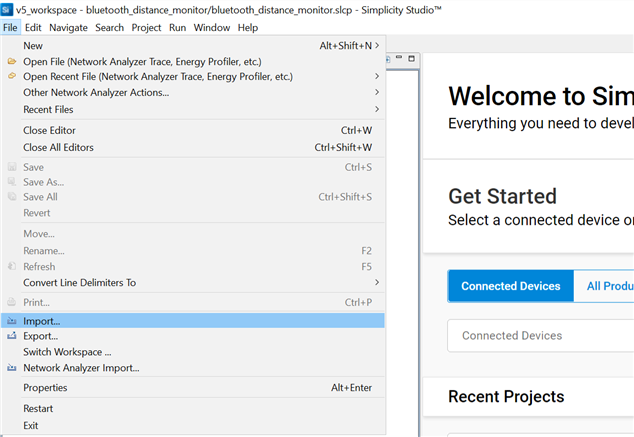
STEP 1 [File] -> [Import]
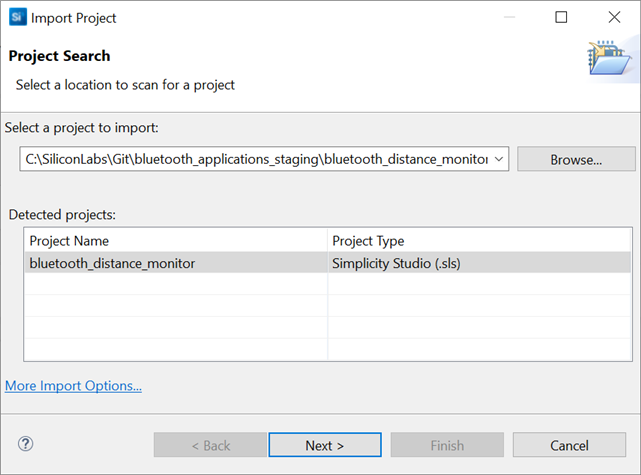
STEP 2 Select a folder containing *.sls file(s). Select a project from the detected projects list and click on Next.
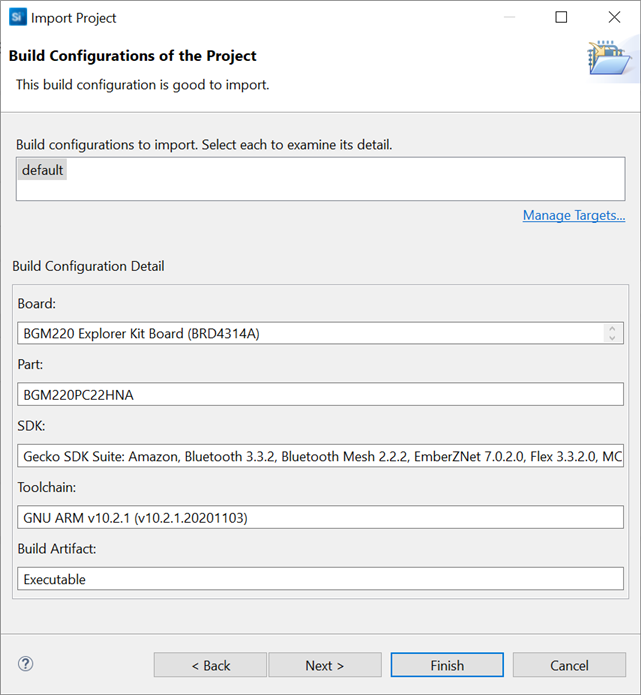
STEP 3 Click on Next
STEP 4 Type a name to the new project or keep the original naming. Click on Finish.
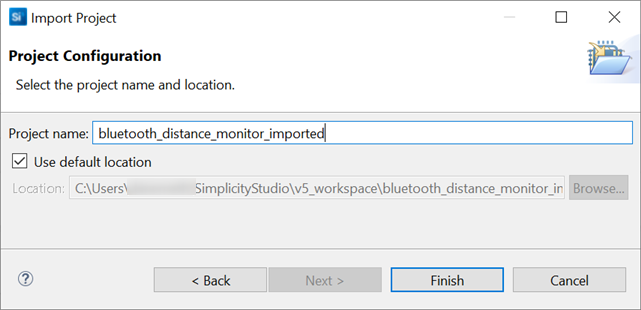
The selected Simplicity Studio project is imported into your workspace. You can compile the project and run the executable on a real hardware like a development kit.
Adding SDK Extensions for Hardware Drivers#
You can find the Third-Party Hardware Drivers GSDK Extension on Github; as a first step you should clone the repository to your local computer.
You can follow this step-by-step guide to install and use the extension or watch a guideline video showing the same steps.

STEP 1 Clone Third-Party Hardware Drivers repository from Github
It is up to you to choose a folder on your computer to clone the repository into.
git clone https://github.com/SiliconLabs/third_party_hw_drivers_extension.git
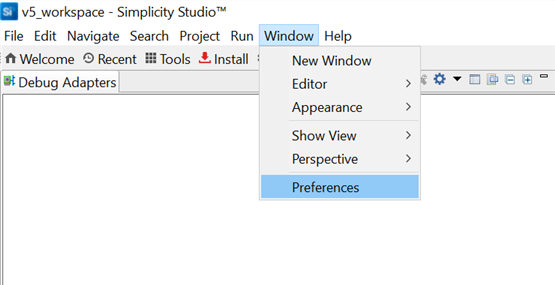
STEP 2 Open Simplicity Studio and go to Window/Preferences
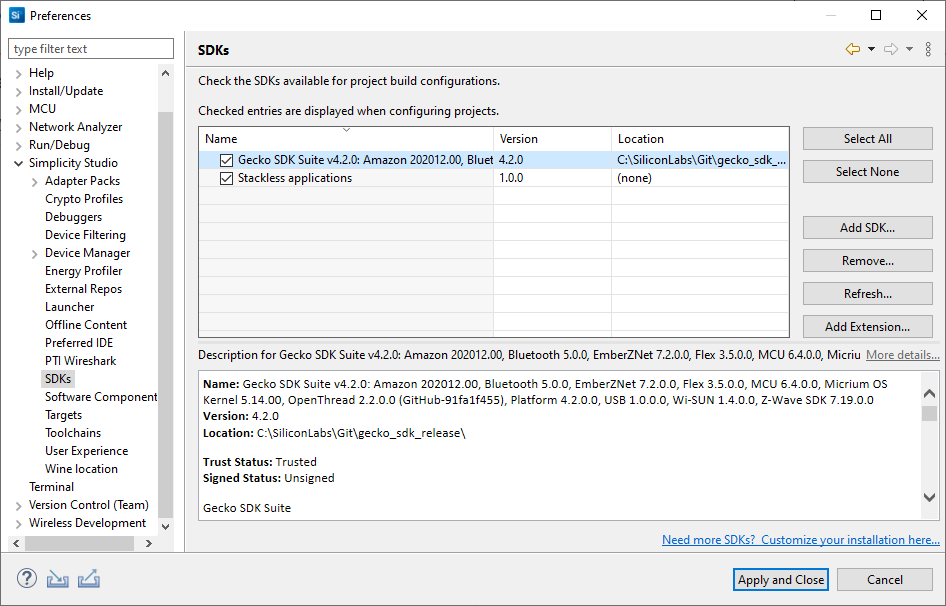
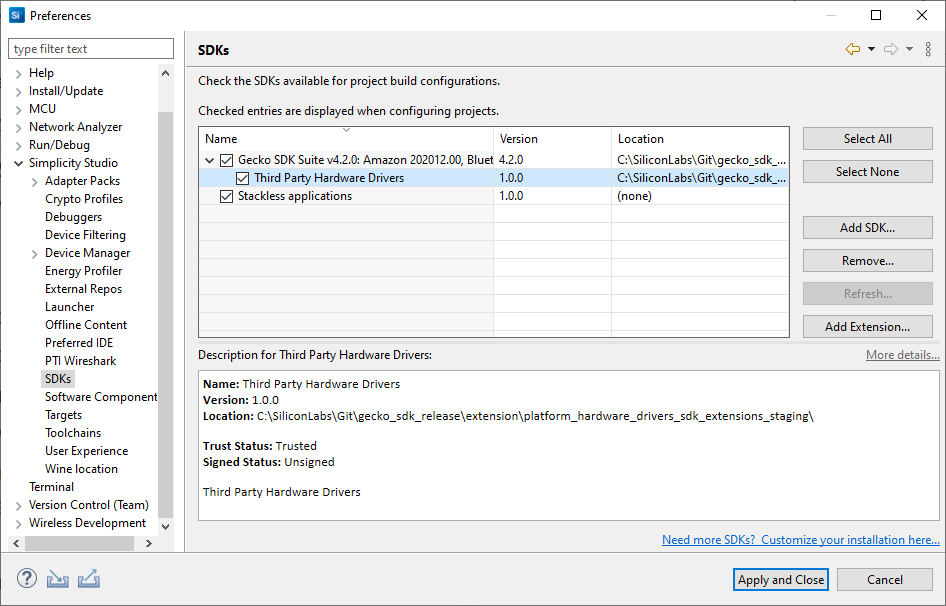
STEP 3 Go to Simplicity Studio/SDKs, select an installed GSDK (version >=4.2.0), and click on Add Extension
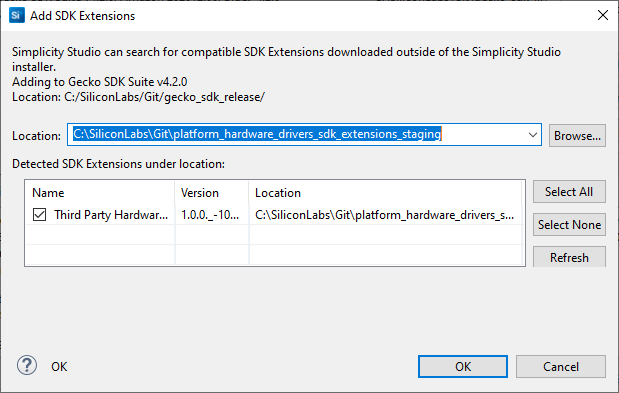
STEP 4 Select the SDK Extension's location, click on OK
The SDK Extension will be detected in the repository folder.
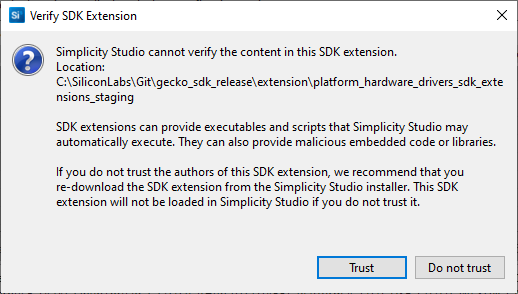
STEP 5 Click on the Trust button on the Verify SDK Extension dialog
STEP 6 The SDK Extension successfully installed, click on Apply and Close
Example Project Templates#
The Third-Party Hardware Drivers extension provides example project templates for each supported driver.
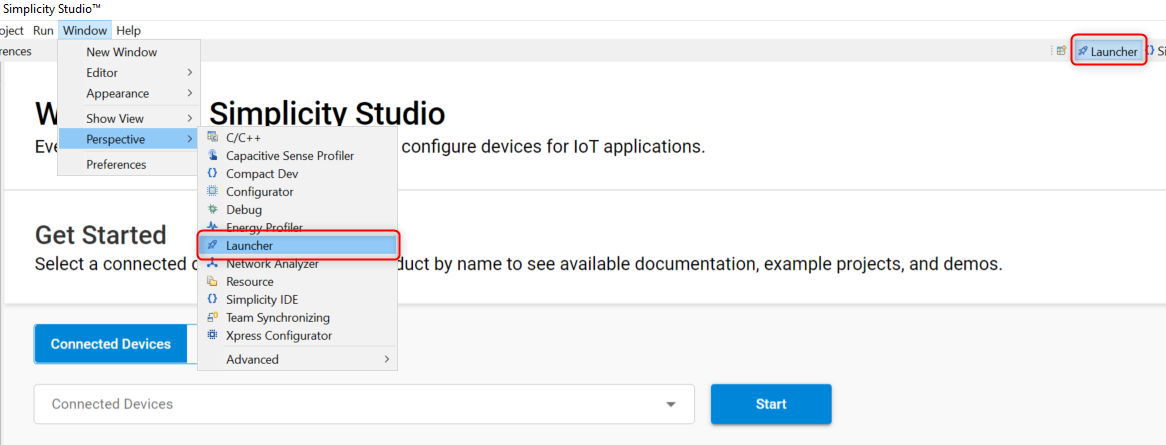
STEP 1 Open the Launcher perspective in Simplicity Studio
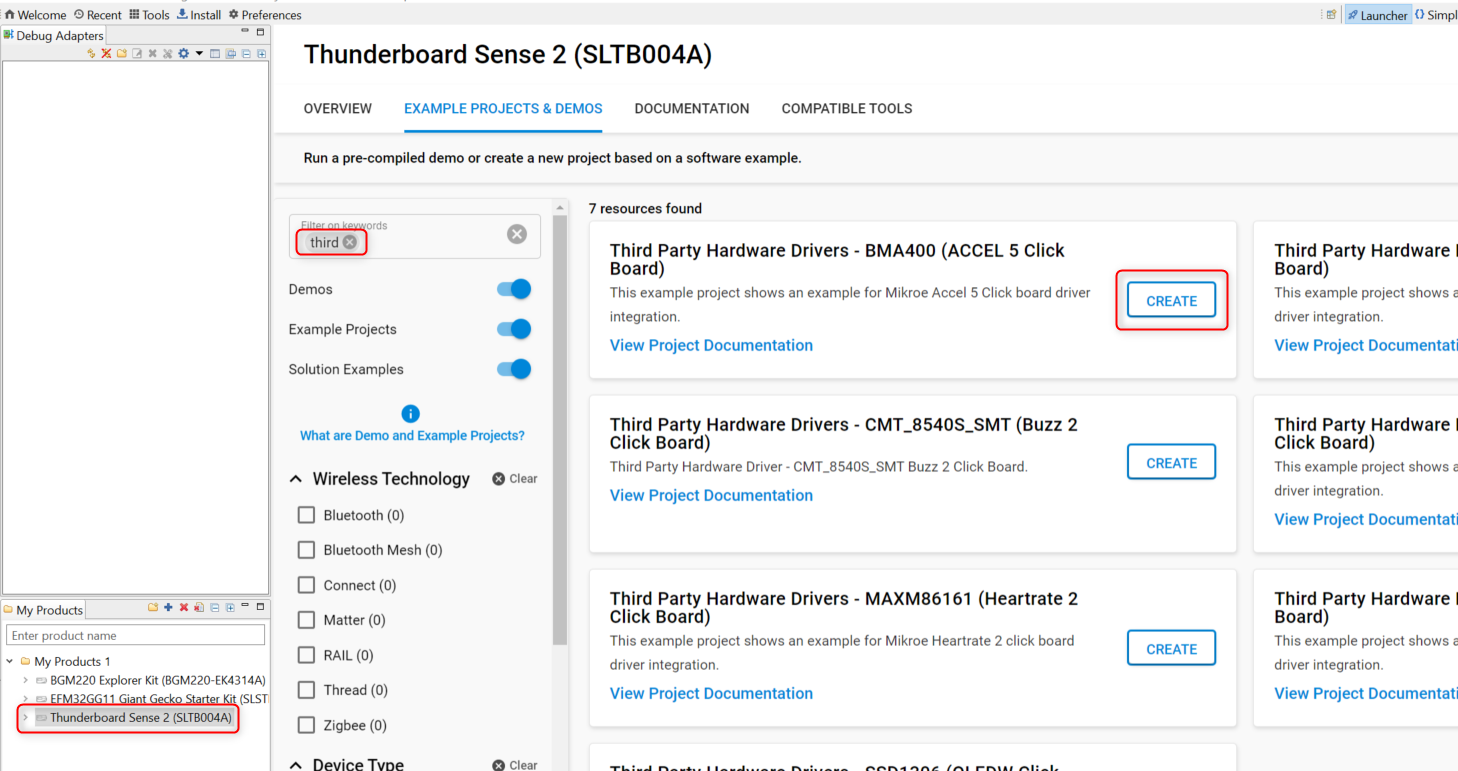
STEP 2 Select a product either in the My Products or in the Debug Adapters dialog
STEP 3 Filter examples by typing "third" or "Third Party" in the "filter on keywords" input
STEP 4 Select an example project from the resources and click on the Create button.
STEP 5 Follow the steps in the New Project Wizard dialog.
The Launcher creates a new project based on the selected template, and this project contains basic example on how your application can integrate a driver using the extension.
Software Components#
STEP 1 Open a project configuration (the selected perspective should be "Simplicity IDE").
STEP 2 Select SOFTWARE COMPONENTS and search for the keyword "third" in the Search keywords, component's name input
Ensure that the components with Evaluation quality level are enabled in the Software Components view.
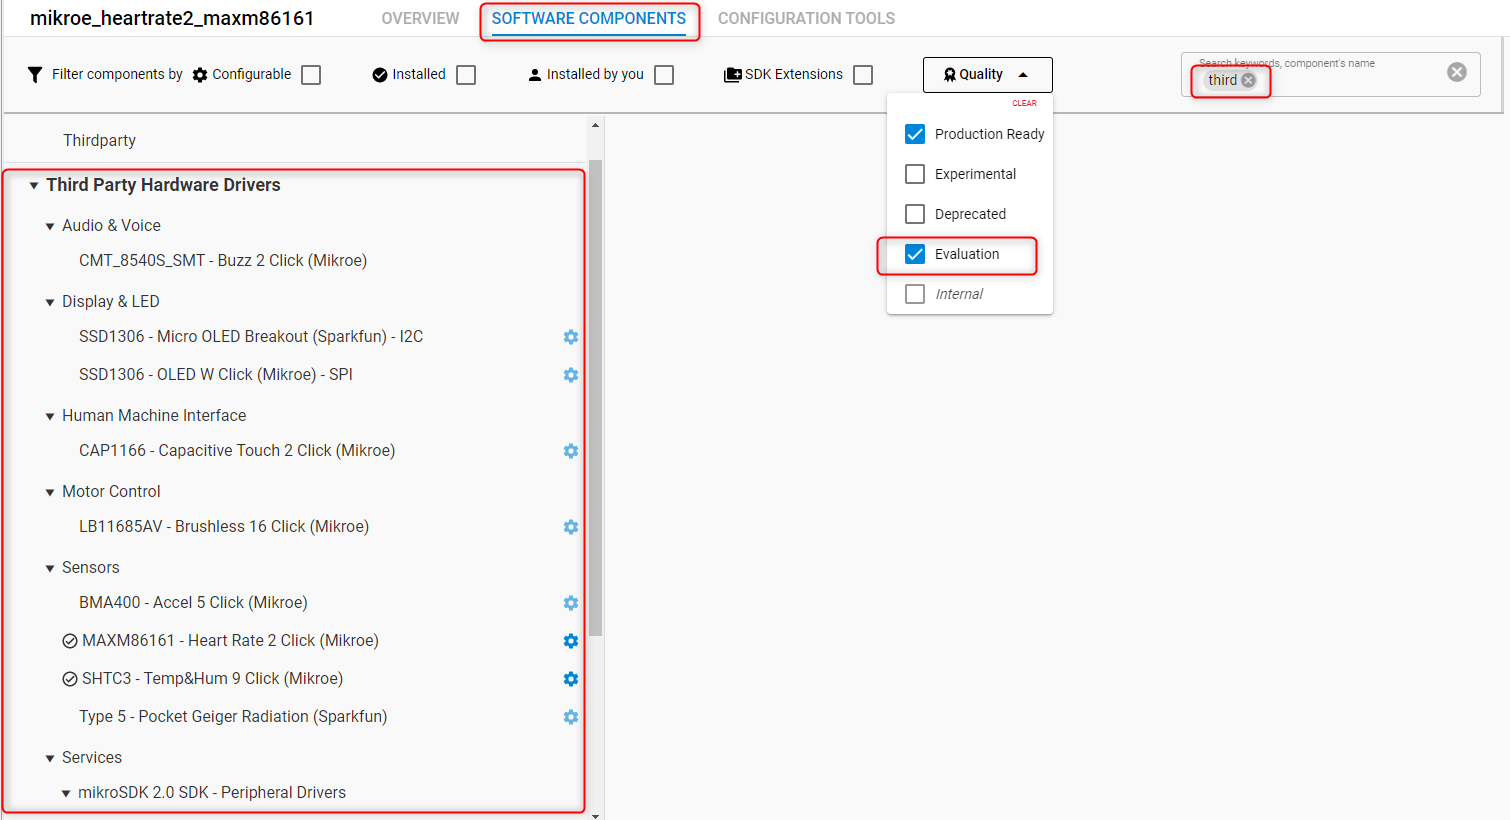
STEP 3 Select a driver from the list by clicking on it, click on the Install
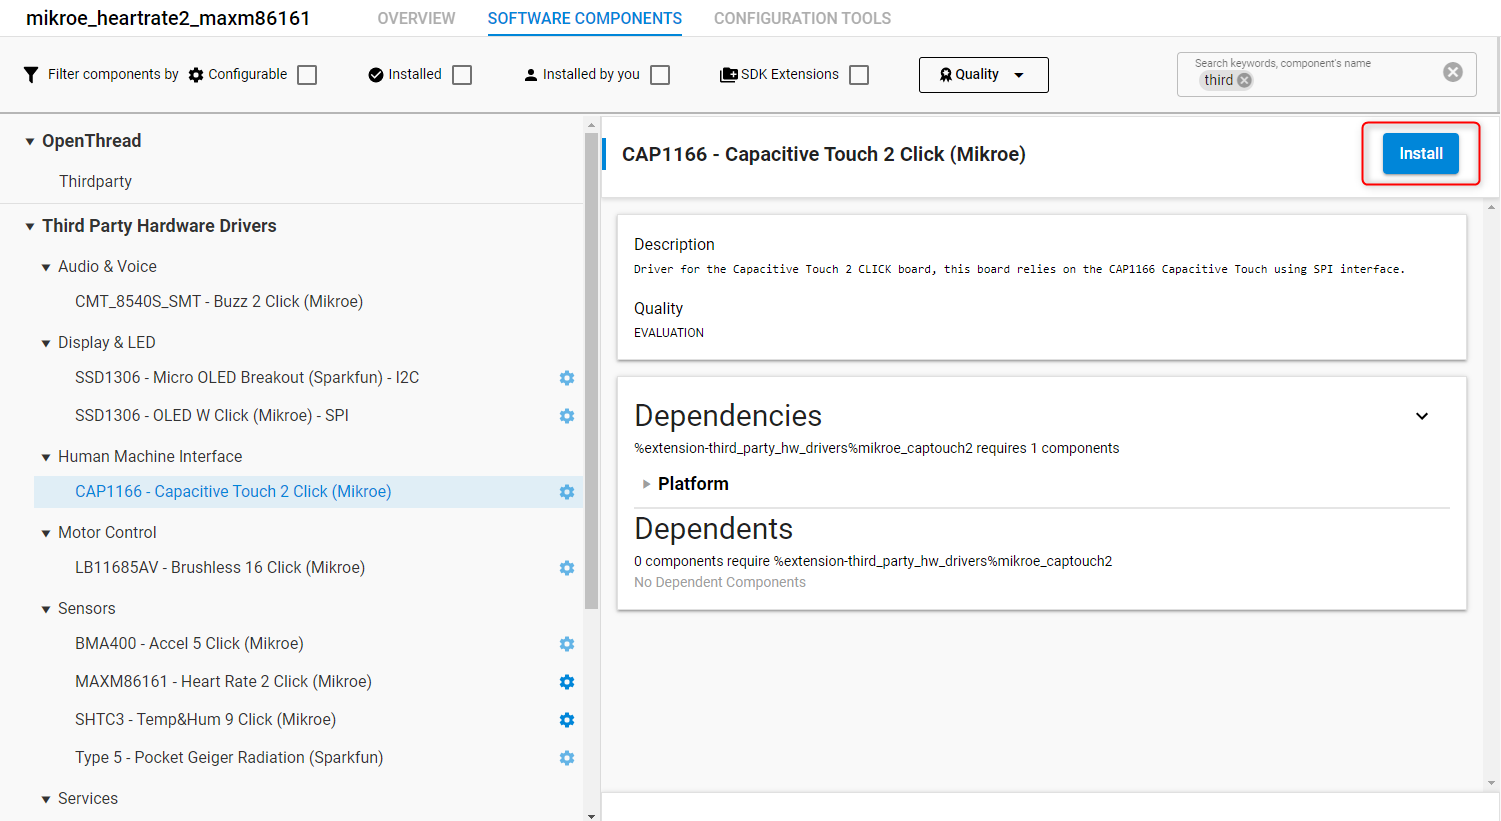
The selected hardware driver is installed in your project. The installed driver's API can be found in the extension's public folder.
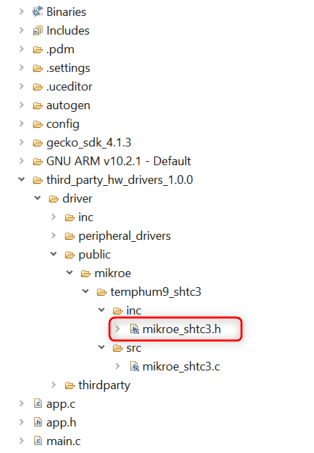
Public header files should be included in your application for each installed driver.
For further information on how to use drivers in your project, see application example templates in the Launcher.