Getting Started with SoC Mode#
This guide describes how to get started developing an application for the SiWx91x in System-on-chip (SoC) mode, where both the application and the networking stack run on the SiWx917 chipset.
Check Prerequisites#
To run Matter over Wi-Fi, check for the following prerequisites:
Hardware Requirements#
The following hardware devices are required for executing Matter over Wi-Fi:
Silicon Labs Wireless starter/development kit (WSTK)
SiWx917 SoC development kit
Wi-Fi Dev Kit
SiWx917
SoC mode:
BRD4388A (B0 2.0 common flash) SiWx917
Windows/Linux/MacOS computer with a USB port
USB cable for connecting WSTK Board to Computer
Raspberry Pi with a >32 GB SD Card
Access Point with Internet Access
Software Requirements#
Below are the software tools, packages, and images required for executing Matter over Wi-Fi:
Software Tools Requirements#
Simplicity Commander for flashing firmware/binary
Tera Term
Simplicity Studio
PuTTY for controlling EFR32 hardware using chip-tool controller
JLink RTT for logging only
Software Packages#
Simplicity SDK v2025.x
WiSeConnect SDK v4.x
Firmware Images#
Download the firmware images from Matter Artifacts page.
For flashing the firmware images, refer to Flashing Firmware Images.
Installation of the Wi-Fi Software Tools and Packages#
Refer to the Wi-Fi Software Installation page.
Connect SiWx917 SoC to Computer#
Mount the SiWx917 radio board onto the SiWx917 WSTK board.
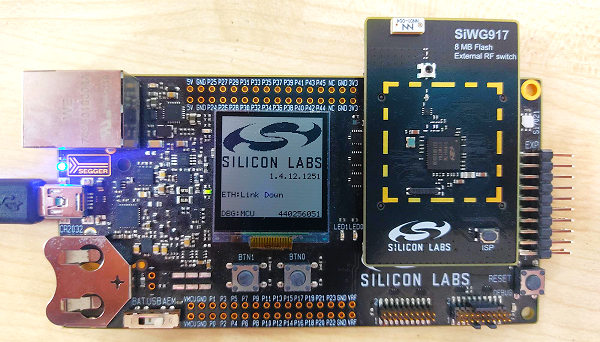
Connect your SiWx917 Wireless Starter Kit (WSTK) board to your computer using a USB cable.
Simplicity Studio will detect and display your radio board.
Troubleshooting a Board Detection Failure#
If Simplicity Studio does not detect the SiWx917 SoC board, try the following:
In the Debug Adapters panel, click Refresh (the icon of two looping arrows).
Press the RESET button on the SiWx917 SoC radio board.
Power-cycle the SiWx917 SoC radio board by disconnecting and reconnecting the USB cable.
Building the 917 SoC Matter Accessory Devices Using Simplicity Studio#
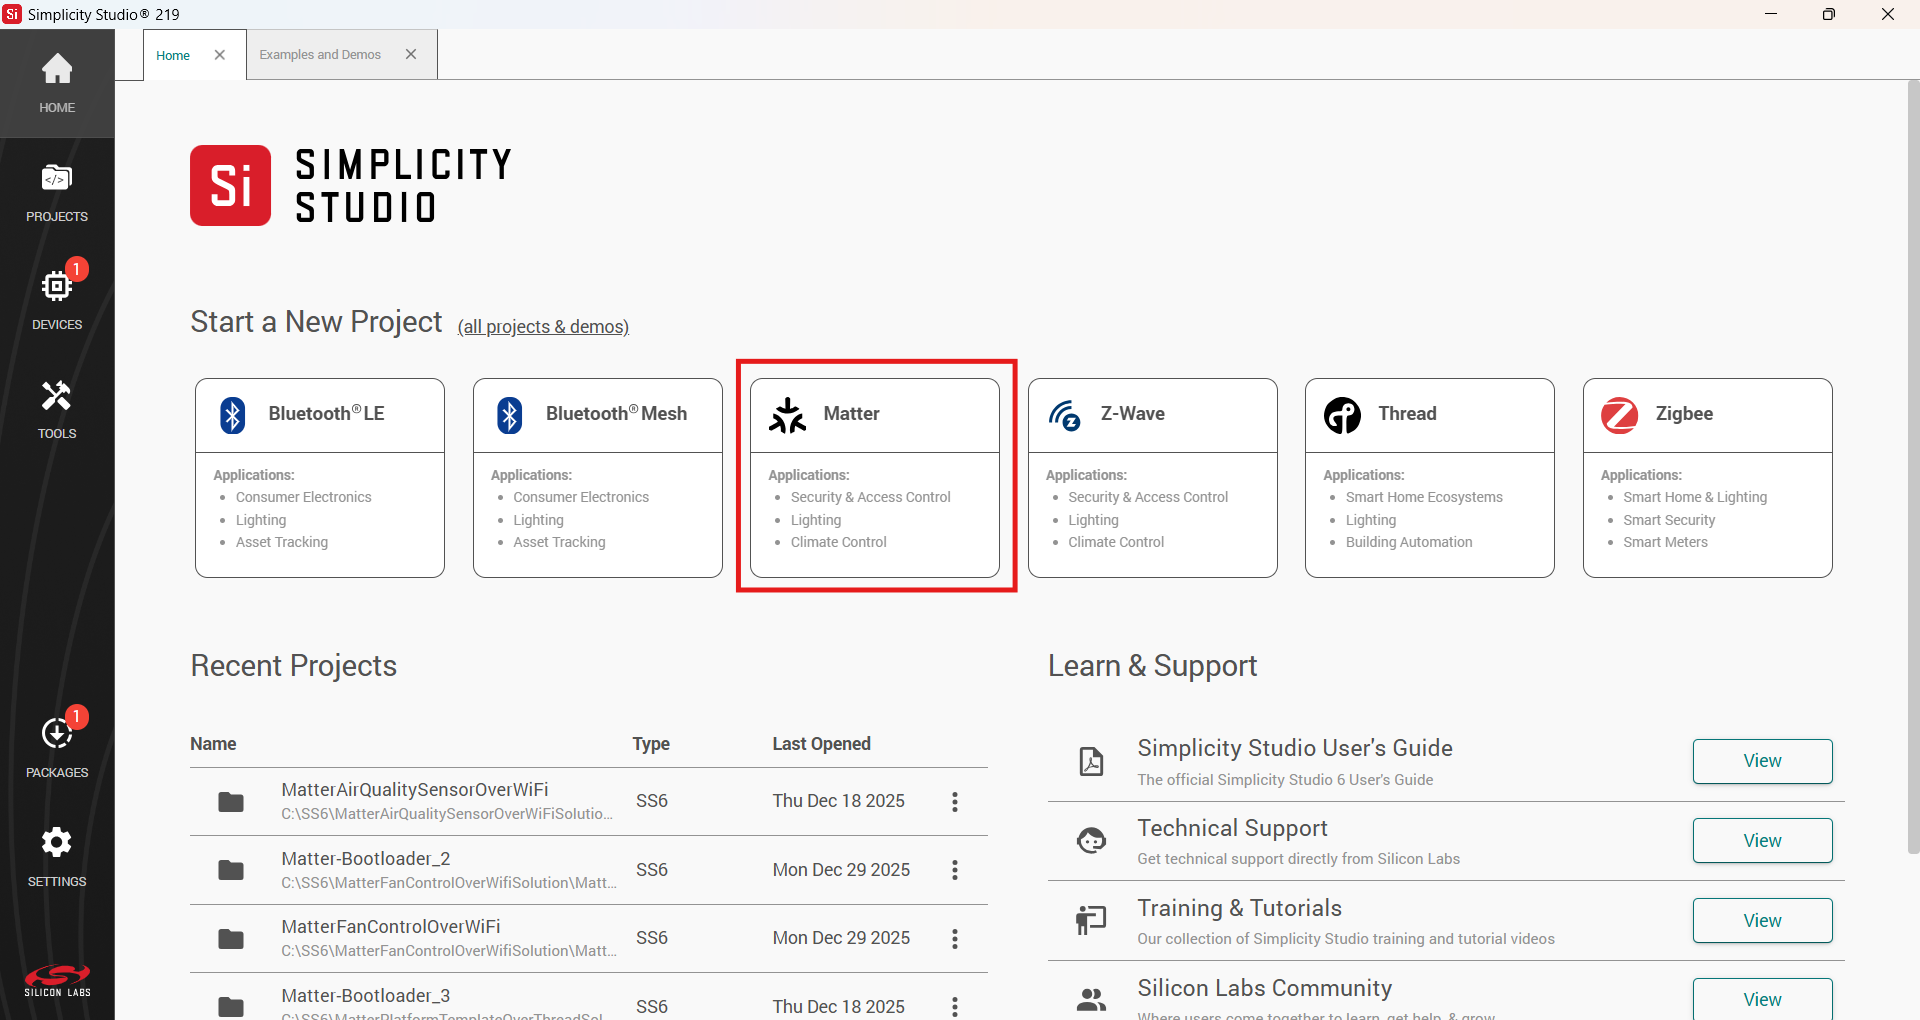
In Simplicity Studio 6, create the Light Matter Accessory Devices (MAD):
In Simplicity Studio, click on Matter, under Example Projects and Demos, select a project, and click Create.
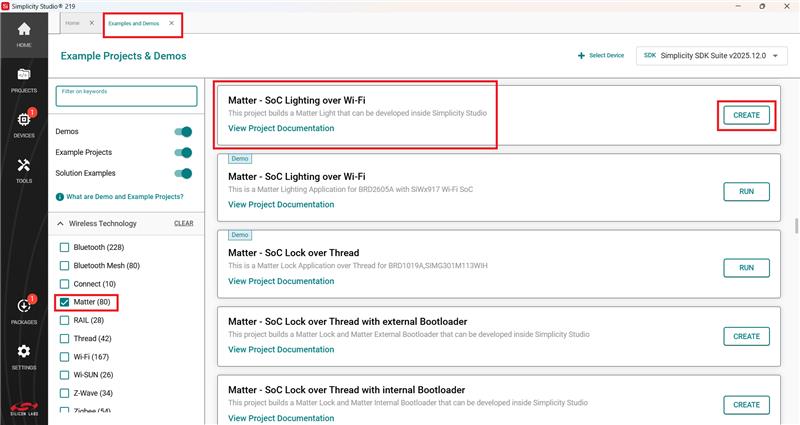
In the Project Configuration window, Select the board and click Next.
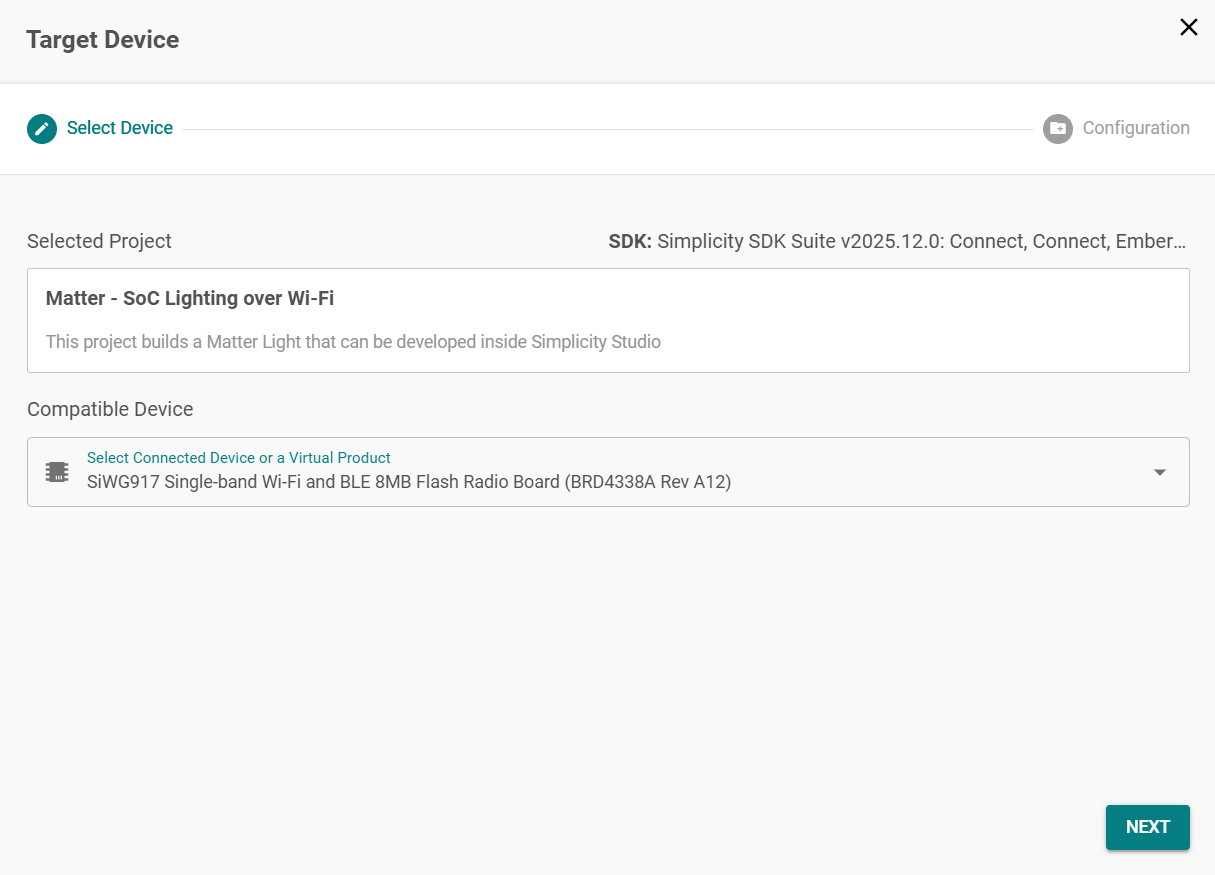
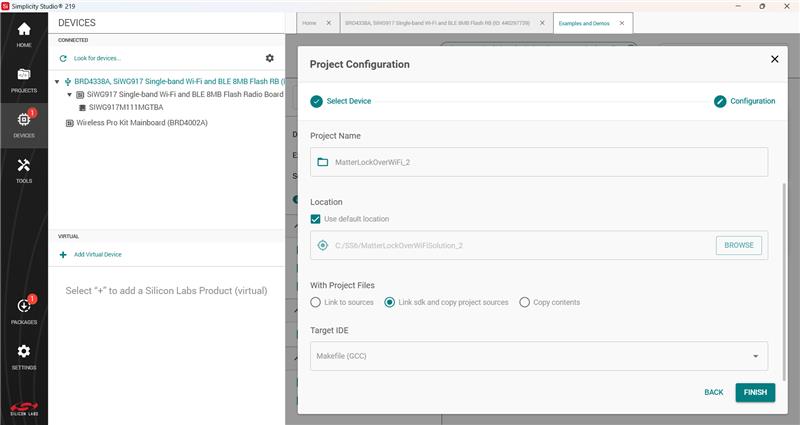
Set -
Solution and Project Name.
Select Target IDE.
Click Finish.
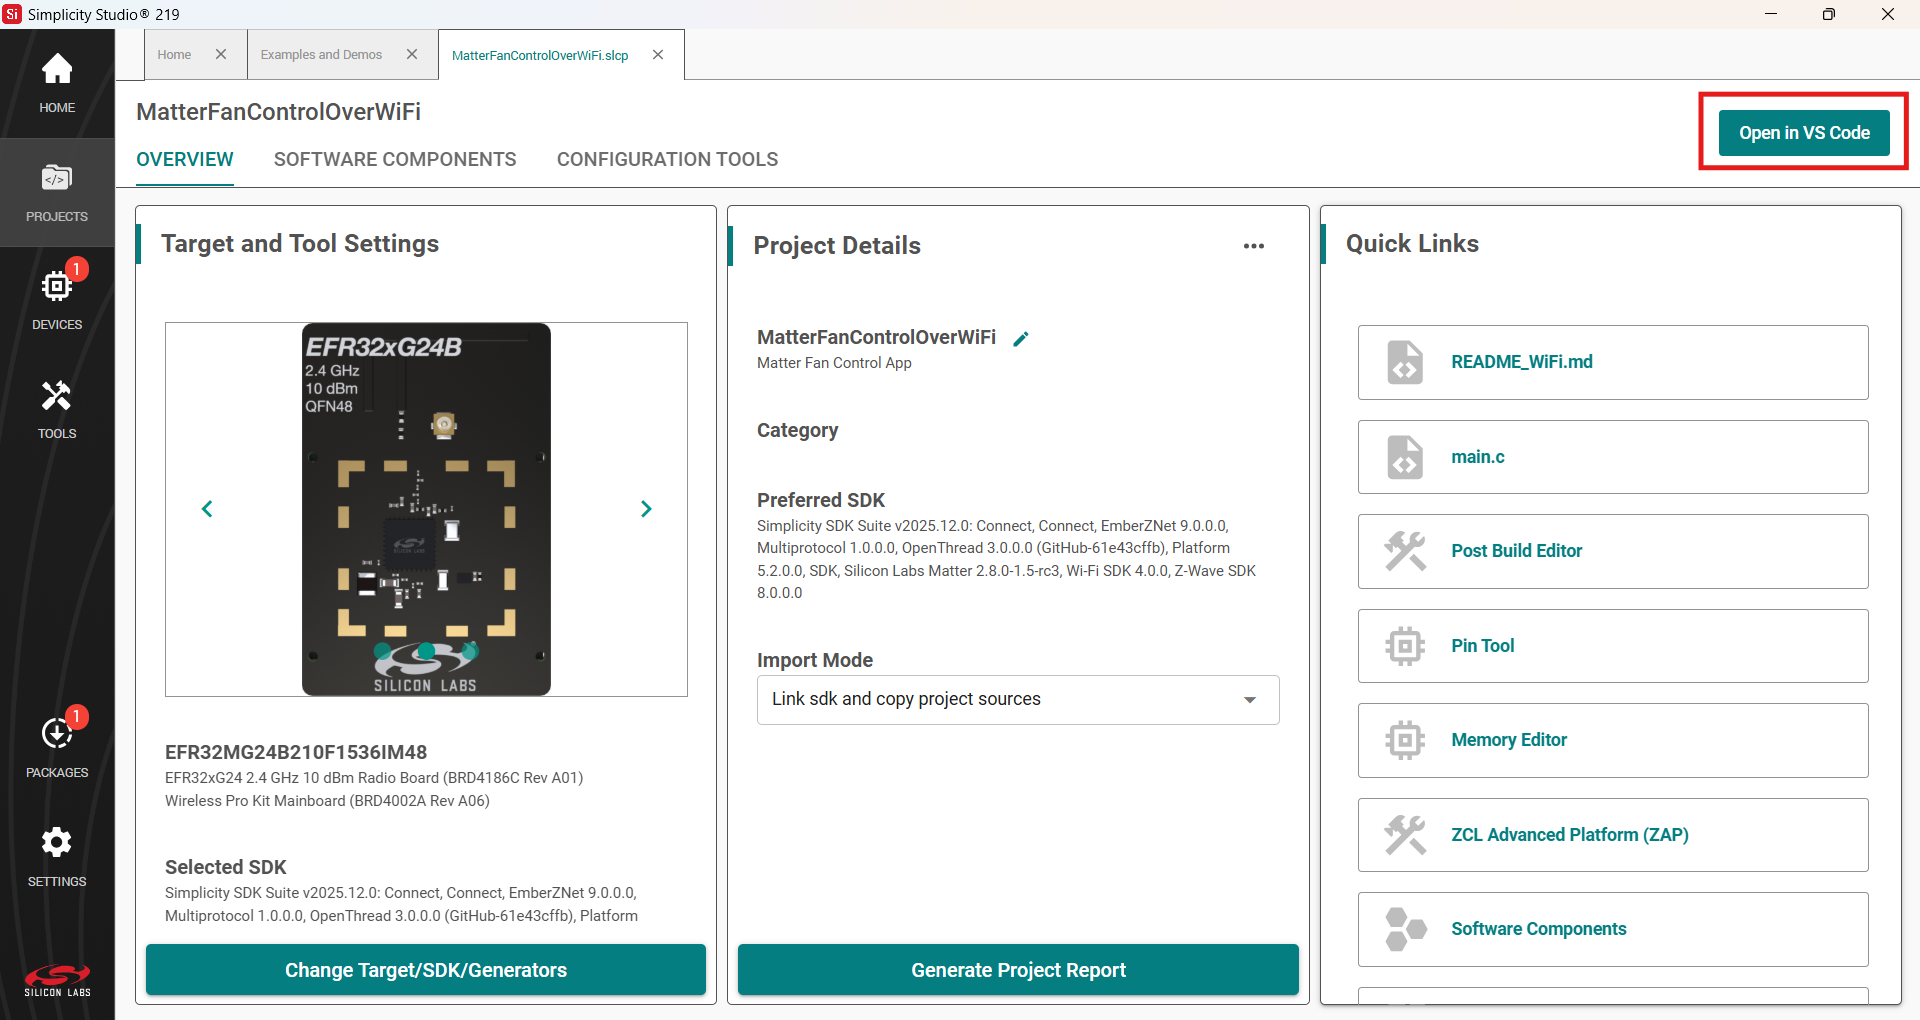
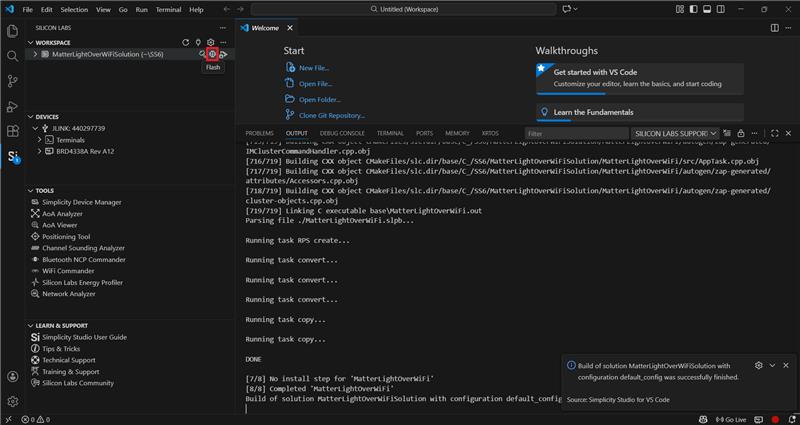
Once the project is created, click the Open in VS Code option on the top right corner.
In VS Code, click the Studio Extension on the left panel and select Build option (Hammer Icon) in the Workspace tab.
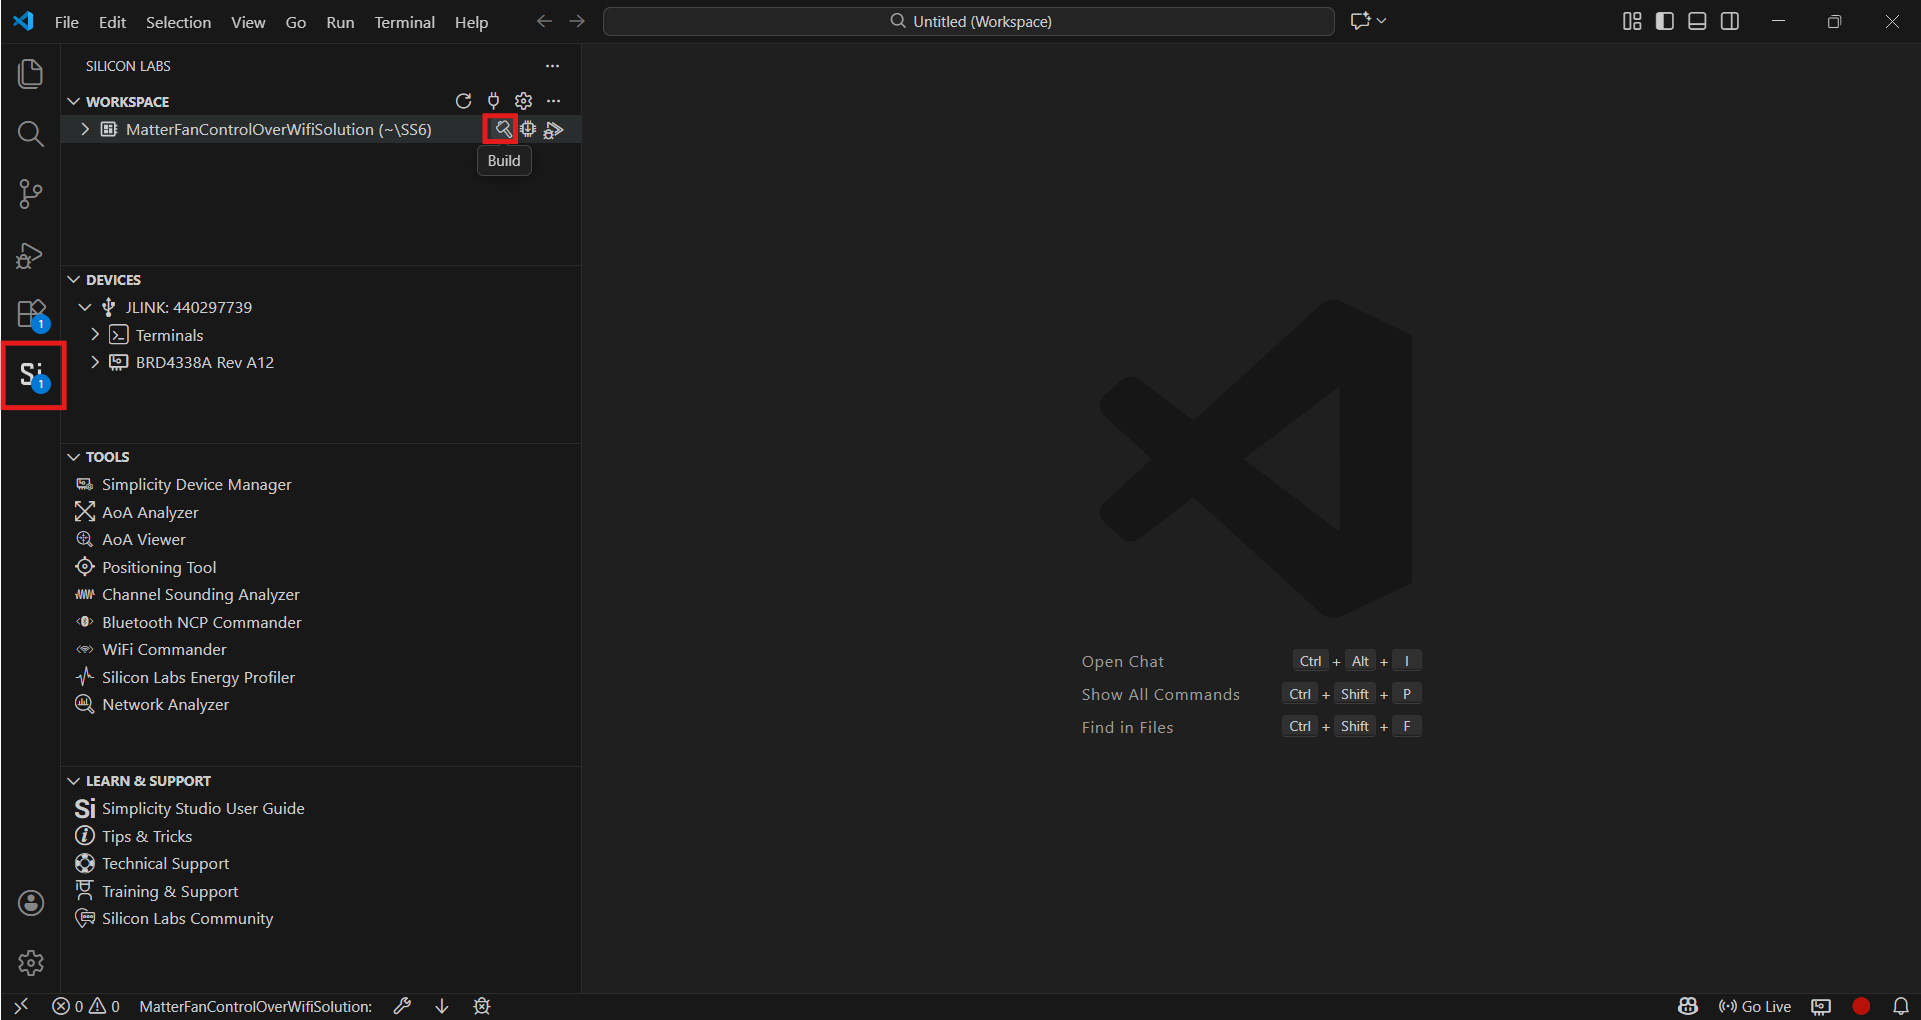
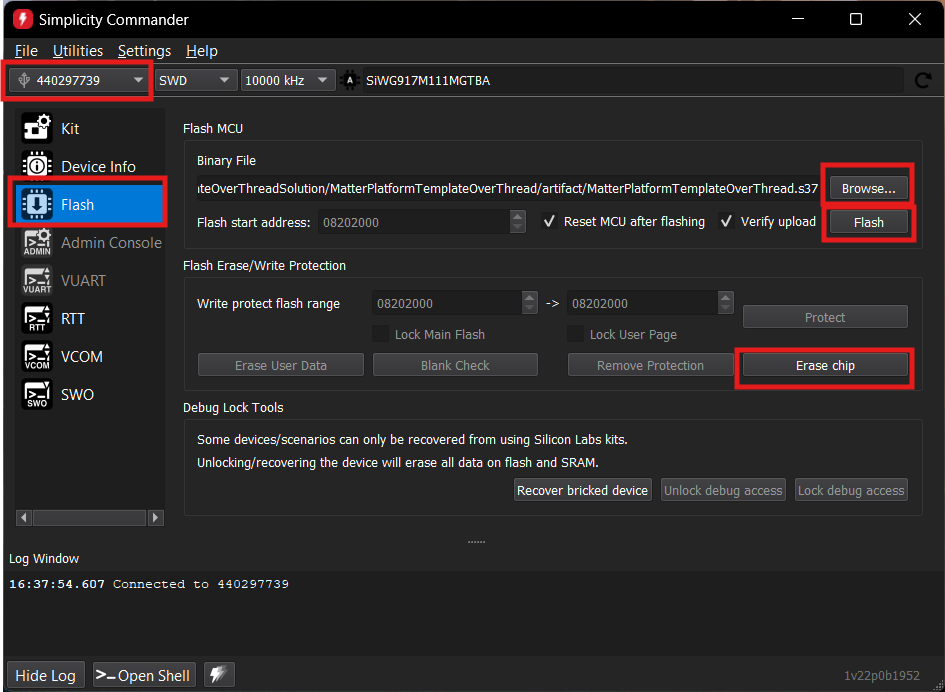
Once the project is compiled successfully, the binaries can be flashed either using the Simplicity Commander from the tools or using the Flash option beside the Build.
When using Commander, select the kit and click the Flash option in the left panel. Click Erase chip.
Select the path for the project's .s37 binary and click Flash.