


Working with Example Applications#
This section offers instructions on working with RAIL and Connect SoC examples.
Simplicity Studio offers a variety of ways to begin a project using an example application. The Simplicity Studio 6 User’s Guide describes them all. This guide uses the PROJECTS > Create New Project method, because it takes you through all three of the Project Creation Dialogs.
Regardless of how you begin, follow these steps when working with example applications in Simplicity Studio:
Select an example application and create a project.
Modify and generate the radio configuration.
Modify the code if necessary.
Compile and flash the application to the radio board.
The following sections describe these steps.
Note: The procedure illustrations might show an earlier SDK version than the one you're using.
Creating a Project Based on an Example#
Open SSv6’s PROJECTS menu and select Create New Project. The Example Projects and Demos view opens. You can select the SDK from the dropdown list.
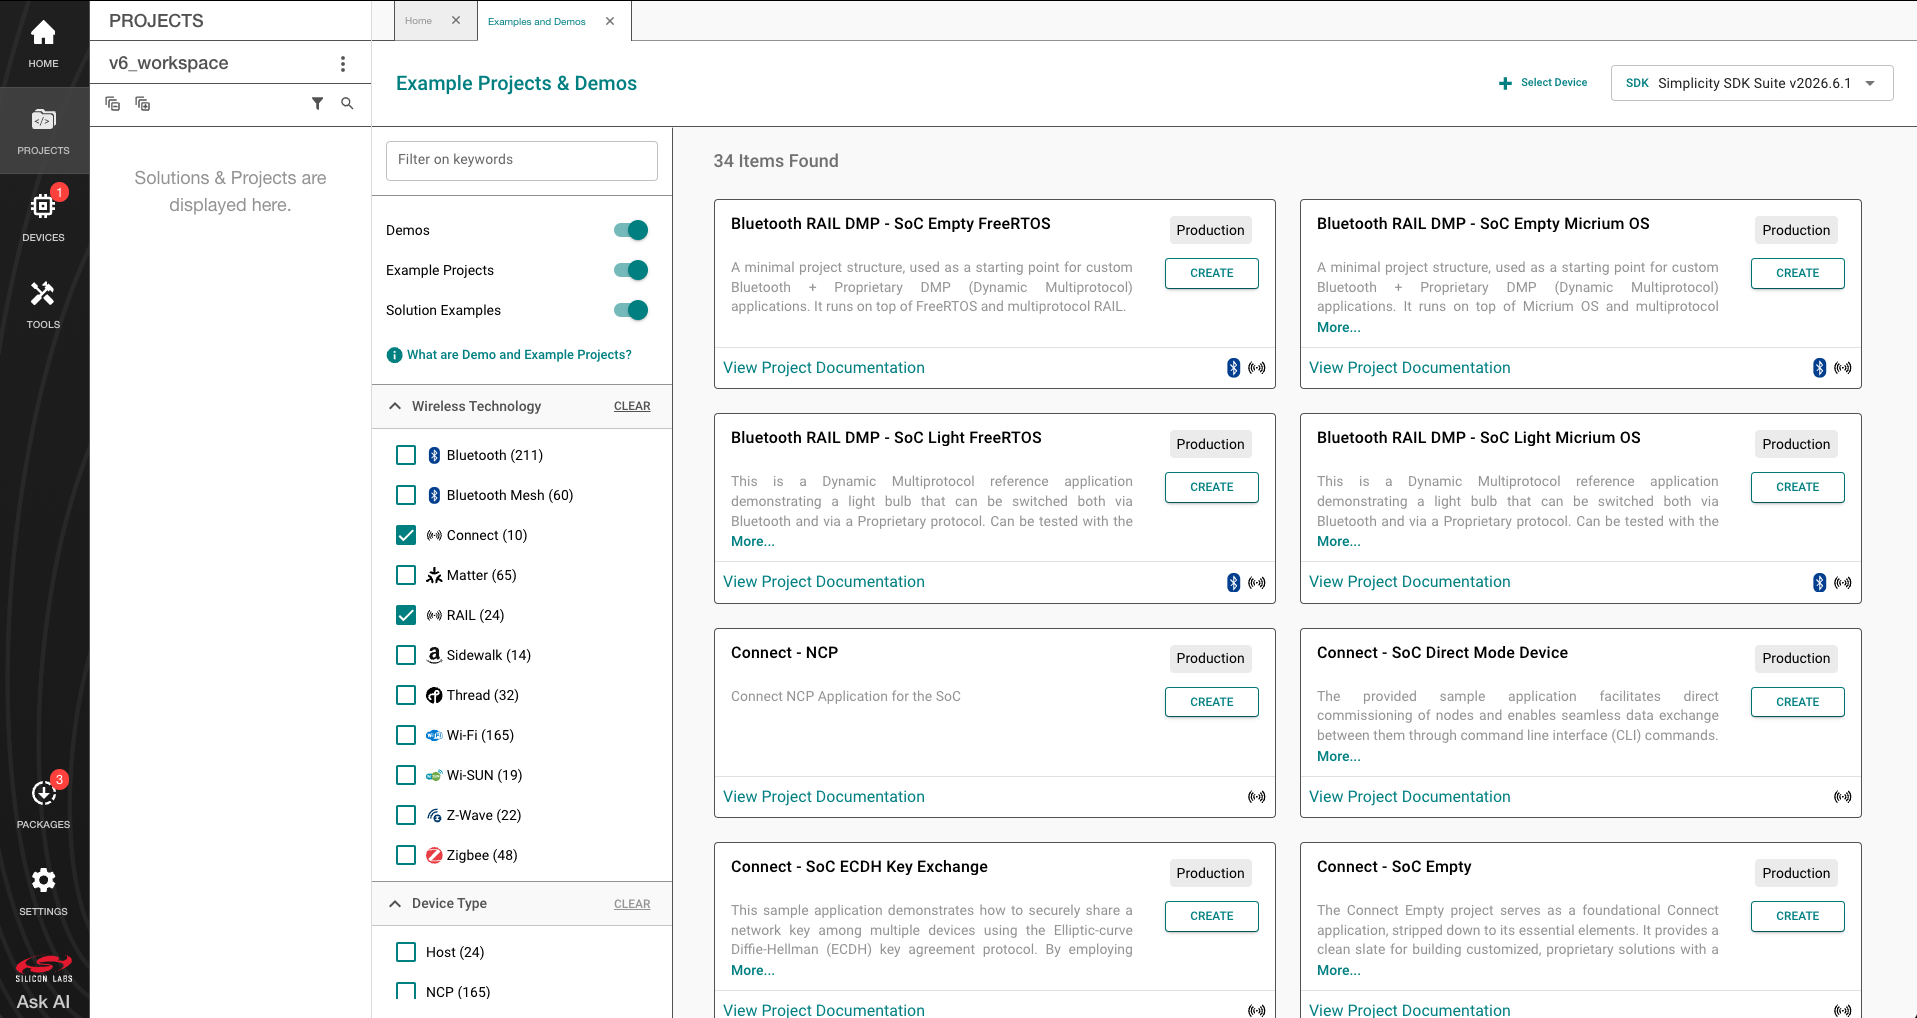
Select Select Device to choose the connected device or a virtual device as target device.
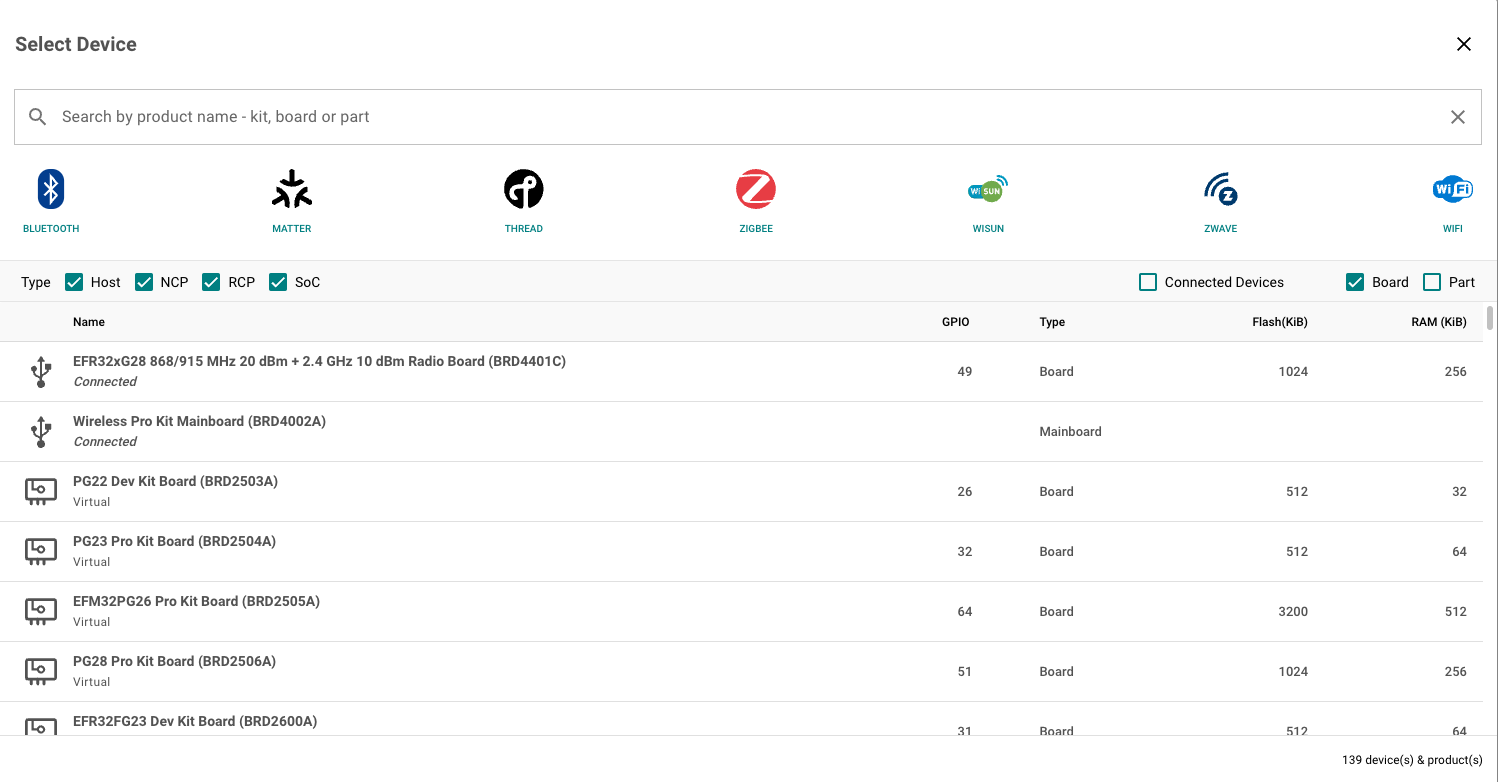
After selecting the target device, you can use various filters to find a specific example, such as
railtestand Wireless Technology: RAIL, as shown in the following figure. Choose the example, in this case RAIL – SoC RAILtest, by selecting CREATE.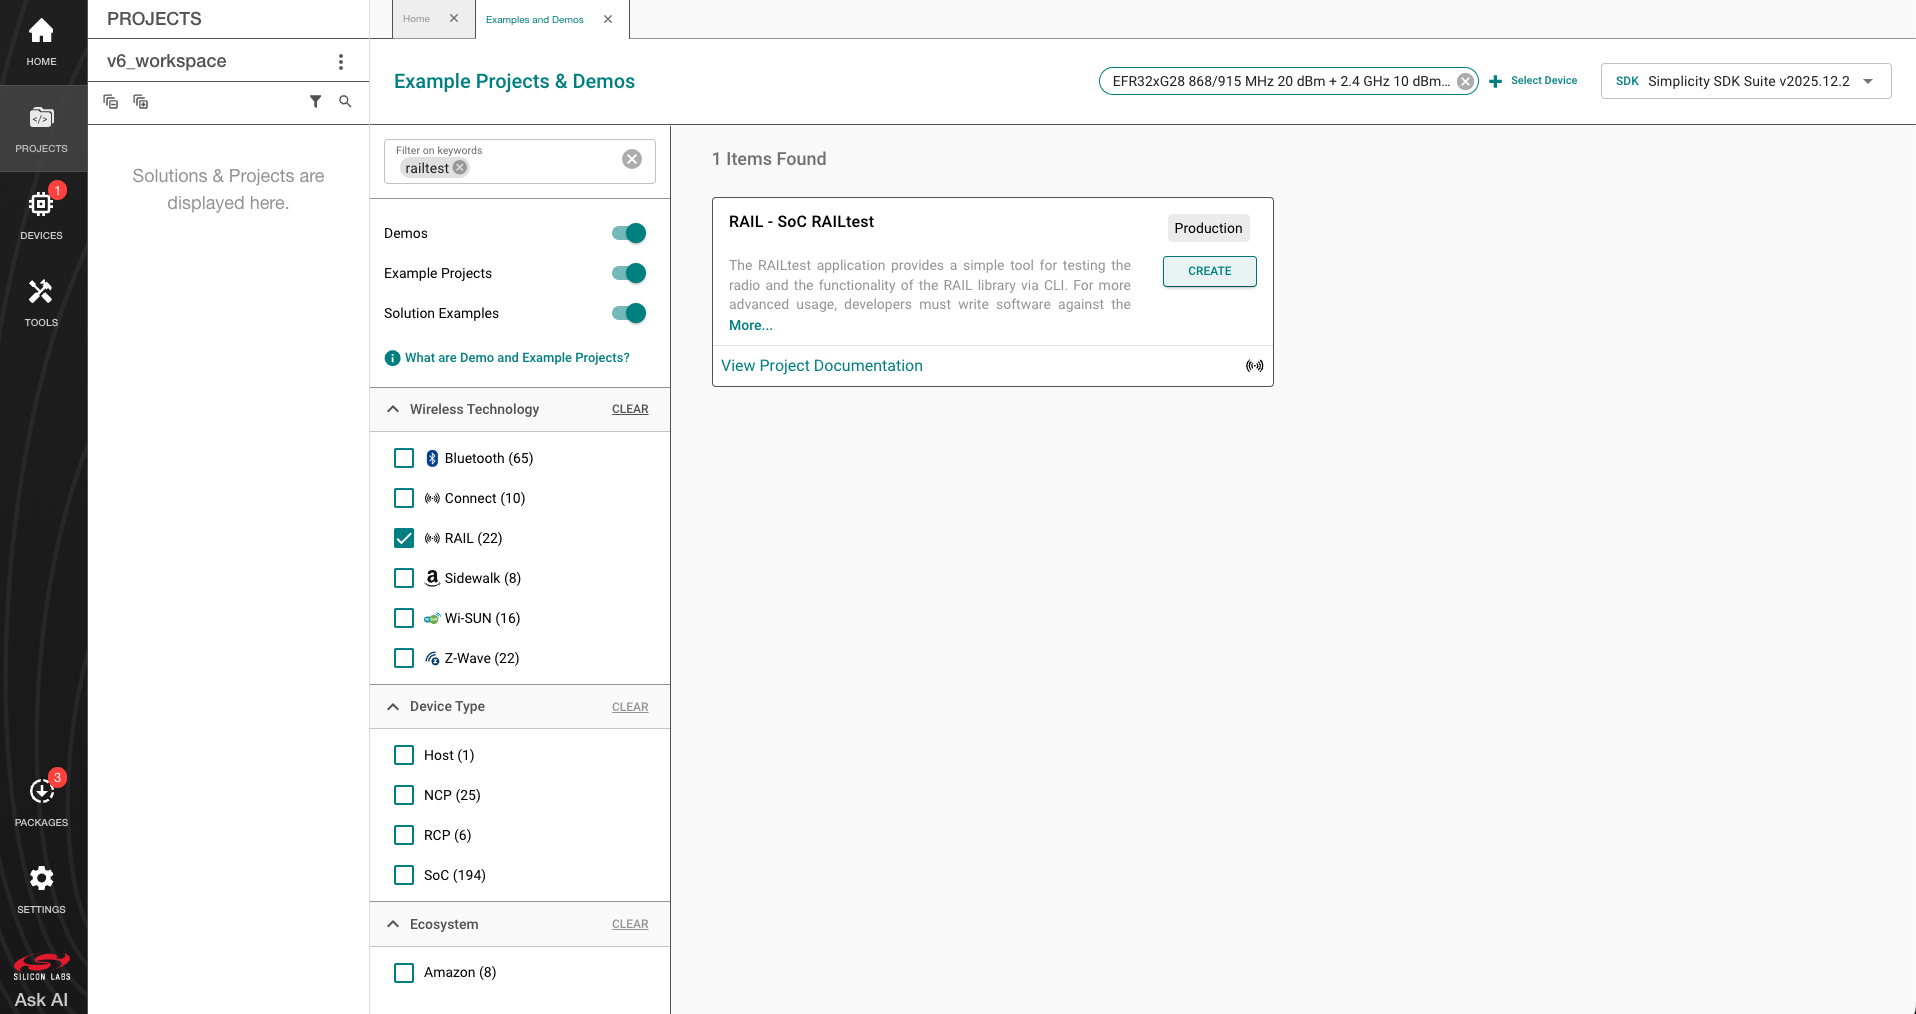
The Project Configuration dialog opens. Here, you can rename your project, change the default project file location, determine if you will link to or copy project files, and select the target IDE for your project. Changing a linked resource also changes it for any other project that references it. Select FINISH to start project generation.
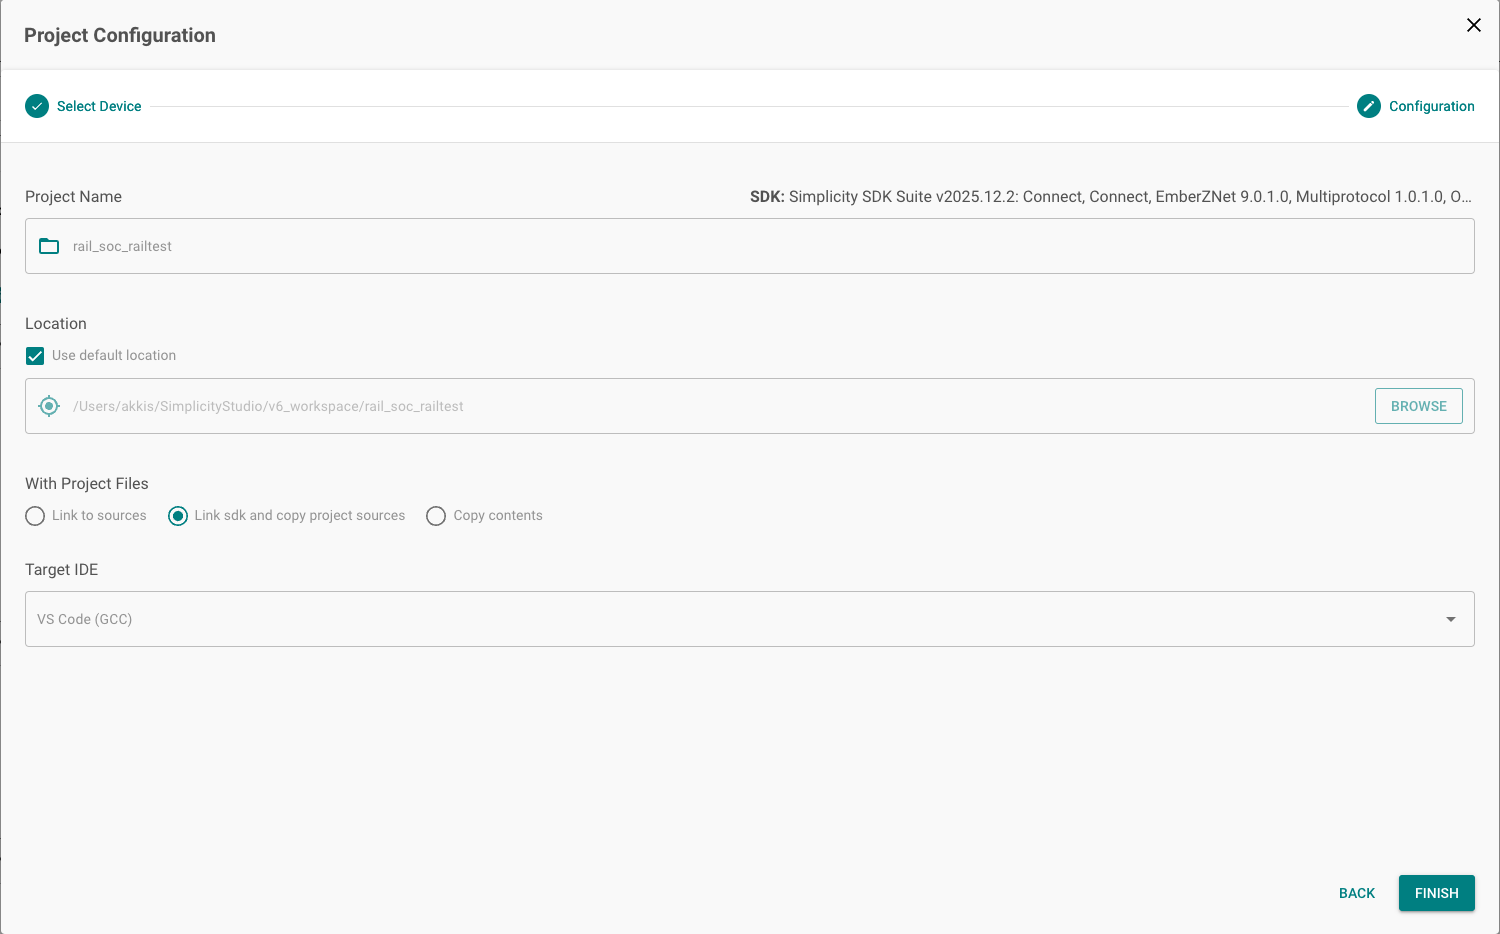
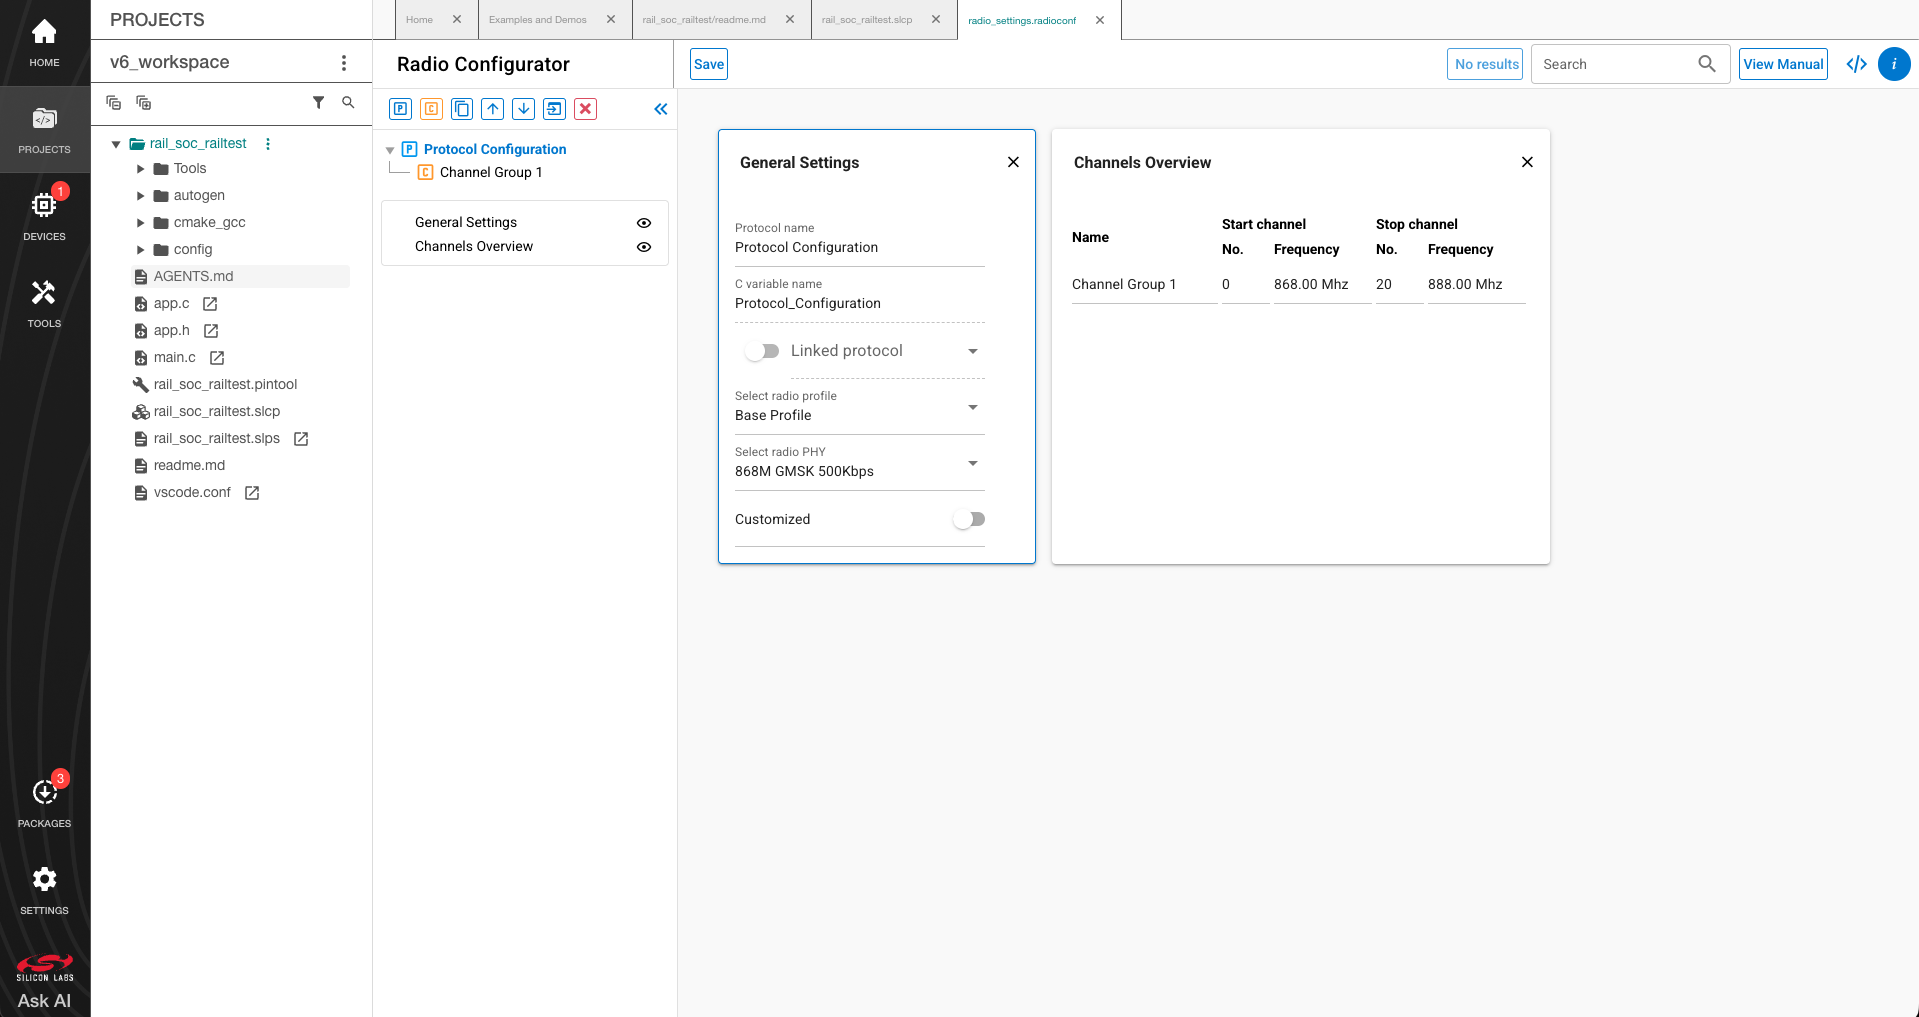
The new project opens in the PROJECTS view with the Radio Configurator tab (radio_settings.radioconf) selected. The Project Configurator tab (<projectname>.slcp) and a description of the project (readme.md) are also available.
Component Configuration#
Click the <projectname>.slcp tab to open the Project Configurator. The default configuration settings work with the connected development board. When first experimenting with a development kit, keep them unchanged and go straight to compiling and flashing.
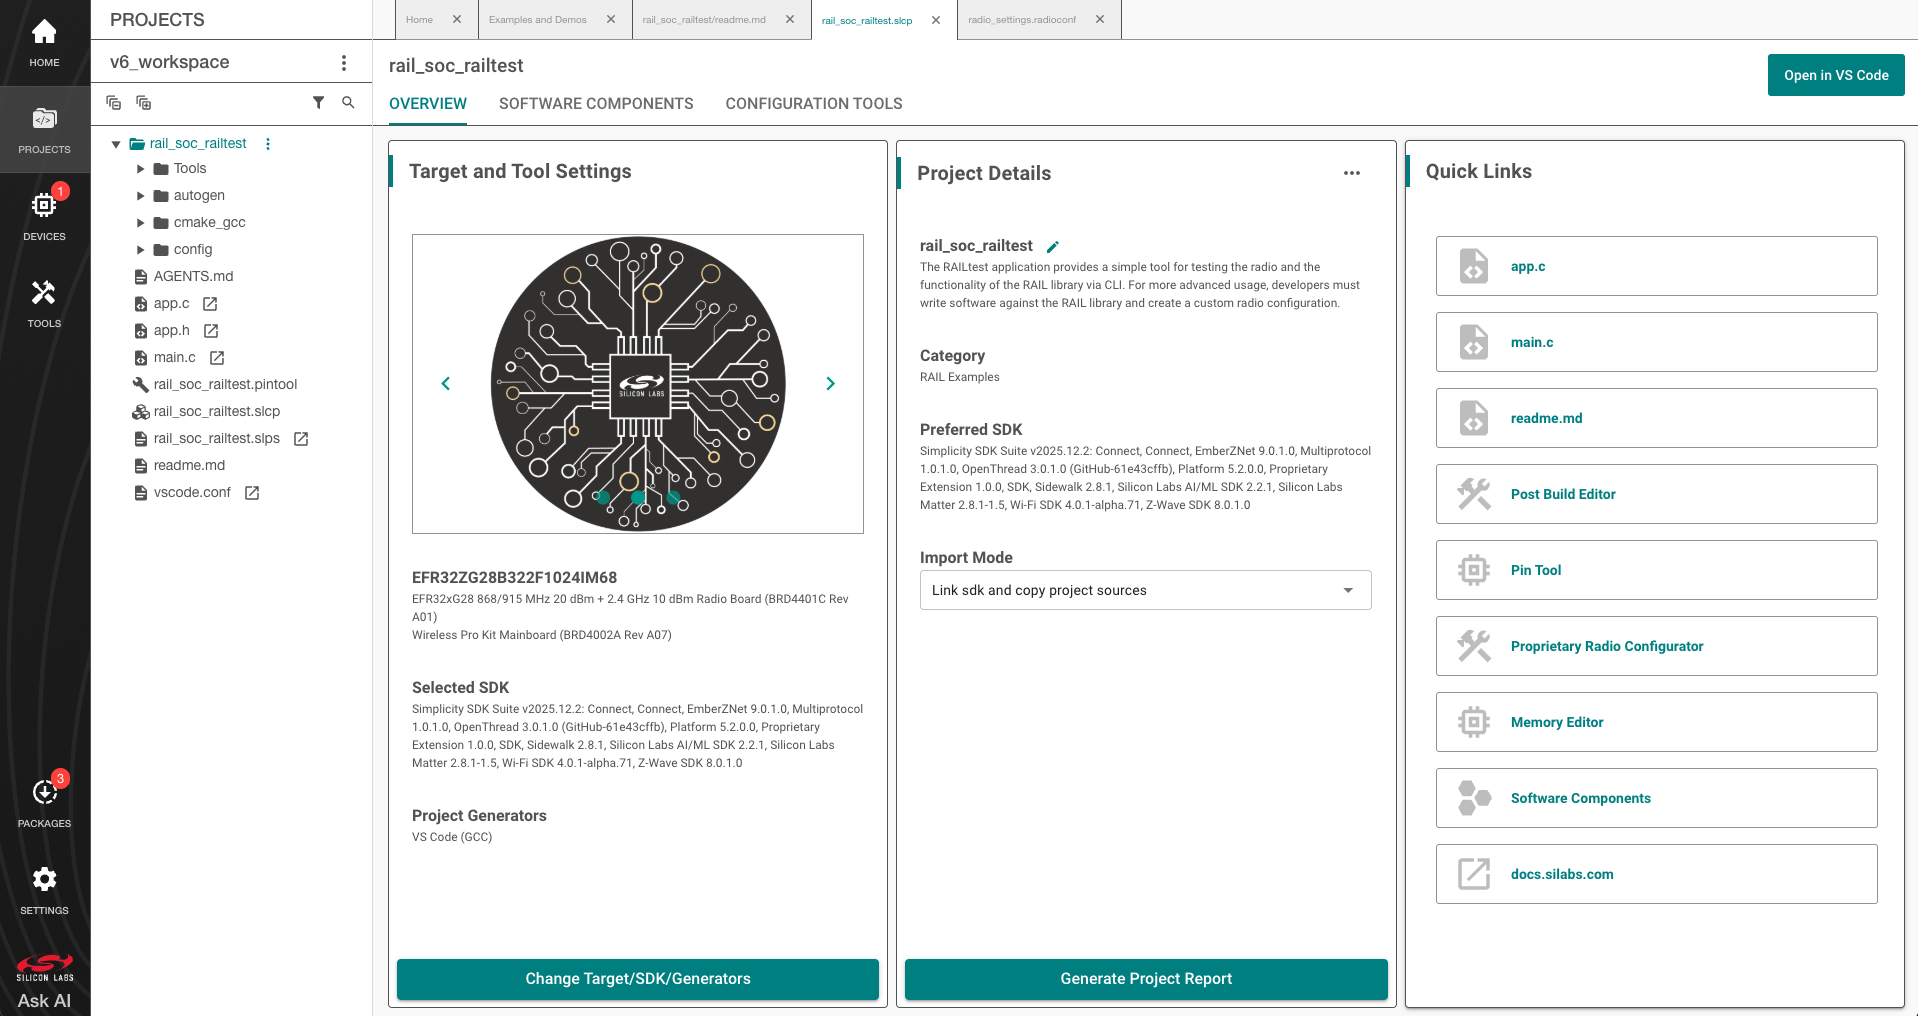
Simplicity SDK projects incorporate a Platform component-based architecture. You can install and configure software features and functions through the Component Library. The installation process performs the following actions:
Copies the corresponding SDK files from the SDK folder into the project folder.
Copies all the dependencies of the given component into the project folder.
Adds new include directories to the project settings.
Copies the configuration files into the /config folder.
Modifies the corresponding autogenerated files to integrate the component into the application.
Additionally, “init” type software components will implement the initialization code for a given component, utilizing their corresponding configuration file as input.
Some software components, such as like Parent support, will fully integrate into the application to perform a specific task without the need for any additional code. Other components provide an API for use in the application.
To view the component library, go to the SOFTWARE COMPONENTS tab.
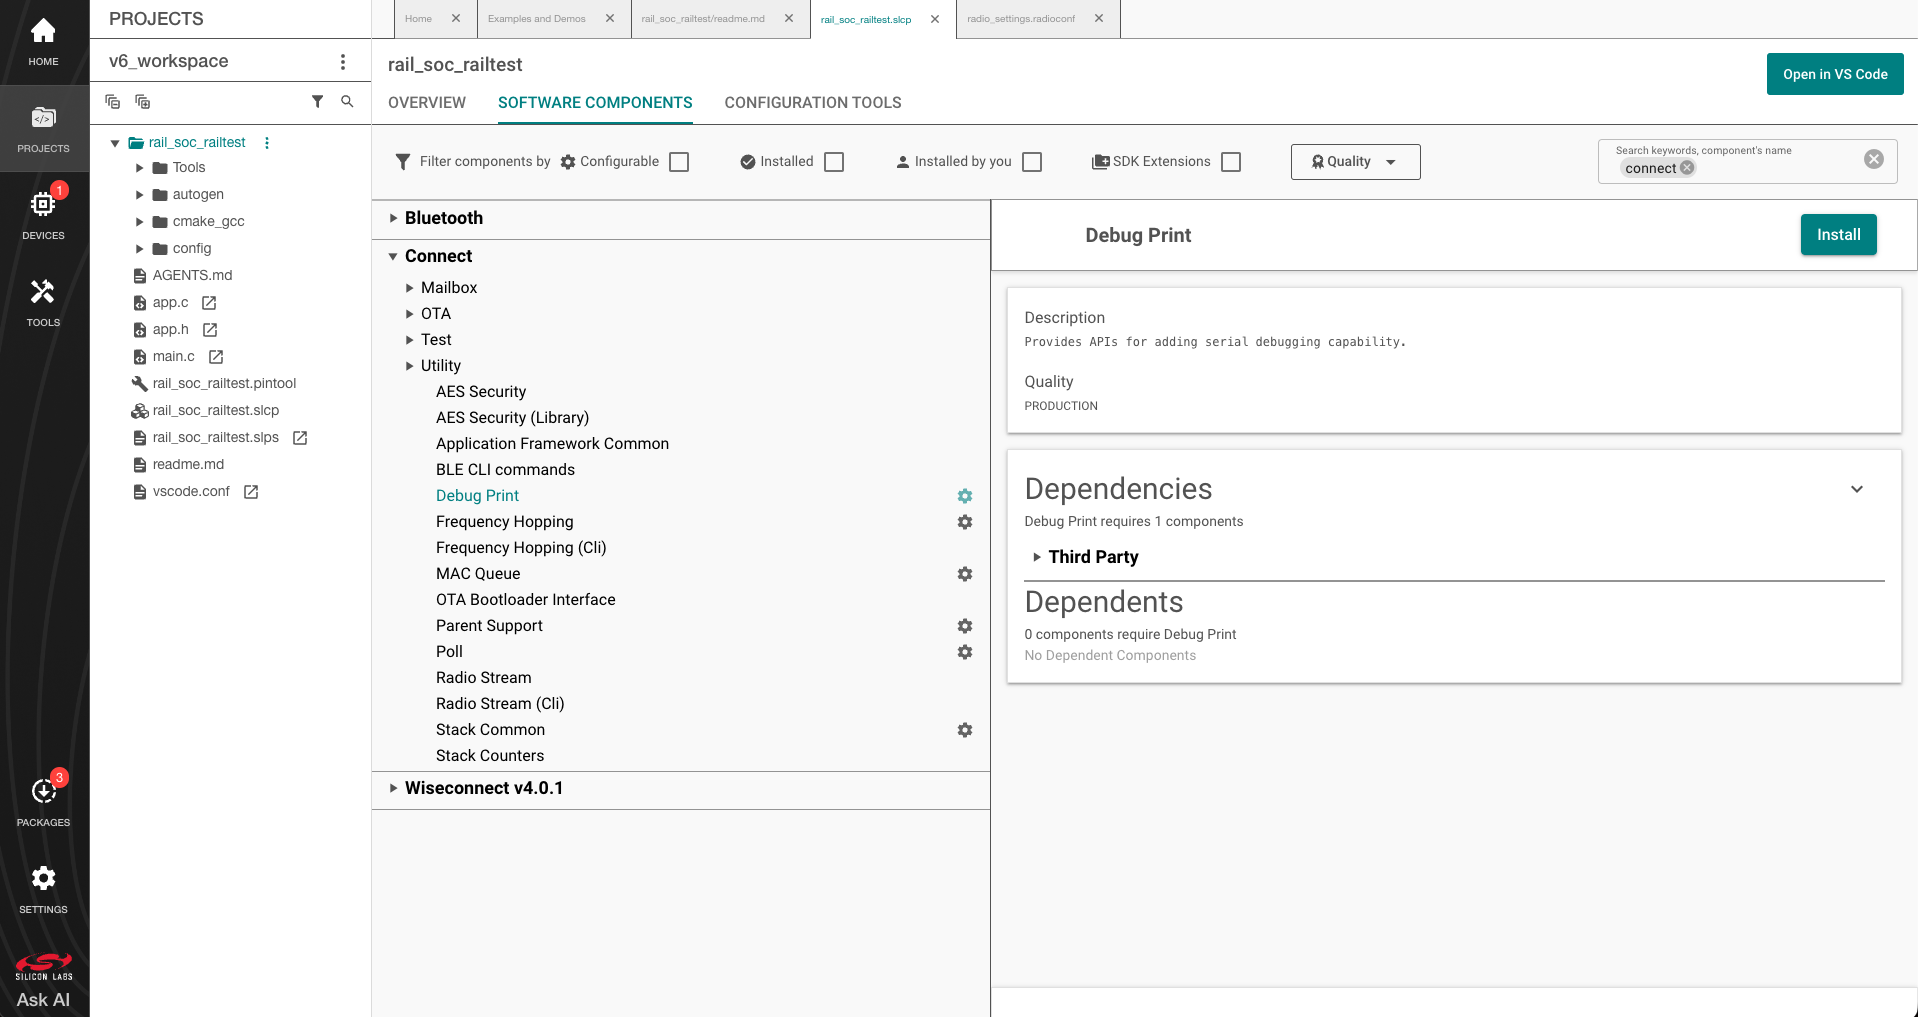
You can configure the project by installing, uninstalling, and configuring installed components. Installed components are marked with a check mark. Configurable components have a gear symbol. Select a component to view information about it. Use the available filters and keyword search to explore the component categories. Components for all installed SDKs are displayed. See the online Simplicity Studio 6 User’s Guide for details about the functionality available through the PROJECTS view and the Project Configurator.
If the component is configurable, click CONFIGURE to open the Component Editor.
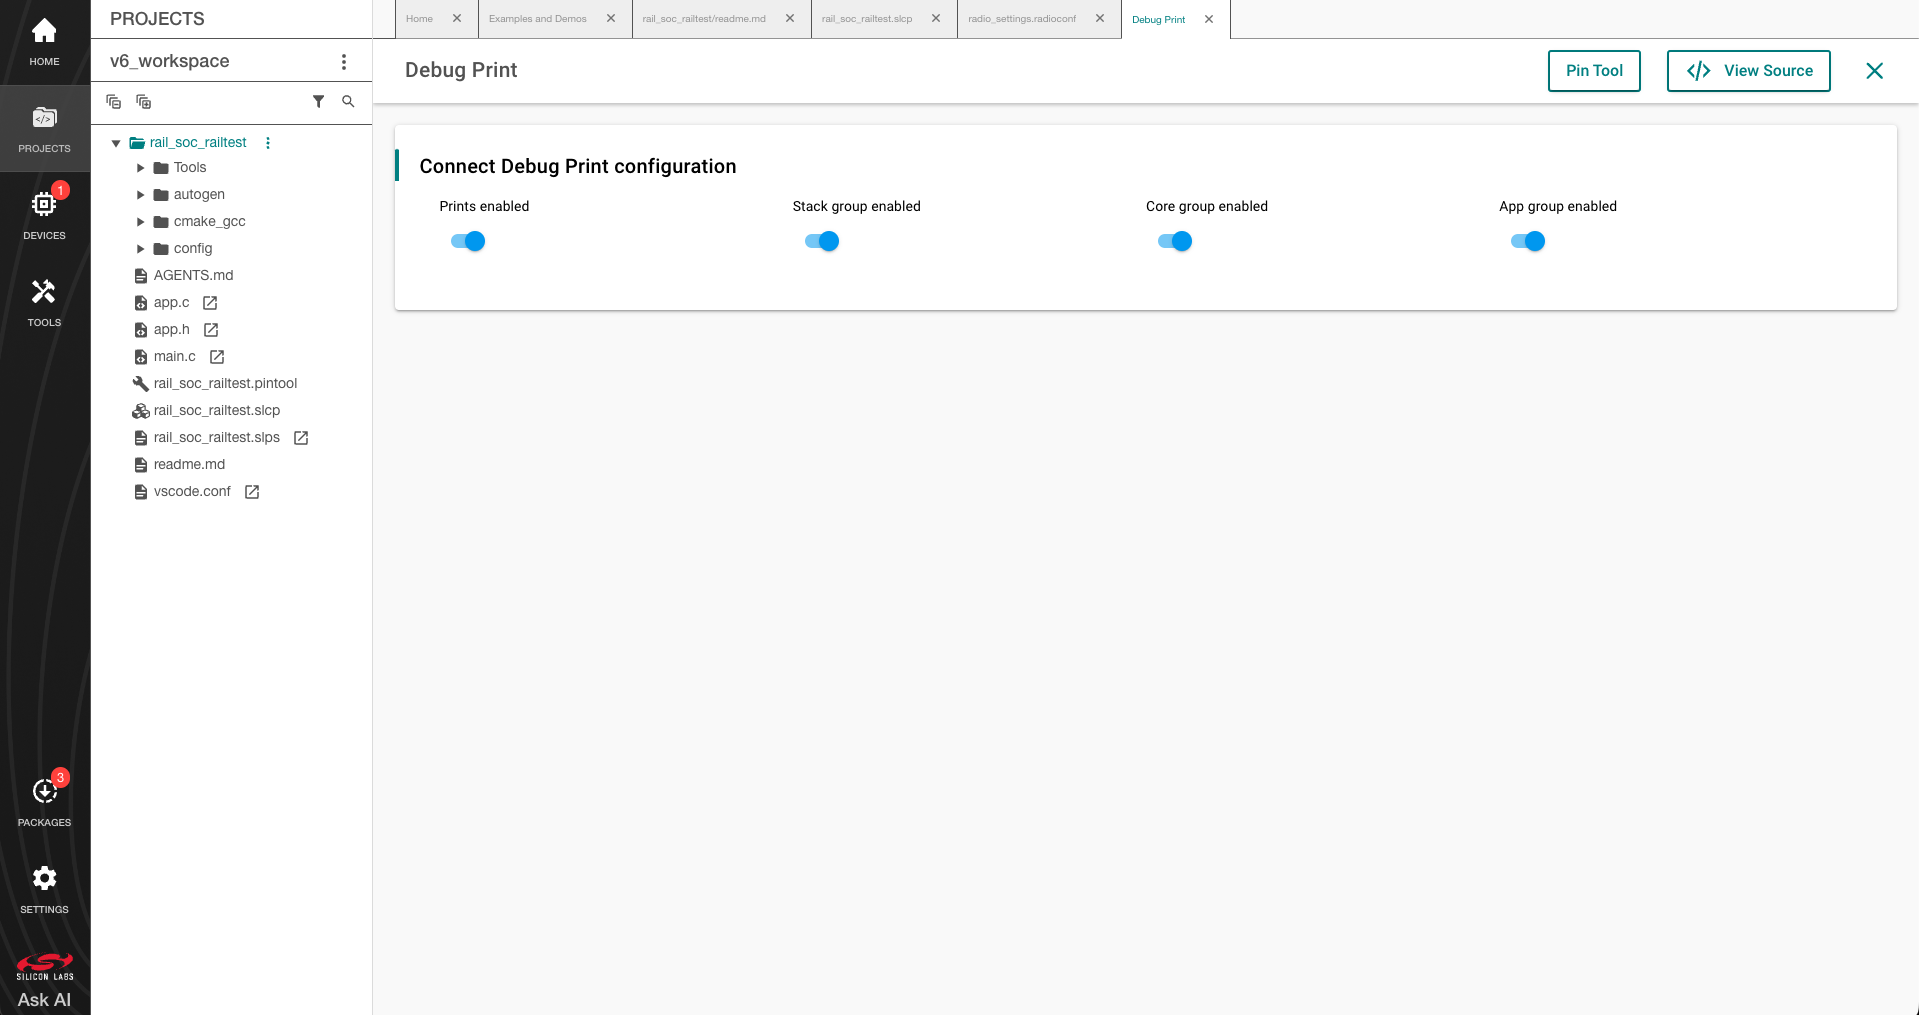
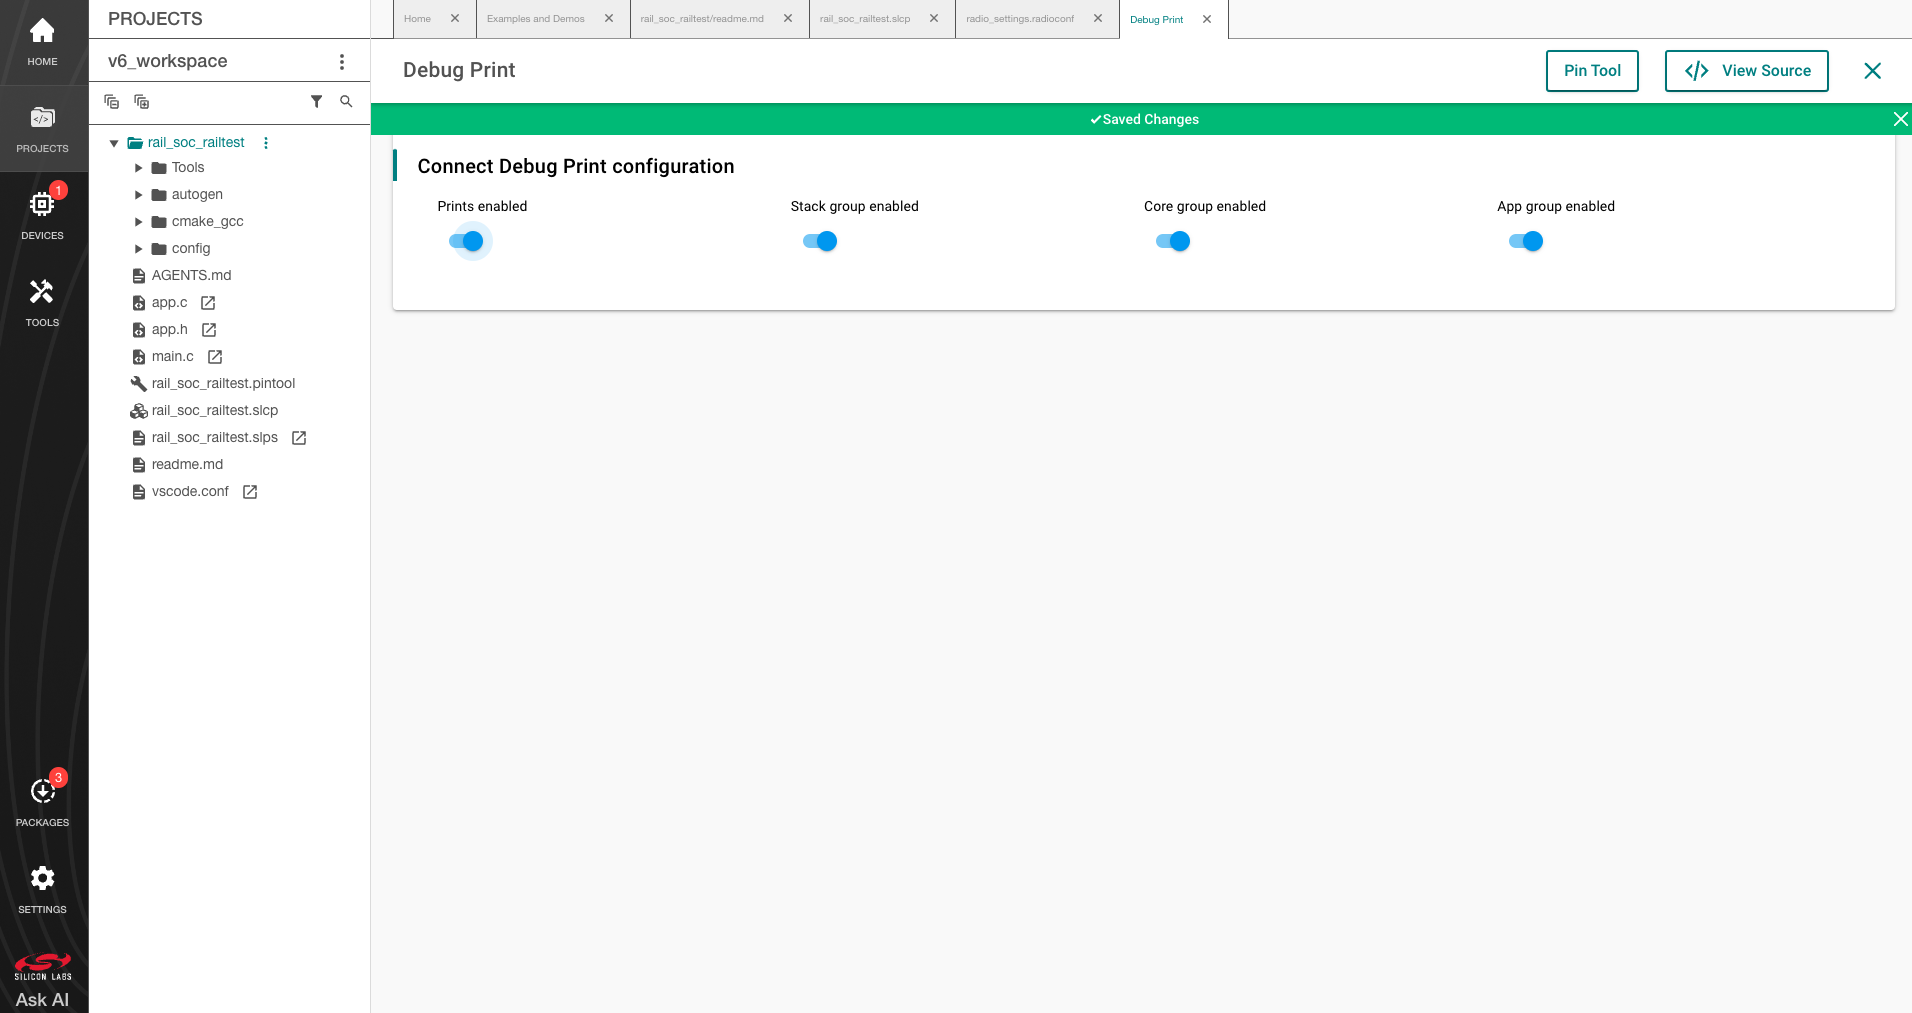
Any changes you make in the Component Editor are autosaved.
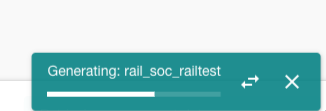
As you install and otherwise make changes in the Project Configurator, project files are autogenerated. Progress is shown in the lower right corner of the Simplicity IDE perspective.
Radio Configuration#
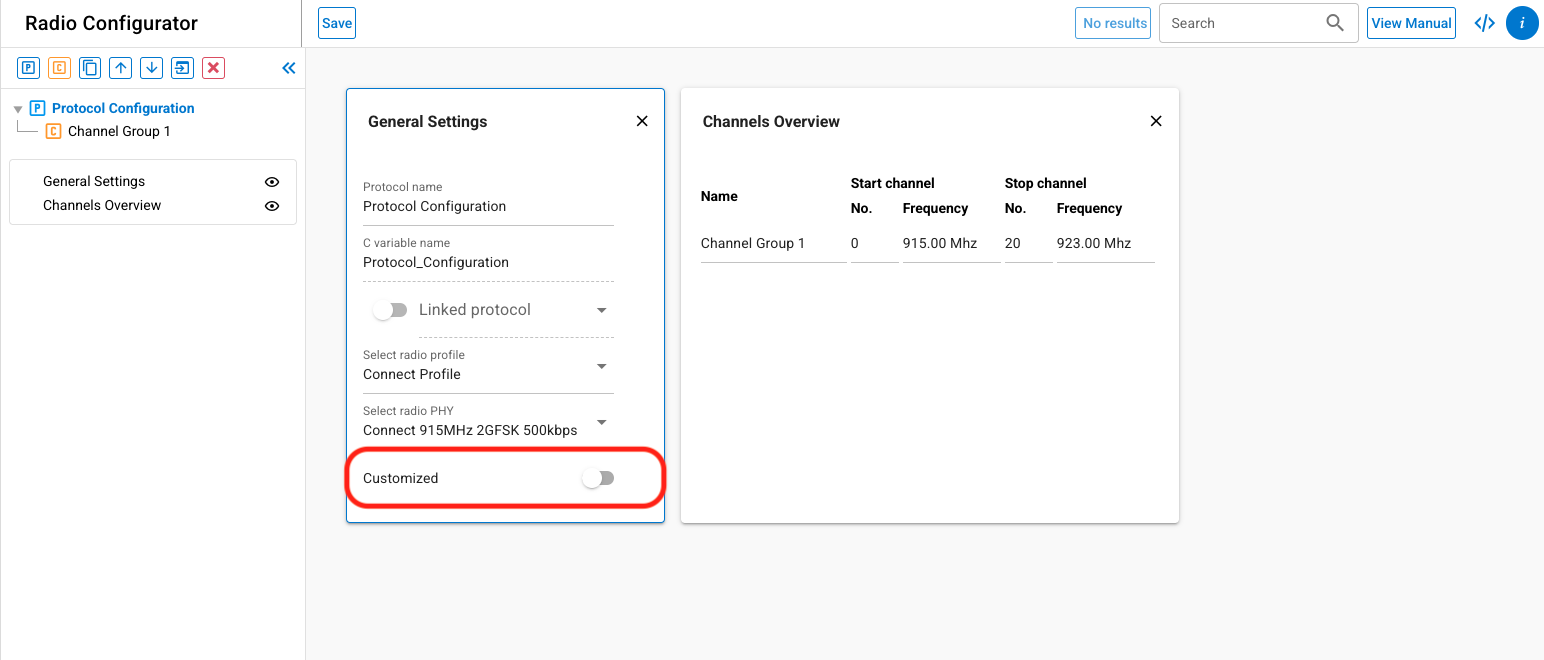
If the radio_settings.radioconf tab is not present, open the radio_settings.radioconf file in the /config/rail folder in the Radio Configurator.
Select a radio profile, and a pre-defined radio PHY of the selected profile. You can then customize the PHY by turning on Customized. Changes made in the Radio Configurator are not autosaved. When saving the changes to radio_settings.radioconf, the radio configuration will be autogenerated and saved in the /autogen/rail_config.h and /autogen/rail_config.c files. See Proprietary Radio Configurator Guide for more information on using the Radio Configurator.
Pin Tool#
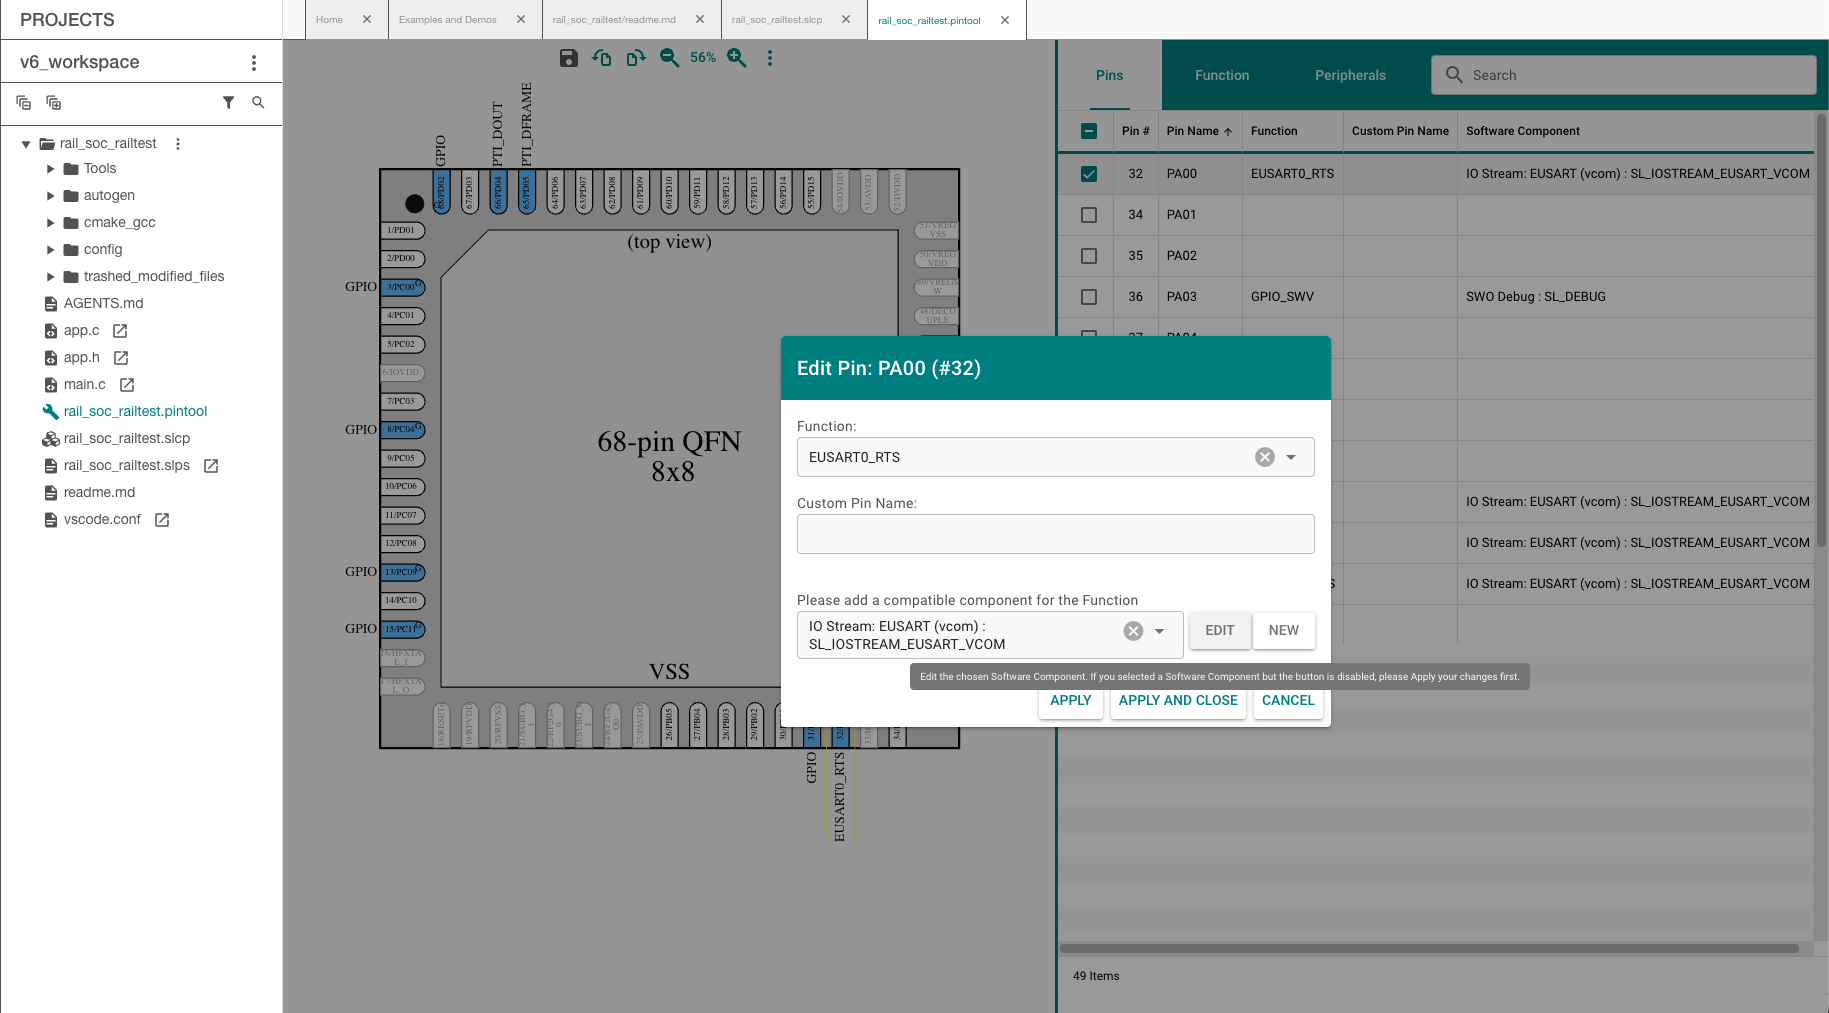
Open the <project>.pintool file in your project folder. This will open the file in the Pin Tool, which allows you to easily configure new peripherals or change the properties of existing ones.
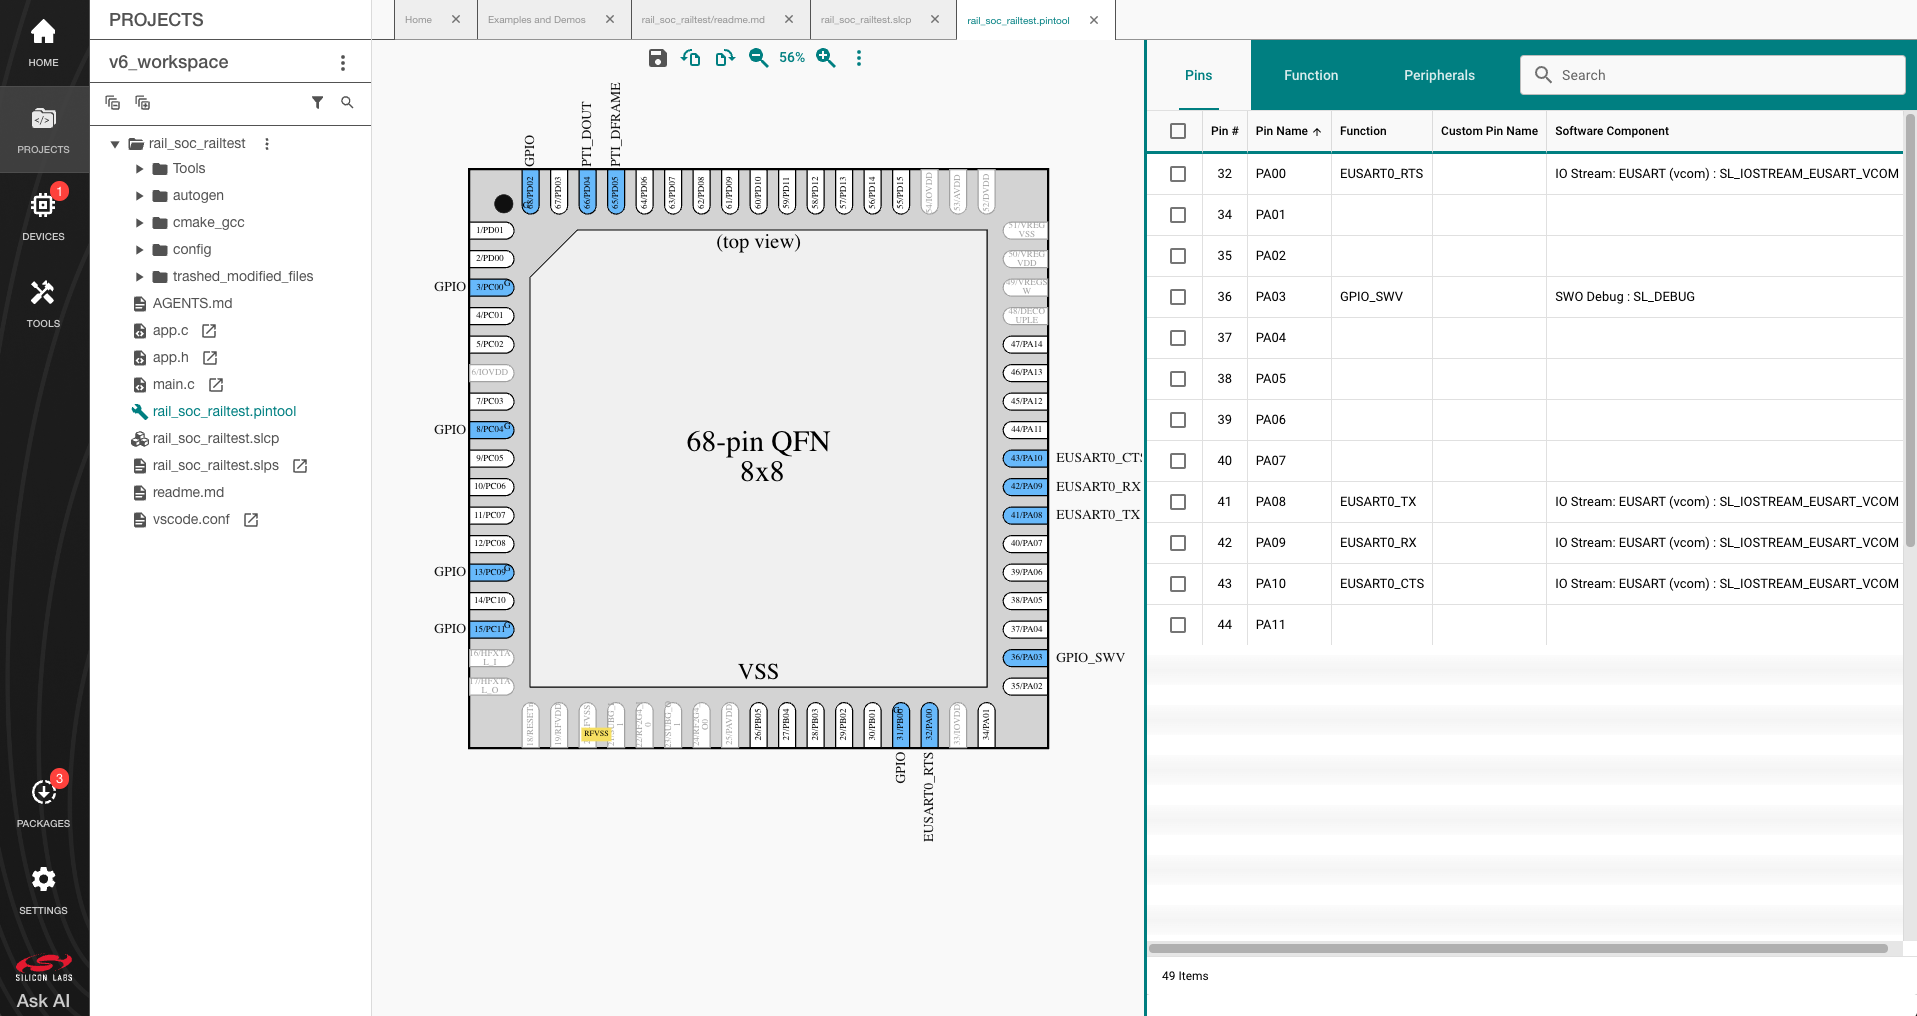
Select a pin to edit it where you can open the Component Editor and configure that function. Pin Tool does not autosave.
Compiling and Flashing the Application#
For compiling and flashing, you need to open your project in VS Code. You can do this by selecting Open in VS Code in the top right corner of the Component Editor or by double-clicking any source file of your project.
You can either compile and flash the application automatically, or manually compile it and then flash it.
Automatically Compile and Flash#
You can automatically compile and flash the application to your connected development hardware in VS Code using the Simplicity Studio for VS Code extension. Select the Flash control.
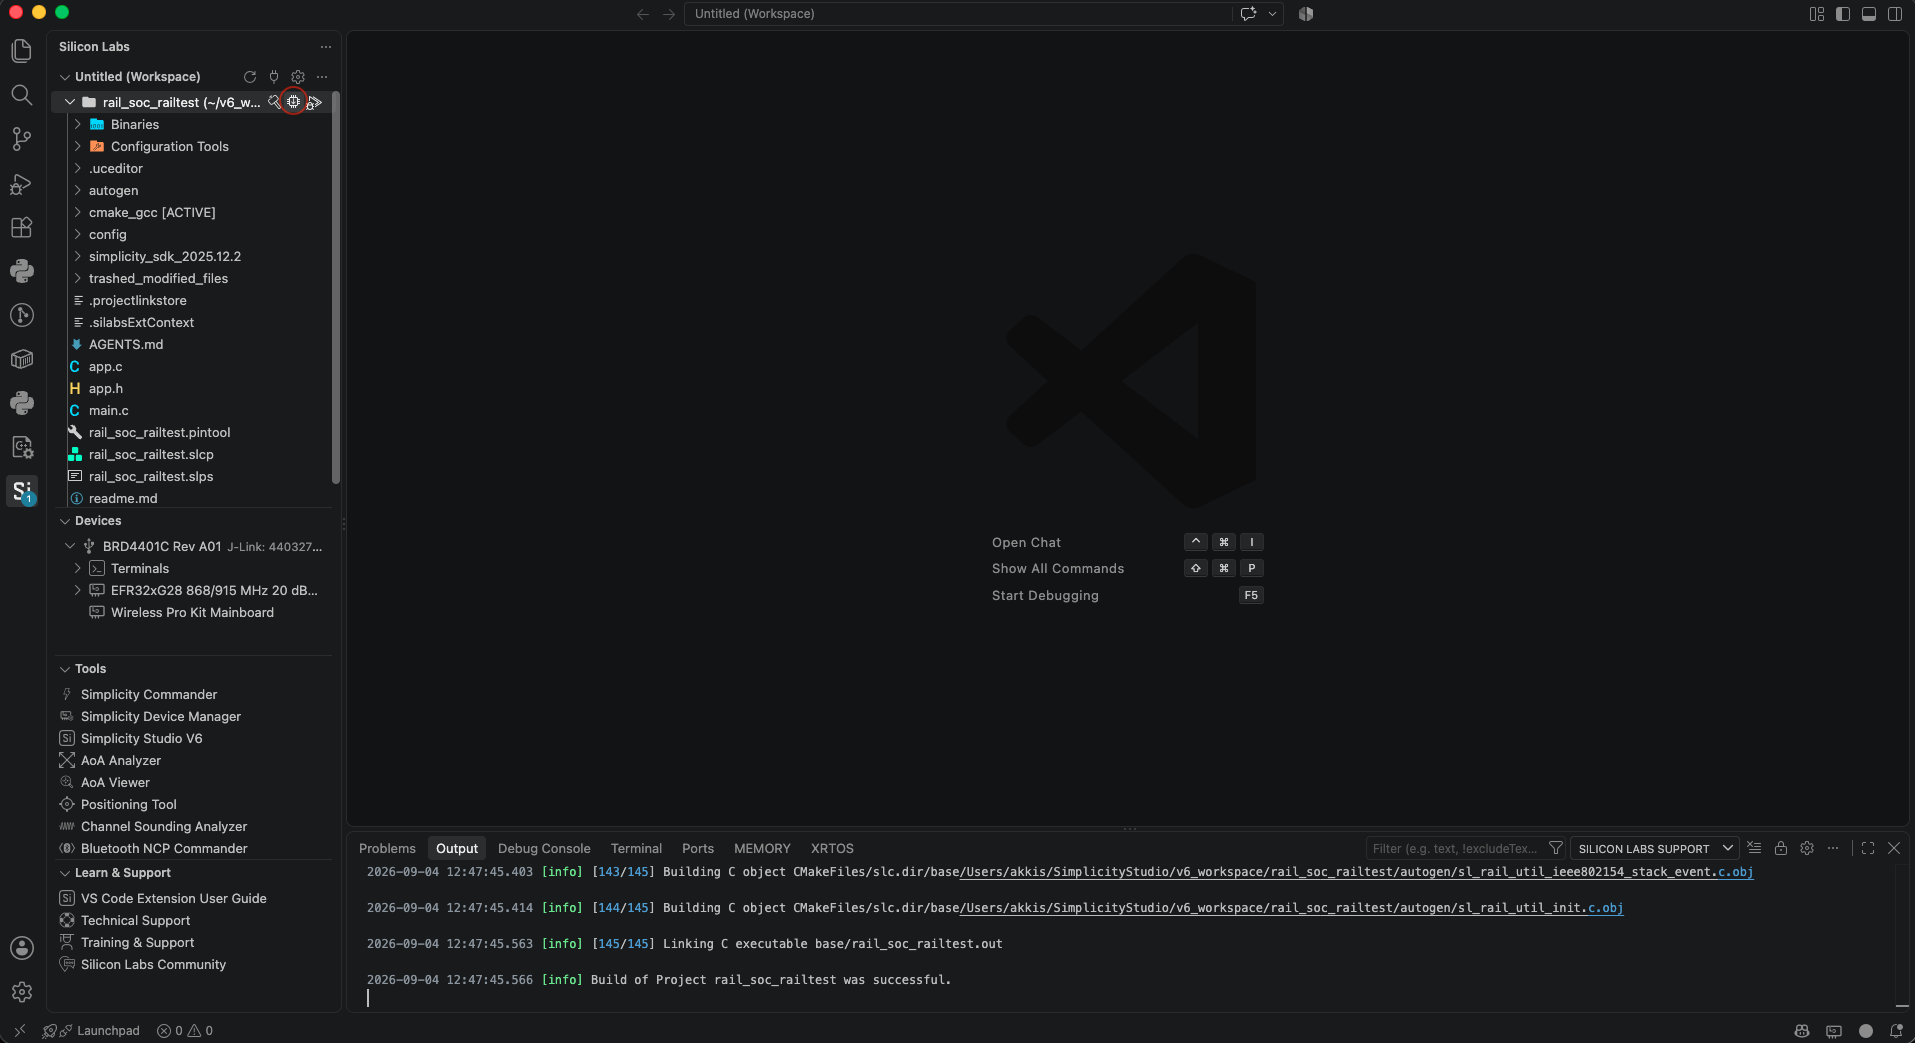
Progress is displayed in the console and a progress bar in the lower right.

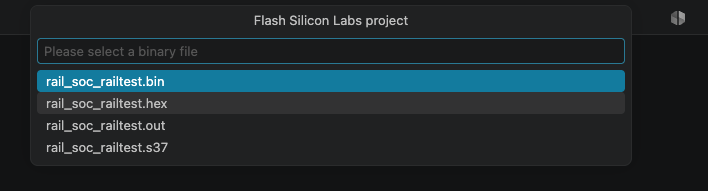
After the building process is complete, you need to select the file to flash to the device.
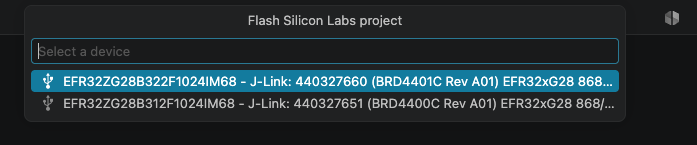
If more devices are connected, you also need to select the target device.
Manually Compile and Flash#
After you generate the project files, instead of selecting Flash in the VS Code extension, select Build control (hammer icon) in the tool bar.
The sample application will compile based on its build configuration. You can change the build configuration at any time by right-clicking the project directory and opening Open Configurators 2.0 > Build Configurator.
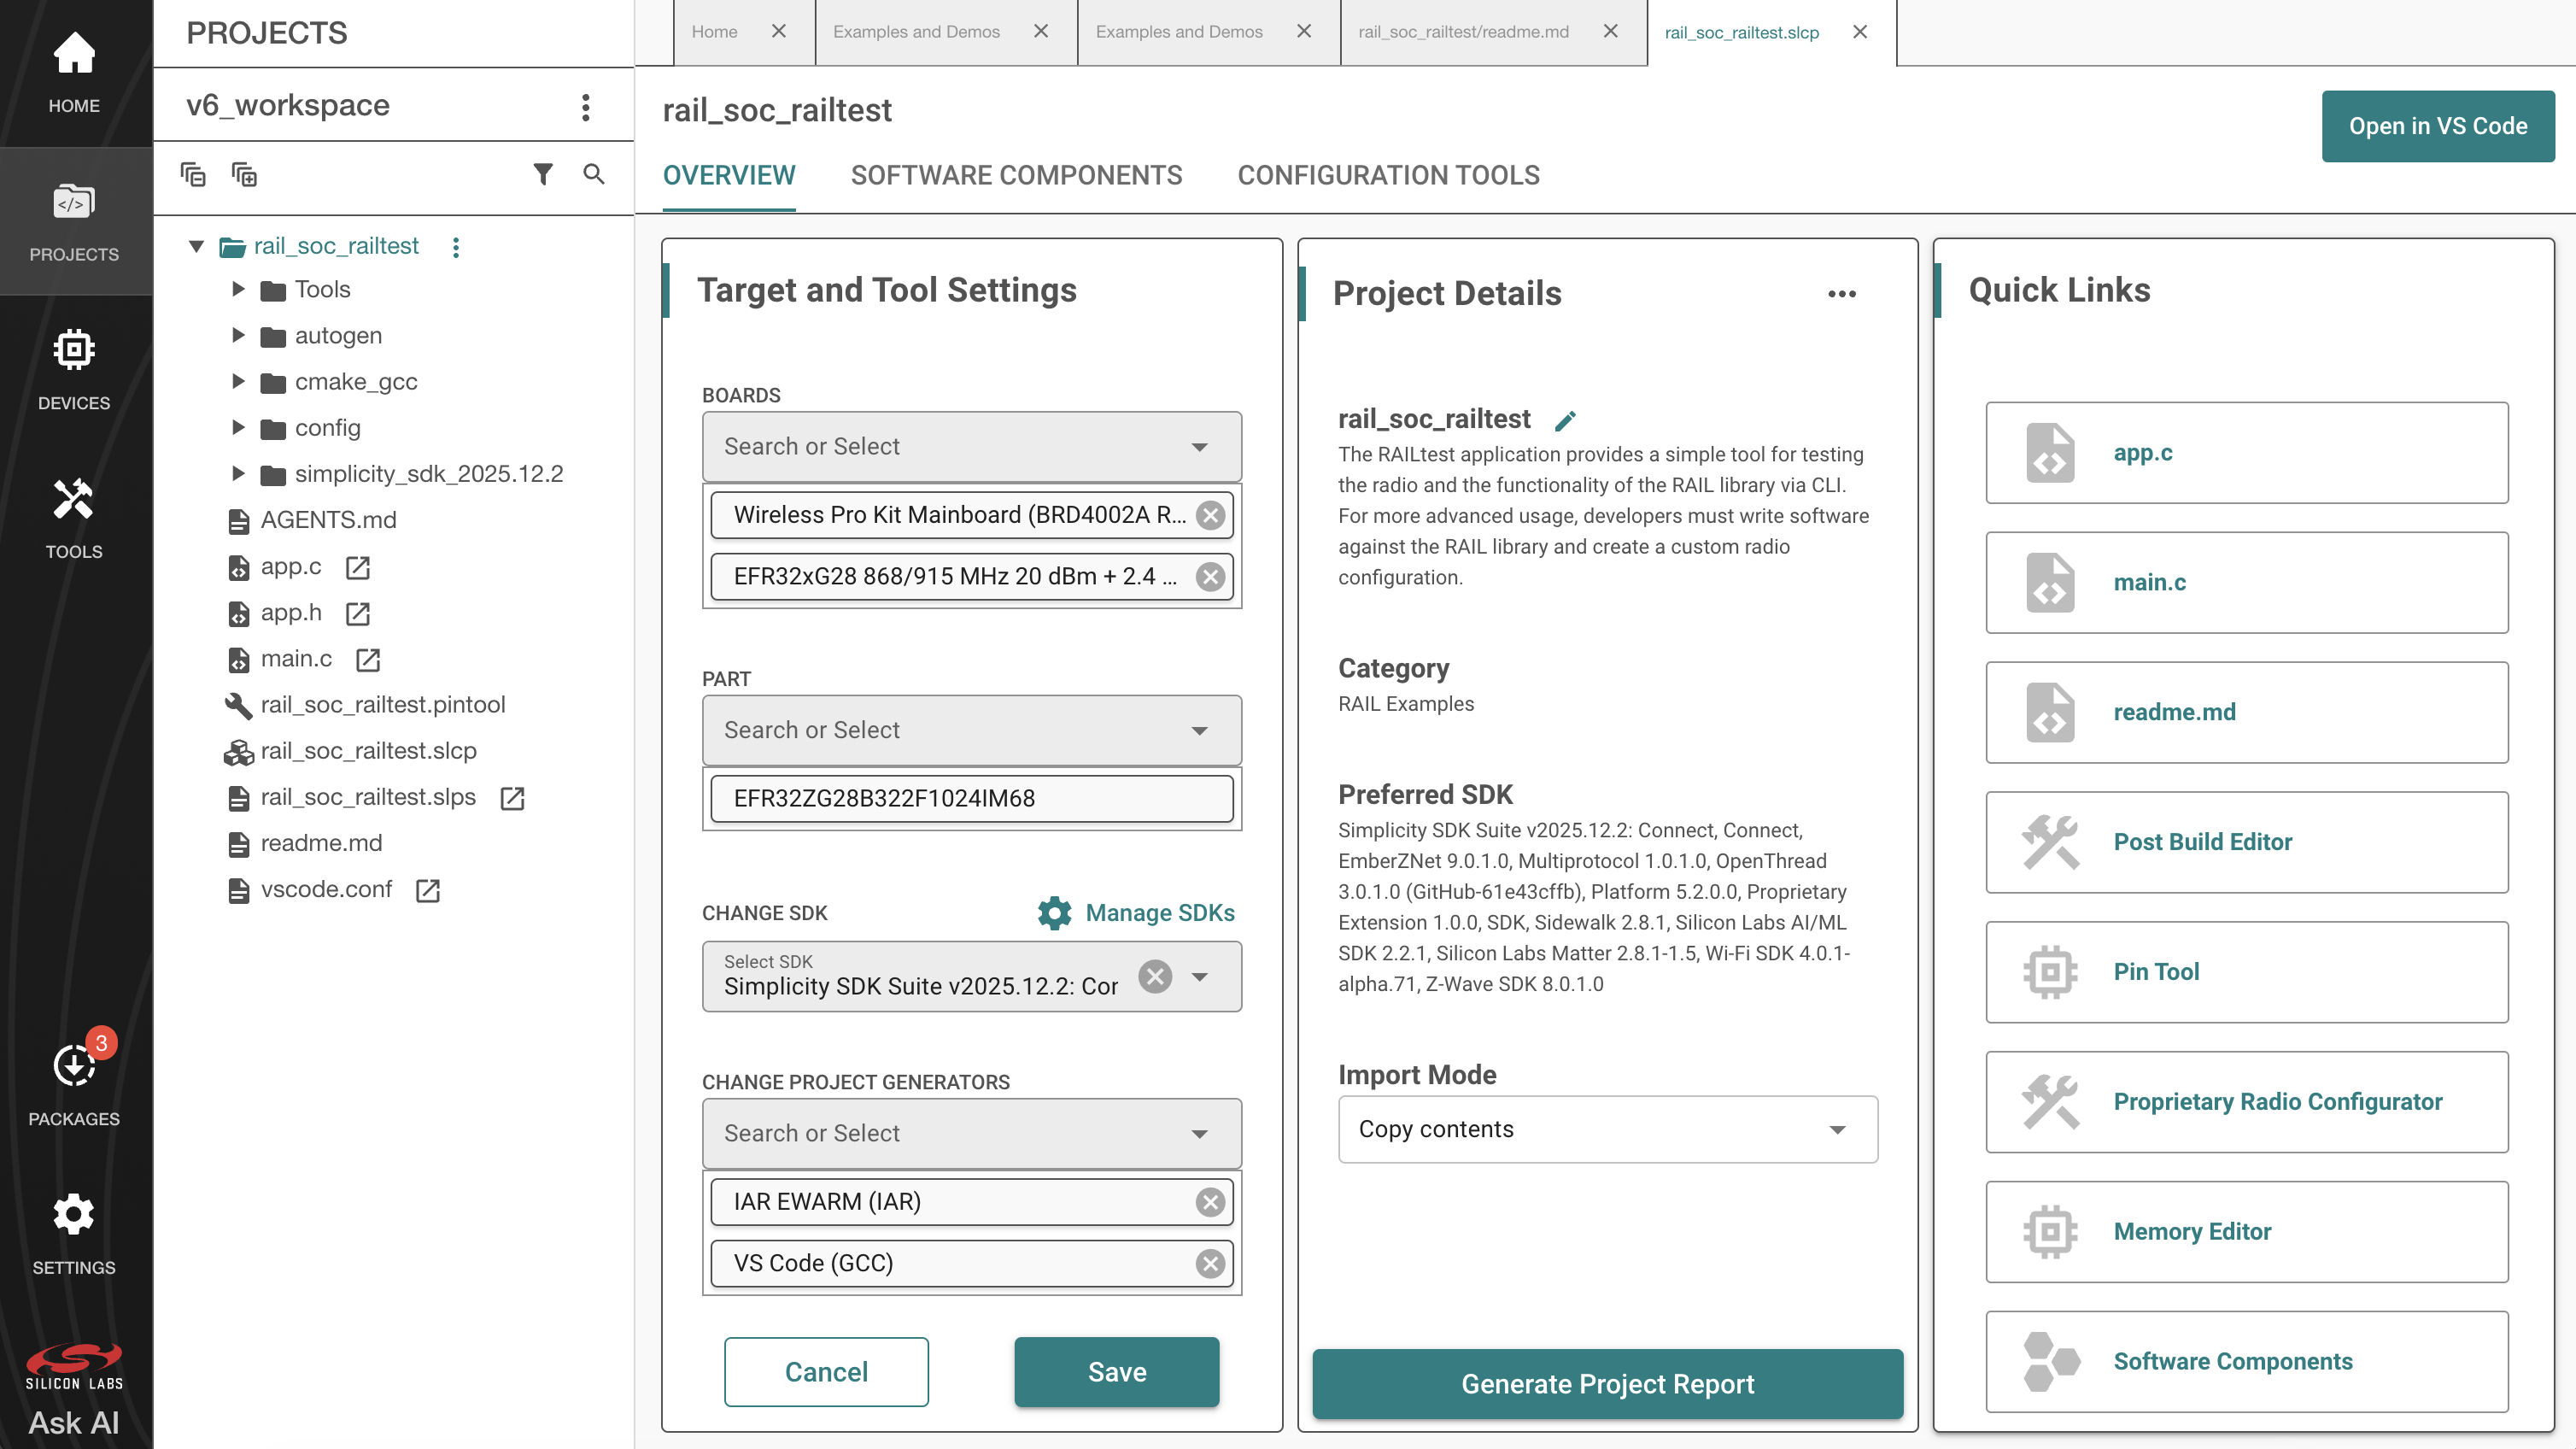
You can also build your application directly in IAR-EWARM by opening IAR-EWARM and opening the generated project file inside IAR. To generate the file for IAR EWARM, go to the OVERVIEW tab in the Project Configurator. Scroll down to the Target and Tool Settings card and select Change Target/SDK/Generators. Under CHANGE PROJECT GENERATORS, open the dropdown list and select IAR EWARM (IAR). The necessary files are created after you save the change.
Open IAR-EWARM.
Select File > Open > Workspace and navigate to the location you selected for your sample application.
Select the application .eww file and click Open.
Select Project > Make or press F7. If the application builds without errors, you are ready to install the image on a device.
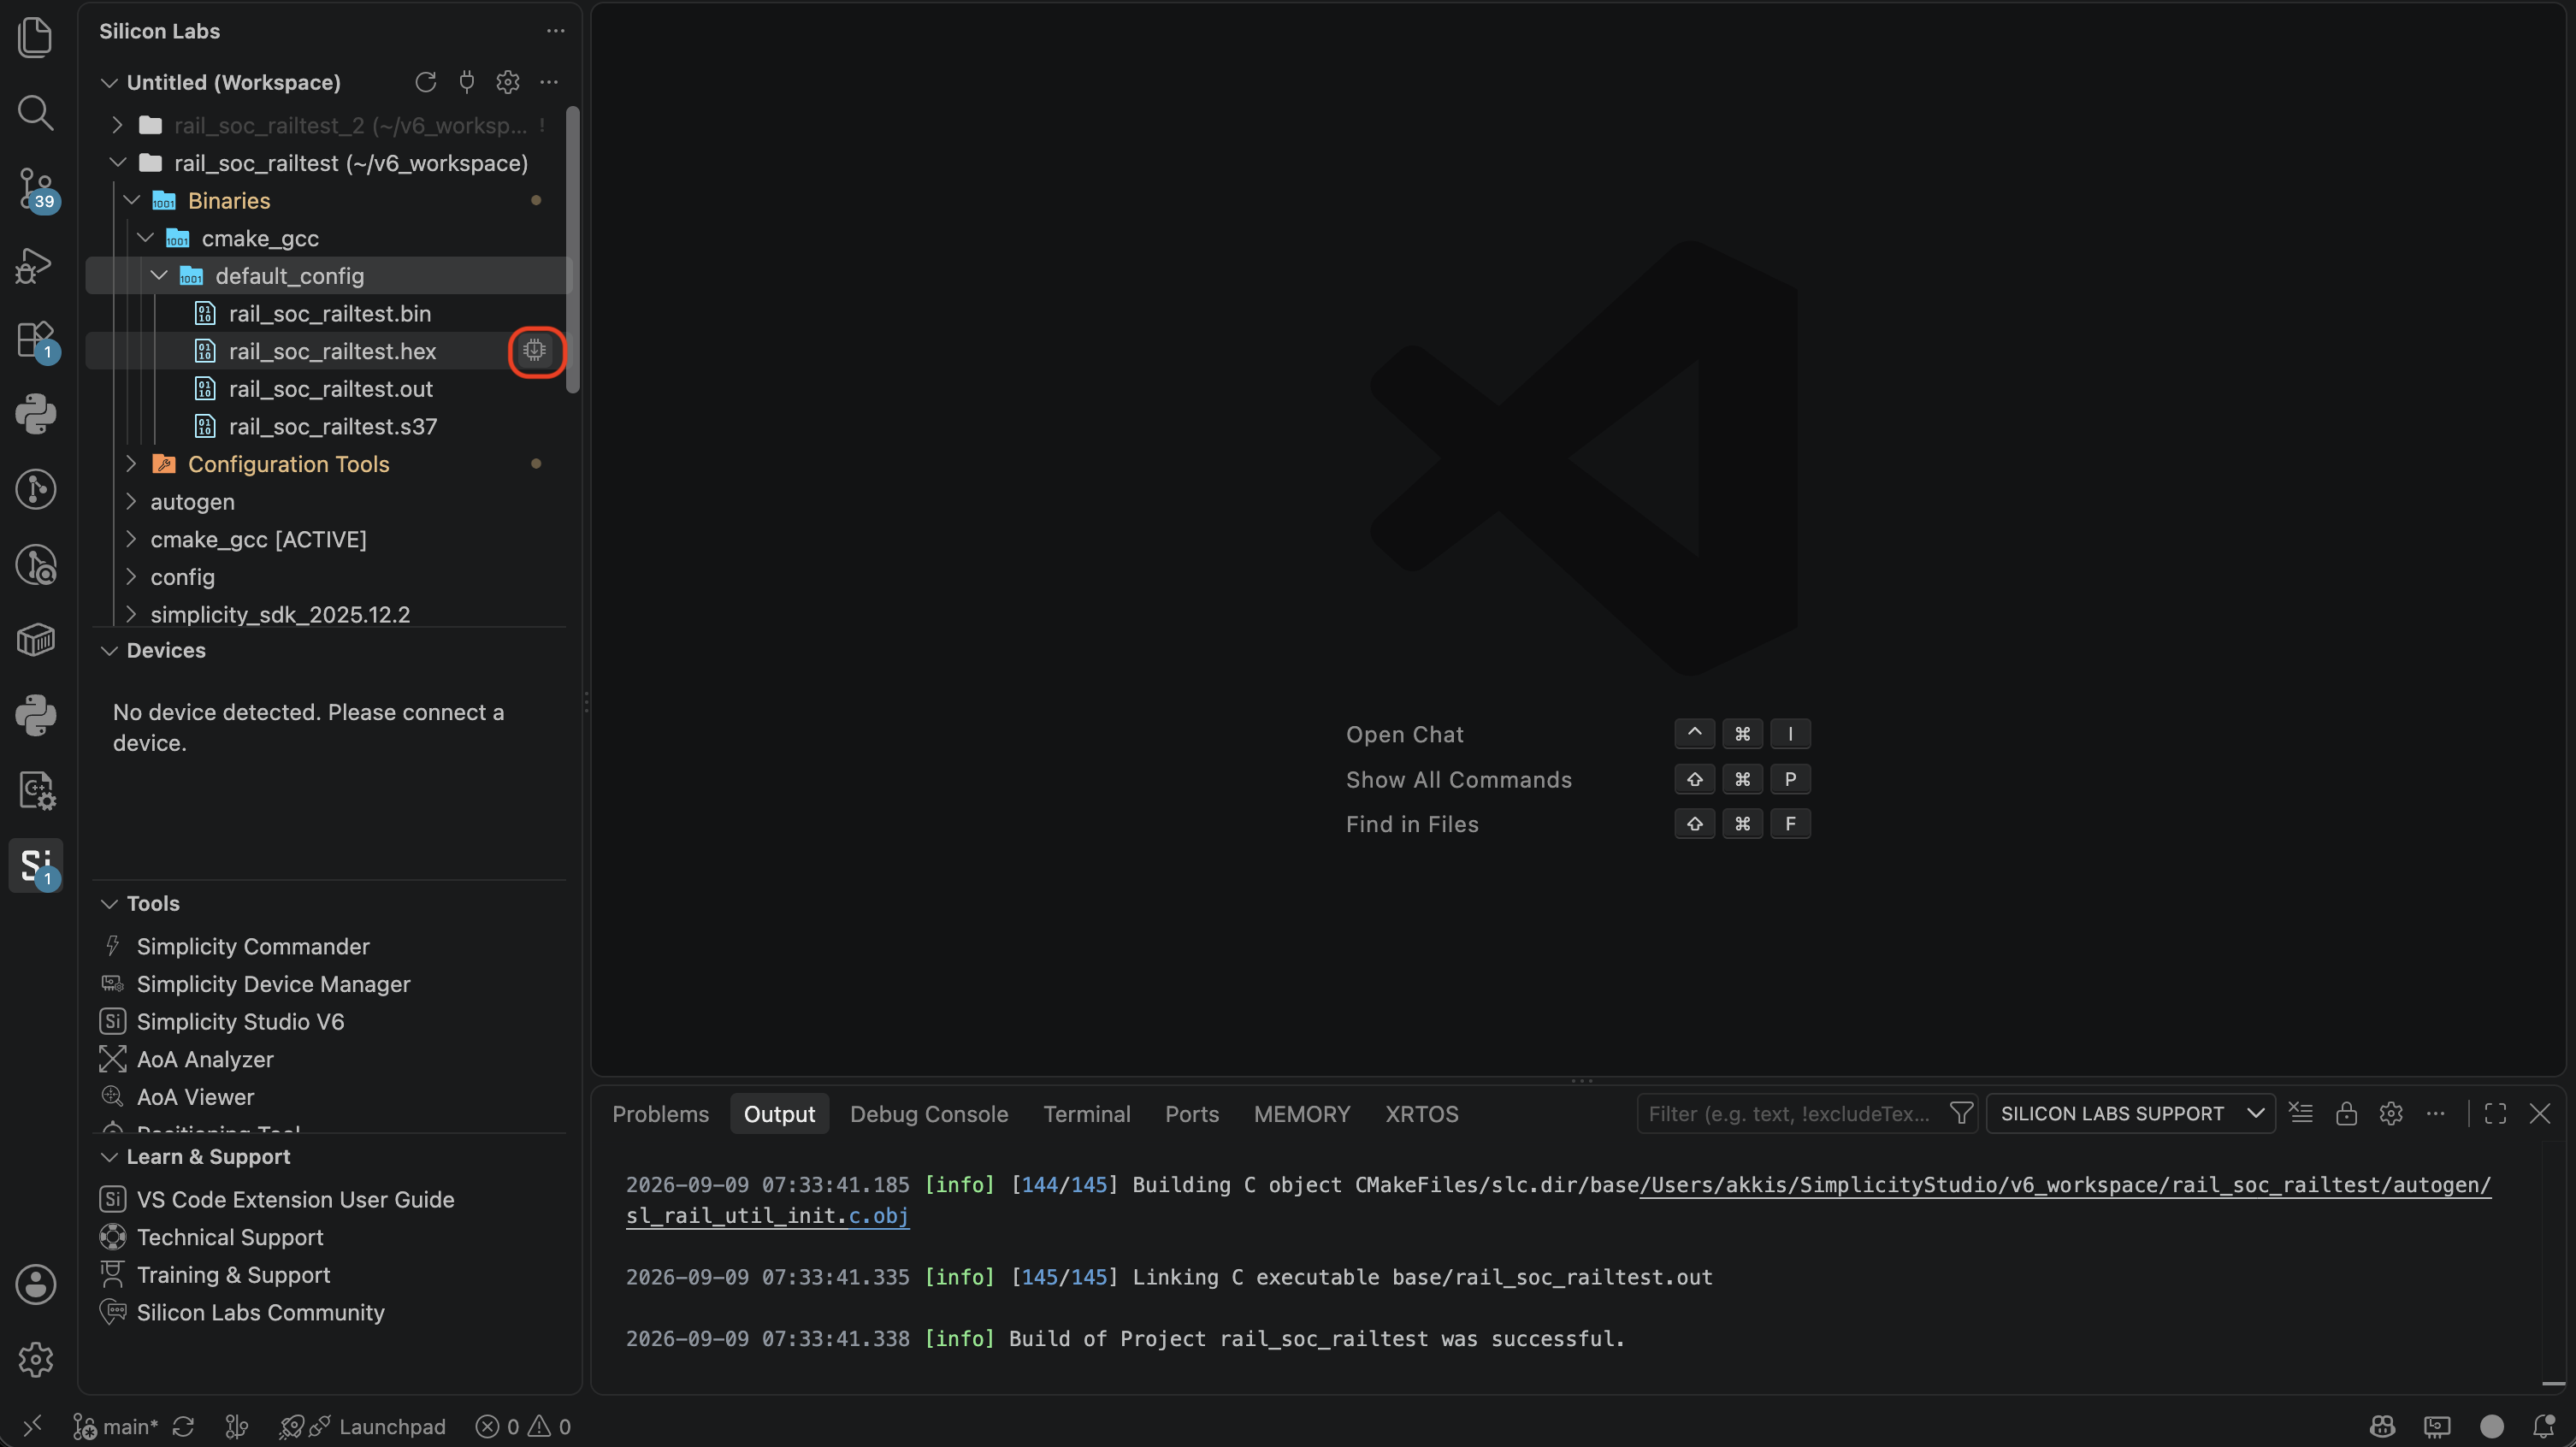
You can load the binary image through the VS Code extension. Locate the <project>.bin, .hex, or .s37 file in the Binaries subdirectory, then click the Flash icon.
Debugging in VS Code#
When the build is complete, use the Debug control in the toolbar. This will flash the example to your device and start the debugging process. Select the Continue control to run the application on the device.
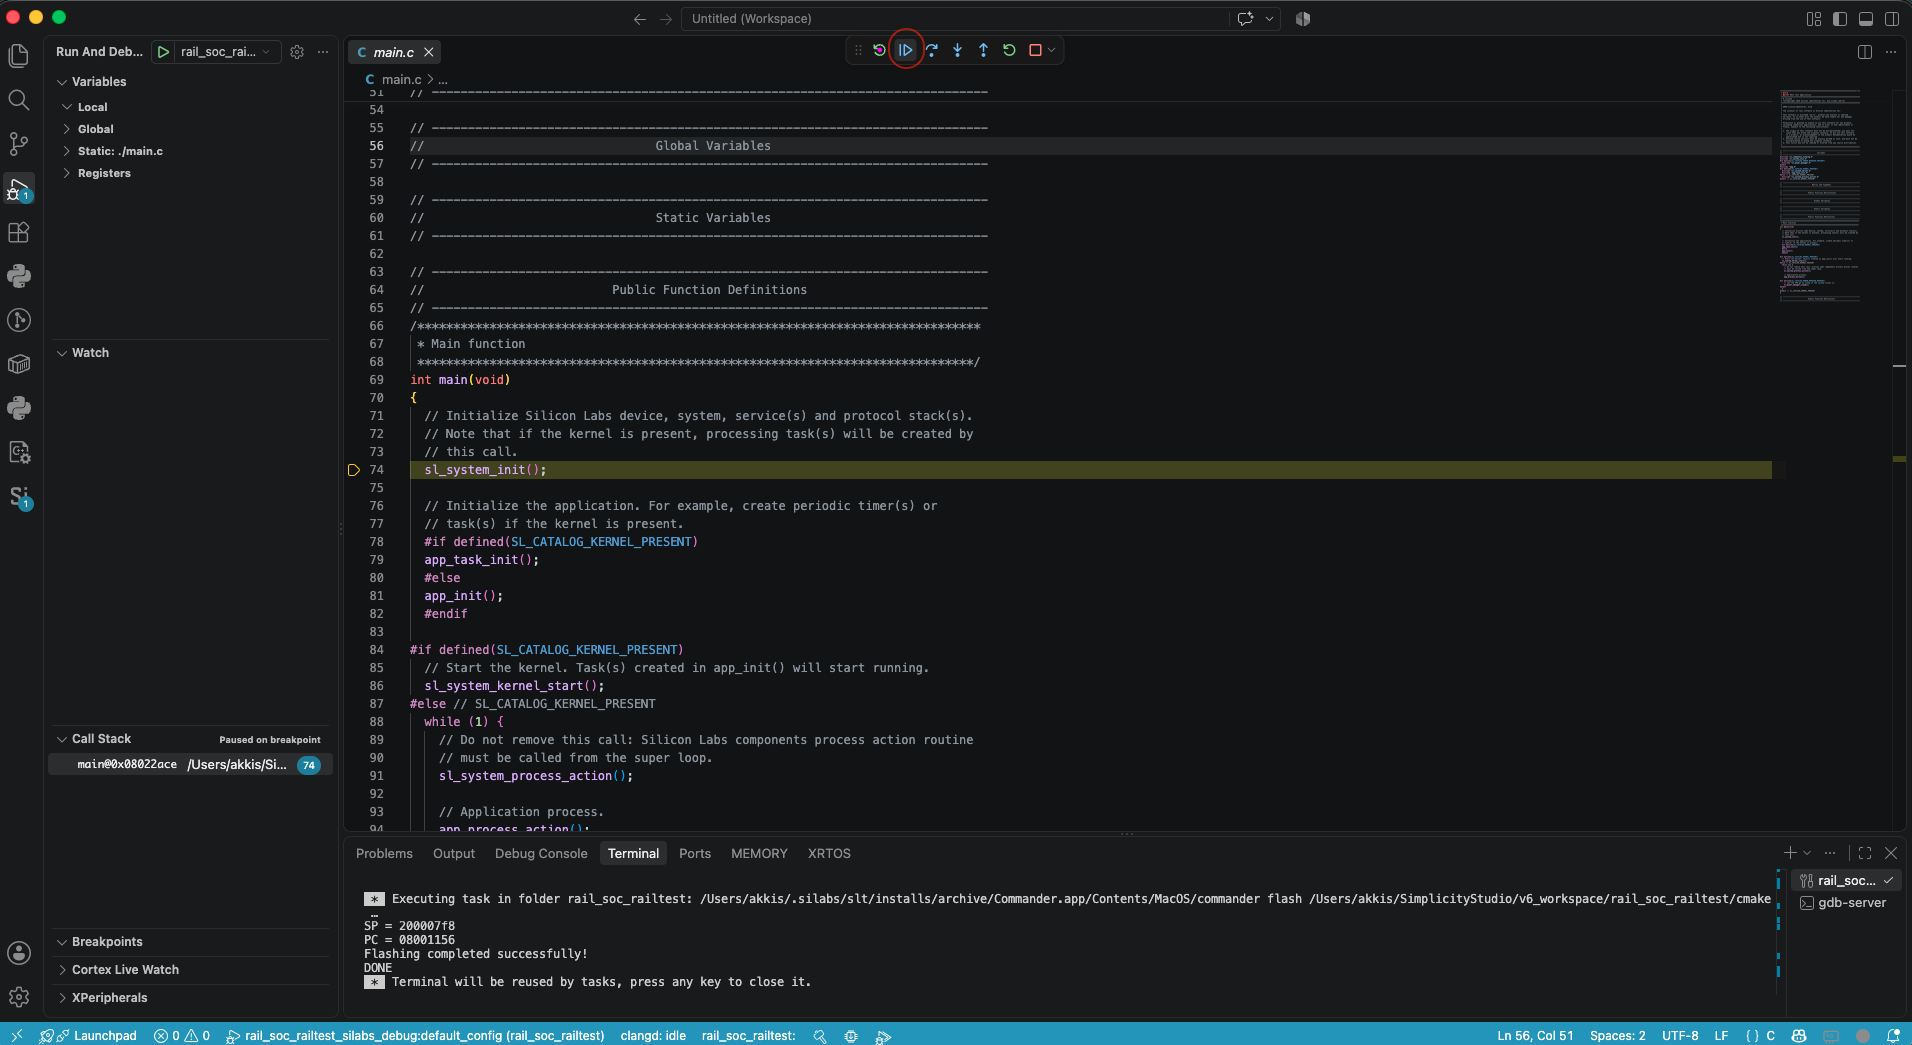
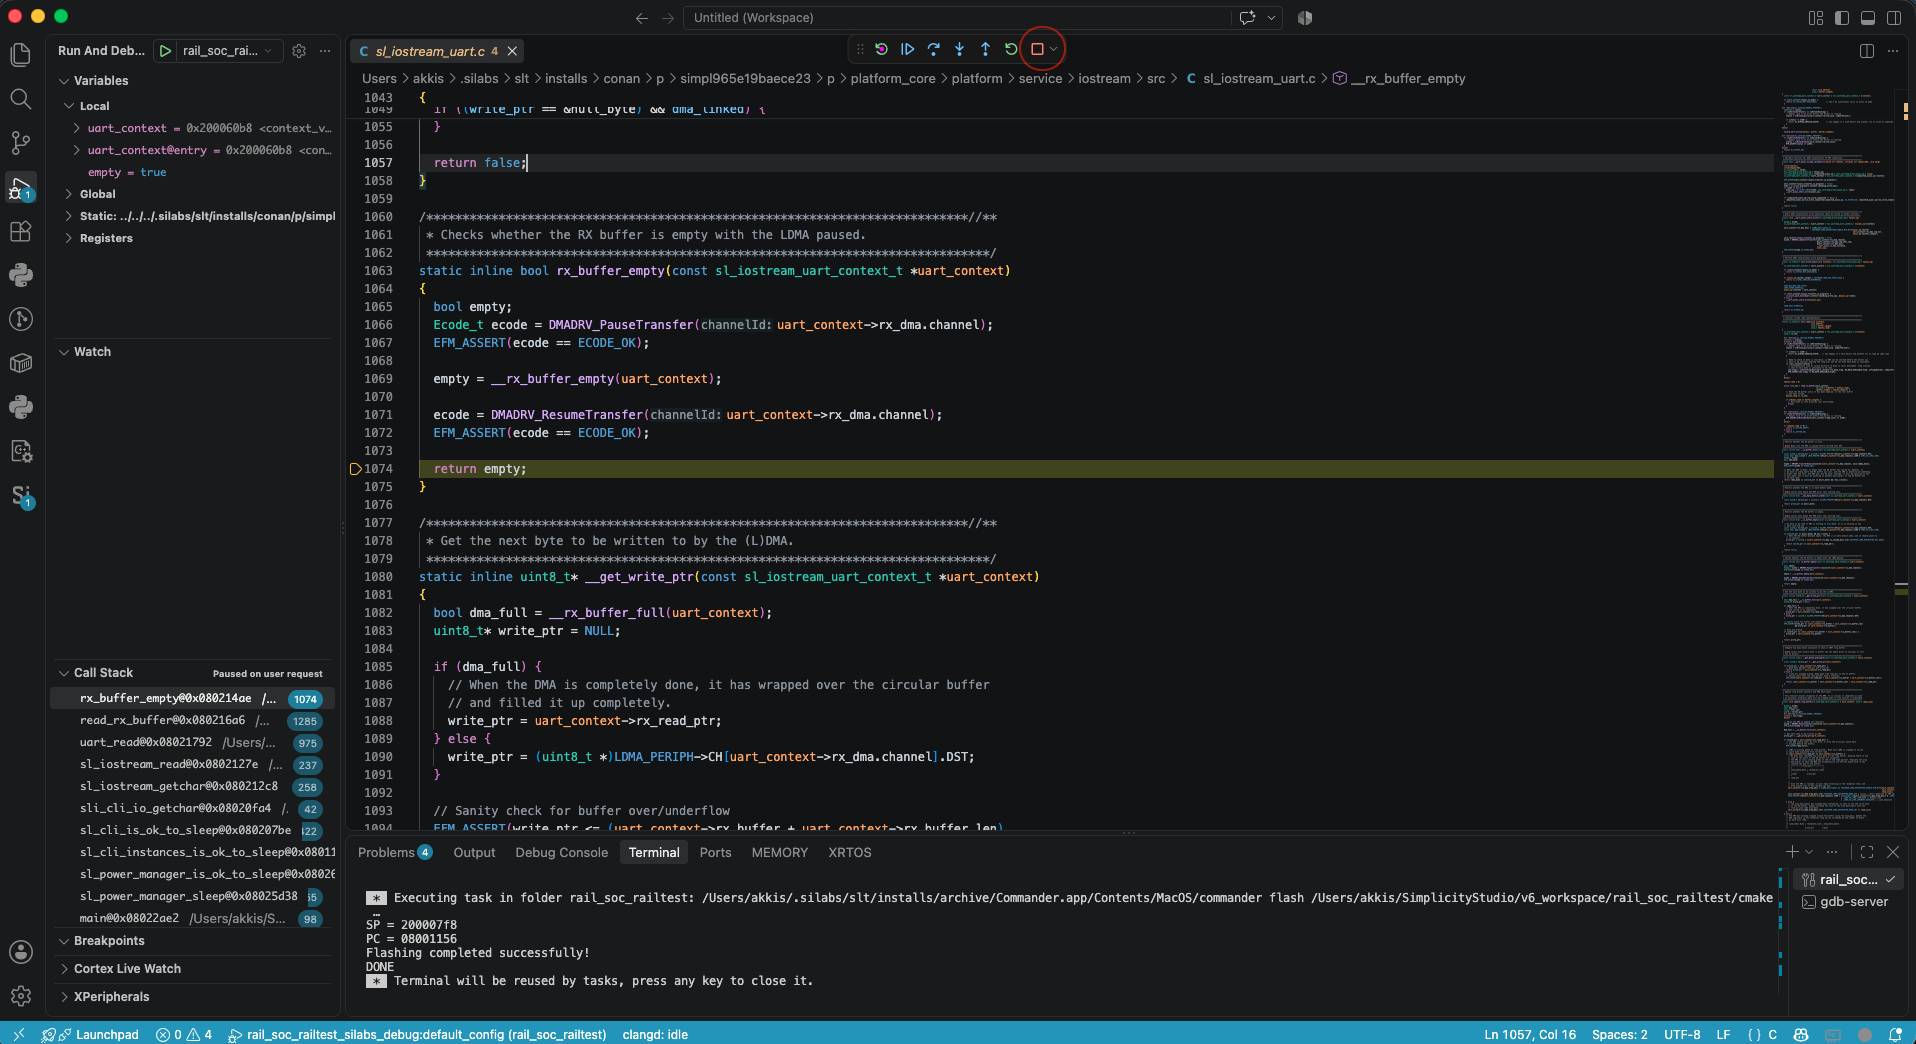
Next to the Continue control are Restart, Stop, Reset Device, and stepping controls. When the application is running, the Continue control changes to a Pause control. Select Stop when you're ready to exit Debug mode.
Interacting with Examples#
Depending on the example application, you may be able to interact with it through buttons, LEDs and the LCD of the mainboard, and through your development environment’s Console interface using a Command Line Interpreter (CLI).
To launch the Console interface, select vcom under the Terminals list of your connected device in the Simplicity Studio for VS Code.
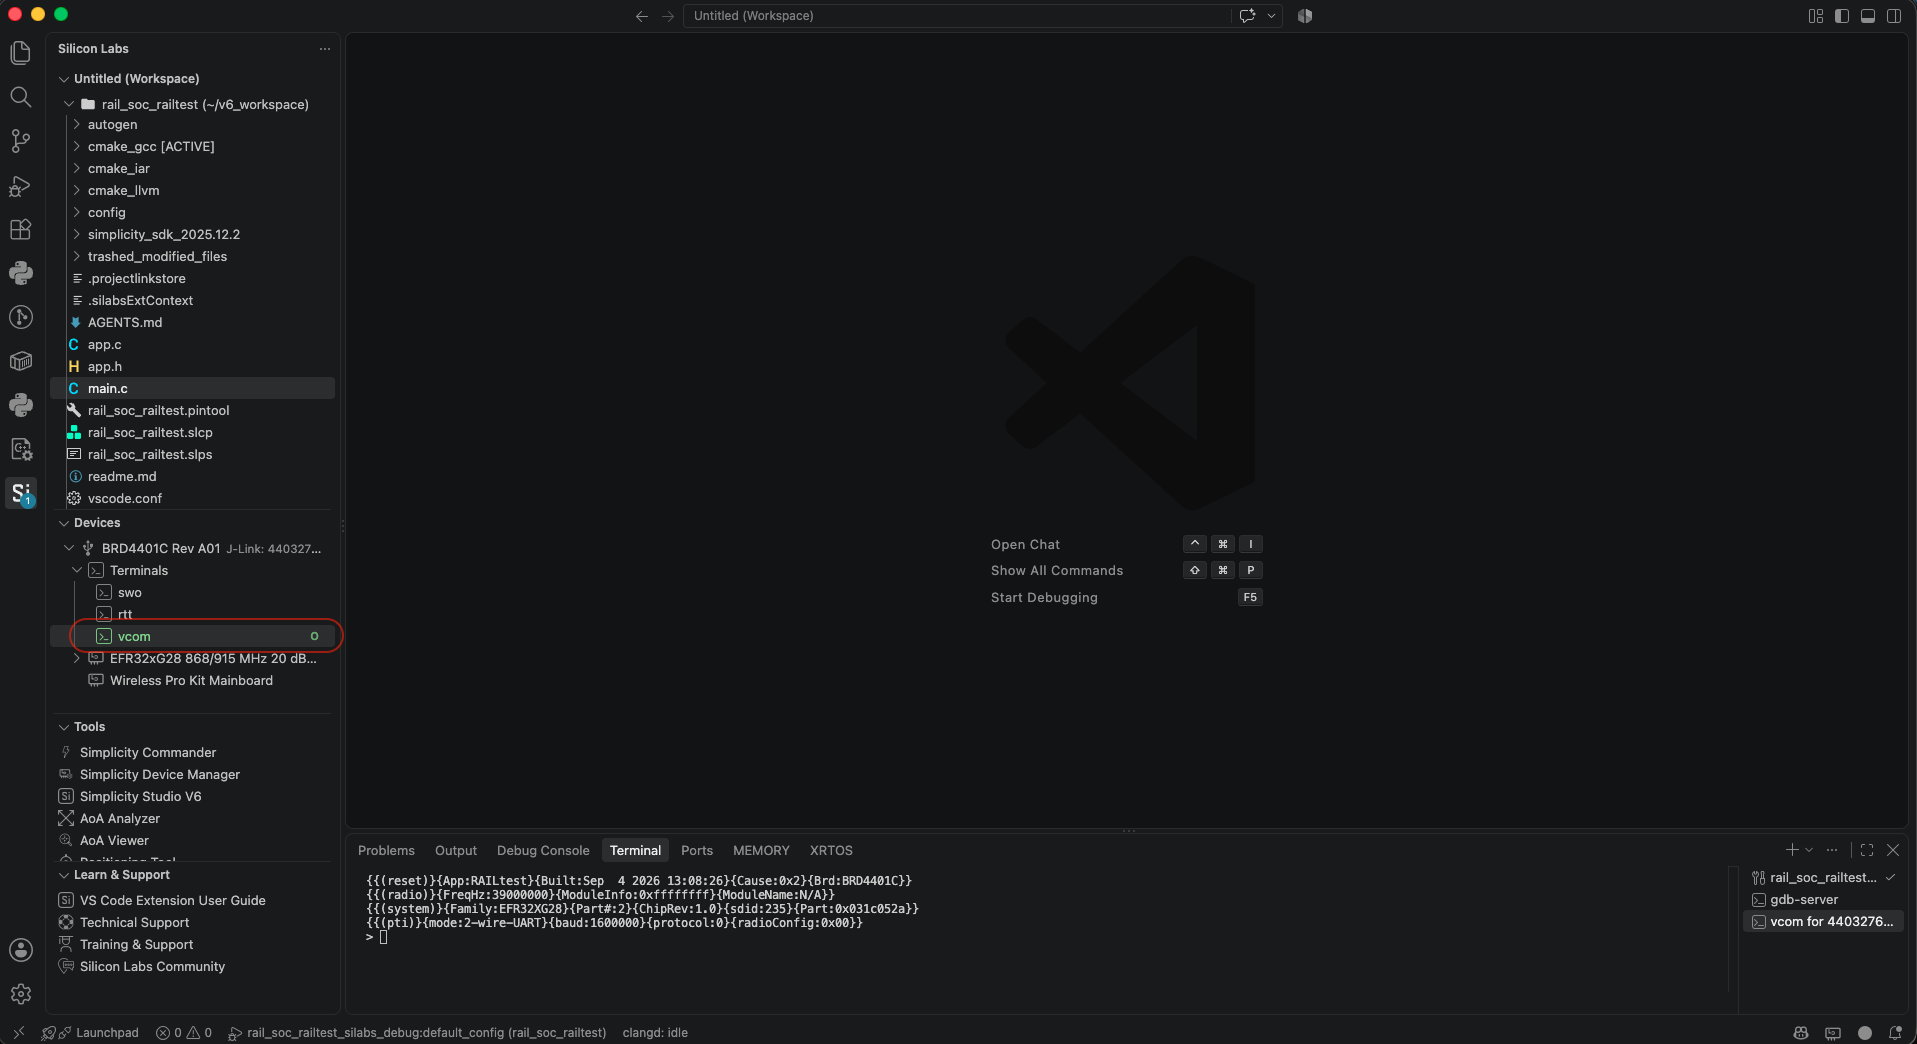
In the RAILtest application, the console interface allows testing of any RAIL feature. Enter “help” to get a list of the available CLI commands.
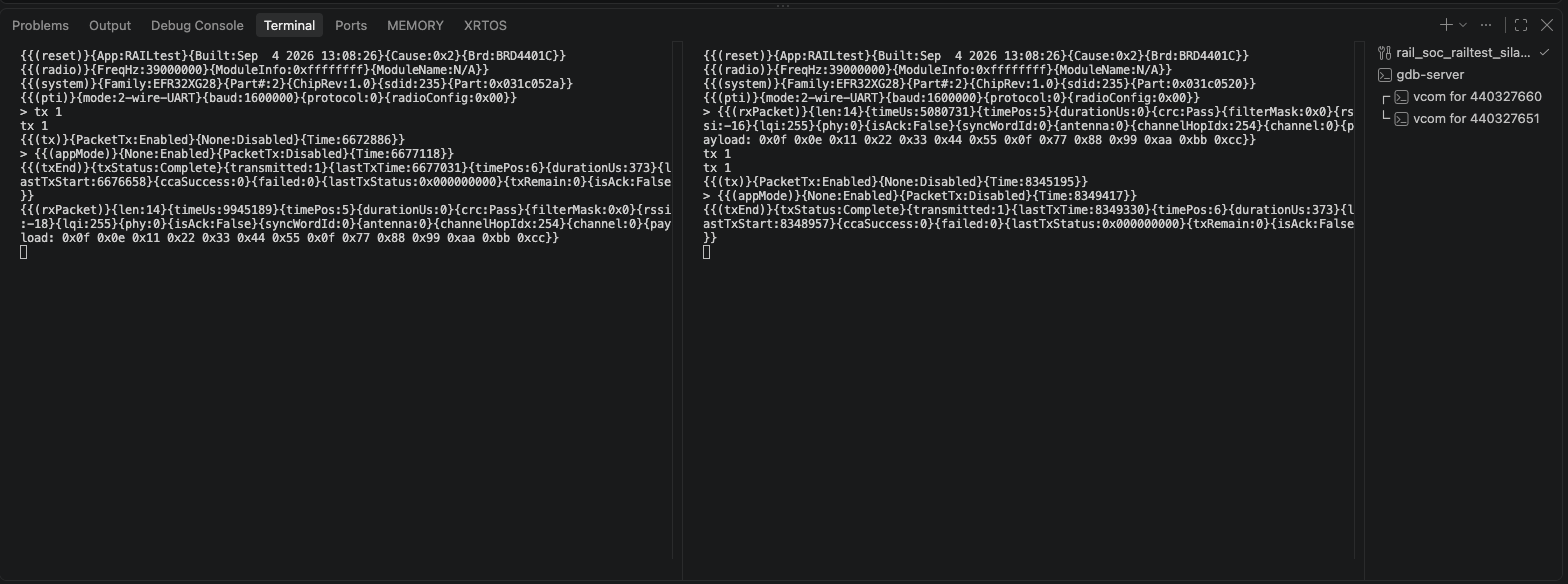
For a simple radio functionality test, flash the same RAILtest binary on two radio boards and open a console for each of them. Make sure an antenna is connected to each radio board if applicable. RAILtest starts in RX state on both boards.
Type tx 1 in the first console window. The first radio node will transmit one packet and then return to RX state. A received packet will be reported in the second console window by the second radio node.
Type tx 1 in the second console window. The second radio node will transmit one packet and then return to RX state. A received packet will be reported in the first console window by the first radio node.
The following figure shows the consoles at the end of the procedure.
Working with Custom Boards#
When working with custom boards, two methods are available, depending on your needs:
Create an example on the mainboard, then remove the mainboard on the Project Configurator OVERVIEW tab using the Change Target/SDK control. This way, the wiring of the kit is kept, but you can change it using the Pin Tool.
Create an example with just the part, no mainboard, and set up the wiring for all required peripherals of the example (like buttons or pins) using the Pin Tool.
Note that a mainboard can also depend on components (typically peripheral init components) that are removed if you remove the mainboard from the project.