Installation and Configuration#
The Simplicity Studio VS Code extension lets developers build, flash, and debug projects in the Visual Studio Code environment while continuing to leverage Simplicity Studio (version 5 or 6) for project configuration and creation.
This hybrid workflow provides the best of both tools: Use Simplicity Studio to set up your project and VS Code for daily development.
Note: If you have an earlier version of the Simplicity Studio extension installed in VS Code, uninstall it following the steps below before proceeding to ensure a clean installation. Otherwise, continue with the download and installation steps below.
Uninstall the VS Code Extension#
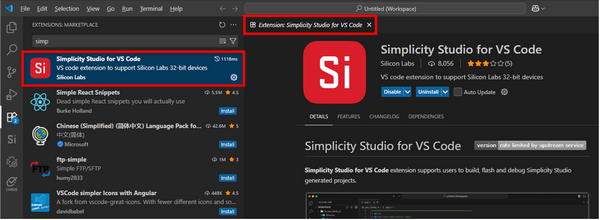
In the Extension search bar, type "Simplicity Studio" to locate the extension and click the Uninstall button.

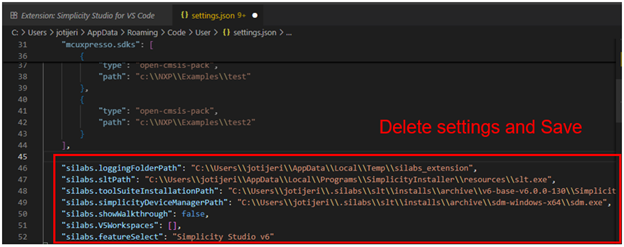
Optional: To ensure there are no leftover settings from a previous installation that could cause issues, you can clear the Silabs settings in the settings.json file by following the steps below.
Press Ctrl+Shift+P to open the Command Palette, and then type and select Preferences: Open User Settings (JSON).

Find and remove the extension settings, and then save the changes.
Close and restart VS Code.
Download and Install VS Code#
Download the latest version of the VS Code application at https://code.visualstudio.com/download and follow the installation instructions provided there.
Install the Simplicity Studio VS Code Extension#
Install the Simplicity Studio VS Code Extension directly from the Extensions view in VS Code following the steps below:
Important: Simplicity Studio VS Code extension v2.0.0 or later is recommended for compatibility with Simplicity Studio 6.
Open VS Code.
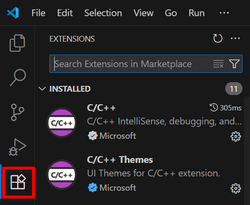
Click the Extensions icon on the left navigation bar. A list of installed extensions displays in the EXTENSIONS panel at the right of the navigation bar.
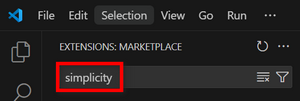
In the Search field at the top of the EXTENSIONS panel, type simplicity.
The extensions display in the search results below the panel.
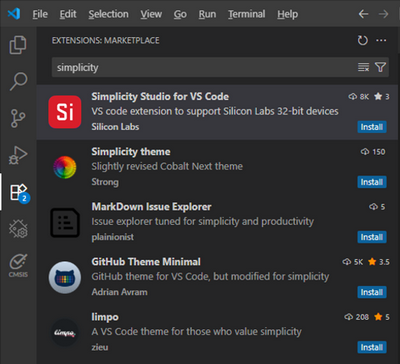
At the bottom right of the Simplicity Studio for VS Code extension panel, click the Install button.

A status bar briefly displays at the top left of your screen while the extension is installed. When the installation is completed, the status bar disappears from the screen.
Verify the Simplicity Studio VS Code Extension Configuration#
A white circle should appear in the lower-right corner, indicating that the extension is connected to Studio 6 and ready to open projects generated from Simplicity Studio 6. For more information on how to start a project, see Create a Project in the Simplicity Studio v6 User Guide
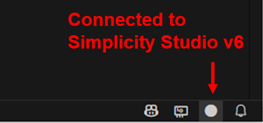
If you do not see the indicator, or if it appears red, VS Code cannot locate Simplicity Studio. In that case, complete the following steps to verify that the path to the Simplicity Studio tool suite is set correctly, or try closing and restarting VS Code.
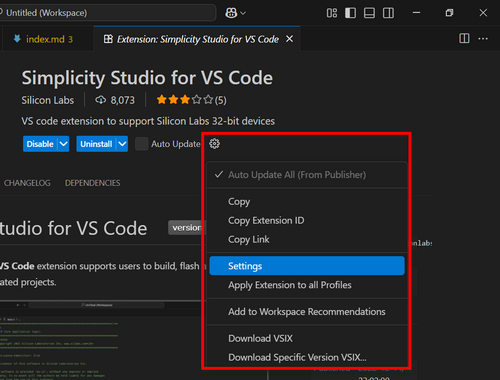
In the EXTENSIONS MARKETPLACE panel, click Simplicity Studio for VS Code extension. The extension displays in a tab on the right of your screen.
In the extension tab, click the Settings (cog) icon and select Settings from the pop-up menu.
Verify the path for the Simplicity Studio Tool Suite is correctly set under Simplicity Studio Configurations. This path should be automatically synchronized with the latest Simplicity Studio 6 installation.
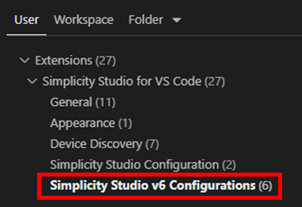
For example, for Simplicity Studio v6, the paths are below:
Windows:
c:\Users\<username>.silabs\slt\installs\archive\v6-base-v6.0.0\SimplicityStudio-6macOS:
/Users/<username>/.silabs/slt/installs/archive/v6-base-v6.0.0/SimplicityStudio-6.appLinux:
/home/<username>/.silabs/slt/installs/archive/v6-base-v6.0.0/SimplicityStudio-6
