Developing with WiSeConnect™ SDK v3.x with SiWx91x™ Boards using Simplicity Studio CLI#
This guide describes how to develop applications on a SiWx91x™ board using the WiSeConnect™ SDK v3.x in System-on-chip (SoC) mode, where both the application and the connectivity stack run on the SiWx91x chipset using Simplicity Studio CLI on Windows.
Prerequisites#
Software#
Download SiSDK and WiseConnect SDK:
Simplicity software development kit (SiSDK (formerly GSDK)).
WiSeConnect SDK.
Note:
Copy them to a location with a shorter path.
We recommend using the latest SiSDK (formerly GSDK) version.
Refer to the Release Notes
Install SLC-CLI:
Download and install the SLC-CLI for Windows from Silicon Labs.
Install Java:
Install Java 64-bit JVM version 17 or higher, available from Amazon Corretto.
Verify Java Version:

Install make:
Install make 4.3 or higher
Verify Make Version:

Download ARM GNU Toolchain:
Download and Extract ARM GNU mingw-w64-i686 for windows zip, available from ARM GNU toolchain Downloads.
Note: Ensure Java version is higher than 17 and Make version is higher than 4.3.
Setup System Variables:
To access SLC-CLI from anywhere in your system, add the path(
\slc_cli_windows\slc_cli) with the expanded slc_cli to your system variablesPathvariable.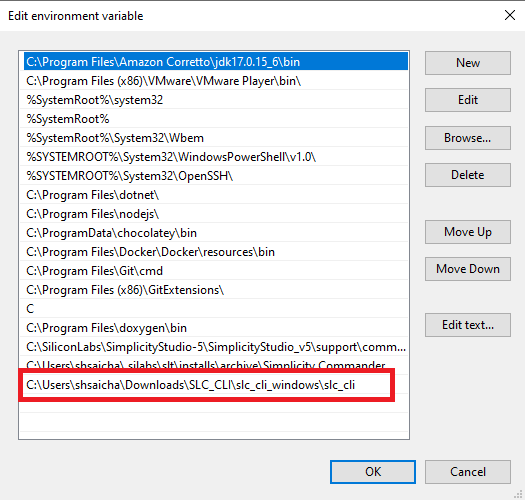
To access the make from any location add(
C:\SiliconLabs\SimplicityStudio_v5\support\common\build\msys\1.0\bin) to system variablesPathvariable.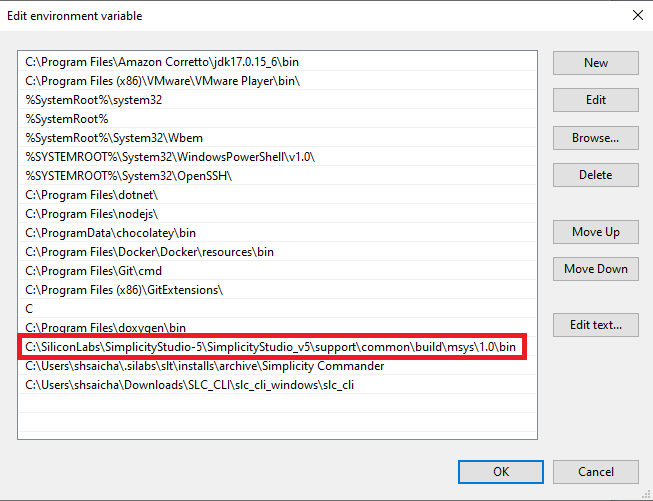
Add system variable with
POST_BUILD_EXEas variable name andC:\Users\shsaicha\.silabs\slt\installs\archive\Simplicity Commander\commander.exeas variable value.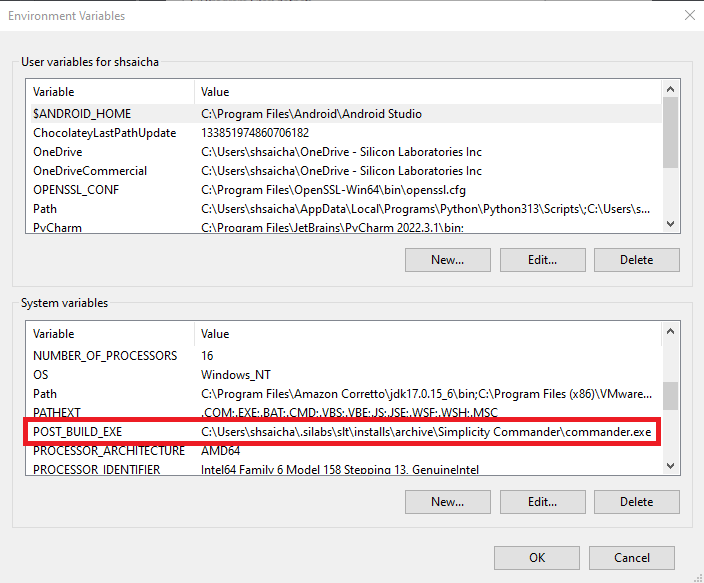
Hardware#
Wi-Fi Access Point (802.11 ax/b/g/n)
One of the following SoC boards (hereafter referred to as SiWx917 board):
BRD4338A - SiWx917 Wi-Fi 6 and Bluetooth LE 8 MB Flash Radio Board (hereafter referred to as the radio board)
BRD4342A - SiWx917 Wi-Fi 6 and Bluetooth LE 8 MB Flash + 8 MB ext PSRAM Radio Board (hereafter referred to as the radio board)
BRD4343A - SiWG917Y Module Wi-Fi 6 and Bluetooth LE 8 MB Flash RF-Pin Radio Board (hereafter referred to as the radio board)
BRD2605A - SiWG917 Dev Kit Board (hereafter referred to as the dev kit board)
BRD2708A - SiWG917Y Explorer Kit (hereafter referred to as the explorer kit board)
If a radio board is used or if you need to measure power using the explorer kit board or dev kit board, a WPK board is also required:
BRD4002A - Si-MB4002A Wireless Pro Kit Mainboard (hereafter referred to as WPK board).
Windows/Linux/MacOS computer with a USB port
Type C USB cable compatible with the computer's USB port (for example, type C to type A if the computer has a type A USB port).
Note: Hardware is not need to be connected to laptop for building application using SLC-CLI.
Steps#
Configure the Simplicity SDK:
slc configuration --sdk <path to SiSDK>Example:
slc configuration --sdk C:\simplicity-sdkExample Output:

Configure the Tool Chain:
slc configuration -gcc=<Path to Installed arm gnu tool chain>Example:
slc configuration -gcc=C:\Users\shsaicha\Downloads\SLC_CLI\arm-gnu-toolchain-12.2.rel1-mingw-w64-i686-arm-none-eabisExample Output:

Trust the WiSeConnect SDK:
Create extension folder in simplicity-sdk and Copy downloaded wiseconnect into extension folder.
slc signature trust -extpath <Path to wiseconnect extension>Example Command:
slc signature trust -extpath C:\simplicity-sdk\extension\wiseconnectExample Output:

Trust the SiSDK:
slc signature trust --sdk <Path to SiSDK or GSDK>Example:
slc signature trust --sdk C:\simplicity-sdkExample Output:

Generate Project Files:
Navigate to the example folder in the command prompt.
cd C:\simplicity-sdk\extension\wiseconnect\examples\featured\firmware_updateRun the following command:
slc generate --with "brd4338a;wiseconnect3_sdk" <path to the slcp file> -d <target path>Example:
slc generate --with "brd4338a;wiseconnect3_sdk" firmware_update_soc.slcp -d outputExample Output:

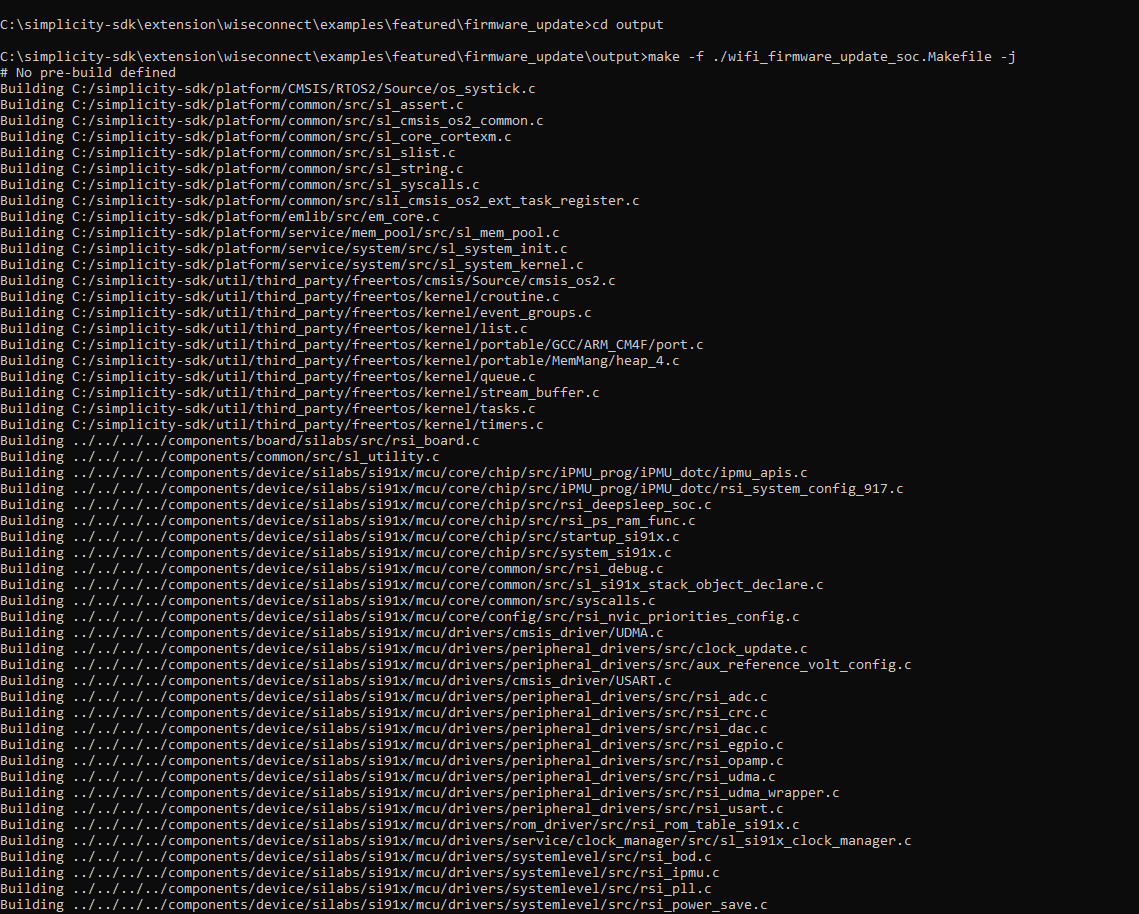
Generate Binaries:
Navigate to the output folder.
cd outputRun the following command:
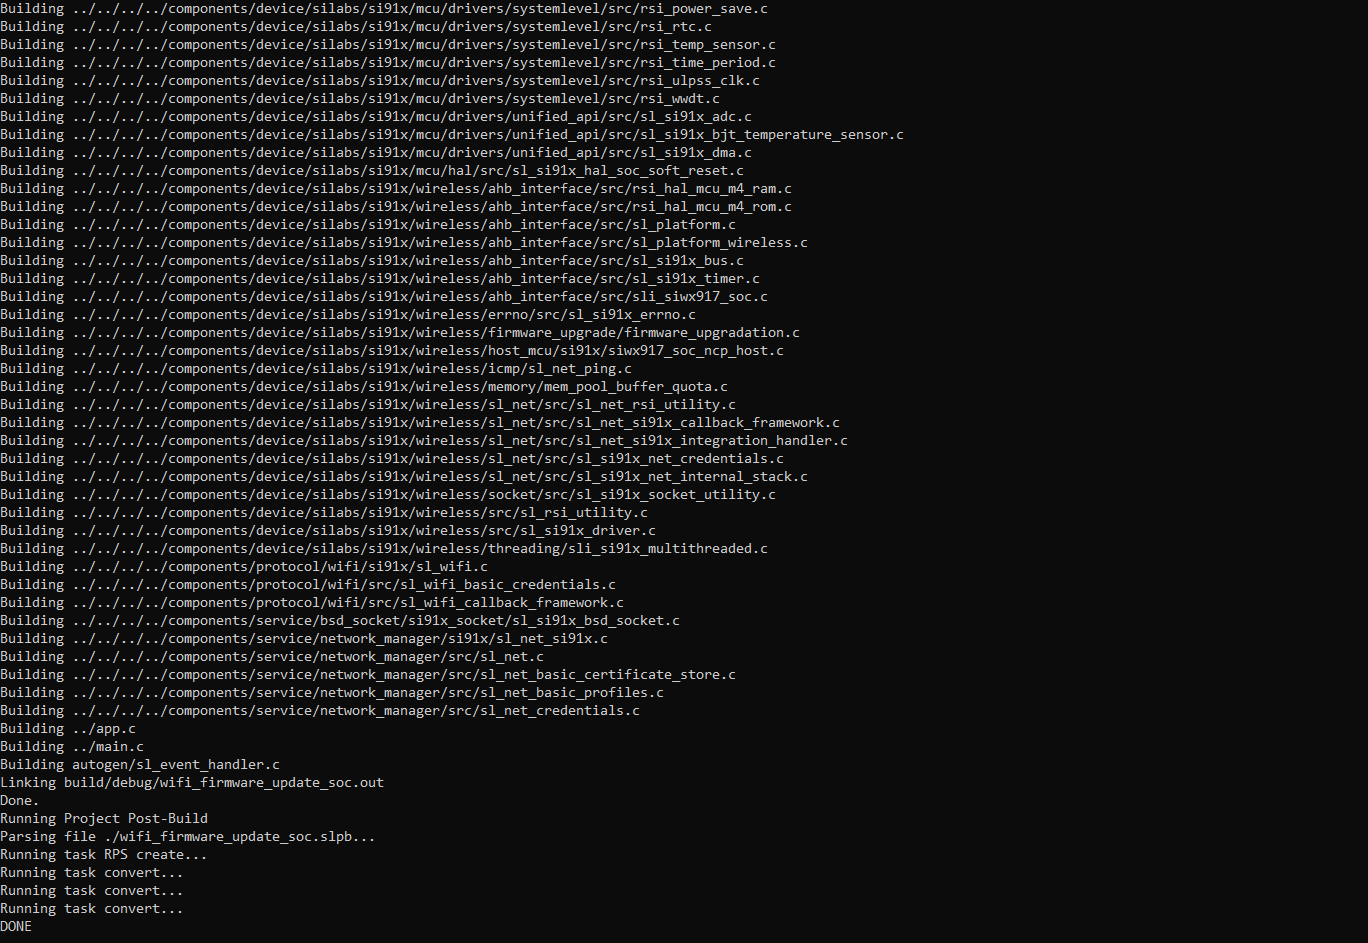
make -f ./<executable.Makefile> -jExample:
make -f ./wifi_firmware_update_soc.Makefile -jExample Output:
Flash the Binary:
Binaries are generated and saved at
output\build\debug.The binary can be flashed using the Simplicity Commander or Commander CLI.
Run the Application#
Once you flash the example, you may refer to the Test the Application section of its README page to explore its output.
The other sections of the README like the Purpose/Scope section provide more information about the example.
See the Examples page to explore all available examples including their supported host interfaces (SPI and/or UART) and to view their README pages.
Note: See the troubleshoot an application run failure section in case the application fails to run.