Getting Started with SoC Mode#
This guide describes how to get started developing an application for the SiWx91x in System-on-chip (SoC) mode, where both the application and the networking stack run on the SiWx917 chipset.
Check Prerequisites#
In order to run Matter over Wi-Fi, check for the following prerequisites:
Hardware Requirements#
The following hardware devices are required for executing Matter over Wi-Fi:
Silicon Labs Wireless starter/development kit (WSTK)
SiWx917 SoC development kit
Wi-Fi Dev Kit
SiWx917
SoC mode:
BRD4388A (B0 2.0 common flash) SiWx917
Windows/Linux/MacOS computer with a USB port
USB cable for connecting WSTK Board to Computer
Raspberry Pi with a >32 GB SD Card
Access Point with Internet Access
Software Requirements#
Below are the software tools, packages, and images required for executing Matter over Wi-Fi:
Software Tools Requirements#
Simplicity Commander for flashing firmware/binary
Tera Term
Simplicity Studio
Putty for controlling EFR32 hardware using chip-tool controller
JLink RTT for logging only
Software Packages#
Gecko SDK v4.x
WiseConnect SDK v3.x
Firmware Images#
Download the Firmware images from Matter Artifacts Page.
For Flashing the firmware images, Refer to Flashing Firmware Images.
Installation of the Wi-Fi Software Tools and Packages#
Refer to the Wi-Fi Software Installation Page.
Connect SiWx917 SOC to Computer#
Mount the SiWx917 radio board on the SiWx917 WSTK board.
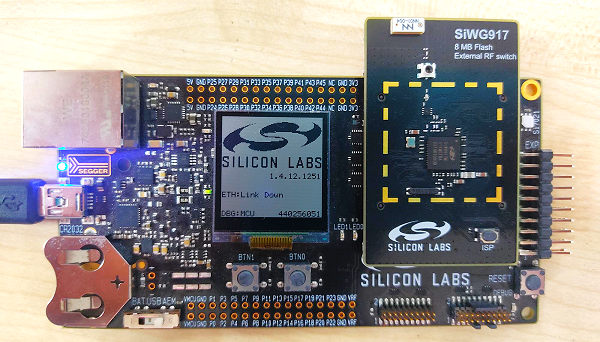

Connect your SiWx917 Wireless Starter Kit (WSTK) board to your computer using a USB cable.
Simplicity Studio will detect and display your radio board.
Troubleshooting a Board Detection Failure#
If Simplicity Studio does not detect the SiWx917 SoC board, try the following:
In the Debug Adapters panel, click Refresh (the icon of two looping arrows).
Press the RESET button on the SiWx917 SoC radio board.
Power-cycle the SiWx917 SoC radio board by disconnecting and reconnecting the USB cable.
Building the 917 SoC Matter Accessory Devices Using Simplicity Studio#
In Simplicity Studio 5, create the Light Matter Accessory Devices (MAD):
Download and Install Simplicity Studio 5.
To install the software packages for Simplicity Studio, refer to the Software Package Installation Section
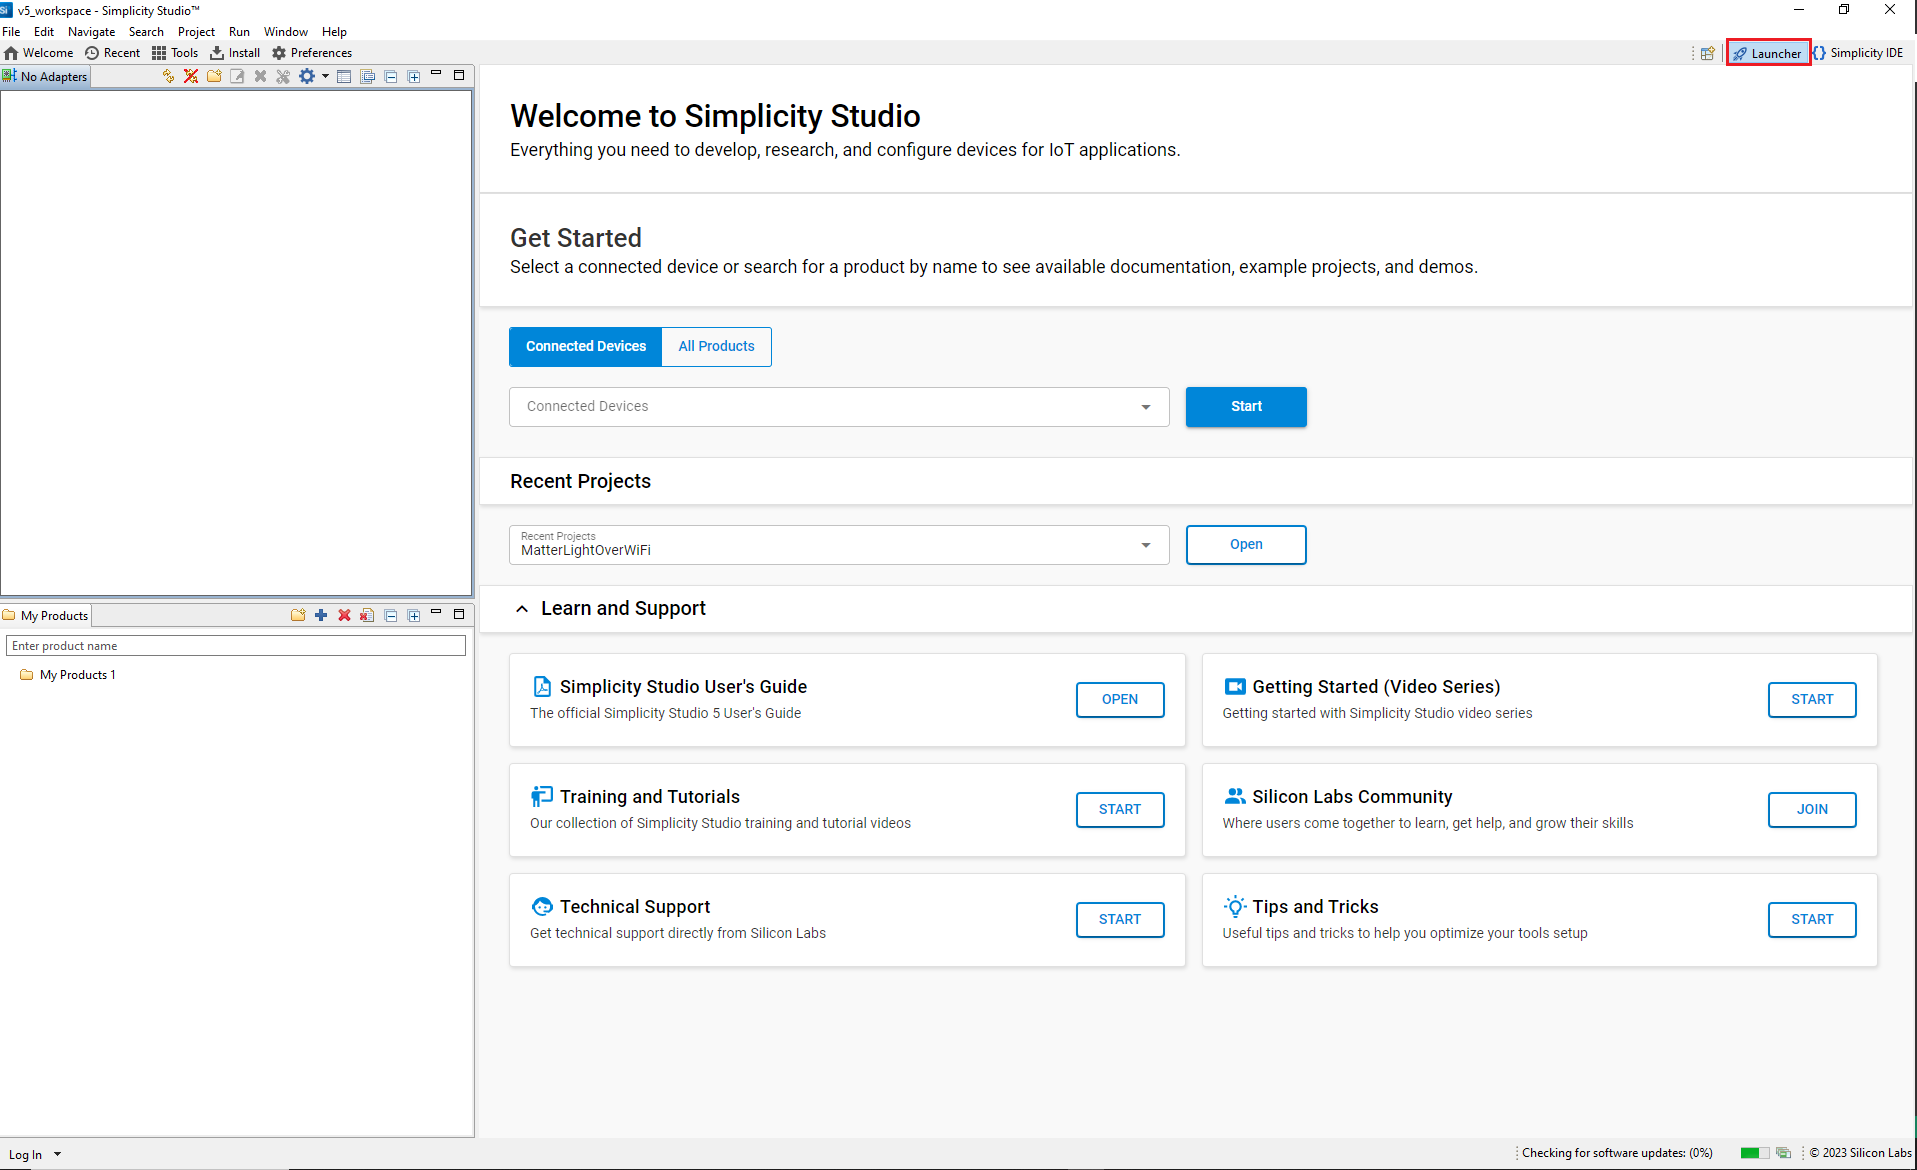
Switch to the Launcher view (if not already in it).

Go to
All Productsin the launcher tab and select one compatible board from the following supported list of SiWx917 SOC dev boards.BRD4338A (Common Flash)
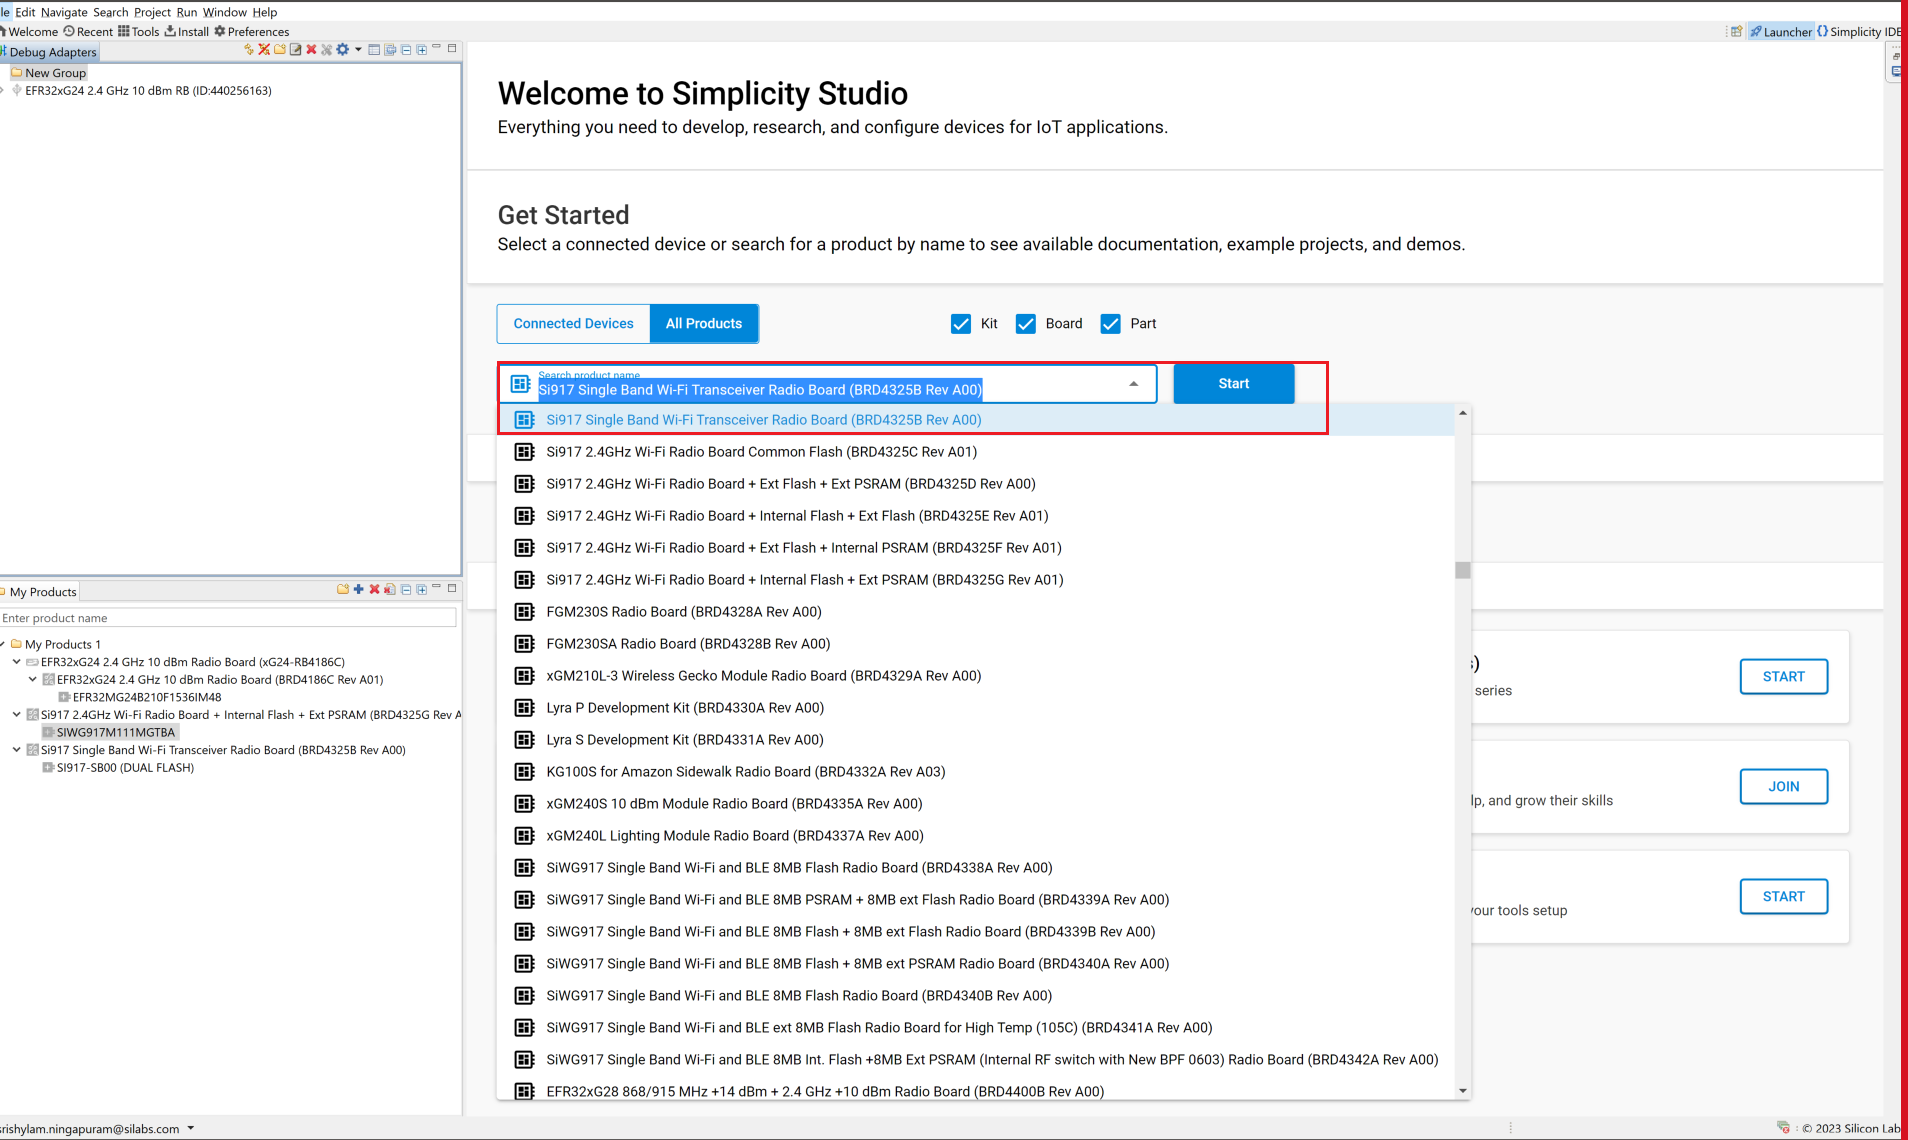

Once the board shows up in the Debug Adapters view, select it.
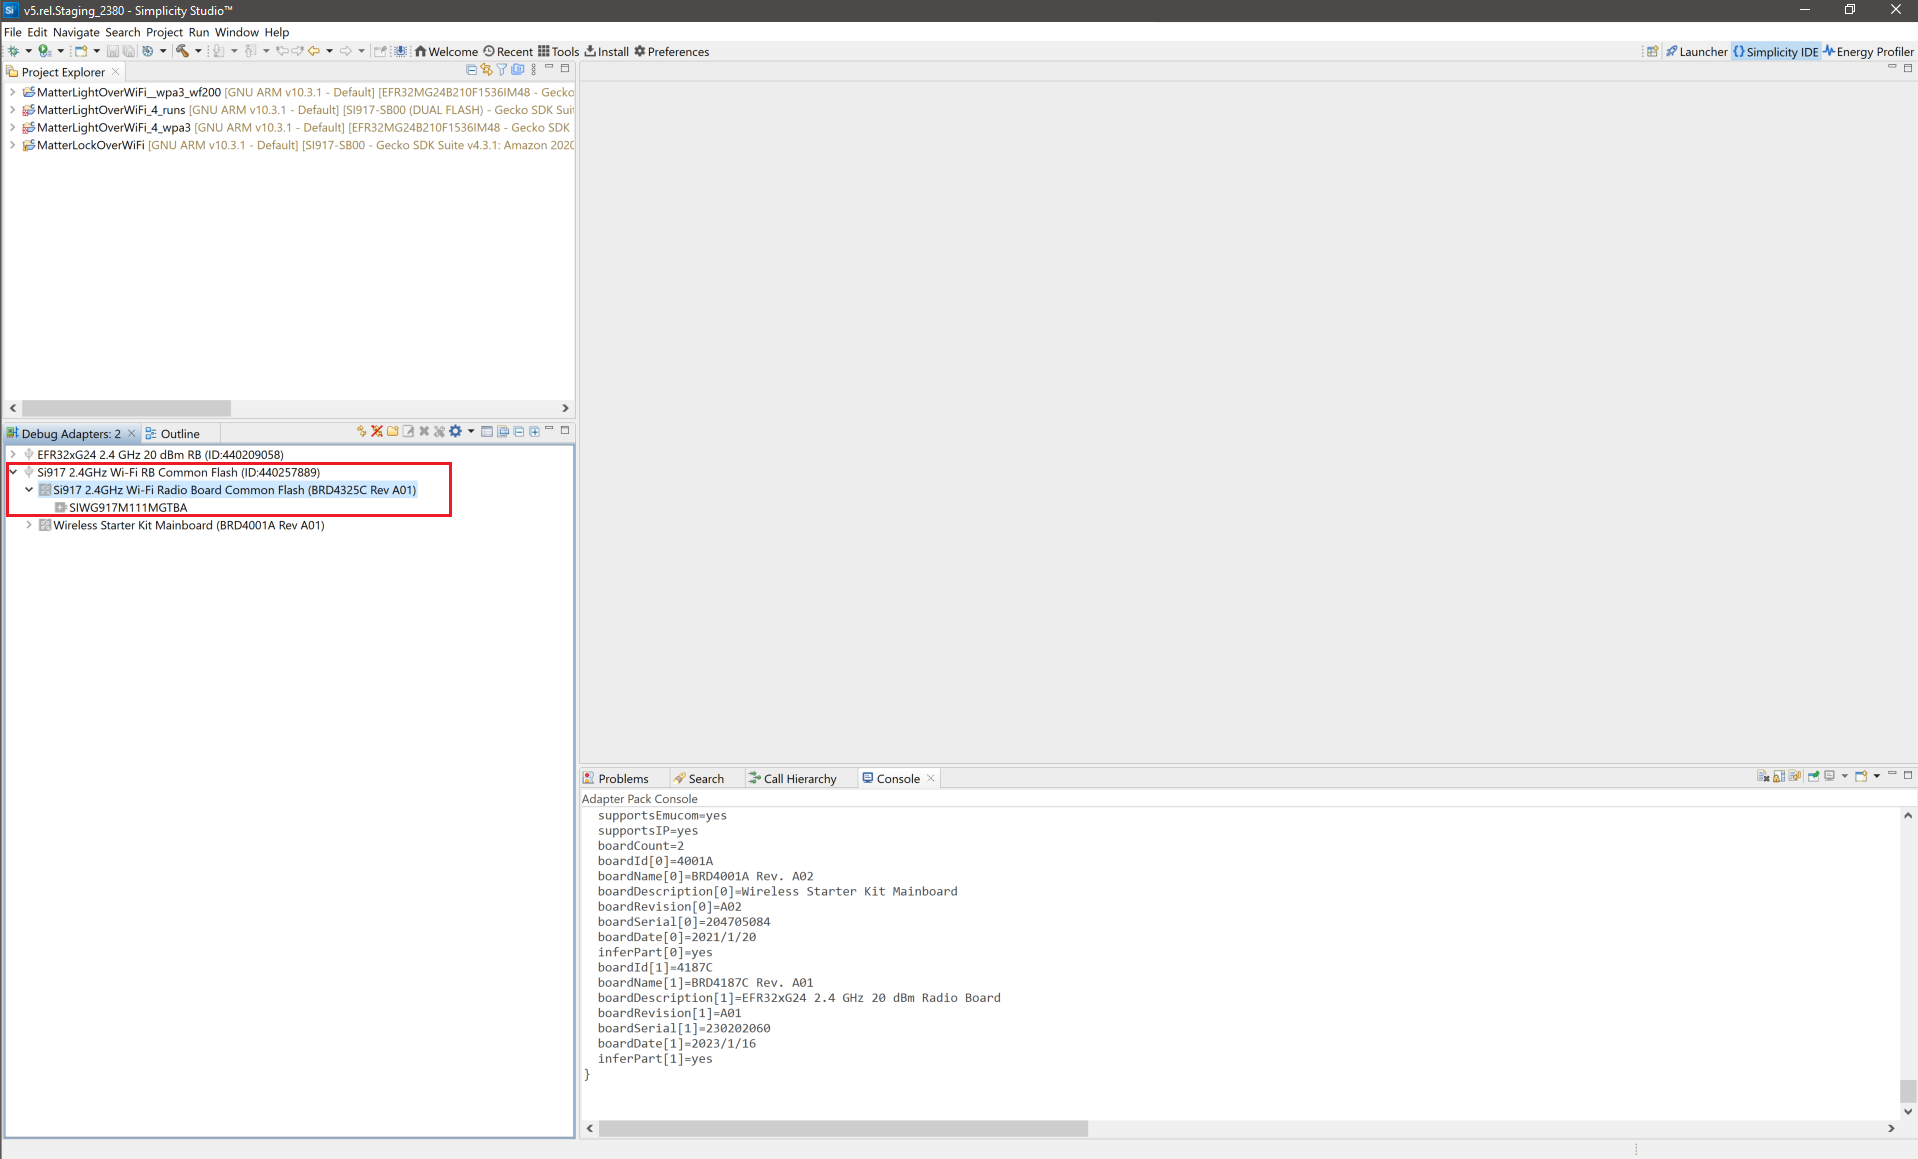

Open the Example Projects and Demos tab, select the Matter filter and enter "Wi-Fi" in Filter on keywords. Click CREATE.
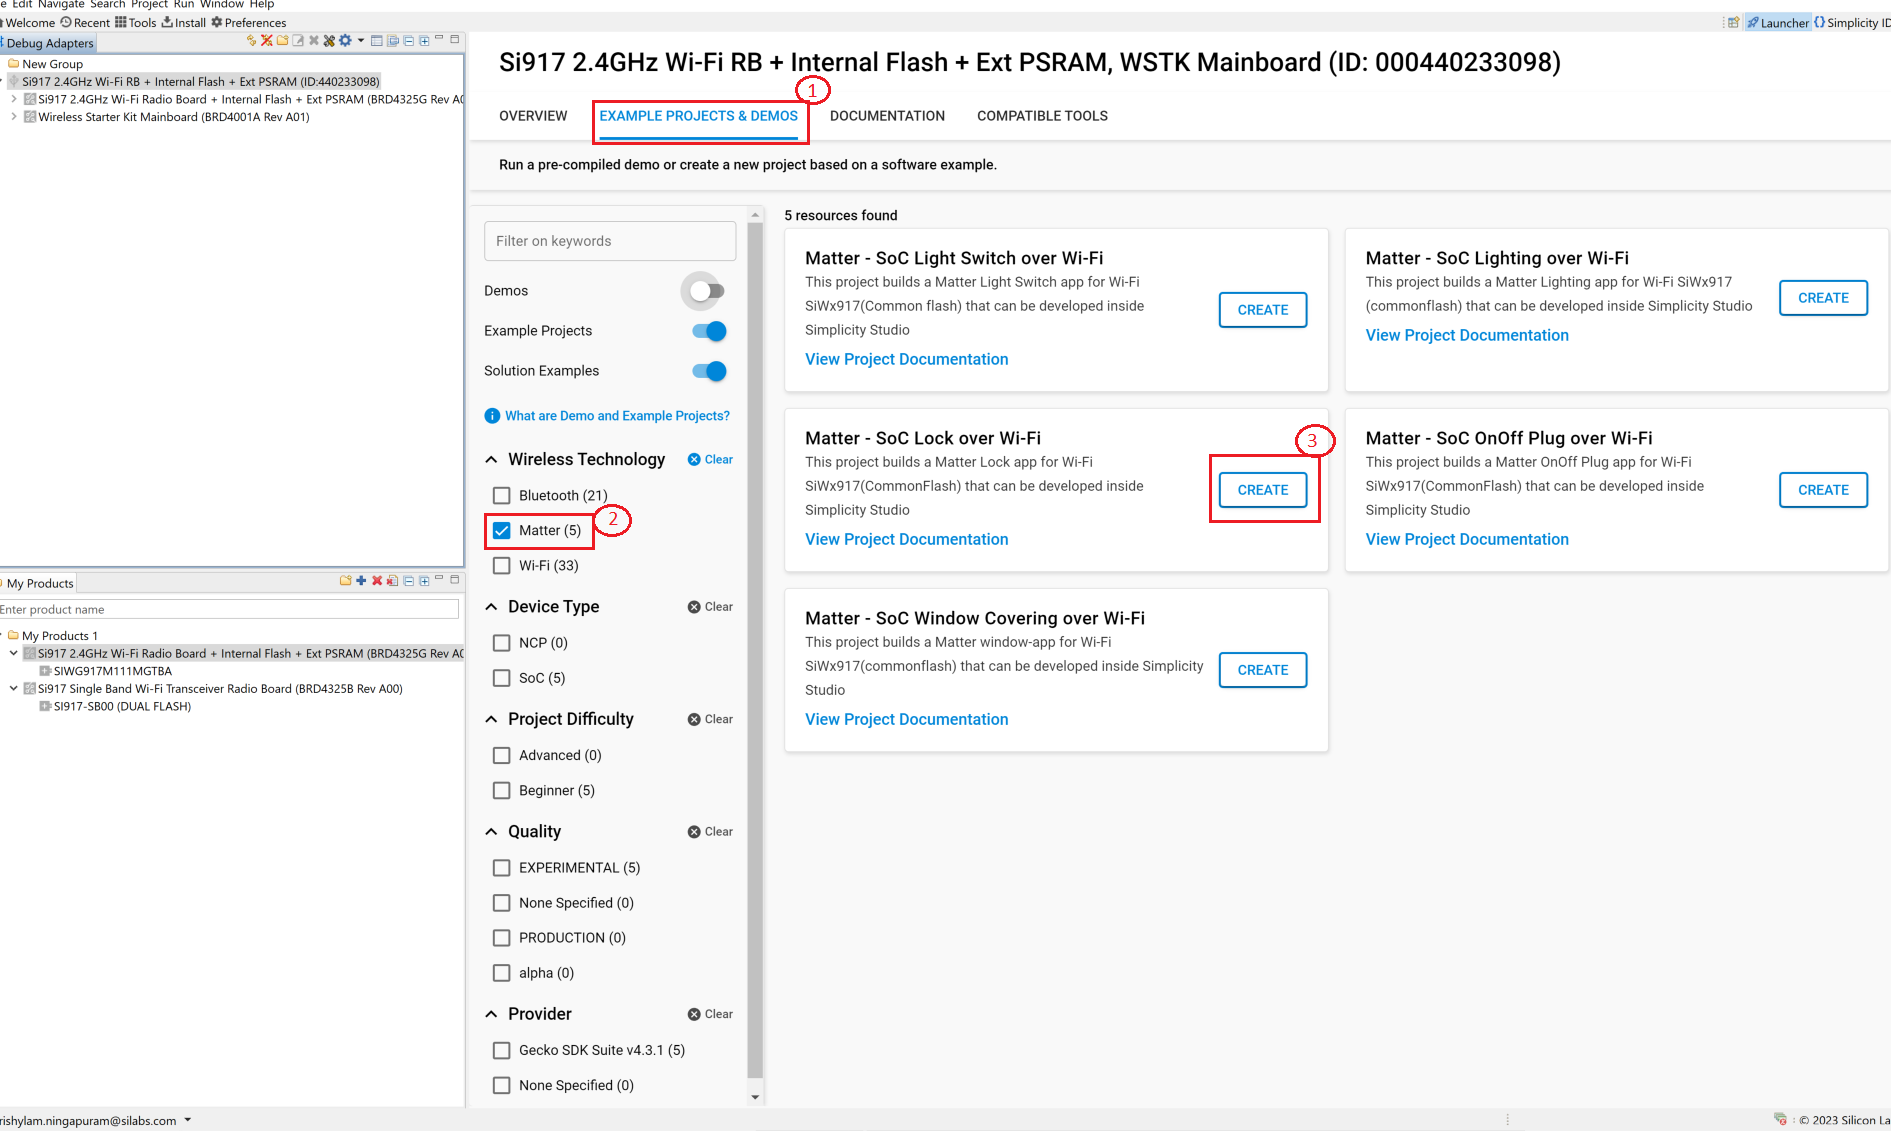

Optionally rename the project, and click Finish.
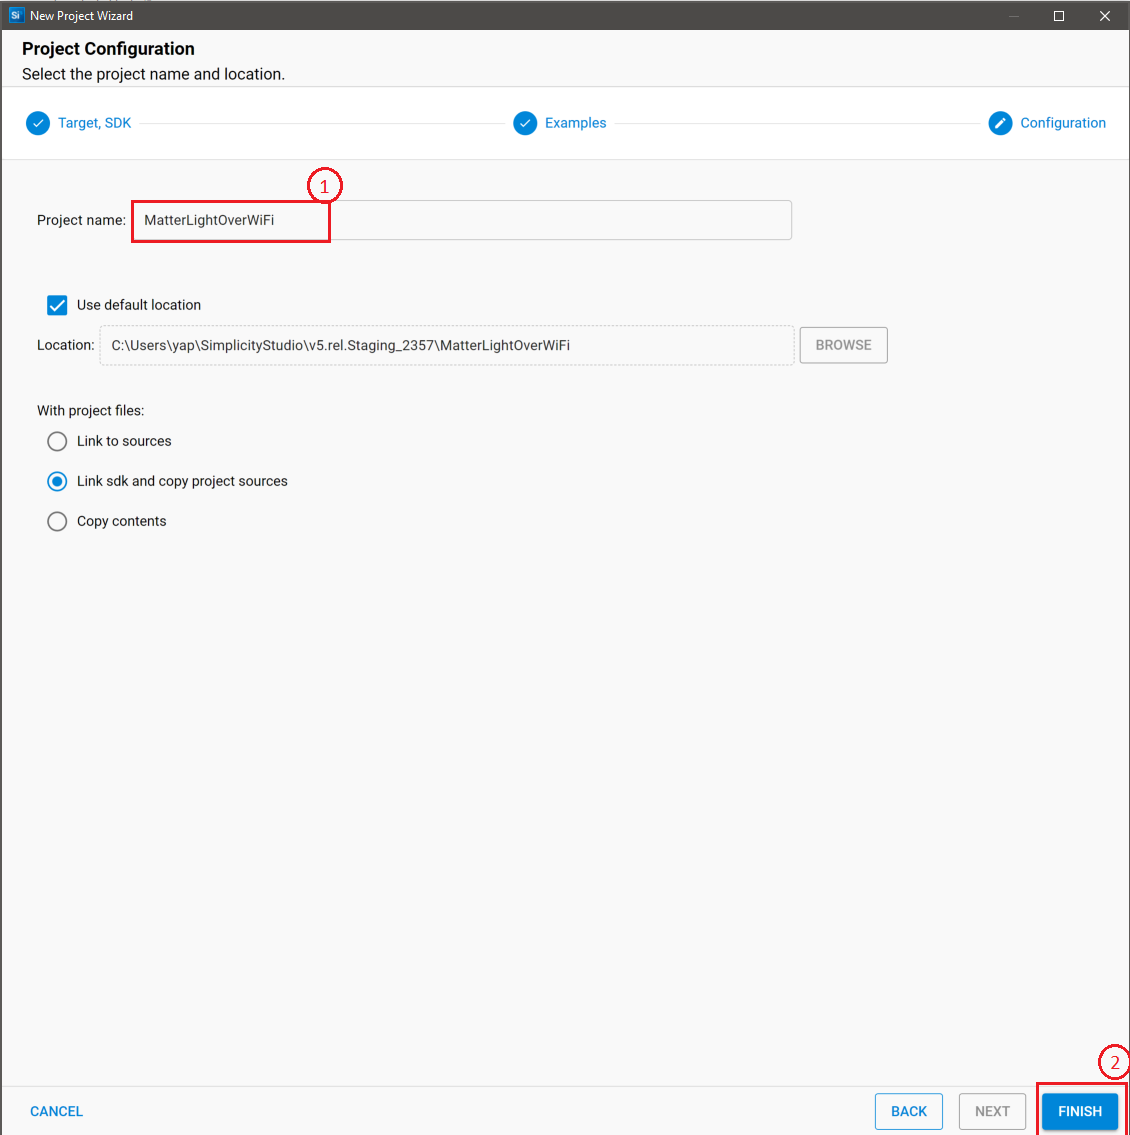

Once the project is created, right-click on the project and select Build Project in the Project Explorer tab.
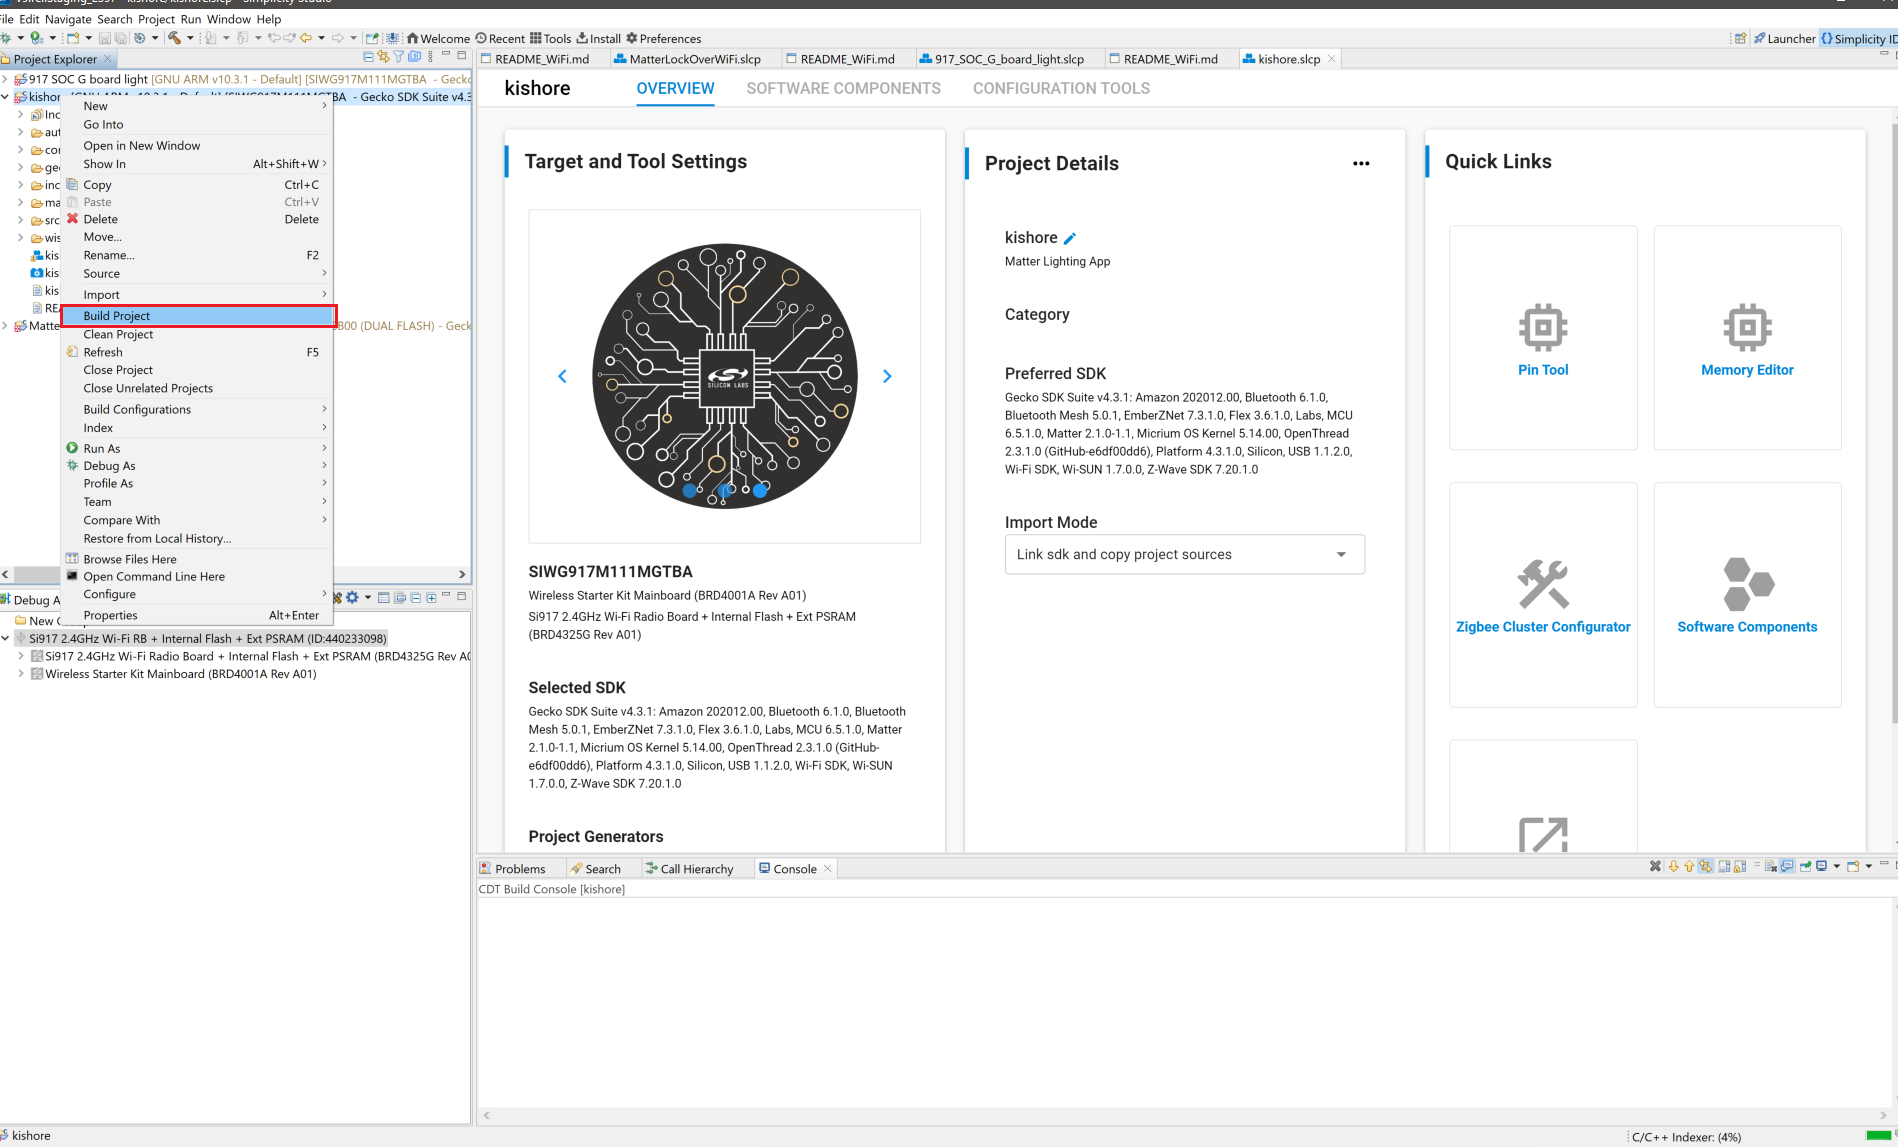

To flash the application, connect the compatible dev board to the PC if not yet done.
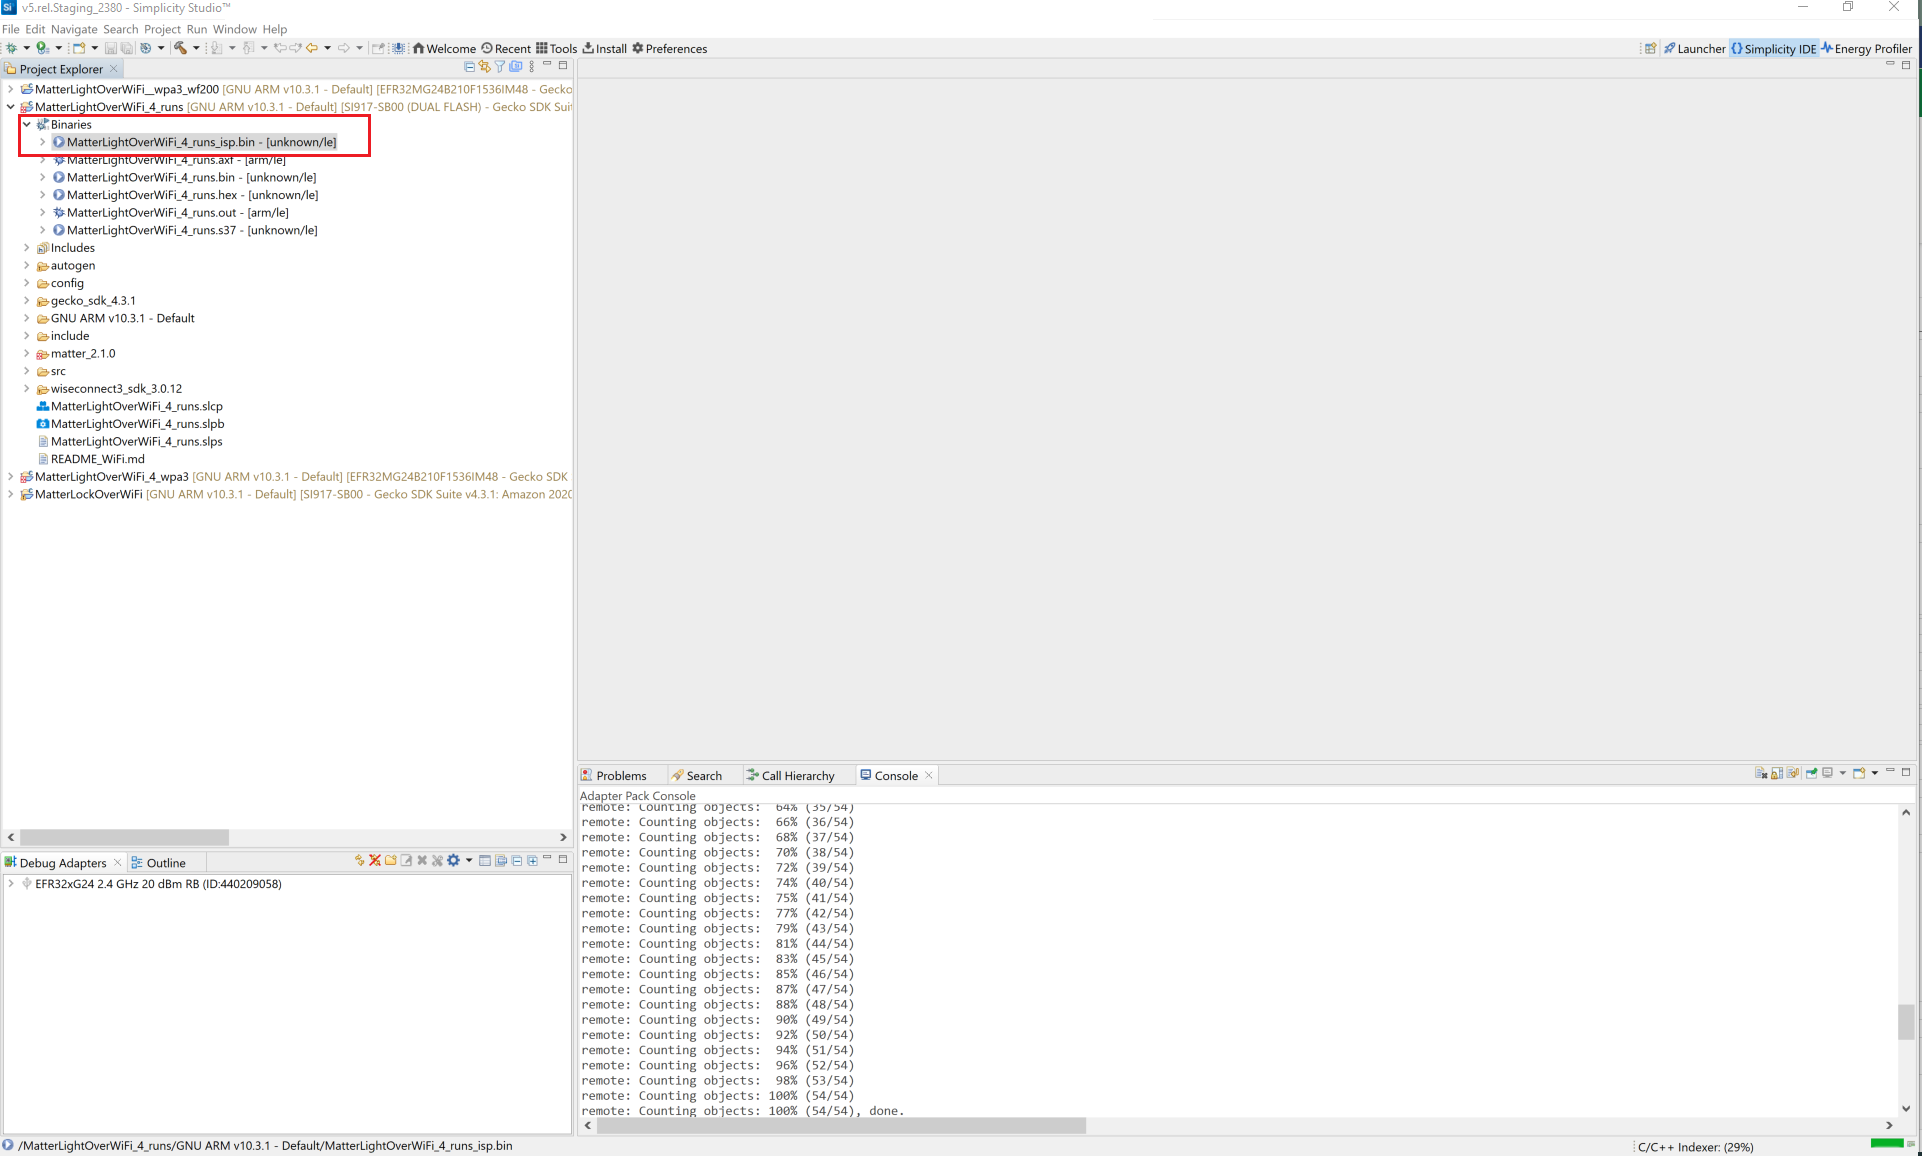
Once the project is compiled successfully, go to the Project Explorer view and select the binary to be flashed.

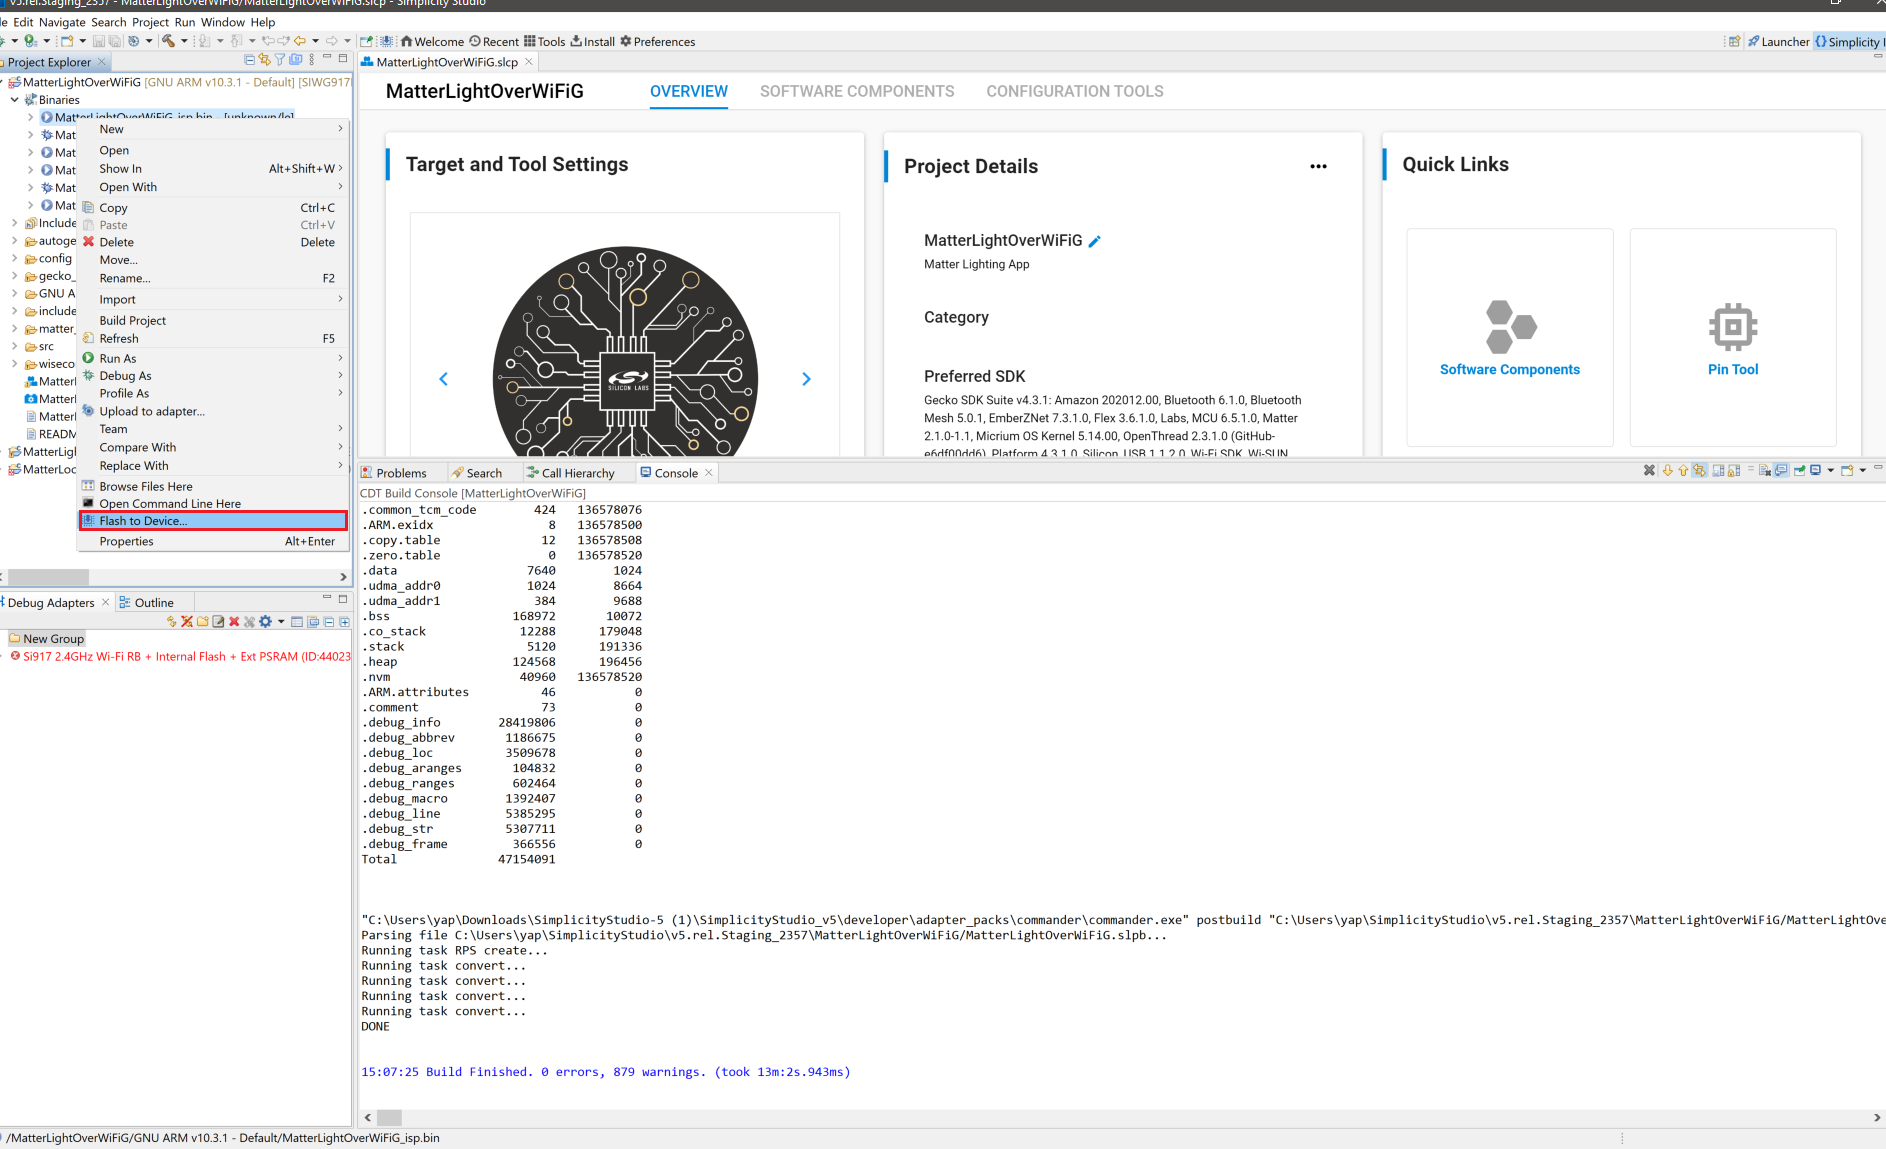
Right-click the selected _isp.bin binary and click flash to device.

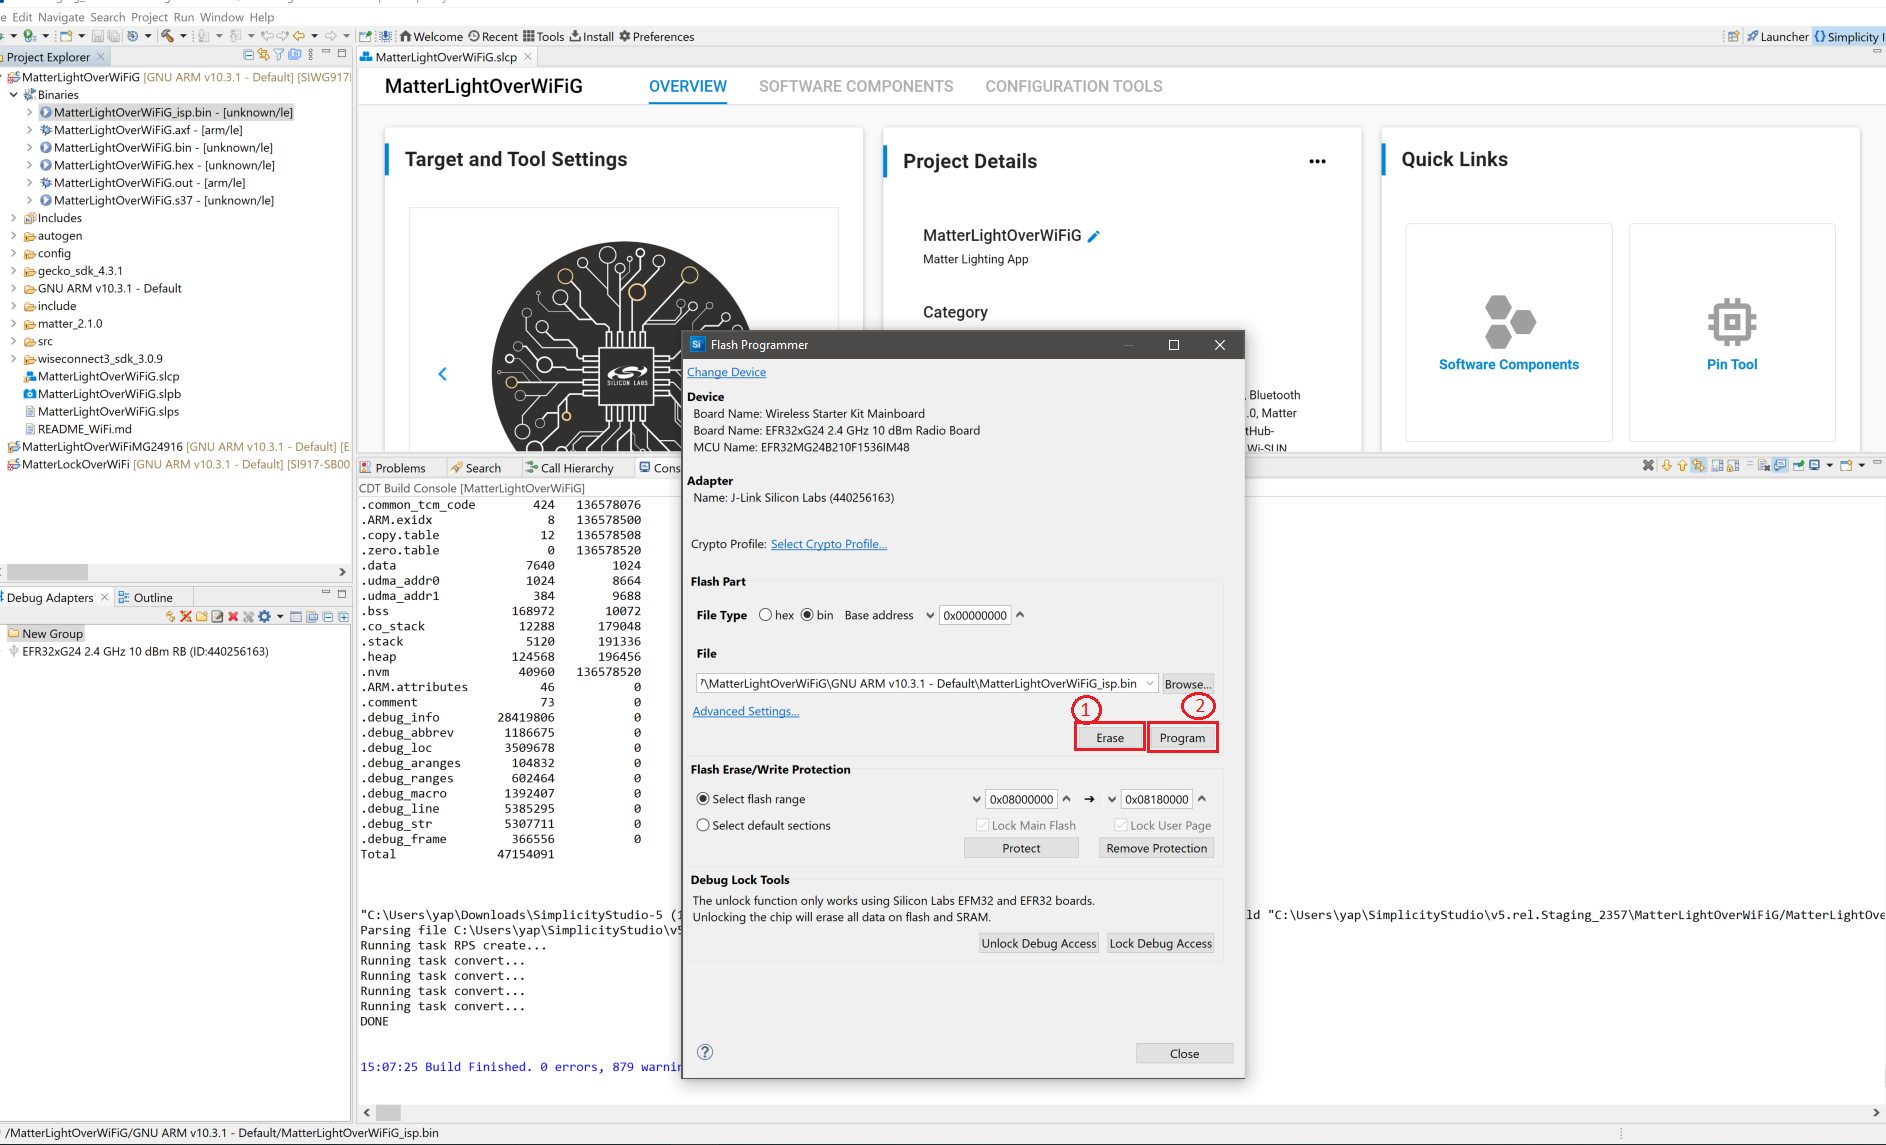
The Flash programmer window opens. Click Program to start flashing.

Note: Output of the SiWX917 SoC application will be displayed on the J-Link RTT Viewer.
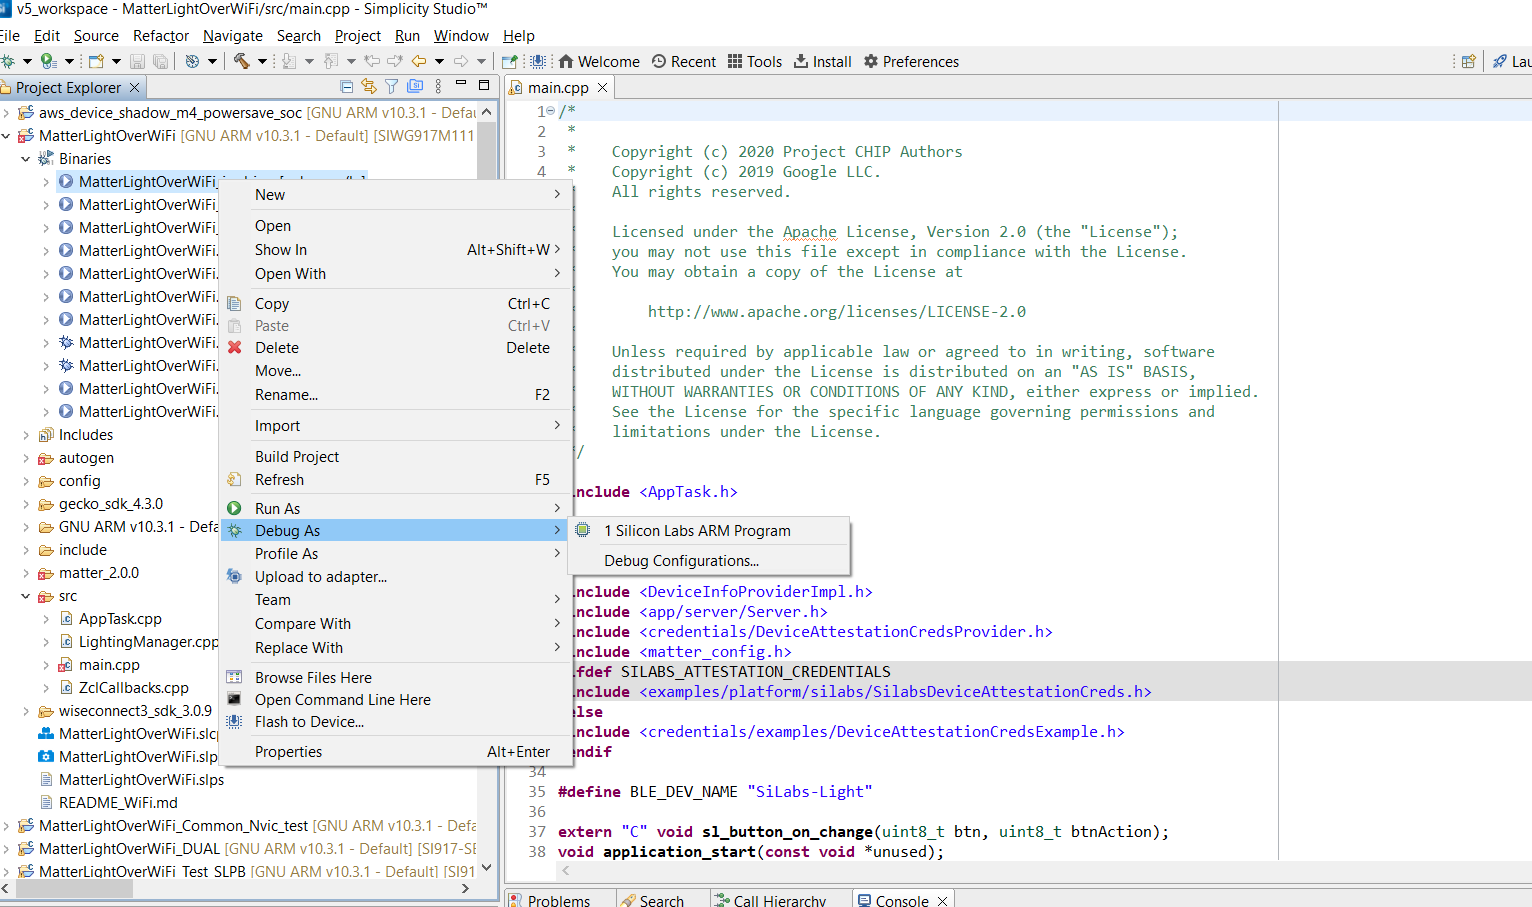
In order to debug your Matter Application, Right-click on the selected Matter Project and click on Debug As.
