About Projects#
Creating a Project#
If you have used earlier versions of SSv5, initial project creation is unchanged. If you are unfamiliar with project creation in SSv5, see the Simplicity Studio 5 User's Guide. This section highlights the differences with AppBuilder project creation and configuration.
Once you have selected an example project, an initial configuration dialog opens. Note that the Project Location, which in AppBuilder is shown on the General tab, is defined here.
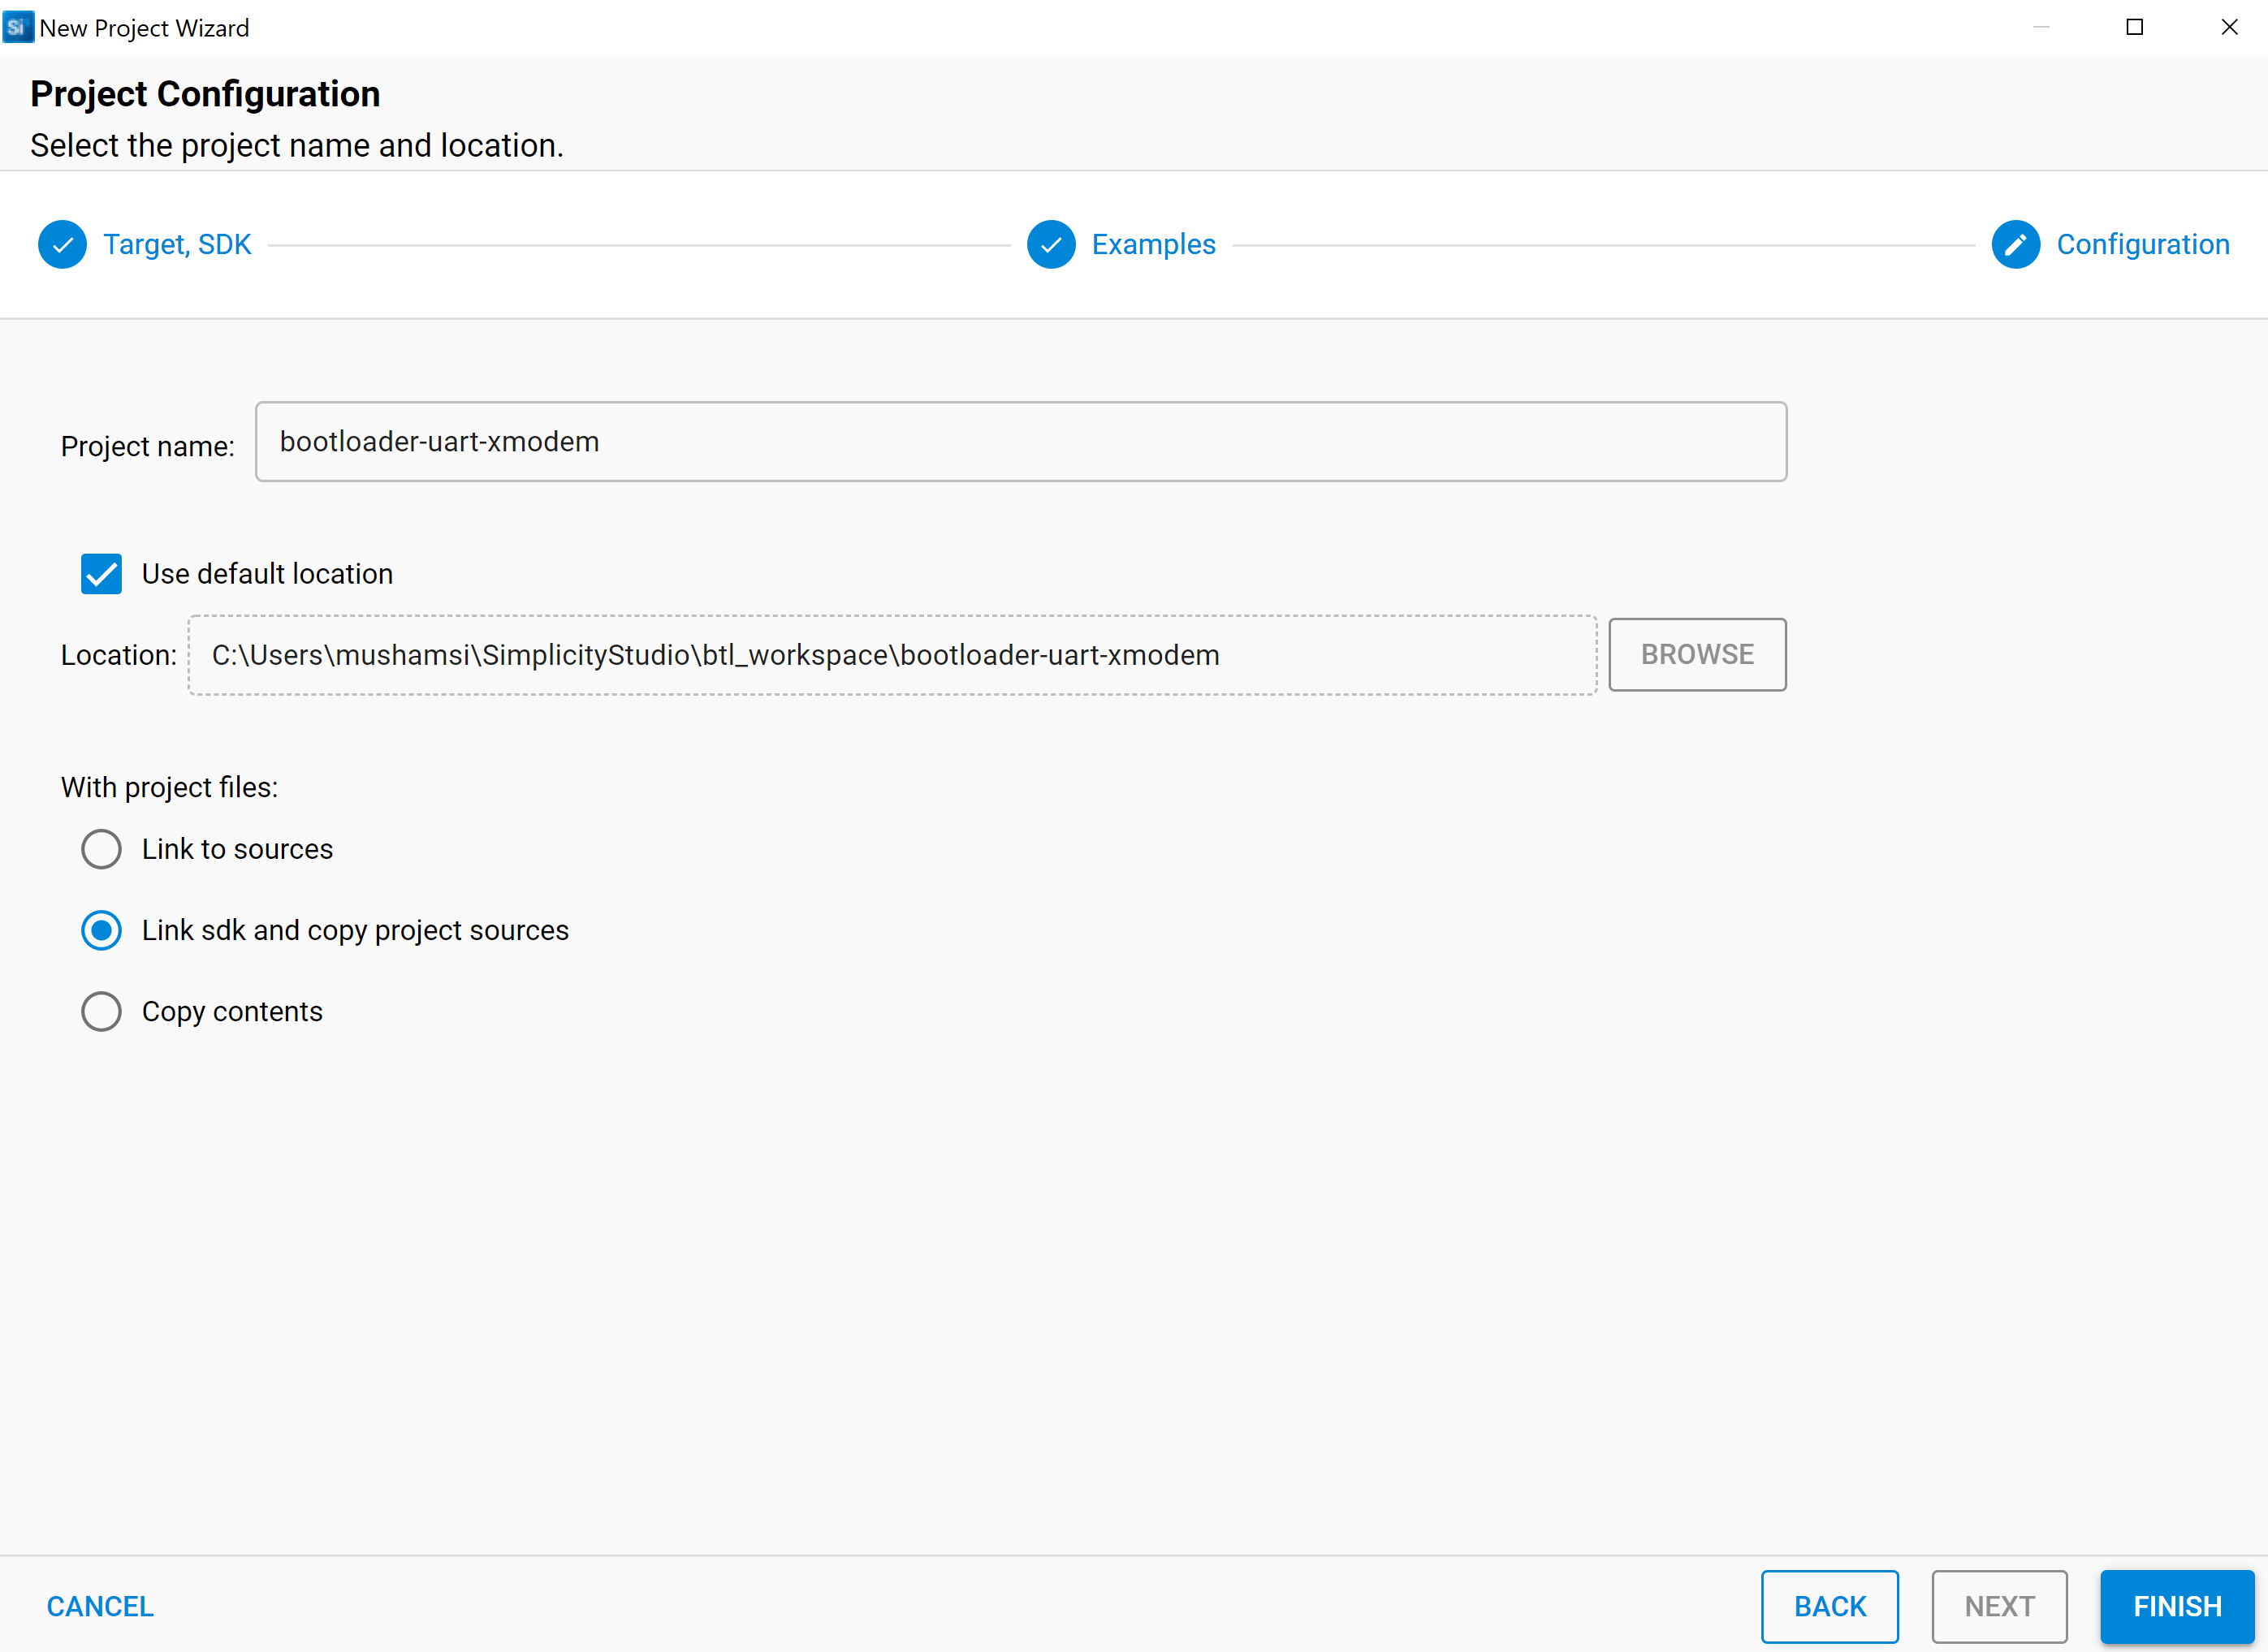
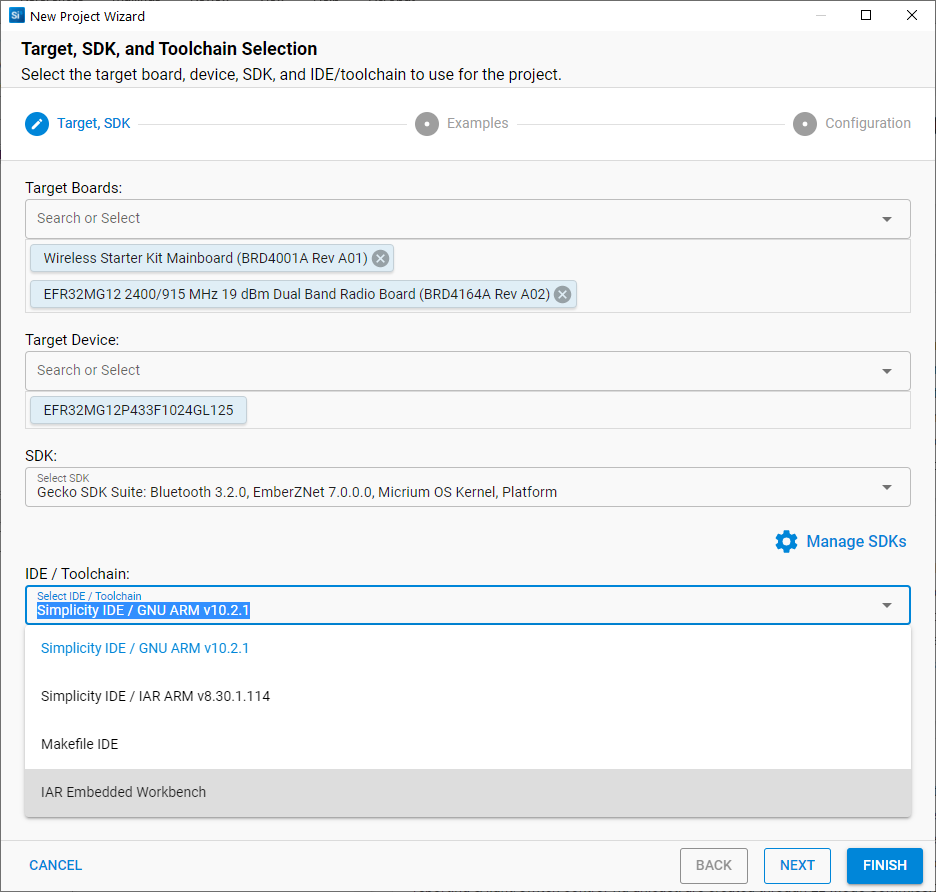
In SSv5, the compiler to use is specified when you create a project and, after that, is difficult to change (see Simplicity Studio 5 User’s Guide Tips & Tricks for a procedure to convert an existing project from GCC to IAR). If you do not want to use the default compiler (GCC unless otherwise specified), click BACK, and change it on the first Project Configuration dialog.
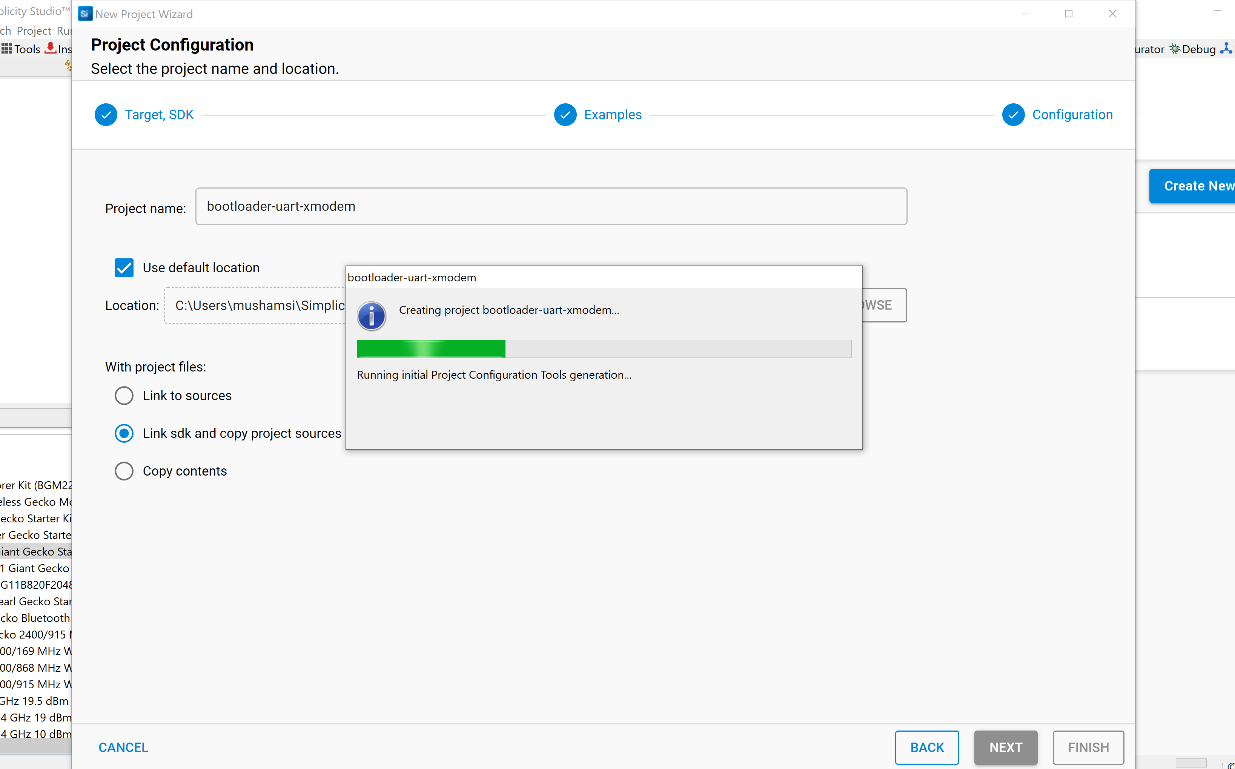
Click FINISH and the project will be generated.
Project File Structure#
On project generation, the required project files and folders are created.
Projects always include the following parts:
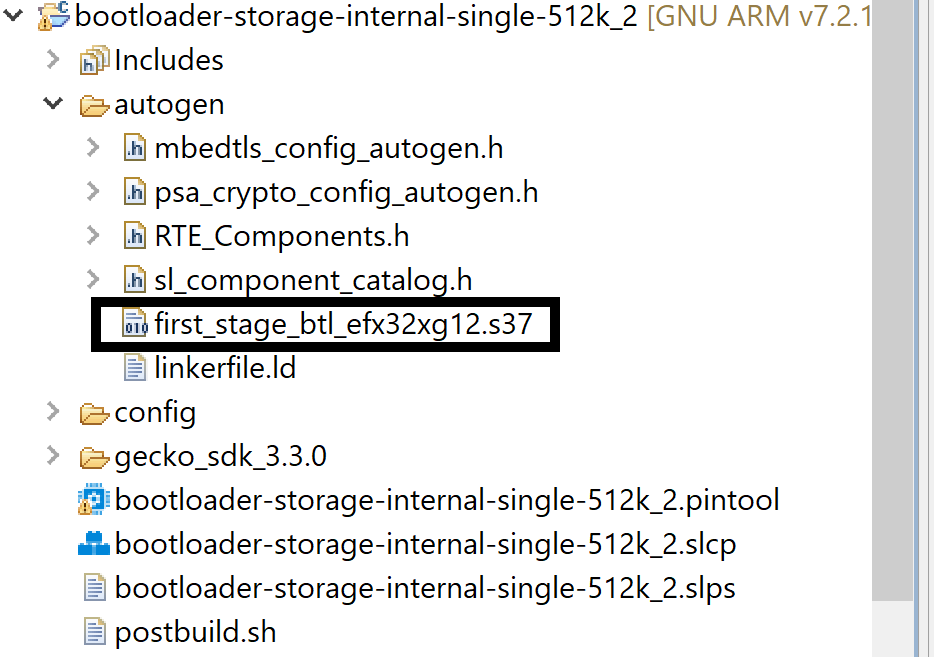
autogen folder: Only the autogen folder includes generated code. It includes configuration (mbedtls_config_autogen.h), init code, the linker script, and other generated code used by components, like the command descriptors for the CLI interface.
config folder: Component configuration headers are located in this folder. These can be edited with the Simplicity IDE Component Editor, but directly editing the header file is also possible. The Component Editor is available through the Project Configurator’s Configure control, available only for configurable components.
gecko_sdk folder (with version number): Contains source and binary files added by components.
files in the root folder: Only the application specific files should be in the root folder, including source files, the project configurator (.slcp) file and the Pin Tool (.pintool) file. For more details, see Silicon Labs Gecko Bootloader User's Guide for GSDK 4.0 and Higher.

The first stage bootloader binary file is copied to the autogen folder at the time of project generation. The correct first stage binary file is located in accordance with the target hardware and placed in the autogen, which is later used by the postbuild script to generate a combined bootloader binary. The autogen folder is shown below with the first stage bootloader binary.
Configuring a Project#
Most project configuration can be done through tools in Simplicity Studio. These tools provide the functionality previously provided by AppBuilder.
Project Configurator: the top-level project configuration tool through which you install and uninstall components and change other project parameters. It also provides access to other configuration tools.
Component Editor: provides access to the configurable parameters of an individual component.
Pin Tool: configures peripherals.
Once you create the project, the Project Configurator tabbed interface is presented, including:
Overview
Software Components
Configuration Tools
You can always re-open the Project Configurator by double-clicking the <projectname>.slcp file. For details on using the Project Configurator and Component Editor, see the Simplicity Studio 5 User's Guide.
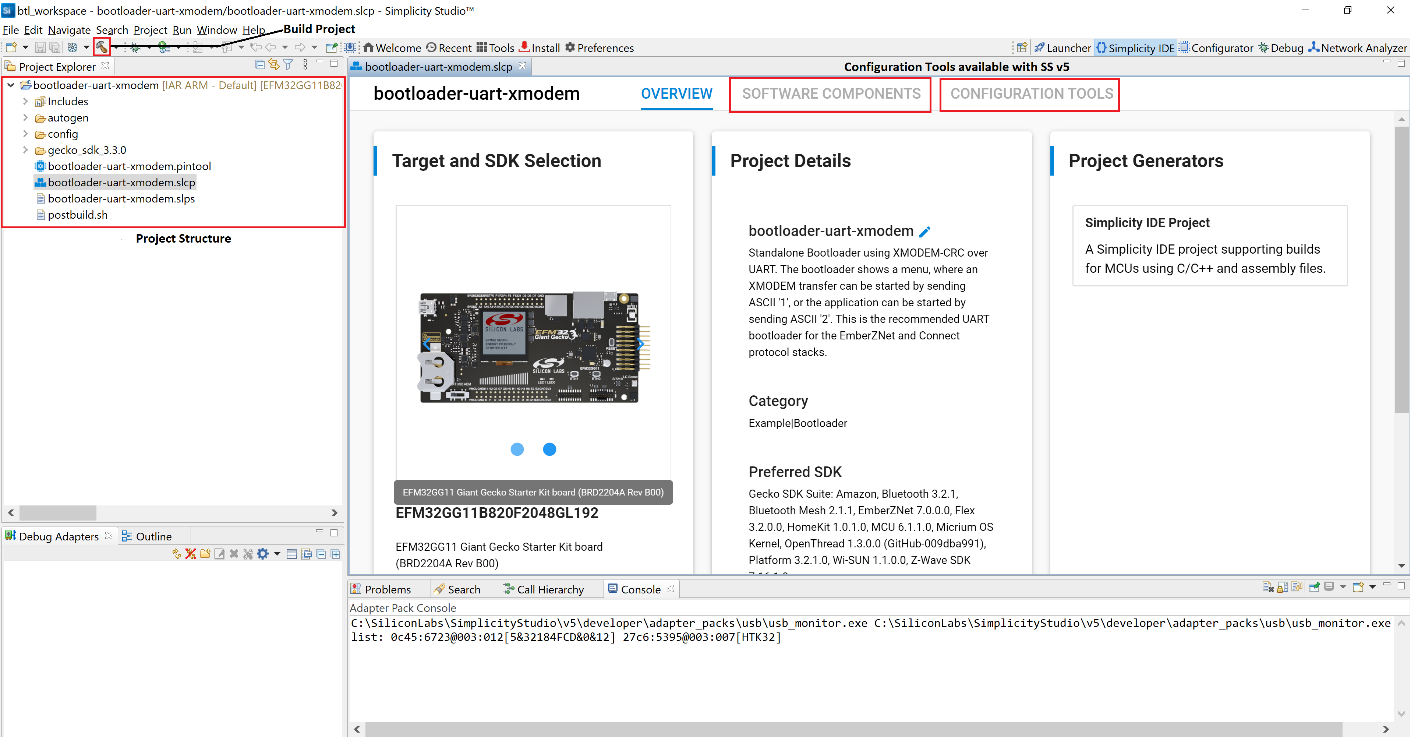
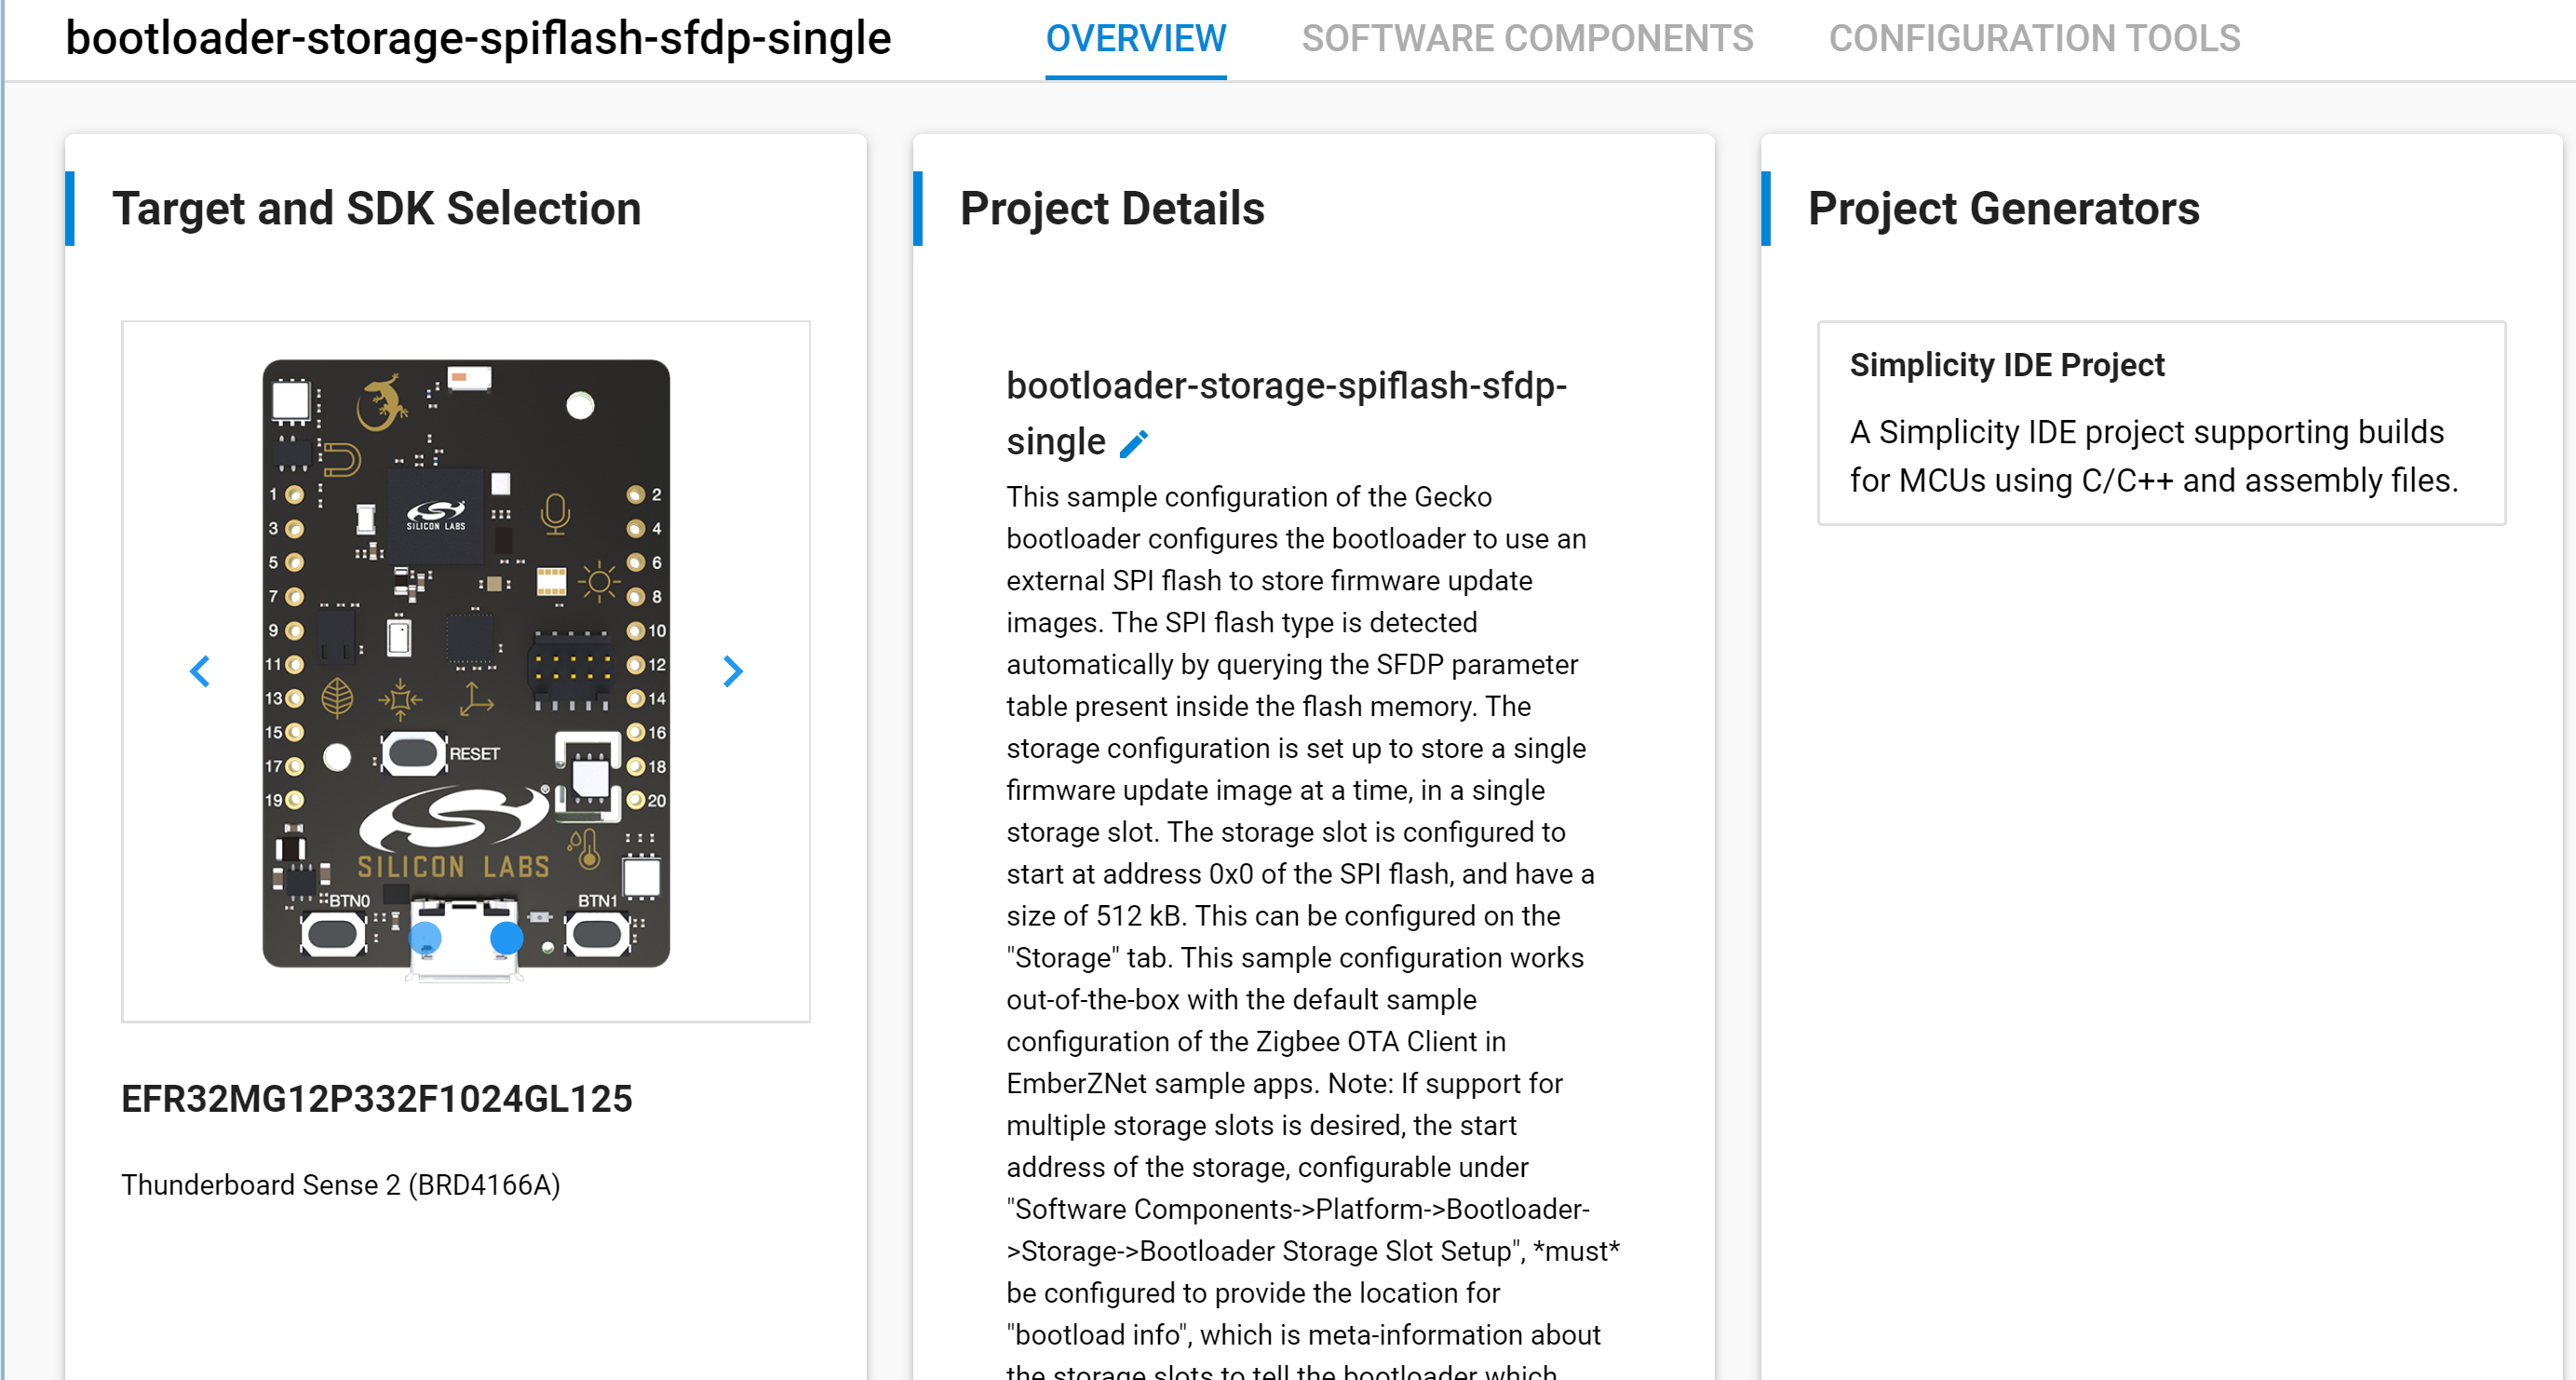
OVERVIEW Tab#
The OVERVIEW tab, like AppBuilder’s General tab, shows the target part information, and a description of the project.
Note that there is no Generate control. Changes made through Project Configurator are auto-saved and the project files are auto-generated. The Force Generation control on the Project Details card is provided for use only in the event of a system problem, where auto-generation fails.
The Project Generators interface controls generation of additional files for import into other IDEs. It does not change the compiler used to build the application image.
SOFTWARE COMPONENTS Tab#
The SOFTWARE COMPONENTS tab shows the available components and those that are already installed in the example code.
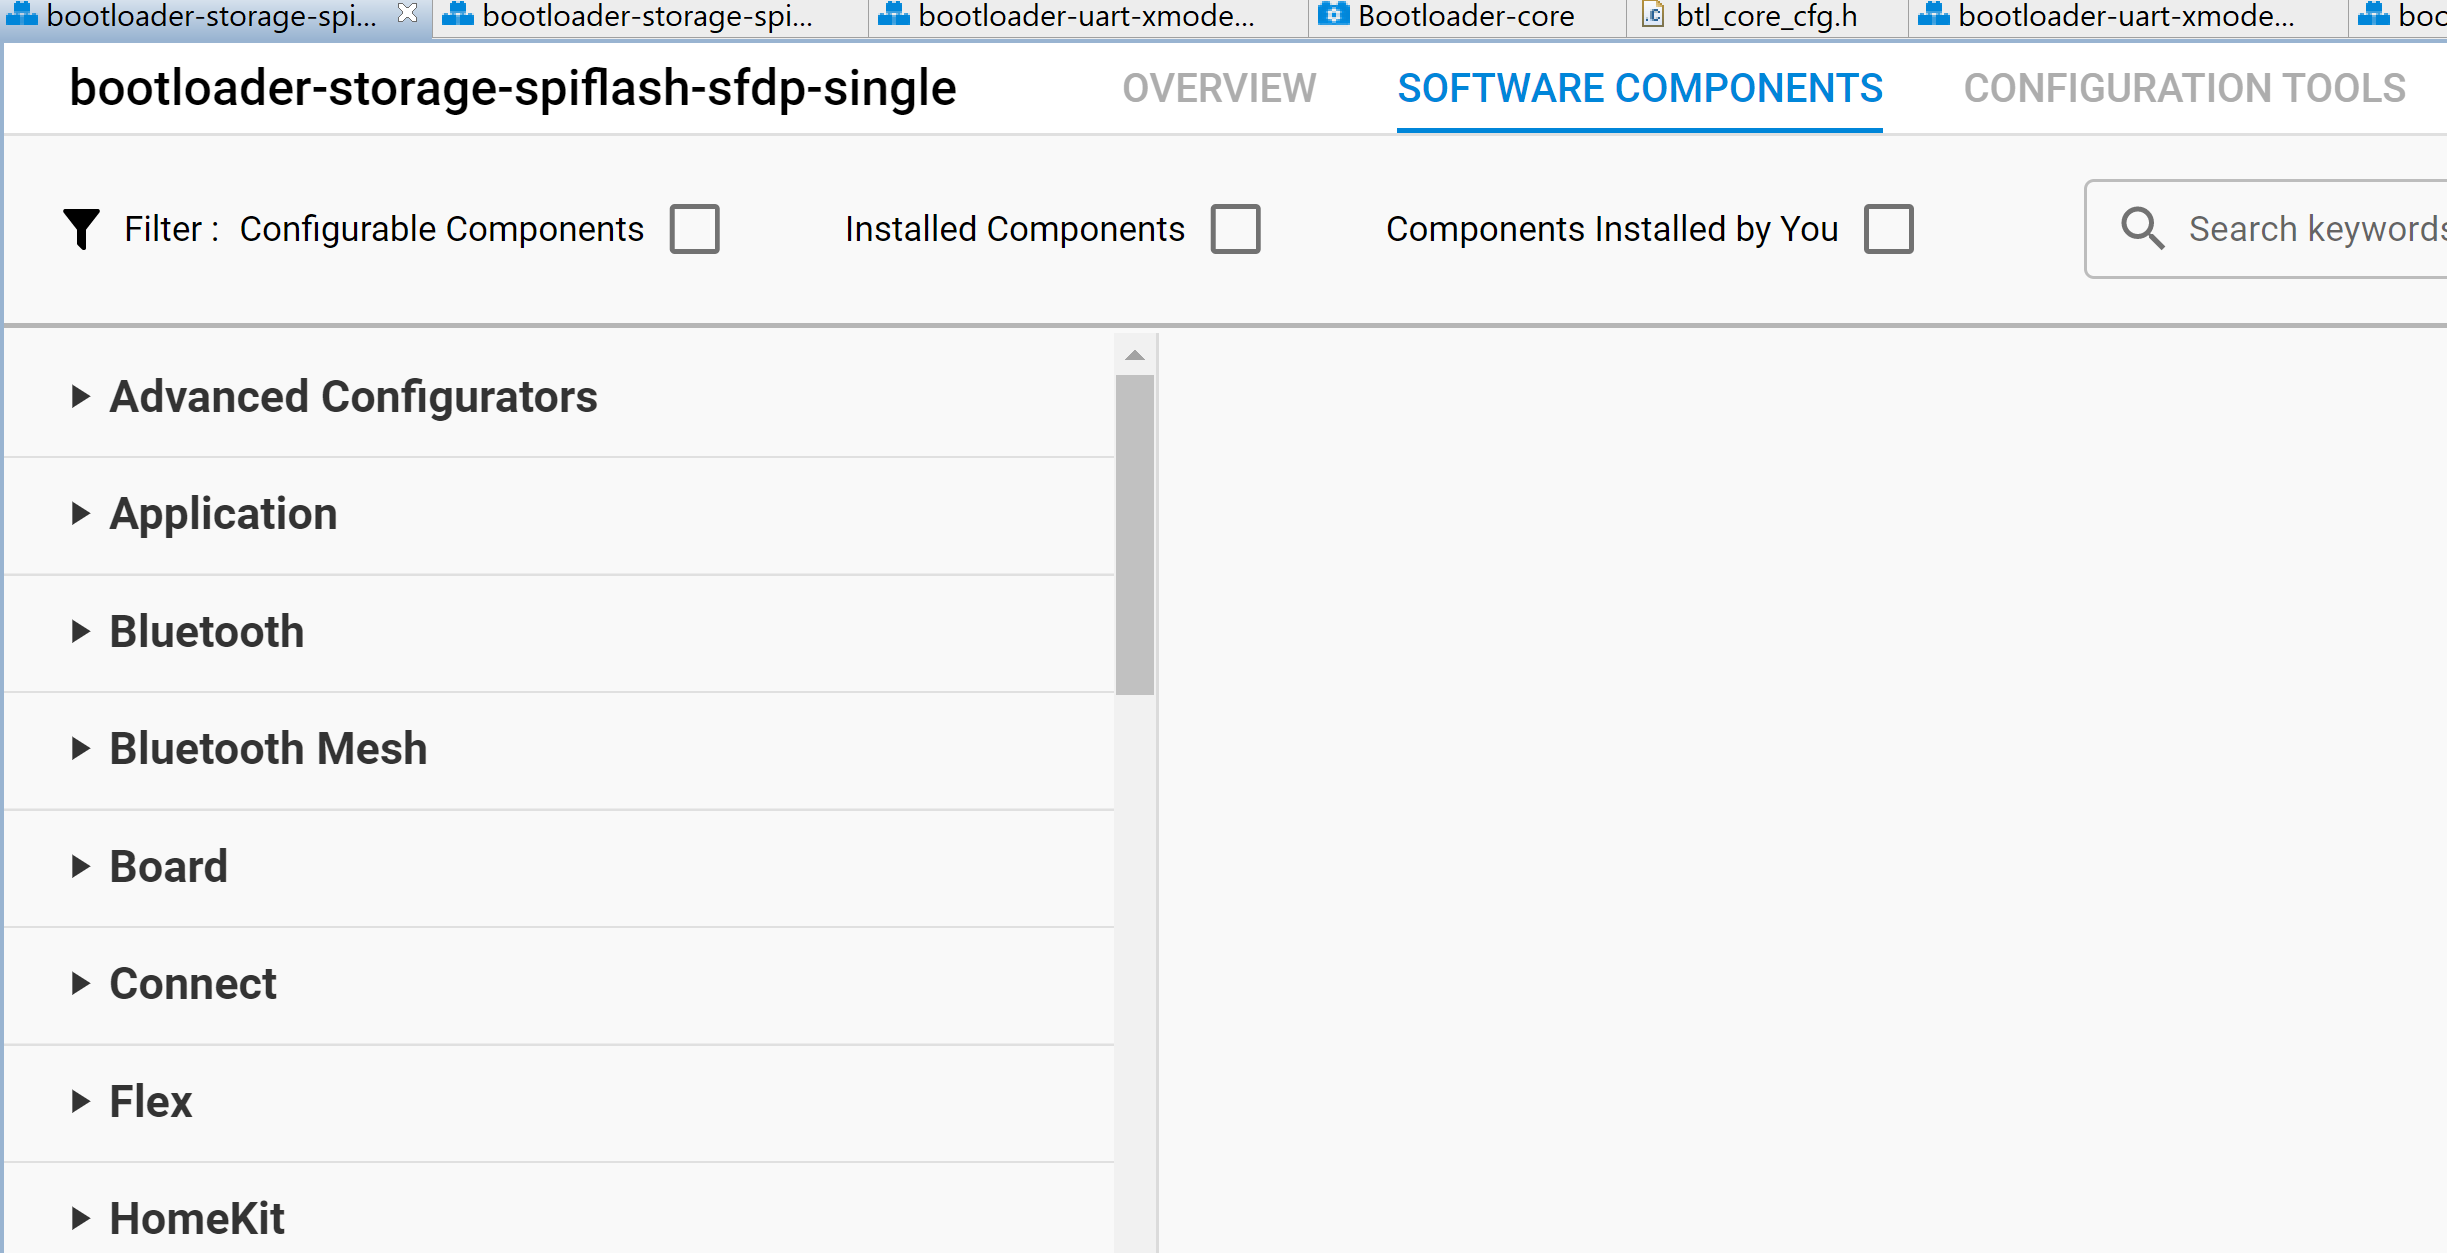
Component groupings are subject to change in SDK releases, as new components are added and organization is updated. The most reliable way to find a specific component is to search for it. You can also filter the displayed components using the checkboxes at the top.
Installed components have a circled checkmark to the left. Configurable components have a gear icon to the right.
Select a component to see details about it. Click Install to install the component or Uninstall to remove it. If it is configurable, a Configure control is shown in the upper right.
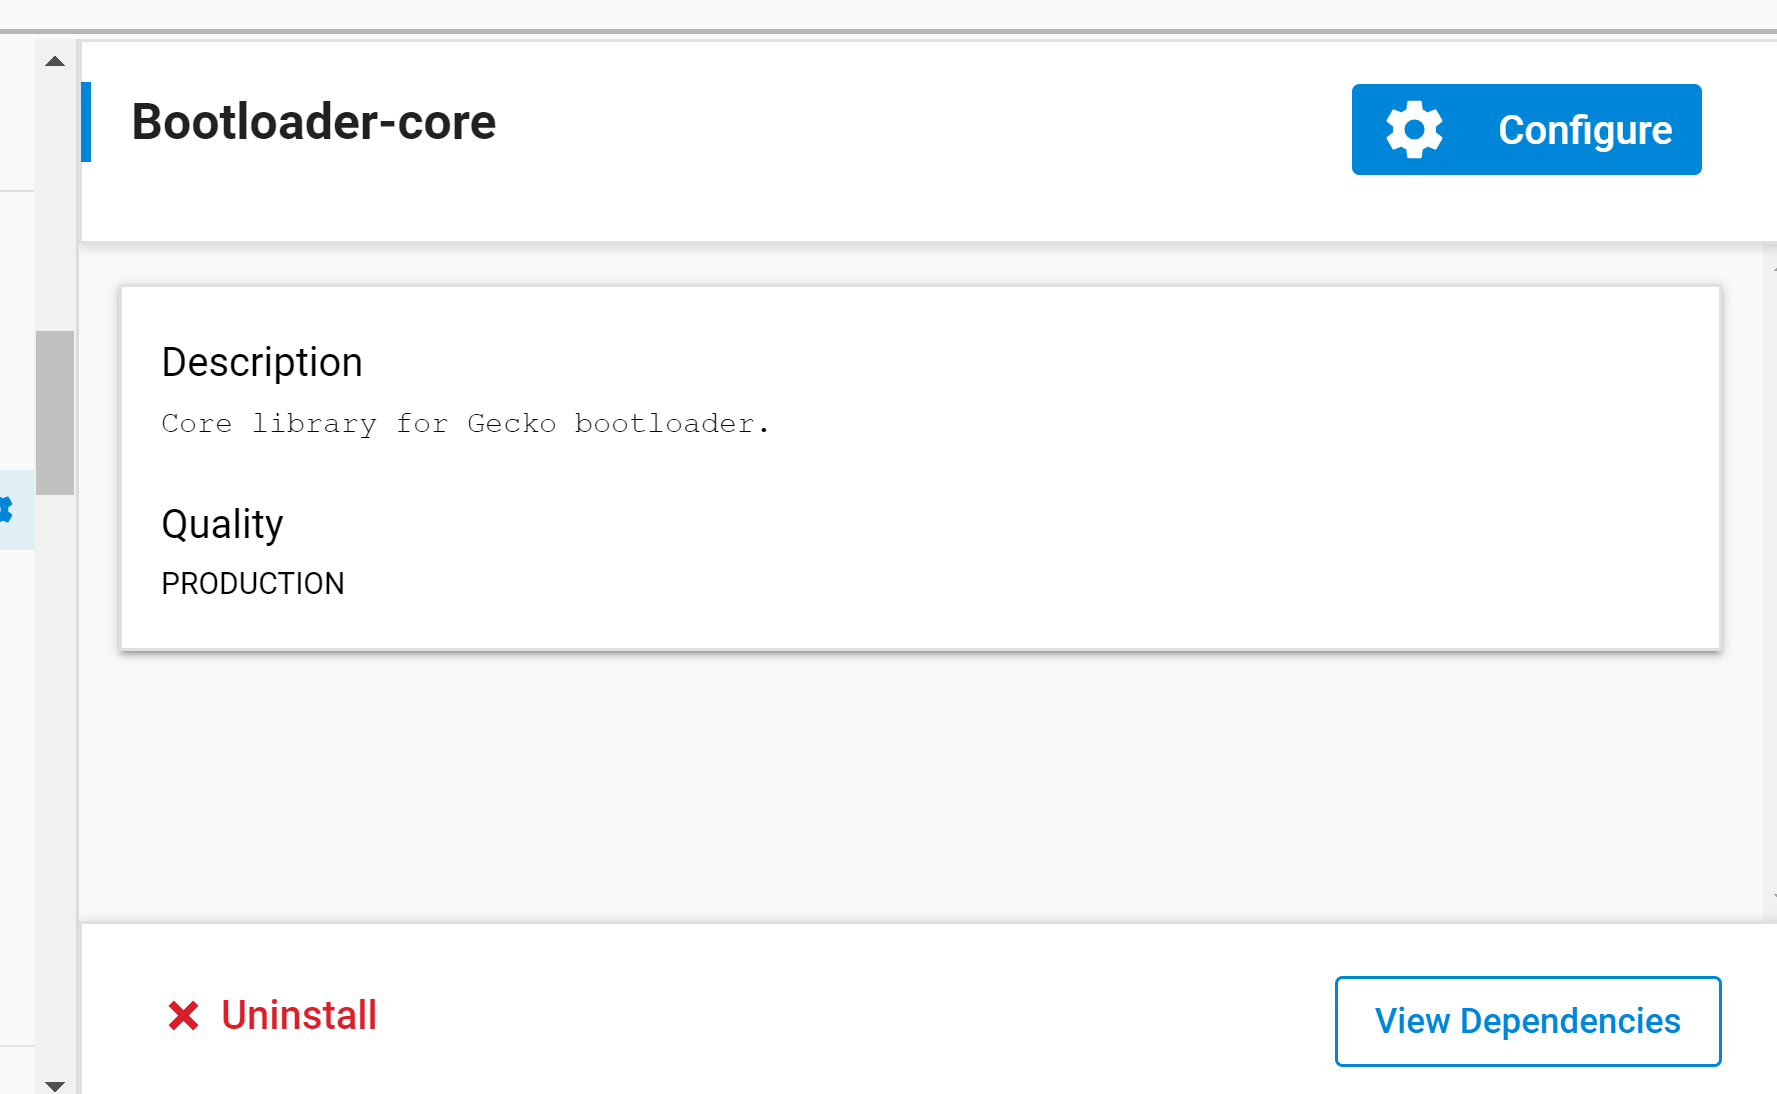
Click that control or the gear icon next to an installed component name to open the Component Editor in a new tab.
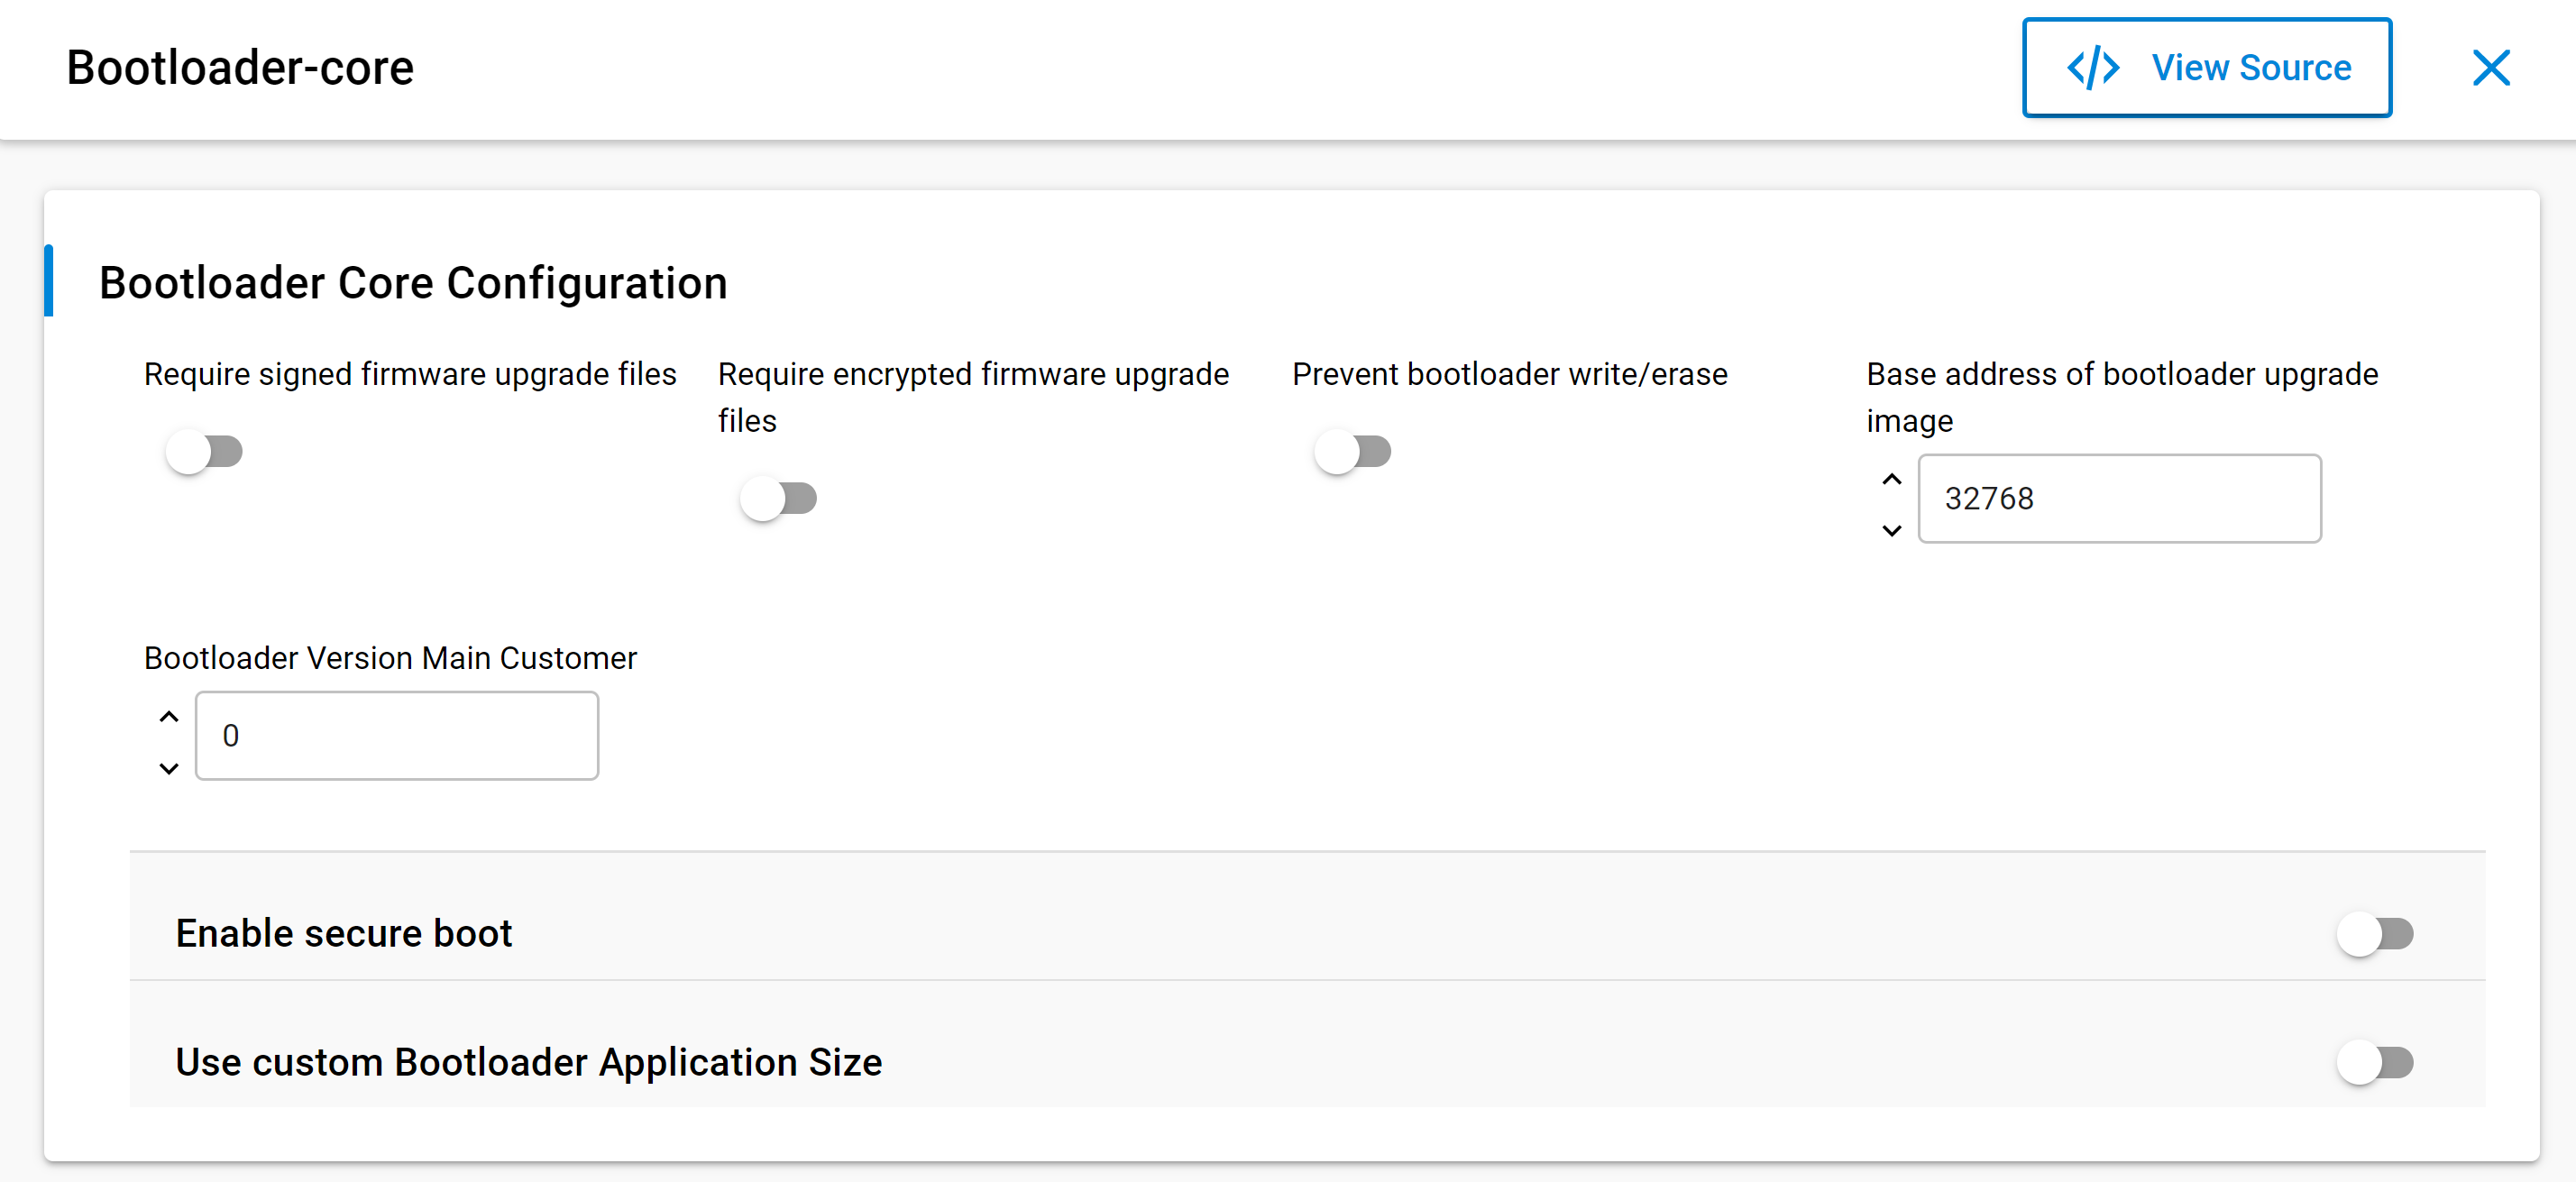
Save any changes to trigger file generation.
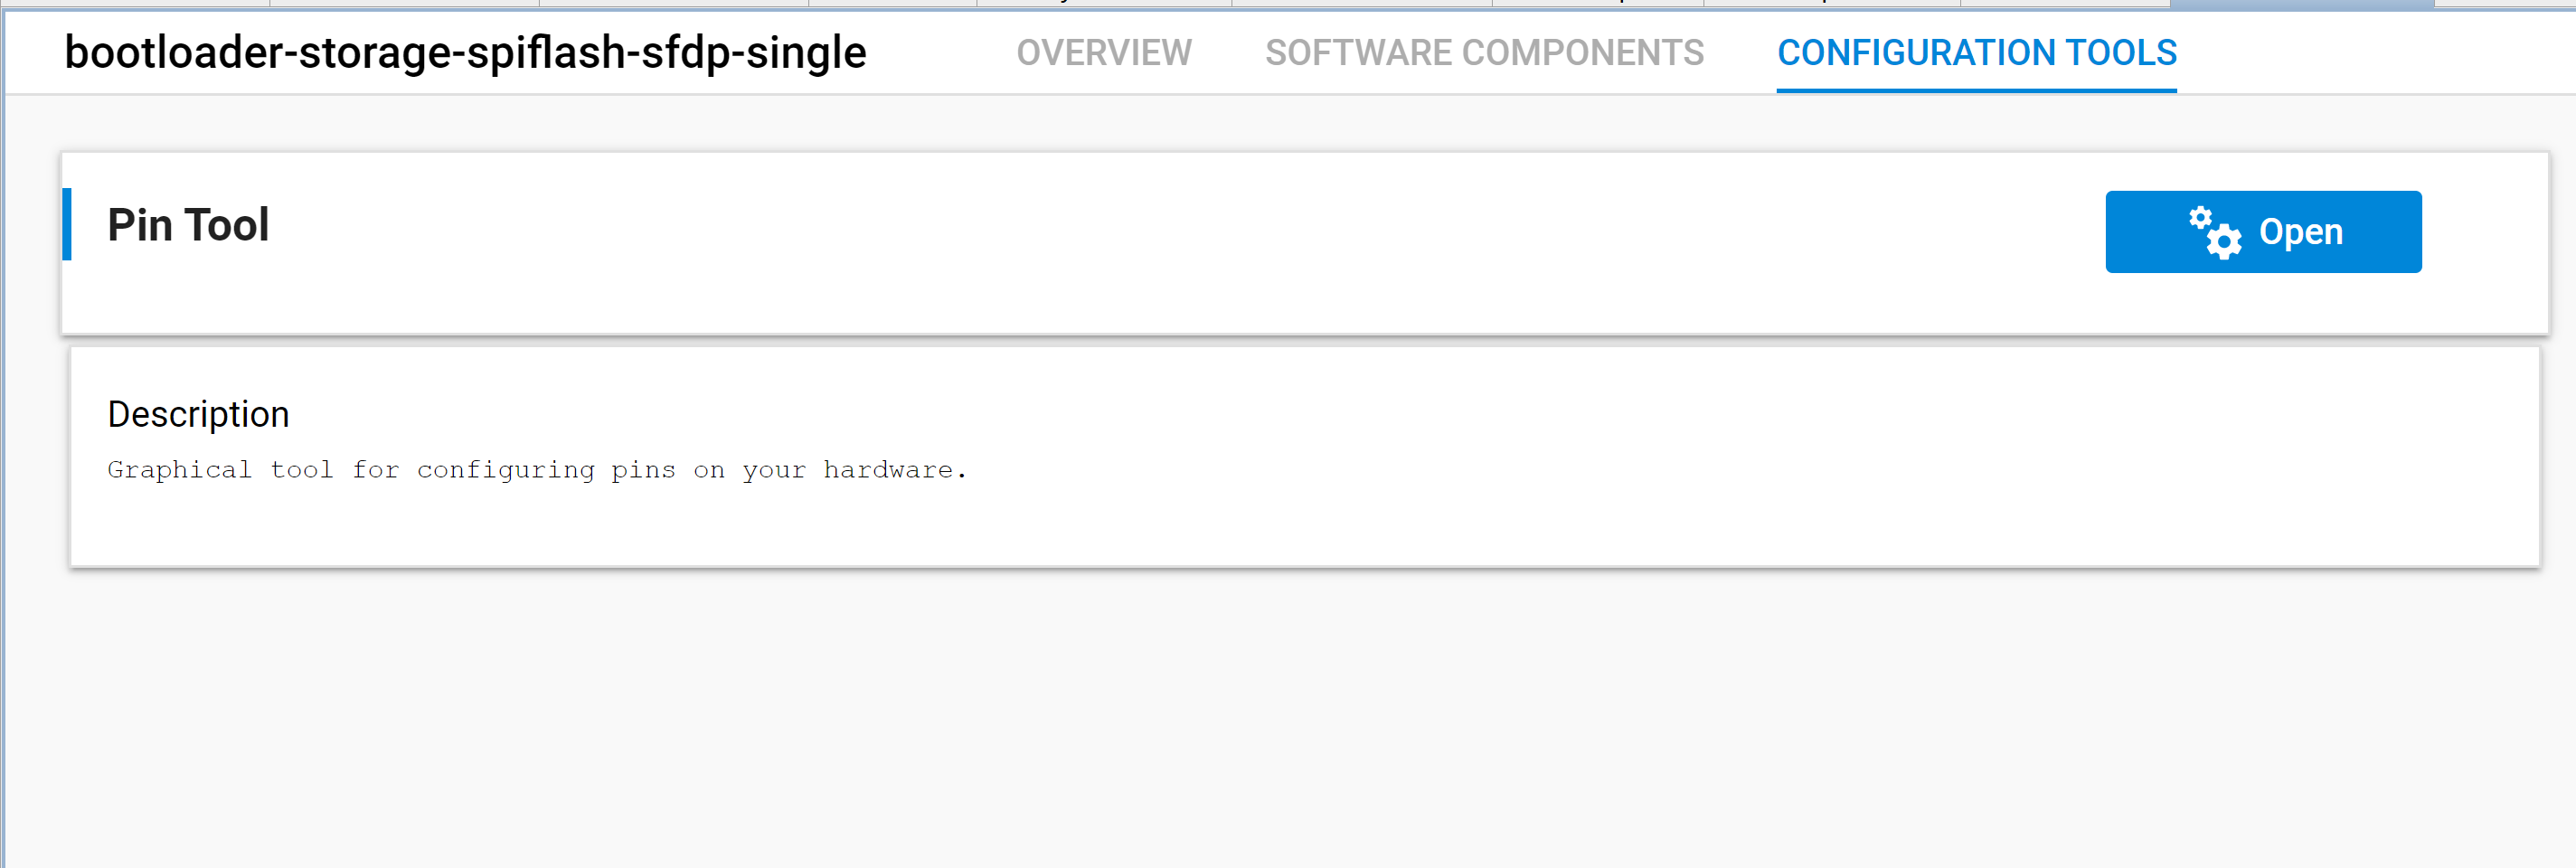
CONFIGURATION TOOLS Tab#
The CONFIGURATION TOOLS tab is a quick way of opening useful tools for project development.