Using the Pre-Built Raspberry Pi "Matter Hub" Image#
When using a Raspberry Pi as a controller in your Matter network you have two options
Building Environment using Raspberry Pi 4#
To flash the Ubuntu OS onto the SD card:#
Insert the flashed SD card (directly or using a card reader) into the laptop/PC that will run the Raspberry Pi Imager tool.
Launch Raspberry Pi 4 Imager.
Flash the Pi image using any one of the following procedure:
Click 'Choose OS' --> 'Other General-purpose OS' --> 'Ubuntu' --> 'Ubuntu xx.xx 64-bit server OS' Note: Flash the latest version of Ubnutu Server (64-bit server OS for arm64 architecture)
Download the Matter Hub Raspberry Pi Image provided on the Matter Artifacts page, then click 'Choose OS' --> 'Use custom' --> select the Matter Hub Raspberry Pi Image which you downloaded.
Click 'Storage' and select the 'SD card detect'.
This Raspberry Pi 4's console can be accessed in multiple ways. In this guide Raspberry Pi 4 is being accessed using Putty.
Enter the details like User name, Password, SSID and its password to connect to network. Click 'Save'.
Click 'Write' and then 'Yes' when you are asked for permission to erase data on the SD card. It will then start flashing the OS onto the SD card.
When it is done, click 'Continue'.
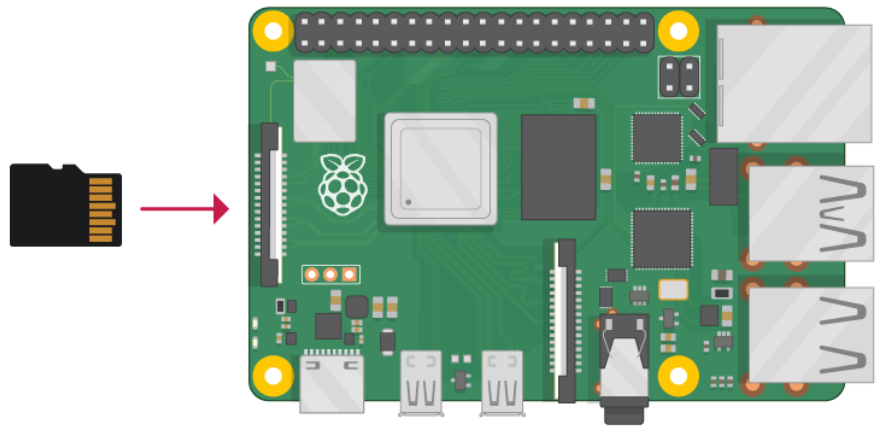
Remove the SD card from the reader and insert it into the Raspberry Pi as shown below:
On powering up the board, the red and green lights should start blinking.
To start using the Raspberry Pi:#
Use this reference to find the IP address of your Raspberry Pi.
Once you find the IP address, launch Putty, select
Session, enter the IP address of the Raspberry Pi, and clickOpenEnter the username and password given at the time of flashing and click
EnterNote: If username and password not provided while flashing then by default Username: ubuntu Password: ubuntu
Update the latest packages by running following commands in the terminal:
$ sudo apt update $ sudo apt installInstall required packages using the following commands:
$ sudo apt-get install git gcc g++ pkg-config libssl-dev libdbus-1-dev libglib2.0-dev libavahi-client-dev ninja-build python3-venv python3-dev python3-pip unzip libgirepository1.0-dev libcairo2-dev libreadline-devIf you see any popups between installs, you can select 'Ok' or 'Continue'
Build Environment#
S
Installing prerequisites on Raspberry Pi 4 Follow the instructions in the Project CHIP GitHub Site, in the section "Installing prerequisites on Raspberry Pi 4".
To build environment follow the
Software setupandCompiling chip-toolsteps given in Software setup,
Bluetooth Setup#
Make sure Bluetooth LE (BLE) is up and running on Raspberry Pi. Raspberry Pi internally has some issues with BLE that may cause it to crash. Because BLE is used for commissioning on Matter, make sure BLE is running.
$ sudo systemctl status bluetooth.serviceTo stop BLE if it is already running:
$ sudo systemctl stop bluetooth.serviceTo restart the Bluetooth service, first enable it:
$ sudo systemctl enable bluetooth.serviceWhen you check the status of the Bluetooth service, it will be inactive because it has been enabled but not restarted:
$ sudo systemctl status bluetooth.serviceRestart the service:
$ sudo systemctl restart bluetooth.serviceNow the status of the service should be active and running:
$ sudo systemctl status bluetooth.service