


Using Simplicity Connect for OTA DFU#
Introduction#
This tutorial explains how to perform a Device Firmware Upgrade (DFU) using a Bluetooth Over-the-Air (OTA) update. You can perform an OTA update on any device that has OTA functionality enabled in its GATT profile.
Most example applications provided with the Bluetooth SDK include OTA support. In these examples, DFU mode is triggered through the Silicon Labs OTA service included in the application's GATT database. You can add OTA functionality to a project by installing the OTA DFU software component.
In this tutorial, you will upgrade the Bluetooth - SoC Blinky SDK example application to the Bluetooth - SoC Interoperability Test example application.
Requirements#
Wireless Starter Kit and Bluetooth-capable radio board
Simplicity Studio 6
Android or iOS mobile device
Applicaiton Setup#
Connect the kit to your computer and select it in Simplicity Studio.
Create the
Bluetooth - SoC Blinkyexample project from Simplicity Studio Launcher.Build the
Bluetooth - SoC Blinkyproject and flash the firmware image to the device.Create the
Bluetooth - SoC Interoperability Testexample project.Build the
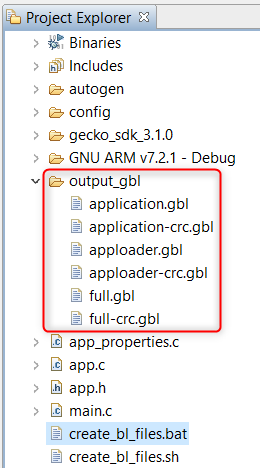
Bluetooth - SoC Interoperability Testproject and double-click thecreate_bl_files.bat/shscript in the project tree. You may need to define two environment variables,PATH_SCMDandPATH_GCCARM, before running the script. The script creates a folder namedoutput_gblunder your project and six.gblupgrade image files in this folder:application.gbl: user application (including full Bluetooth stack)application-crc.gbl: user application with a CRC32 checksumapploader.gbl: AppLoader (including minimal Bluetooth stack)apploader-crc.gbl: AppLoader with a CRC32 checksumfull.gbl: user application and AppLoader (full update) for UART DFU, not needed in this example.full-crc.gbl: user application and AppLoader (full update) with a CRC32 checksum for UART DFU, not needed in this example.
A full update is needed only if the AppLoader needs to be updated. See Using the Gecko Bootloader with Silicon Labs Bluetooth Applications for more details.
Transfer the
.gblfiles to your smartphone so the mobile app can find them. You can either transfer them via USB to any folder on your phone or place them in cloud storage that is available from your phone (for example, Google Drive, Dropbox, or iCloud).Launch the Simplicity Connect mobile app.
Simplicity Connect Mobile App Setup#
After launching the app, perform the following steps:
Go to the
Scantab and find and connect to your kit (default name "Blinky Example").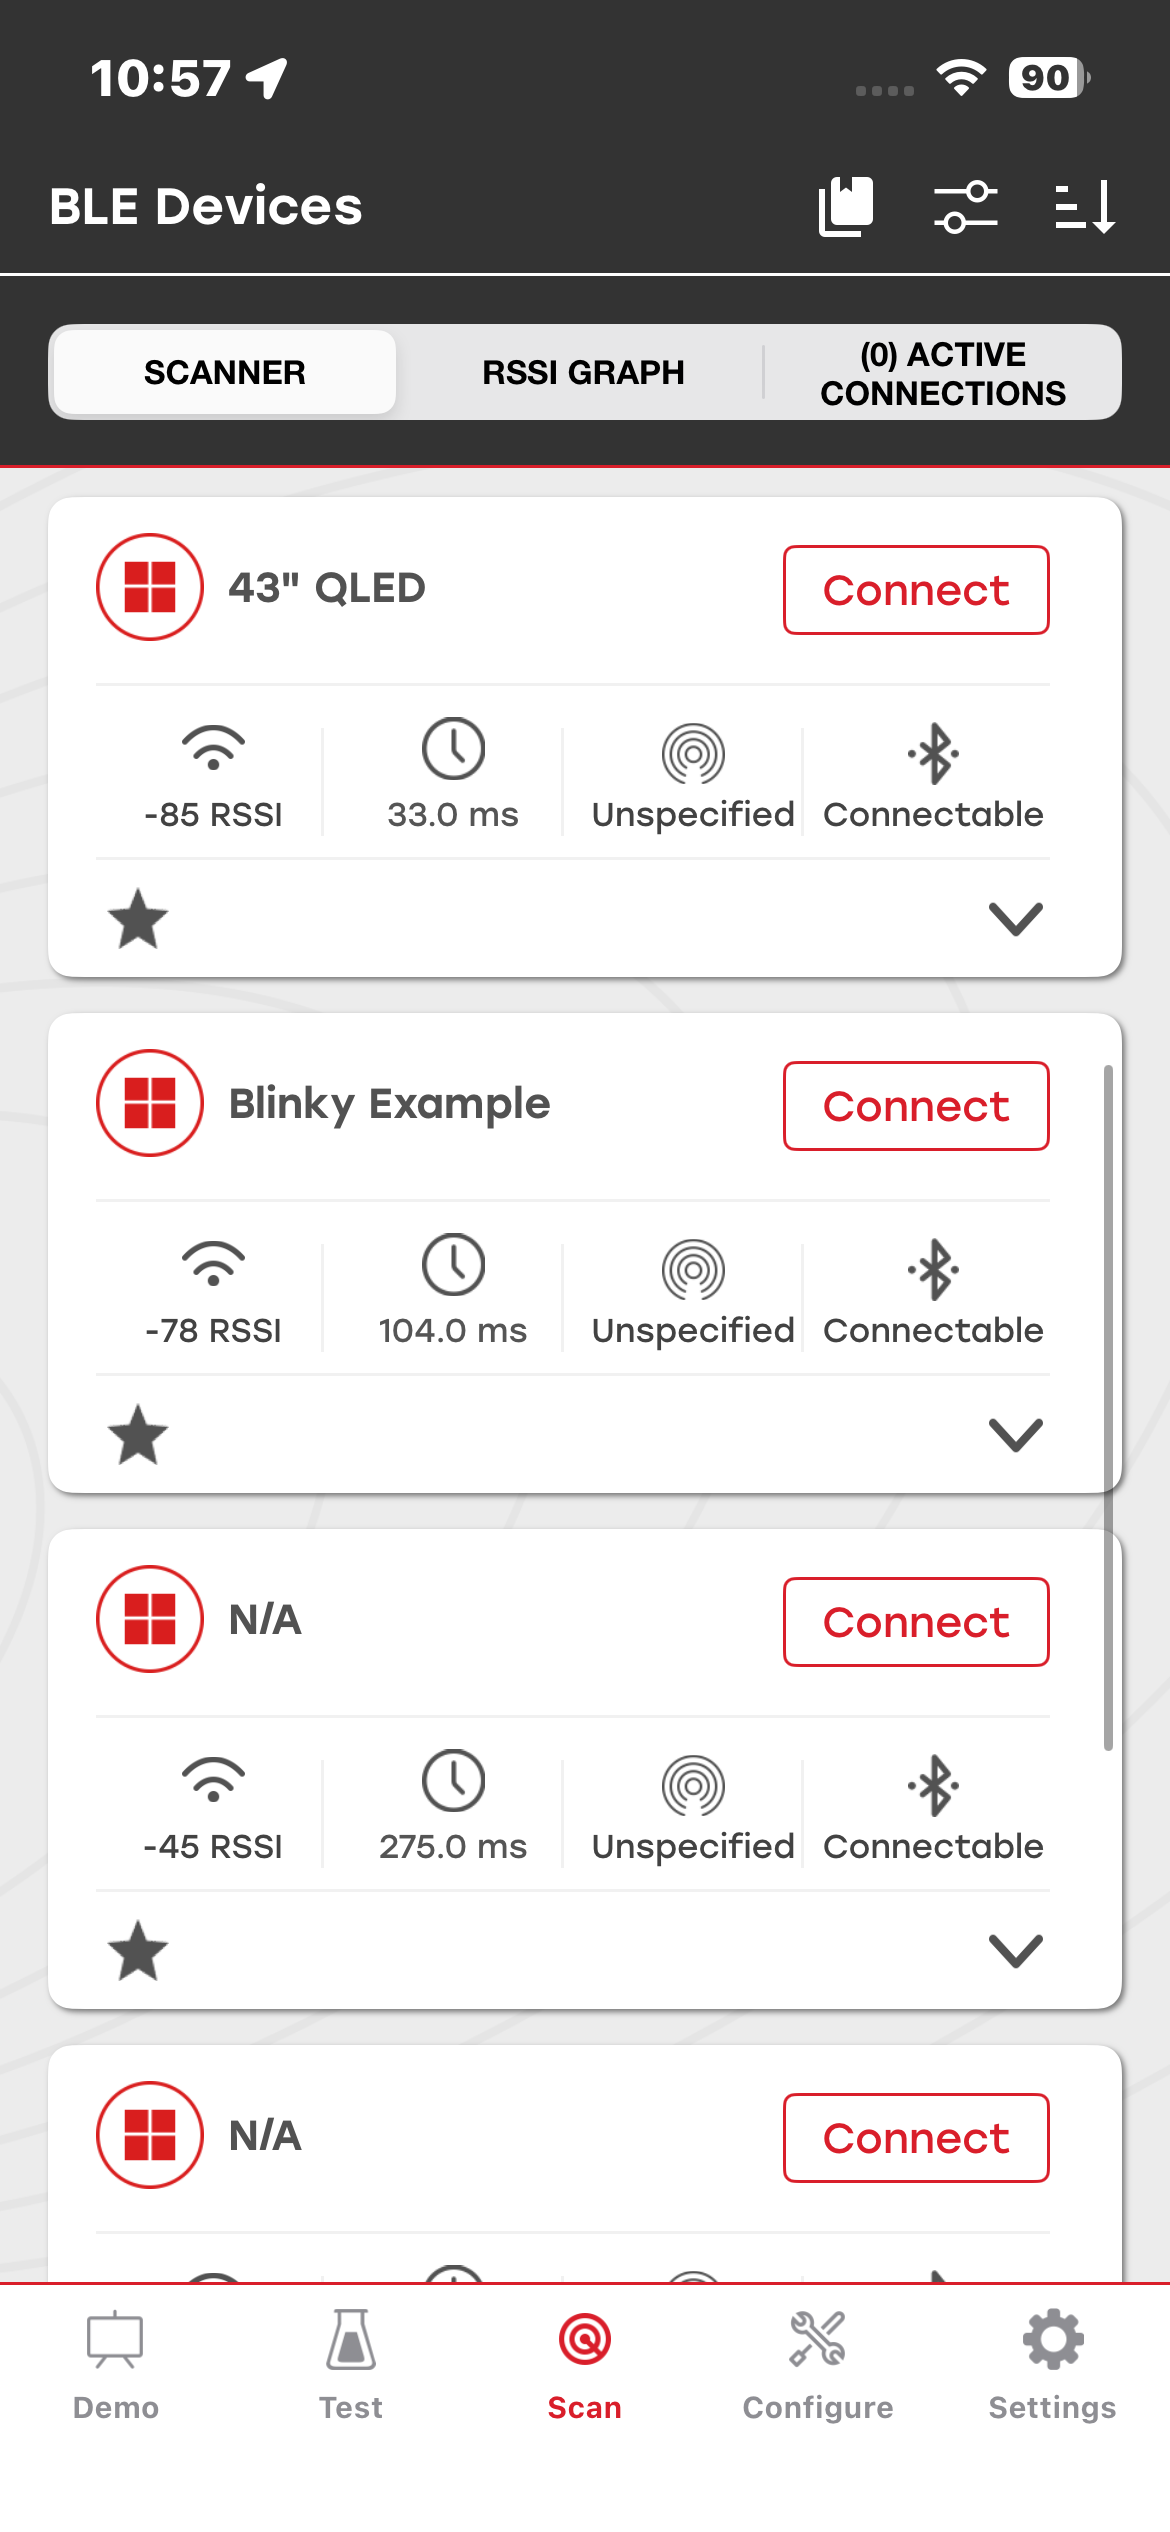
Select the
OTA Firmwareoption from the upper-right corner.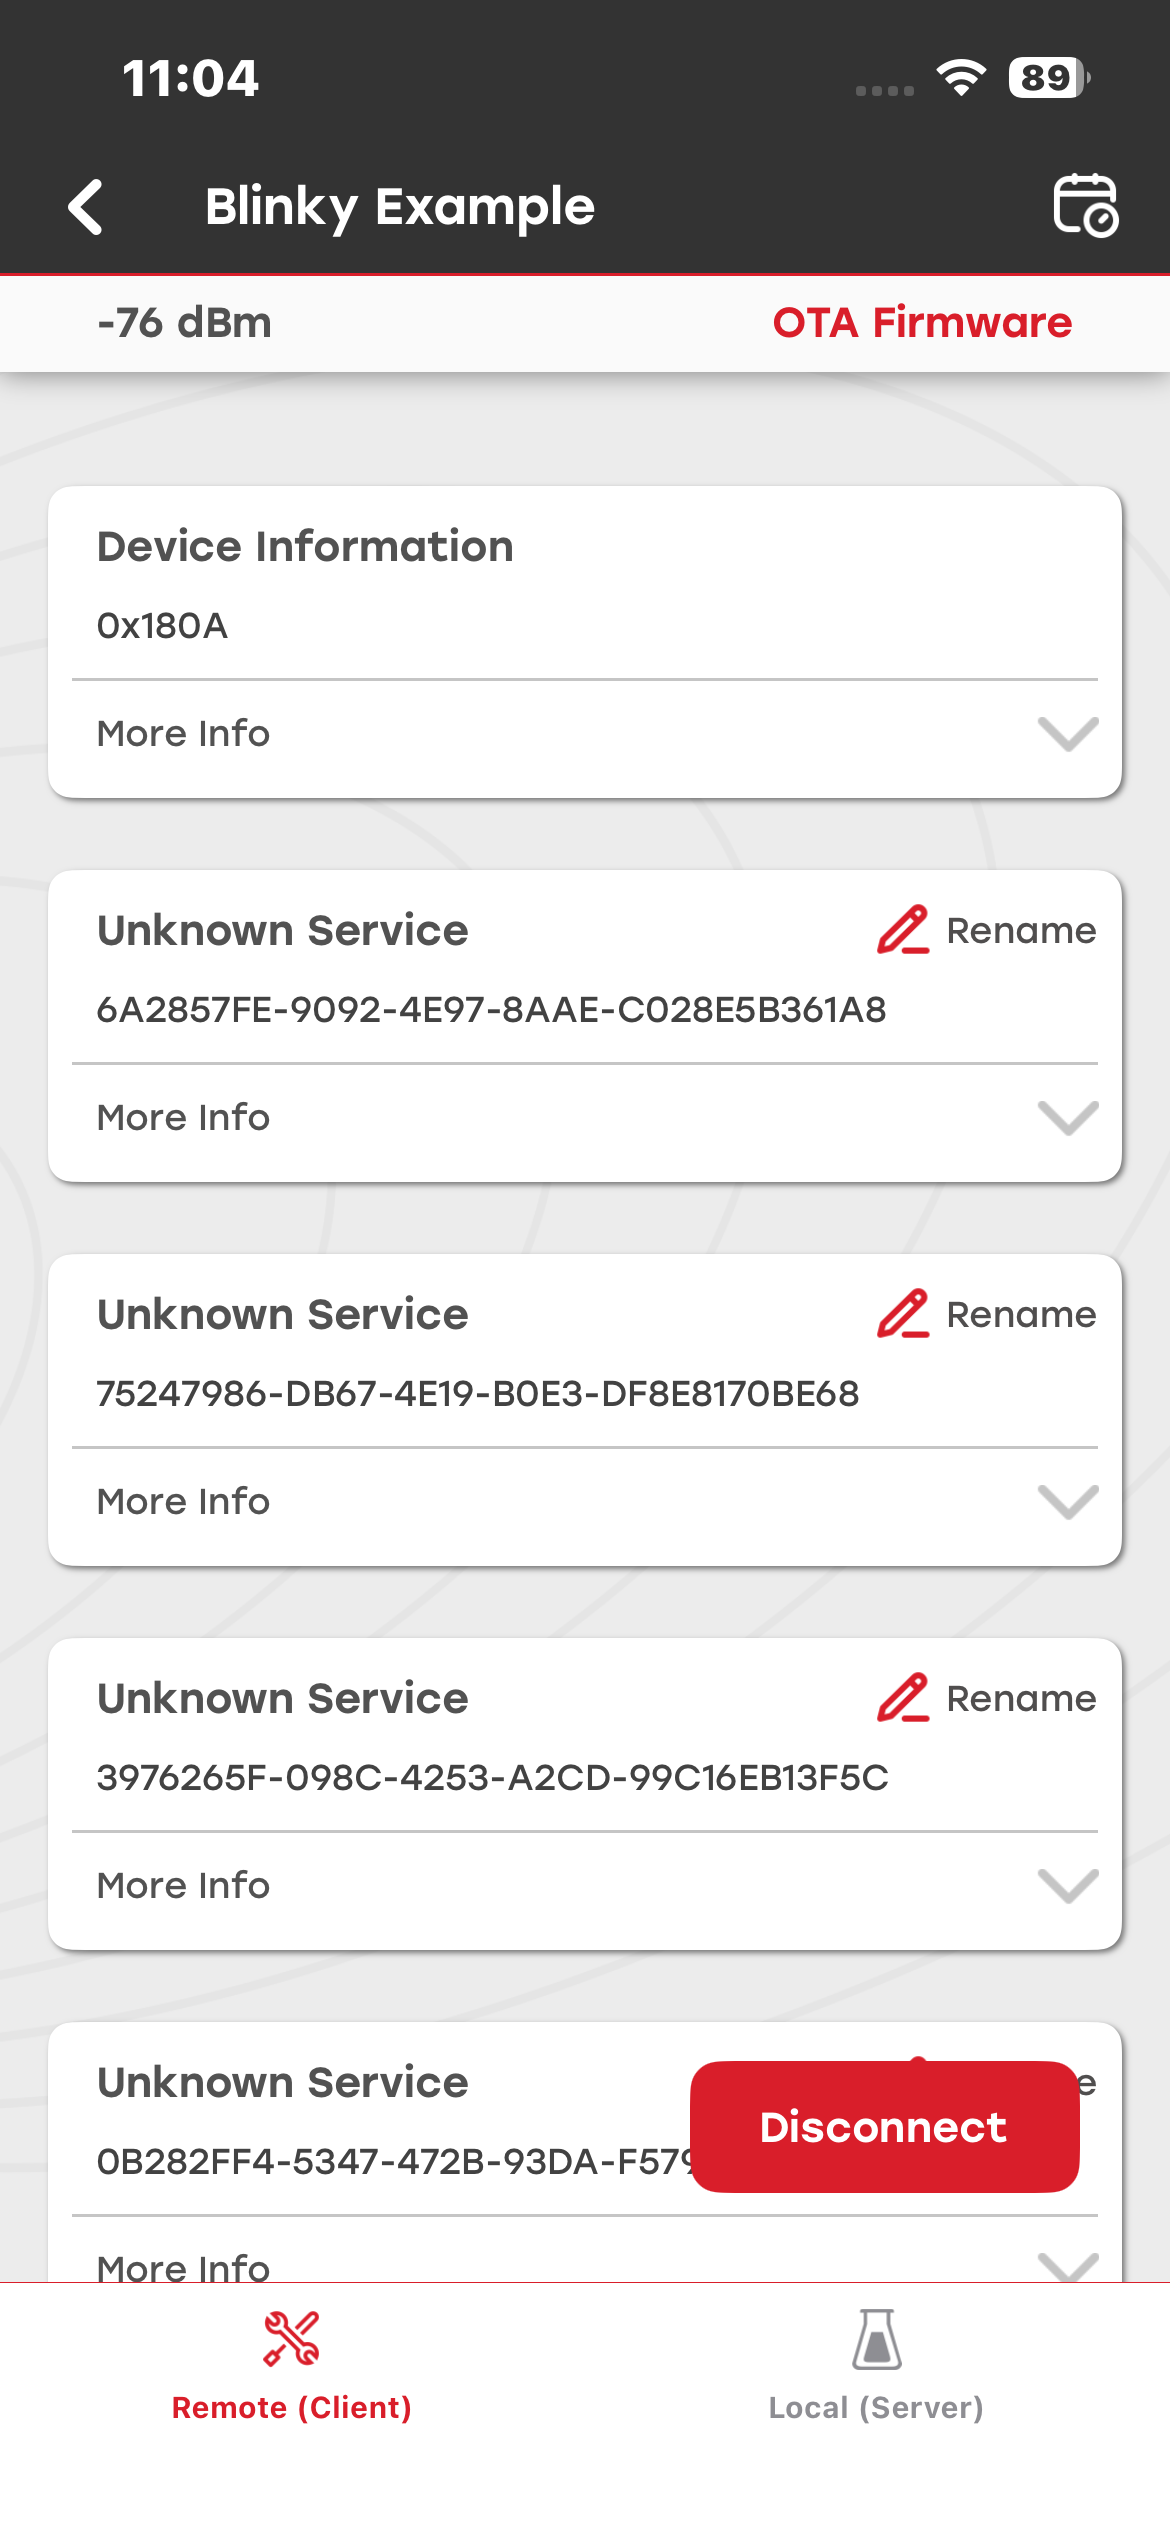
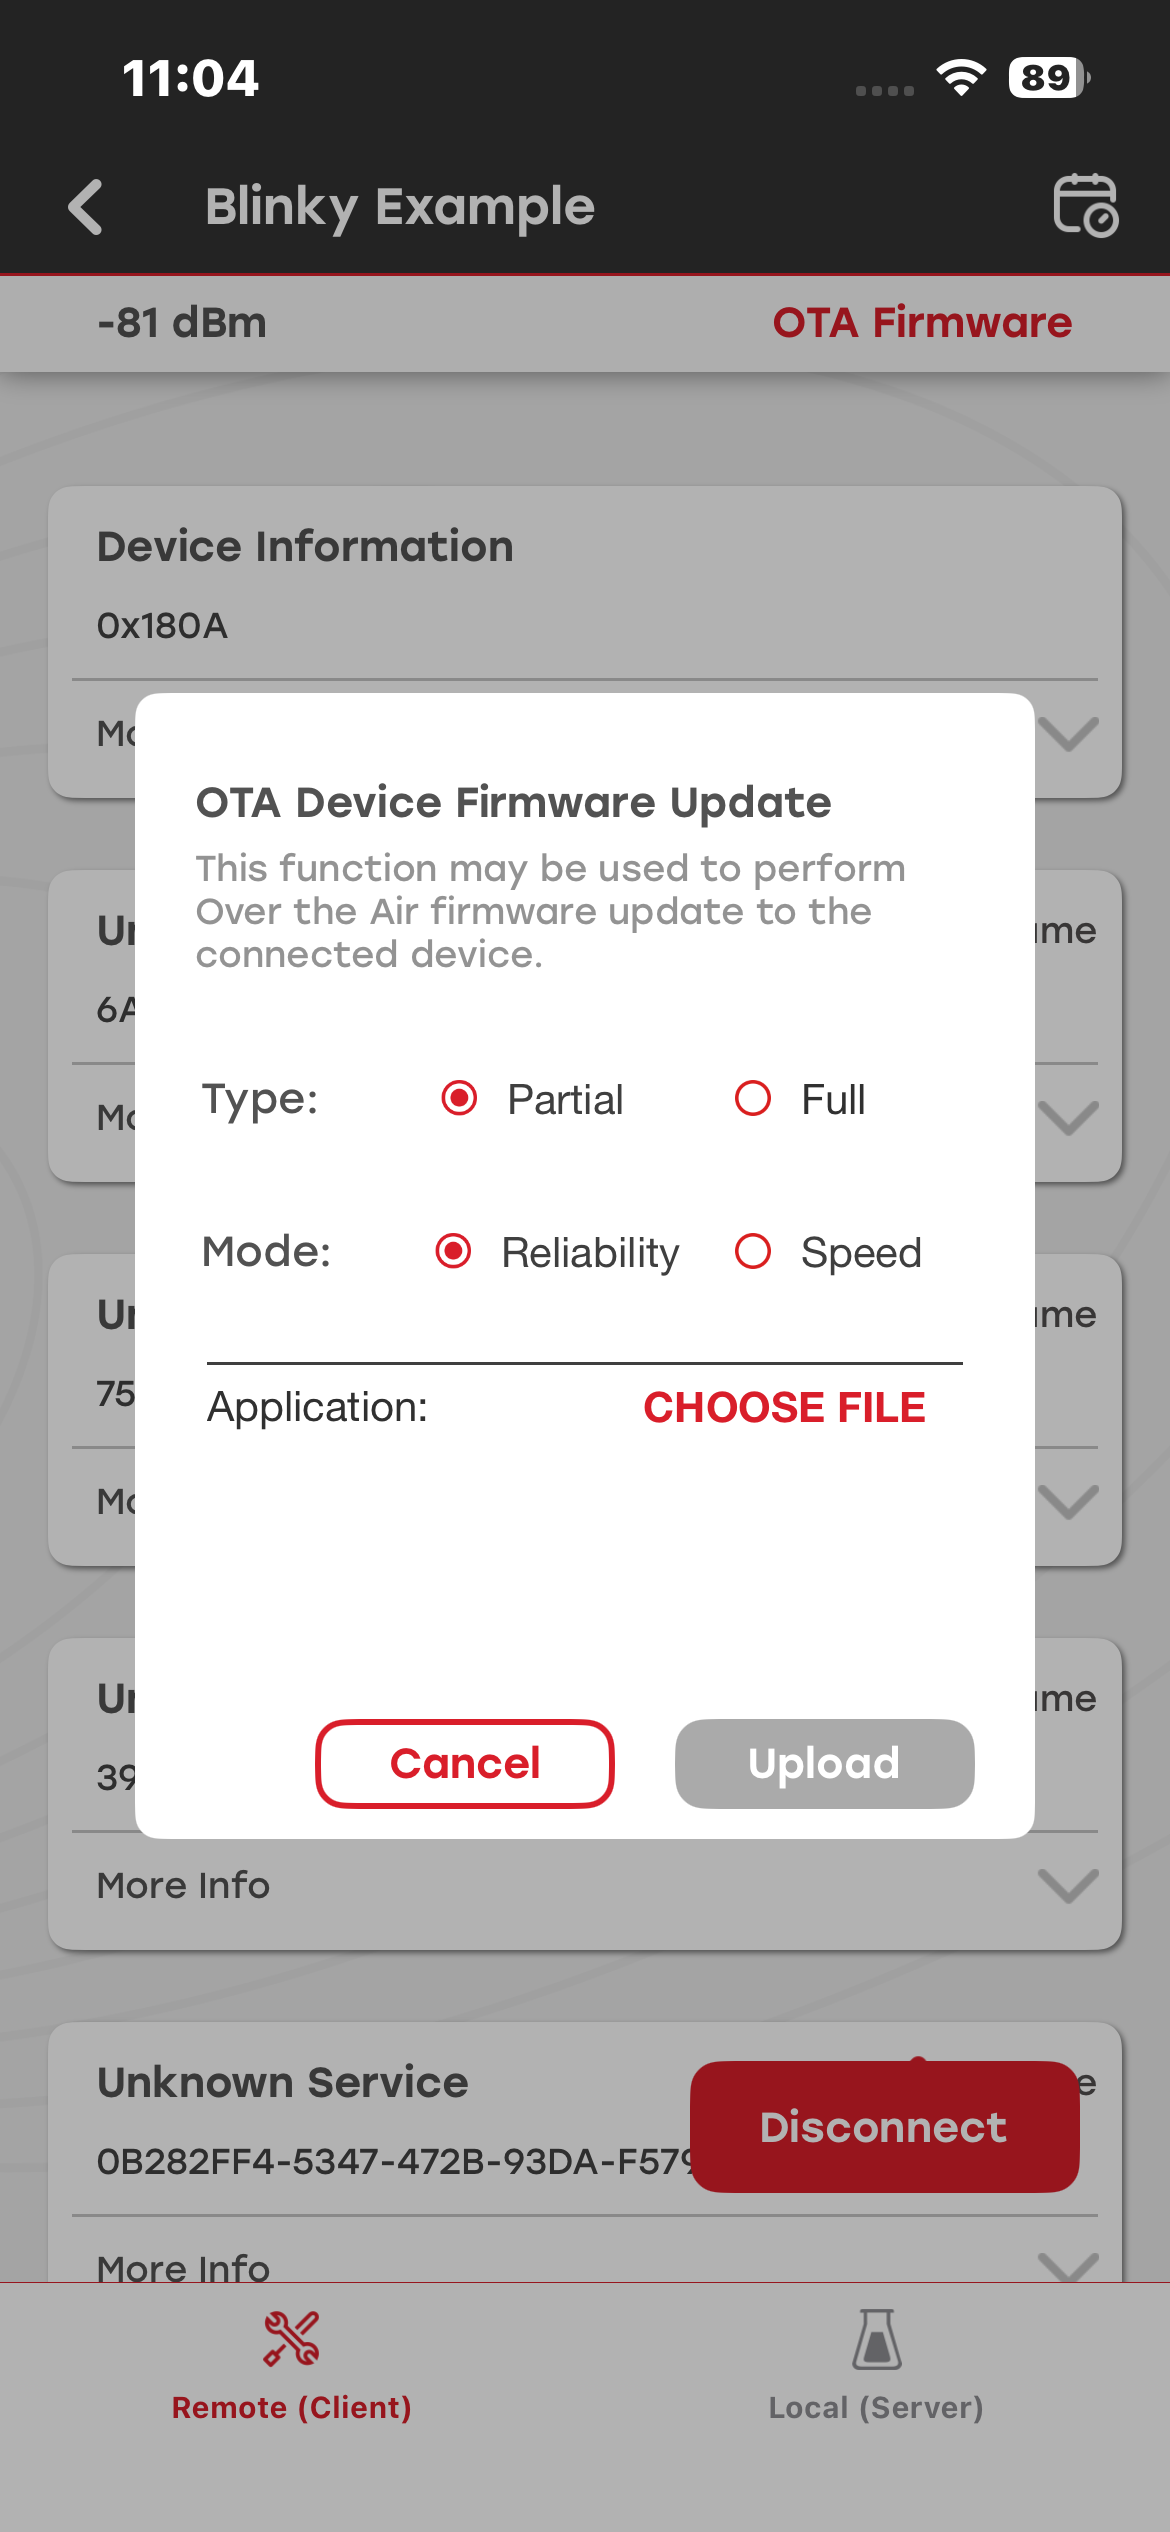
Select
Partialand look for the GBL file on your smartphone.Finally, press
Uploadand your upgrade should start.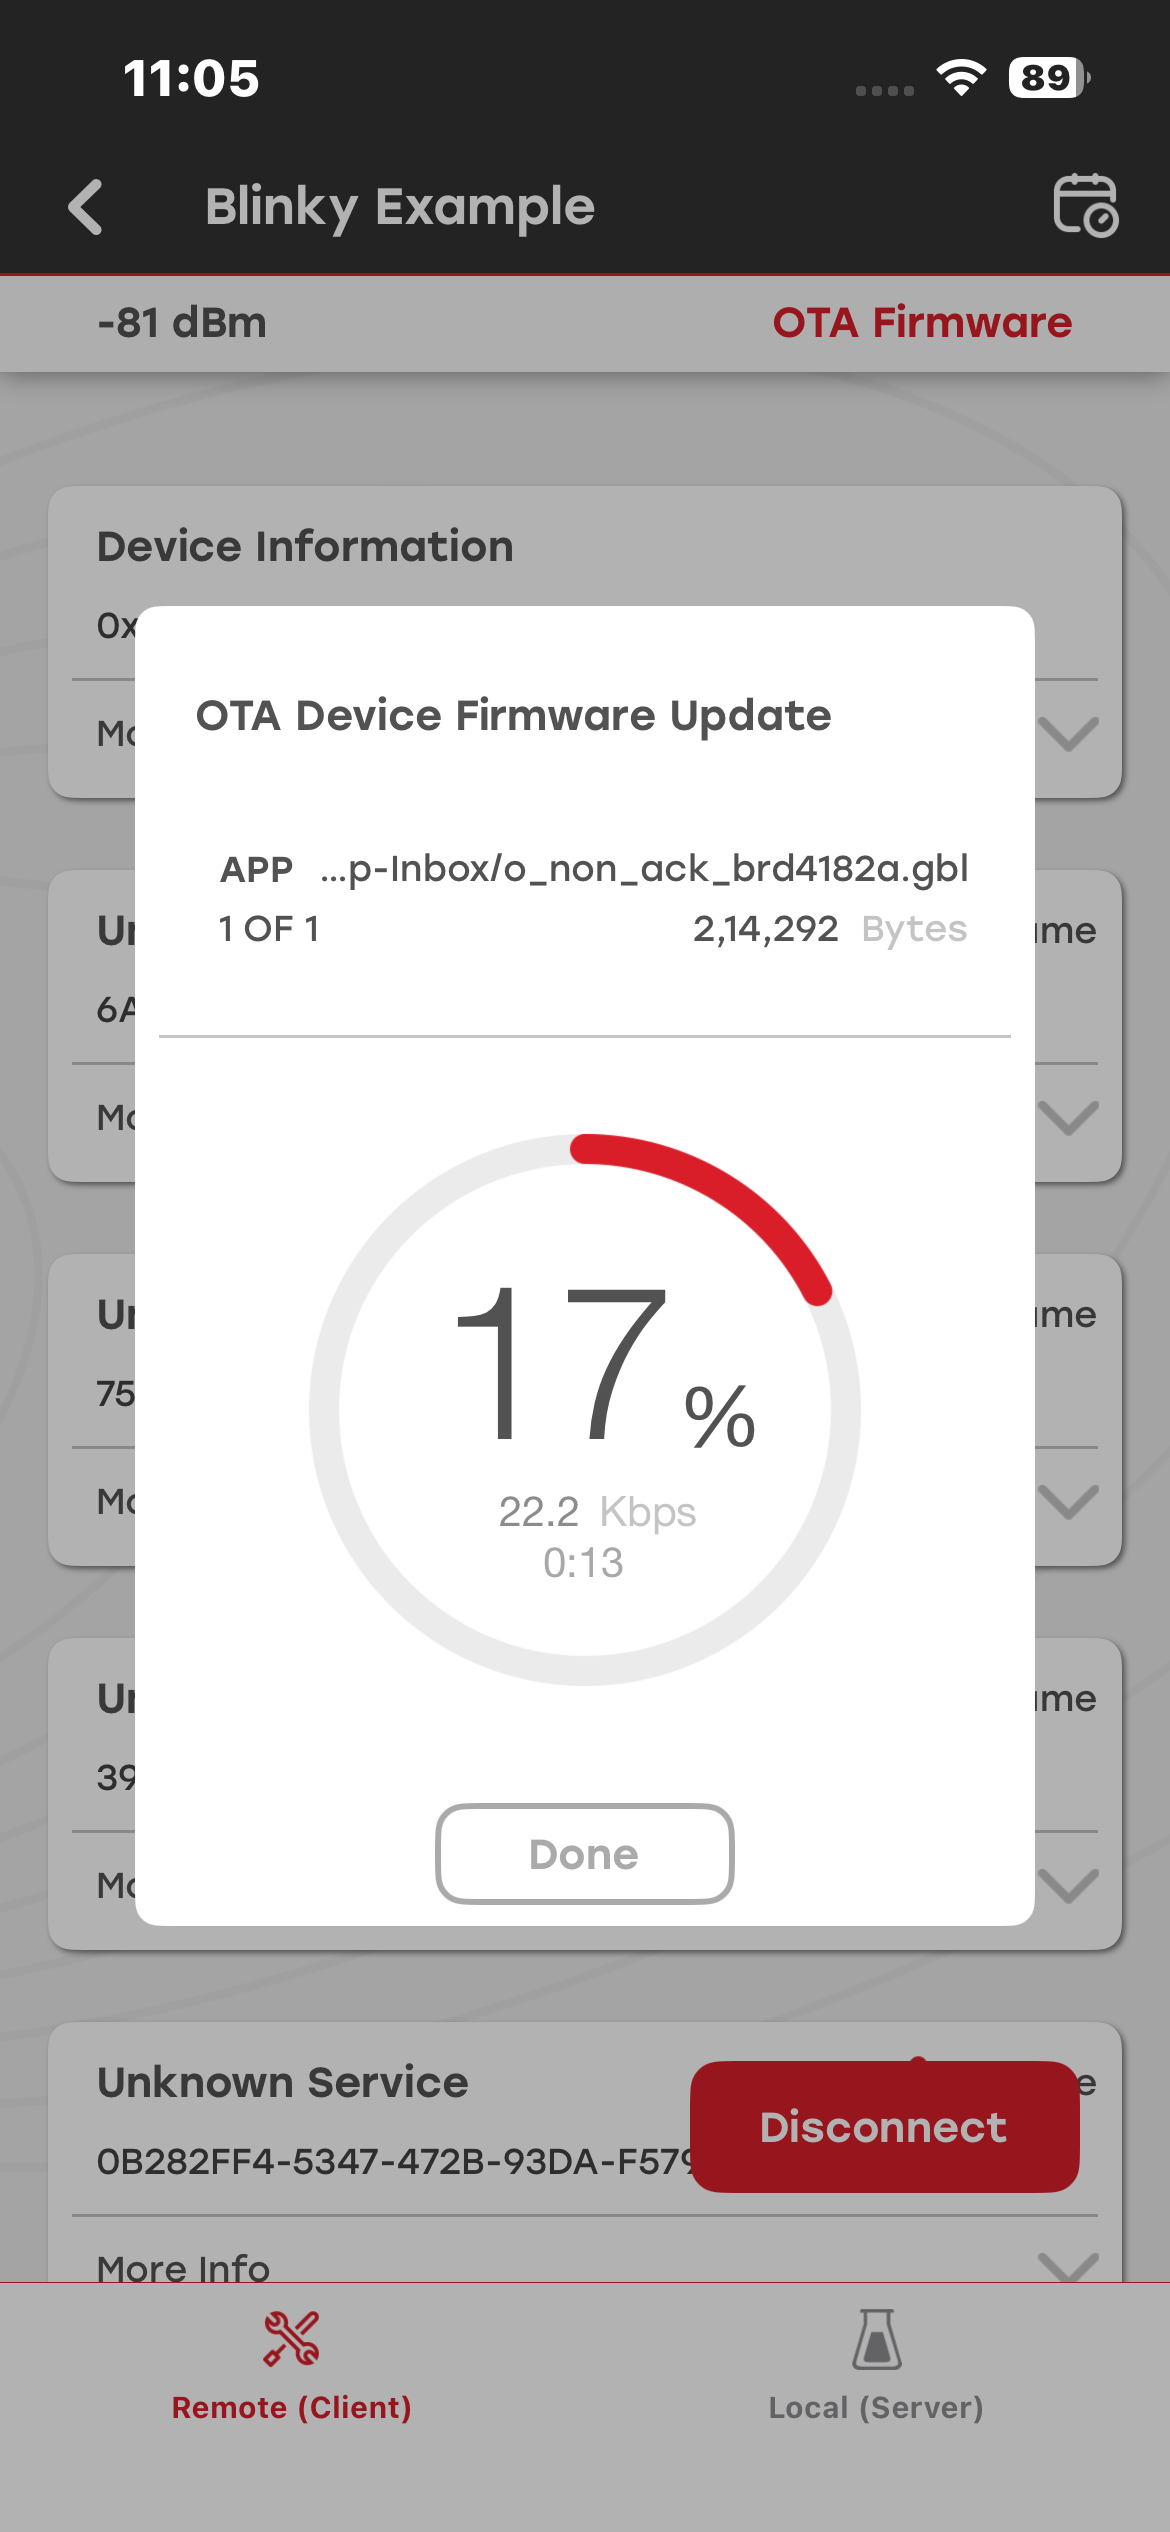
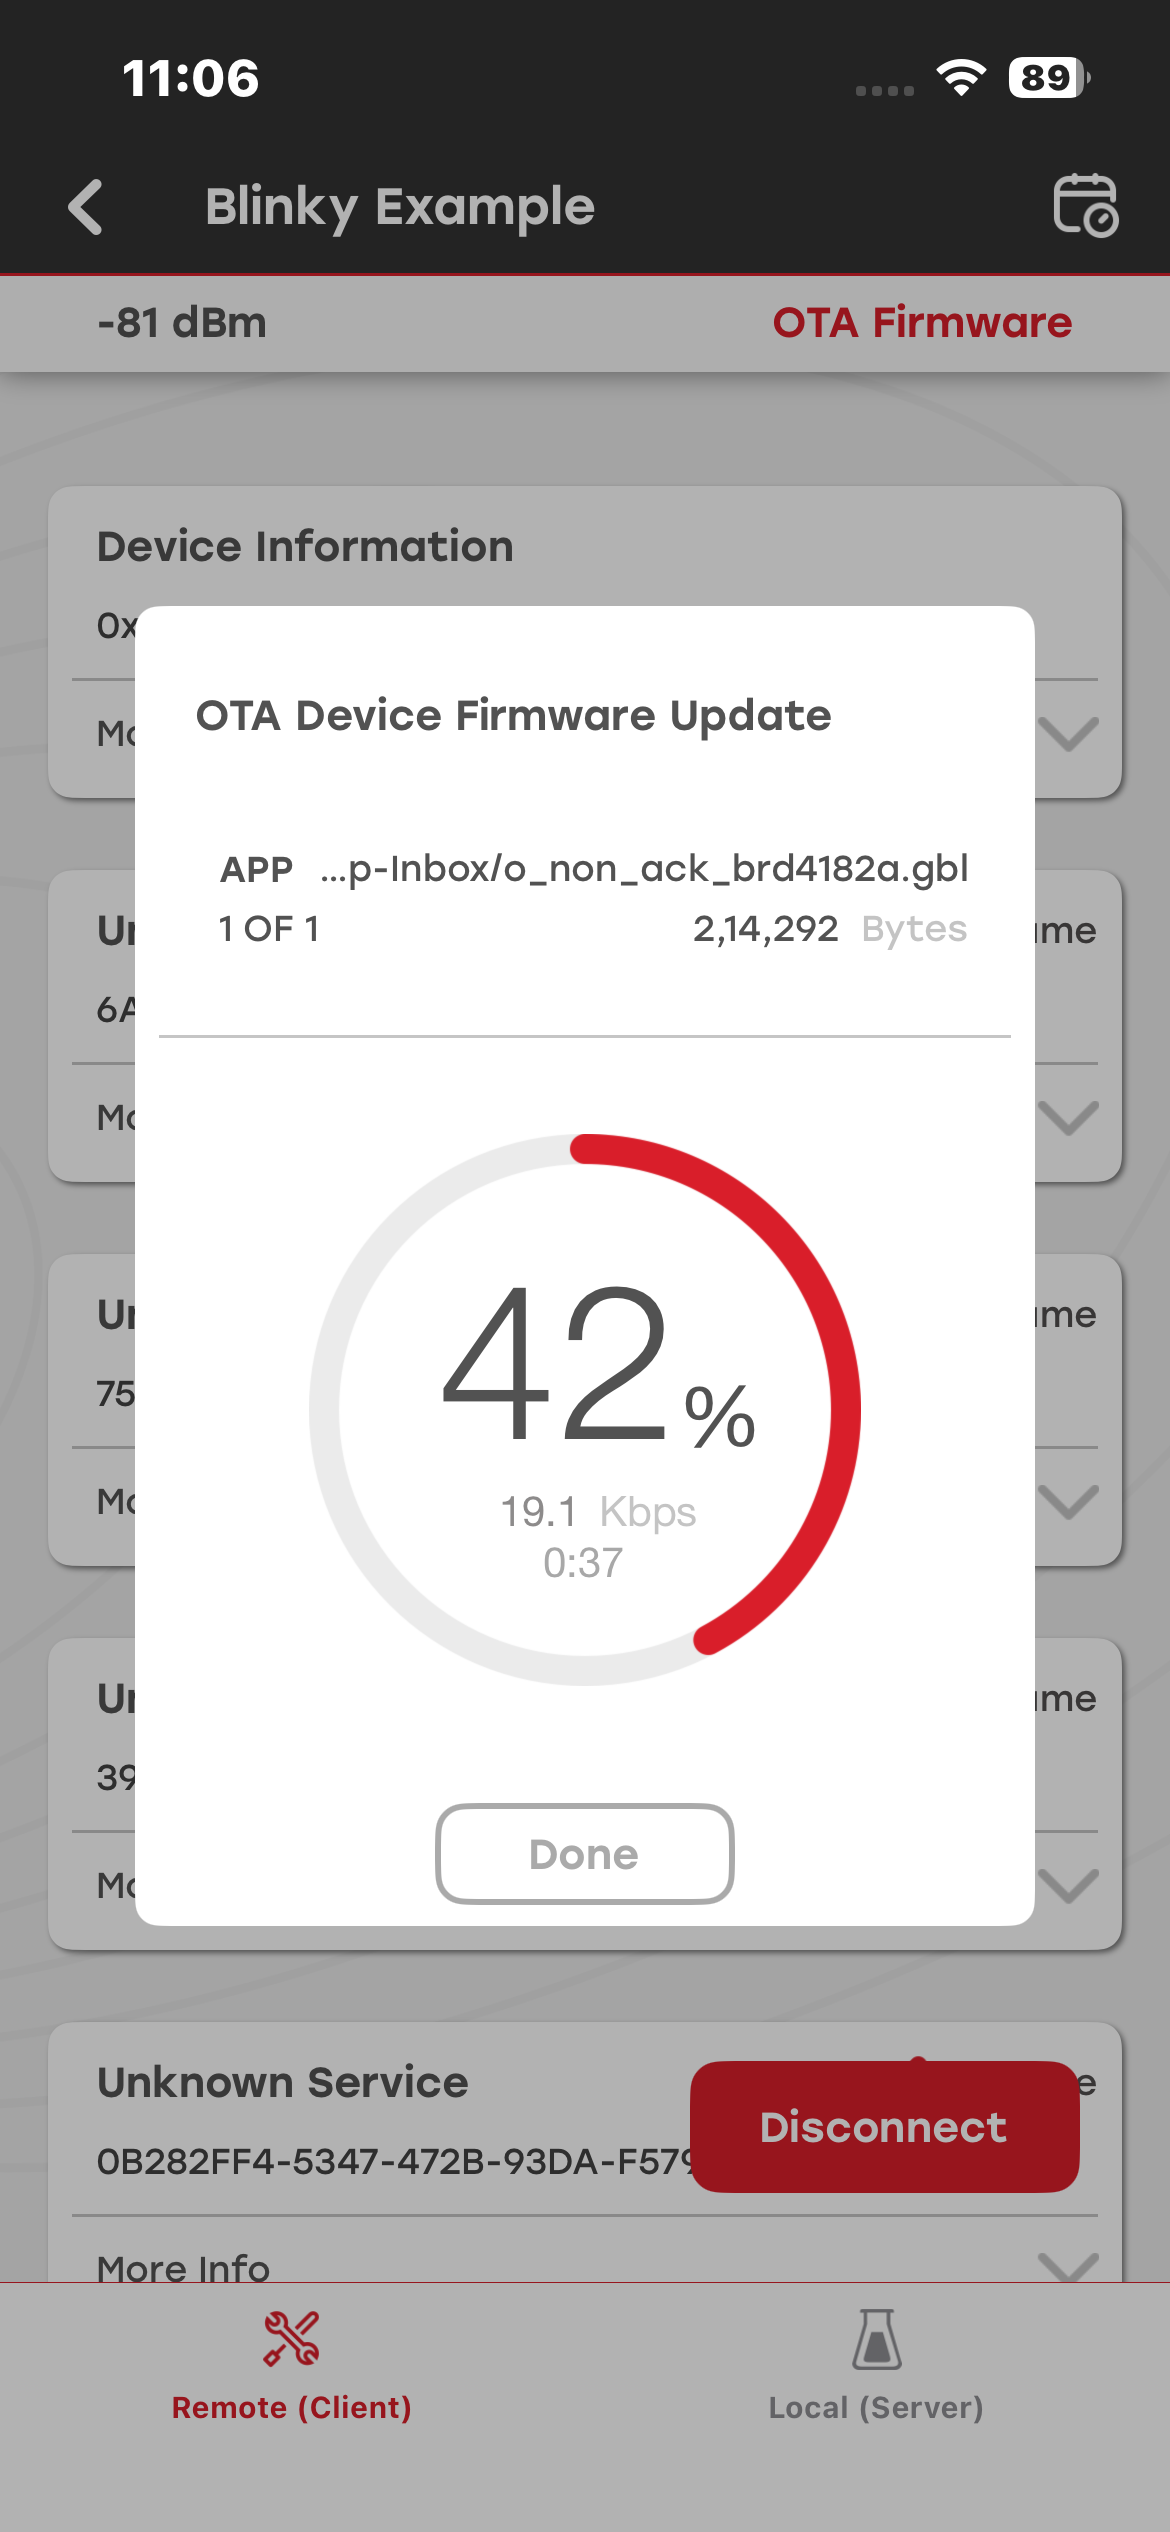
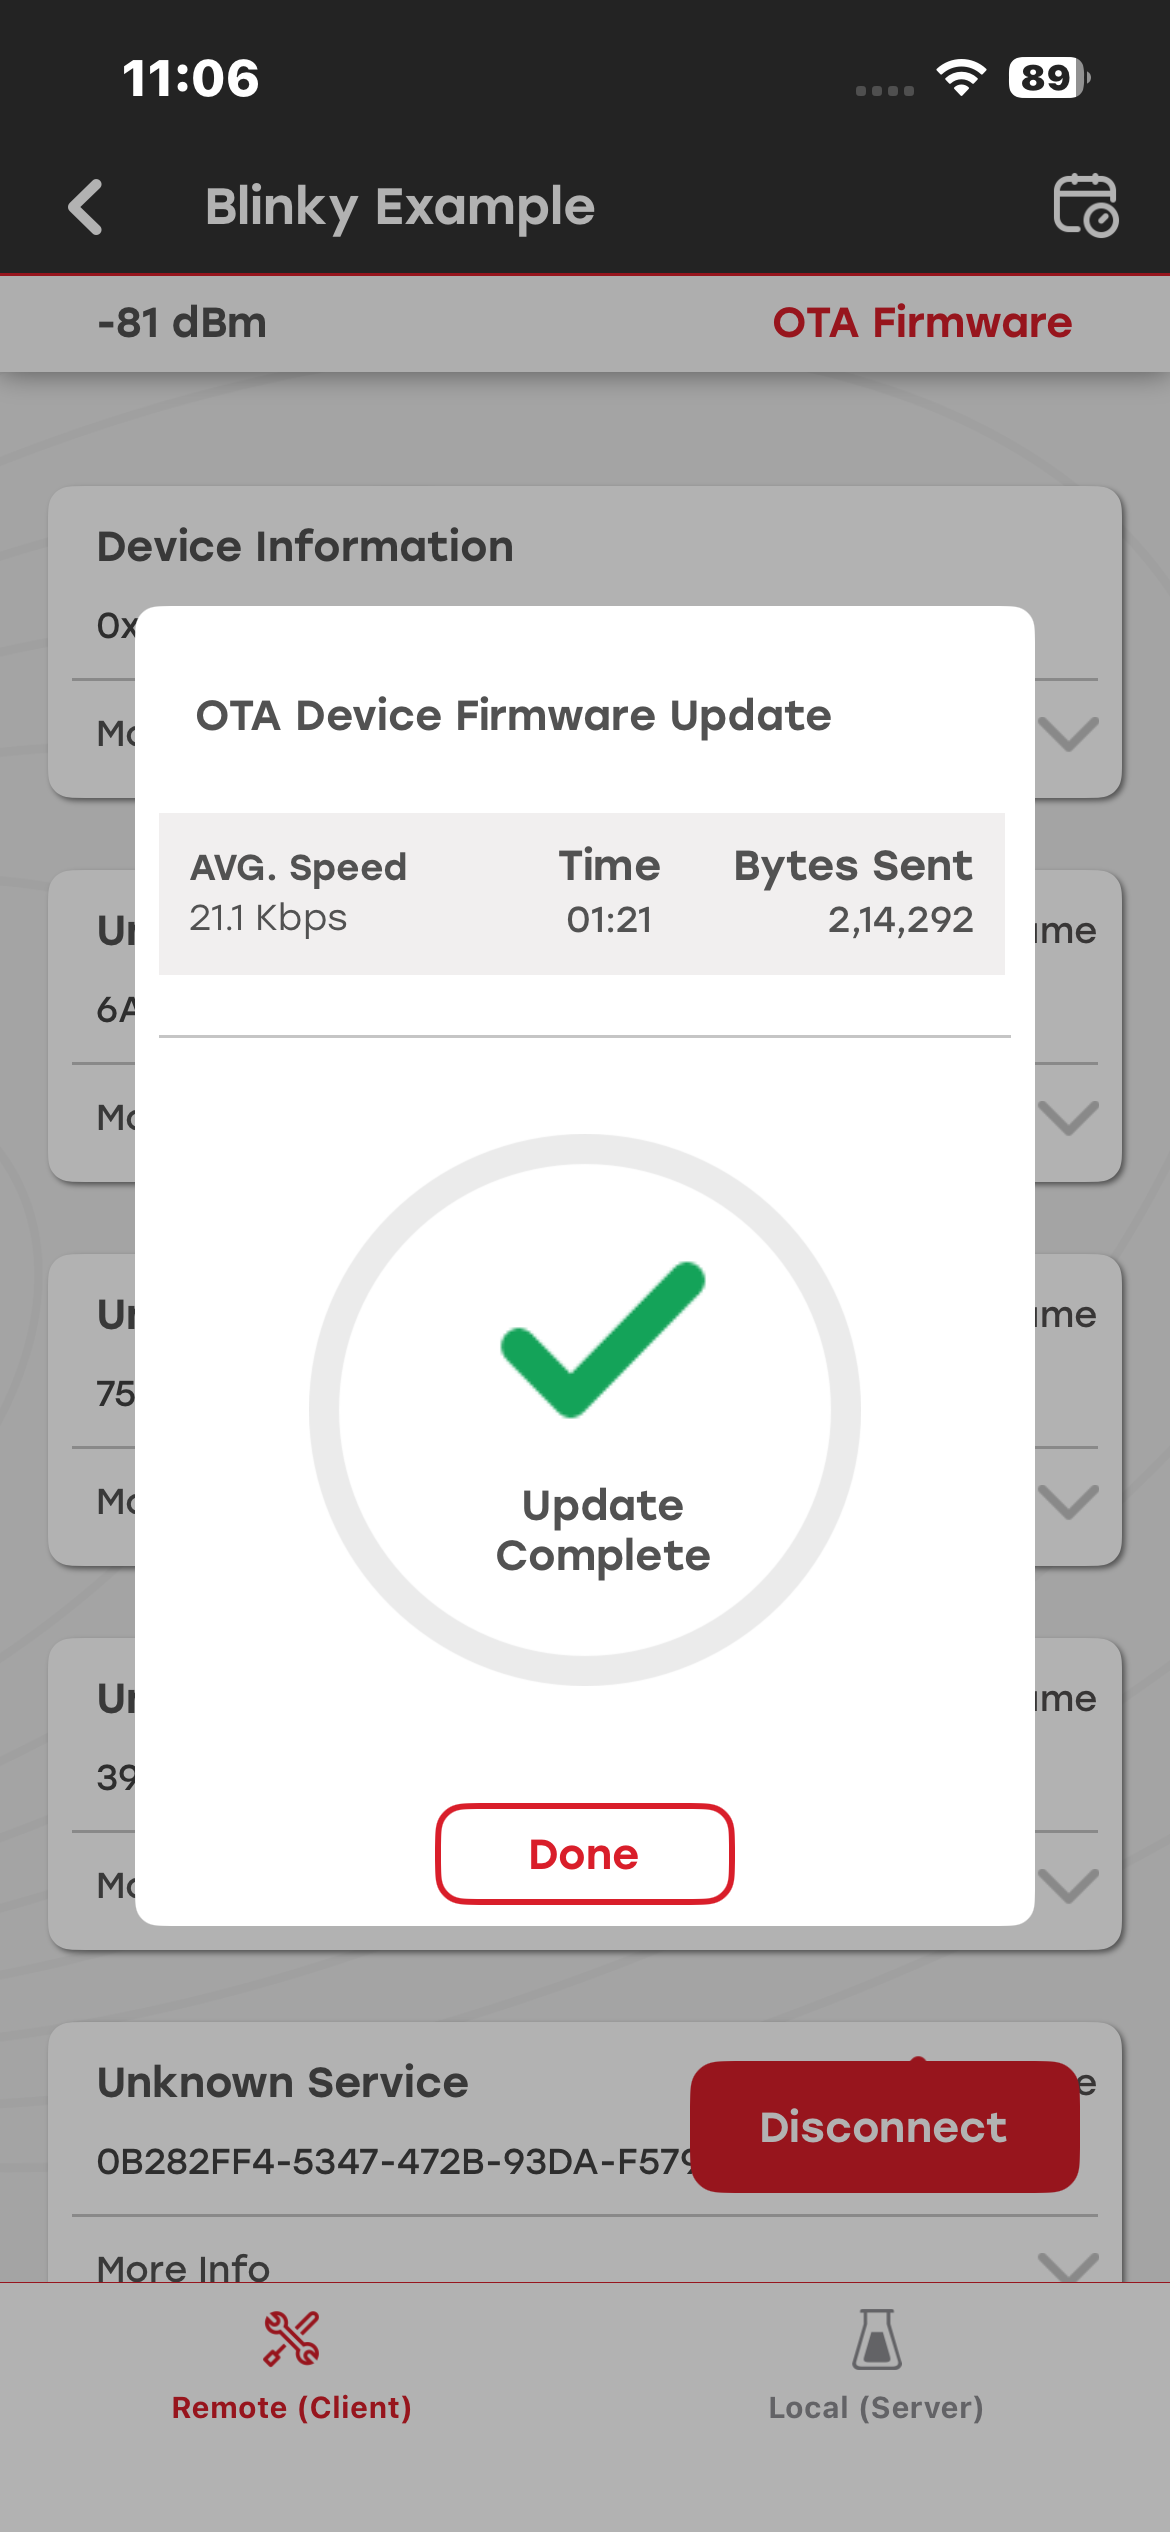
After the OTA process has finished, verify that the kit is now running the OTA example application. You can find the kit on the Scan page with a new name "OTA" Example.
Bootloader Requirements#
To perform a Bluetooth OTA update, the target device must be programmed with the Gecko Bootloader. The Gecko Bootloader is an application bootloader, which means that the application manages the acquisition of the new firmware image.
Running a demo in Simplicity Studio flashes both the bootloader and user application to the device. However, flashing an example project flashes only the application.
If an OTA update remains at 0% and the Android app displays GATT CMD STARTED, the bootloader might be missing or incorrectly configured. To create and flash a bootloader:
In the Simplicity Studio Launcher, select Create New Project to create a Gecko Bootloader project for your kit. Select the Internal Storage Bootloader example project with a configuration appropriate for the available storage size.
Configure the required options in the
<projectname>.iscfile. For this example, use the default settings, and then select Generate.Build the project. Locate the bootloader image in the
GNU ARM <compiler version number> - Defaultbuild directory:For Series 1 devices, use the
<projectname>-combined.s37file. This file contains the first-stage bootloader and main bootloader with a CRC32 checksum.For Series 2 devices, use the
<projectname>-crc.s37file. This file contains the main bootloader with a CRC32 checksum.
Flash the bootloader image to the device.