Toolbar#
The Simplicity Studio toolbar contains functions that are generally useful throughout Simplicity Studio® 5 (SSv5).


Welcome returns you to the Launcher Welcome configuration.
Recent shows you a list of recent projects. Select one to go to that project in the Simplicity IDE Project Explorer view.
Tools provides a list of available tools. This list may have more selections than are available in the Launcher perspective Tools tab.
Install brings you to a menu where you can install or uninstall software packages and review available updates.
Preferences is a shortcut to the list of preferences also available through the menu selection Window > Preferences.
In addition, the section About Update Frequency describes how to manage the frequency with which Simplicity Studio checks for updates.
Tools#
The Tools button opens a dialog where you can select a tool to open it, and also add and remove tools.
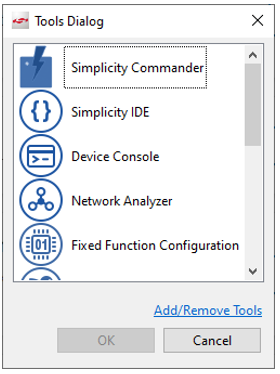

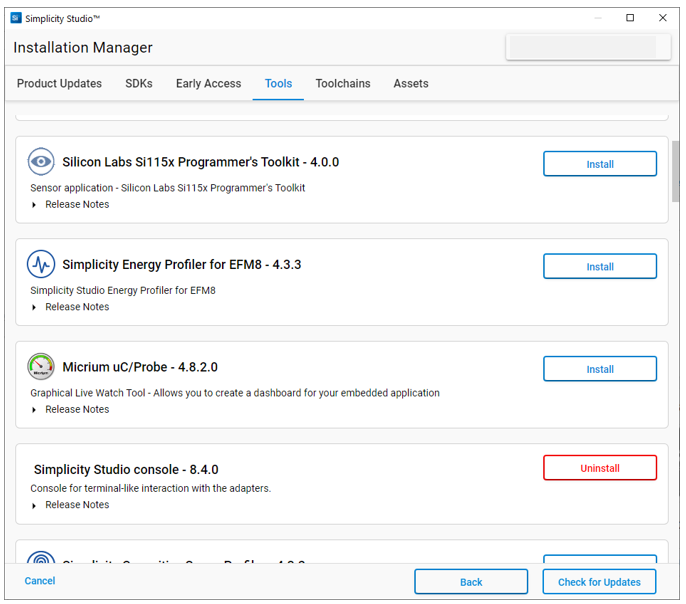
The Add/Remove Tools link opens the Installation Manager. Click Manage Installed Packages and go to the Tools tab, where you can add and remove tools.

Install#
The Install button (red when updates are available) opens the Installation Manager.
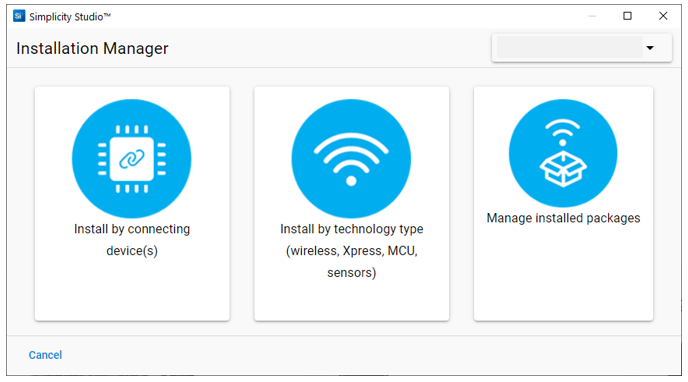

Because available items are often controlled through your Silicon Labs account, it is recommended that you be logged in while using the Installation Manager. Install by connecting device(s) and Install by technology type are both described in Install SSv5 and Software. This section describes the Manage installed packages functionality.
Click Manage installed packages to open a tabbed interface where you can install and uninstall a variety of SSv5 components. Note that you can have more than one instance of some items, such as SDKs. You can use the Installation Manager to install additional instances as well as updates.
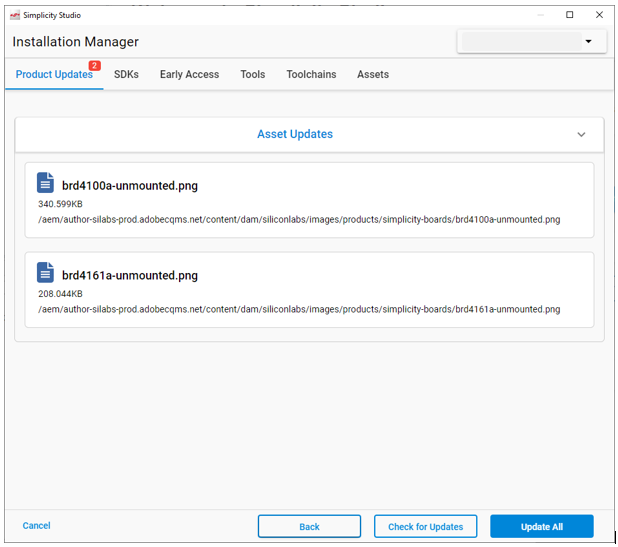
The interface opens on the Product Updates tab. Updates are grouped by type. If Product Updates are available these typically must be installed before you can install a new SDK.

The SDKs tab supports installing and uninstalling SDKs and extensions.
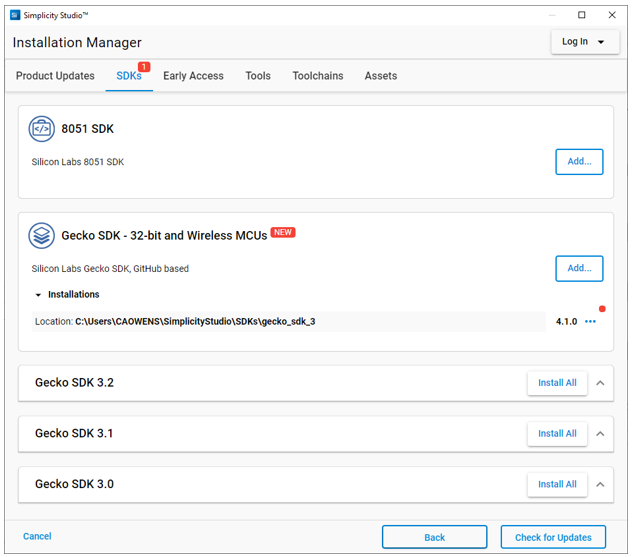

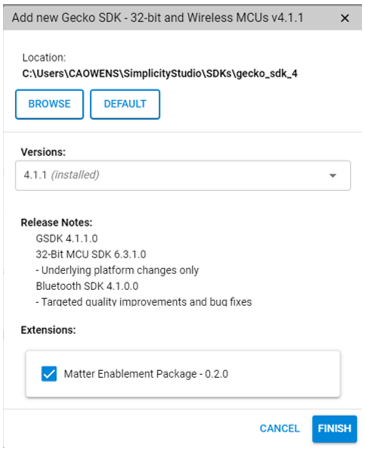
Click Add ... to install another version or instance of the SDK. The dialog displays what is available as well as what is currently installed. Click Browse to select an installation location other than the default. Click Default to select the default location (\Users\USERNAME\SimplicityStudio\SDKs\gecko_sdk<_n>, where _n is added for the second and incremented for subsequent installations). Hover over the release notes to get a scroll control.

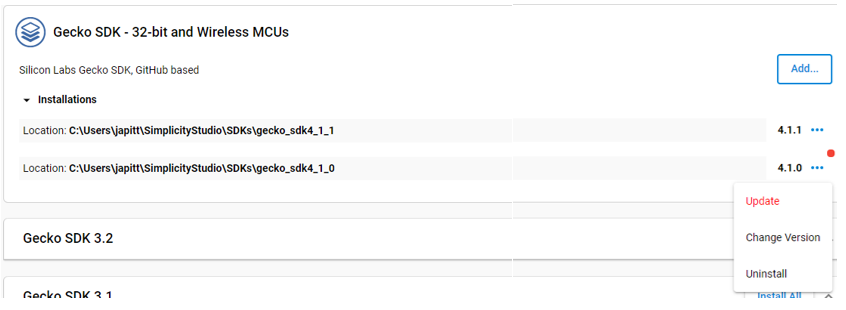
Click ... next to an SDK version to install an update to it, change the version, or uninstall that version.

The Early Access tab is used to provide limited access for some customers, usually for beta testing.
The Tools tab shows available and installed tools, regardless of your connected or selected hardware. Summary release notes are provided.


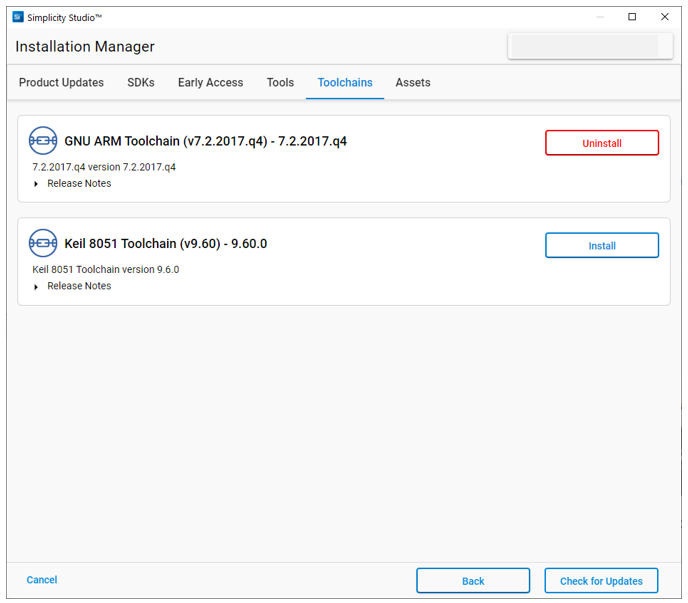
The Toolchains tab shows available and installed toolchains.

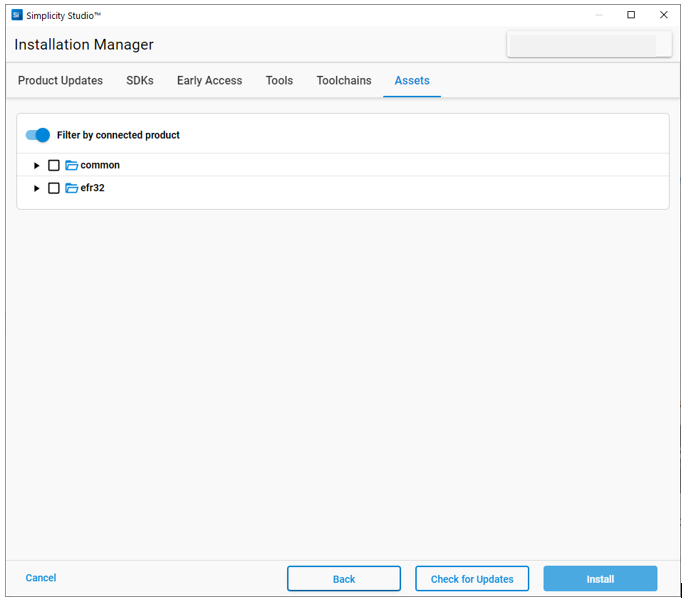
The Assets tab shows available assets. Assets include items such as documents, photographs, code, and so on. Check the item(s) of interest and click Install. The default view is filtered by connected product.

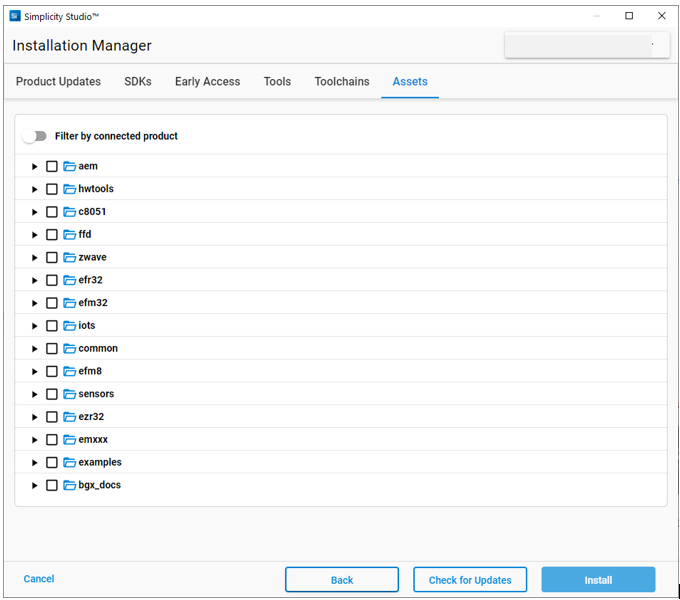
The unfiltered view provides a much larger set of options.

After you install or uninstall items, for example as a result of an update or because you want to manage your SDK installations, SSv5 determines if a restart is required.
About Update Frequency#
By default, SSv5 checks for updates when you first open it. You can manage update frequency through Preferences > Install/Update > Automatic Updates.
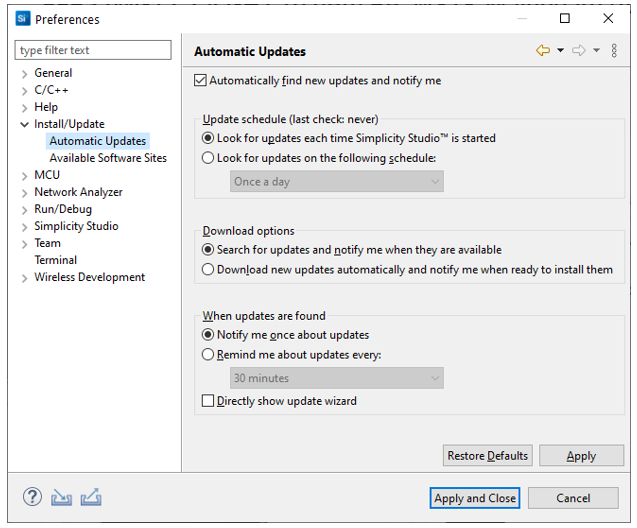

Automatically find new updates and notify me (default: On): When selected, SSv5 automatically searches for update, as defined by the update schedule.
Update schedule (default: On startup): Look for updates on each startup, or once a day or some day a week, at a predefined time.
Download options (default: Search and Notify): Choose if SSv5 will search for updates and notify you of them once they are available or automatically download new updates and ask you to install them.
When updates are found (default: Once): Choose to be notified about new updates only once, or to receive reminders until the updates are installed.
If you have turned automatic updates off, you can check for updates by clicking Install on the toolbar, then Manage Installed Packages, and then Check for Updates on the Product Updates tab.
Preferences#
The Preferences button is a shortcut to the Windows > Preferences dialog (App menu on macOS).
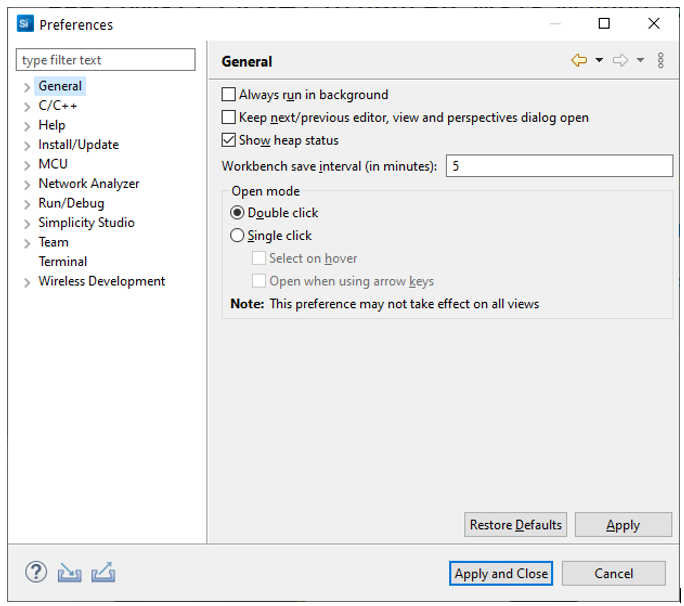

Frequently used preferences are discussed in context of their use cases. Context-sensitive help is available for most preferences.
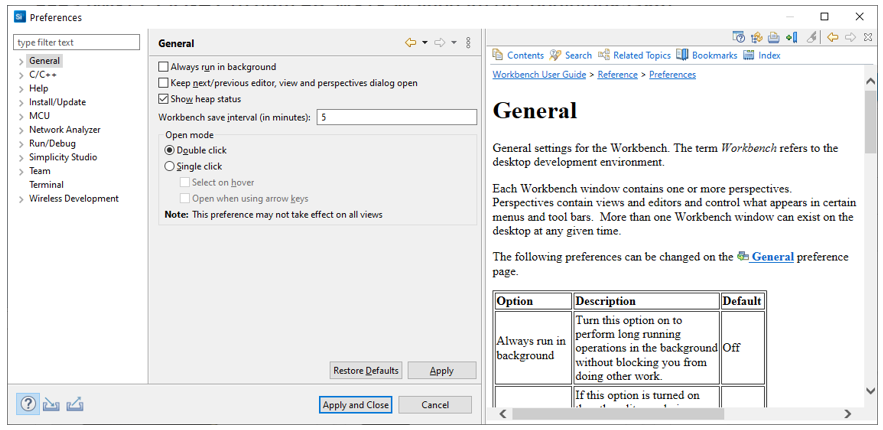

The arrow controls in the upper-right enable navigation through previously viewed pages. To return to a page after viewing several pages, click the drop-down arrow to display a list of recently viewed pages.
If you have made changes in preferences and wish to move them to a different installation, use the Import and Export controls in the lower left.
