Project Configuration#
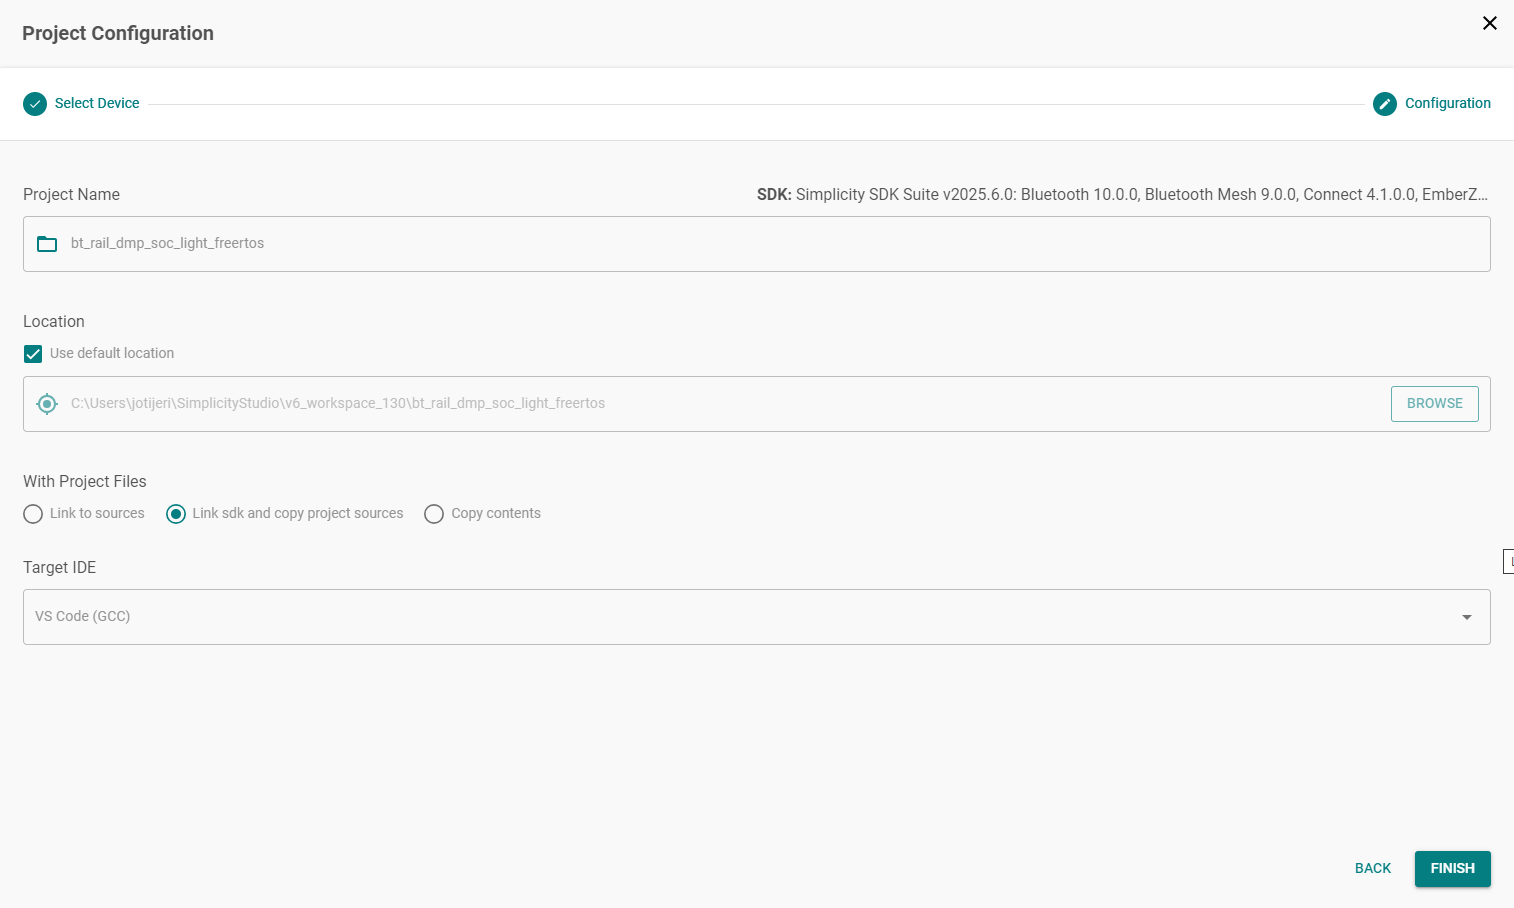
In the Project Configuration window of the new project wizard, you can set the project name and location, choose how SDK files are included, and select the target IDE.
Steps to Configure Your Project#
1. Name the Project#
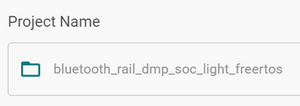
The Project Name field shows the default sample project name. Use the default or enter a unique project name.
2. Set the Project Location#
In the Location field, the default path for your workspace is listed.

If your project is managed in source control, change this location to the appropriate source-controlled folder. Workspaces contain metadata that should not be checked into source control.
To change the location, clear the Use default location checkbox and enter the path in the field below, or click BROWSE to navigate to your preferred location.
3. Choose How to Include Project Files#
The With Project Files area controls how SDK and project files are added to the project:
Link to sources: For SDK developers only. This option creates links to every source file.
Link SDK and copy project sources: This option links to non-project-specific SDK files and copies project-specific source files into the project folder. Linking SDK files saves disk space because duplicate files are not stored in multiple locations.
Copy contents: The recommended option, which is selected by default. Copies all project-specific and non-project-specific files into your project. This option is recommended if you are building the project in a CI/CD environment where you do not want to require Simplicity Studio on the build machine, or if you want to create a standalone project.

Click the radio button at the left of the option name to select it.
4. Select a Target IDE#
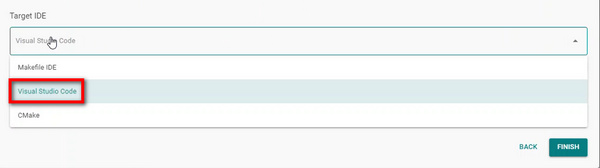
In the Target IDE section, select a project generator. Available options vary depending on the selected SDK, target device, and installed toolchains.
Makefile IDE: This option generates a Makefile-based project that can be built from the command line using GNU Make and the GCC toolchain.
The project includes:
A Simplicity Studio configuration file (
.slcp) for managing software components.PROJECTNAME.MakefileandPROJECTNAME.project.makbuild scripts.Support for peripheral and stack configuration using Project Configurator and Advanced Configurators (for example, Pin Tool and GATT Configurator).
Use this format if you prefer a terminal-based build process while still leveraging Simplicity Studio configuration and code-generation tools.
Visual Studio Code:This option sets up the project for development in Visual Studio Code with either GCC or LLVM toolchain while continuing to use Simplicity Studio for project configuration and code generation.
The project includes:
A Simplicity Studio configuration file (
.slcp) for managing software components and peripheral settings.Configuration files for building and debugging in VS Code (
tasks.json,launch.json, and others).Full support for Advanced Configurators (such as Pin Tool, GATT Configurator, and ZCL AP Configurator).
Use this format if you want to perform source editing, building, and debugging in VS Code while continuing to use Simplicity Studio for software component updates and configuration.
For setup and usage details, see Simplicity Studio Extension for VS Code.
CMake: This option creates a CMake-based project together with a Simplicity Studio configuration file (
.slcp). It is designed for developers who prefer using the CMake build system with supported toolchains in command-line or external IDE environments.The project includes:
CMake build files (
CMakeLists.txt) compatible with standard CMake tools.A
.slcpfile for configuring software components and peripheral settings in Simplicity Studio.Support for Advanced Configurators (such as Pin Tool, GATT Configurator, and ZCL AP Configurator).
Use this format if you want to build the project using CMake and external build tools or CI workflows.
Depending on the selected SDK, target device, and installed toolchains, CMake projects may support GCC, IAR, or LLVM toolchain options. You can change supported toolchains later from Project Configurator > Overview > Change Target/SDK/Generators. Saving the project regenerates the project files using the selected toolchain.
IAR EWARM (IAR): During project creation, you cannot select the IAR EWARM project generator. However, some project types (including Bluetooth, Bluetooth Mesh, Connect, RAIL, and Zigbee projects) support IAR project generation after project creation.
To enable IAR project generation:
Create the project using another generator.
In Project Configurator, open the Overview tab.
Click Change Target/SDK/Generators.
From Change Project Generators, enable IAR Embedded Workbench Project.
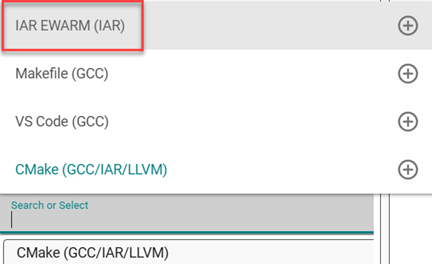
The IAR EW project files are generated. If the
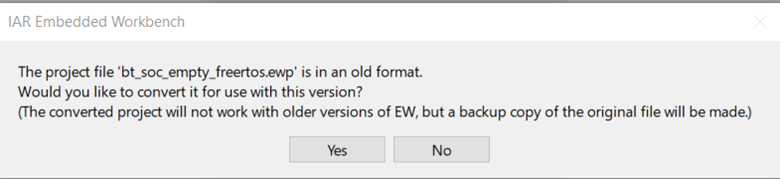
.ewwfile extension is associated with IAR Embedded Workbench, double-clicking the generated project file opens the project in IAR EW.When IAR EW opens the generated project, it might display a message indicating that the project file is in an older format (IAR EW 8.30.1).
5. Finish Project Creation#
Review your settings.
Click Finish.
The message Running Initial Project Configuration Tools generation appears while your project is created.

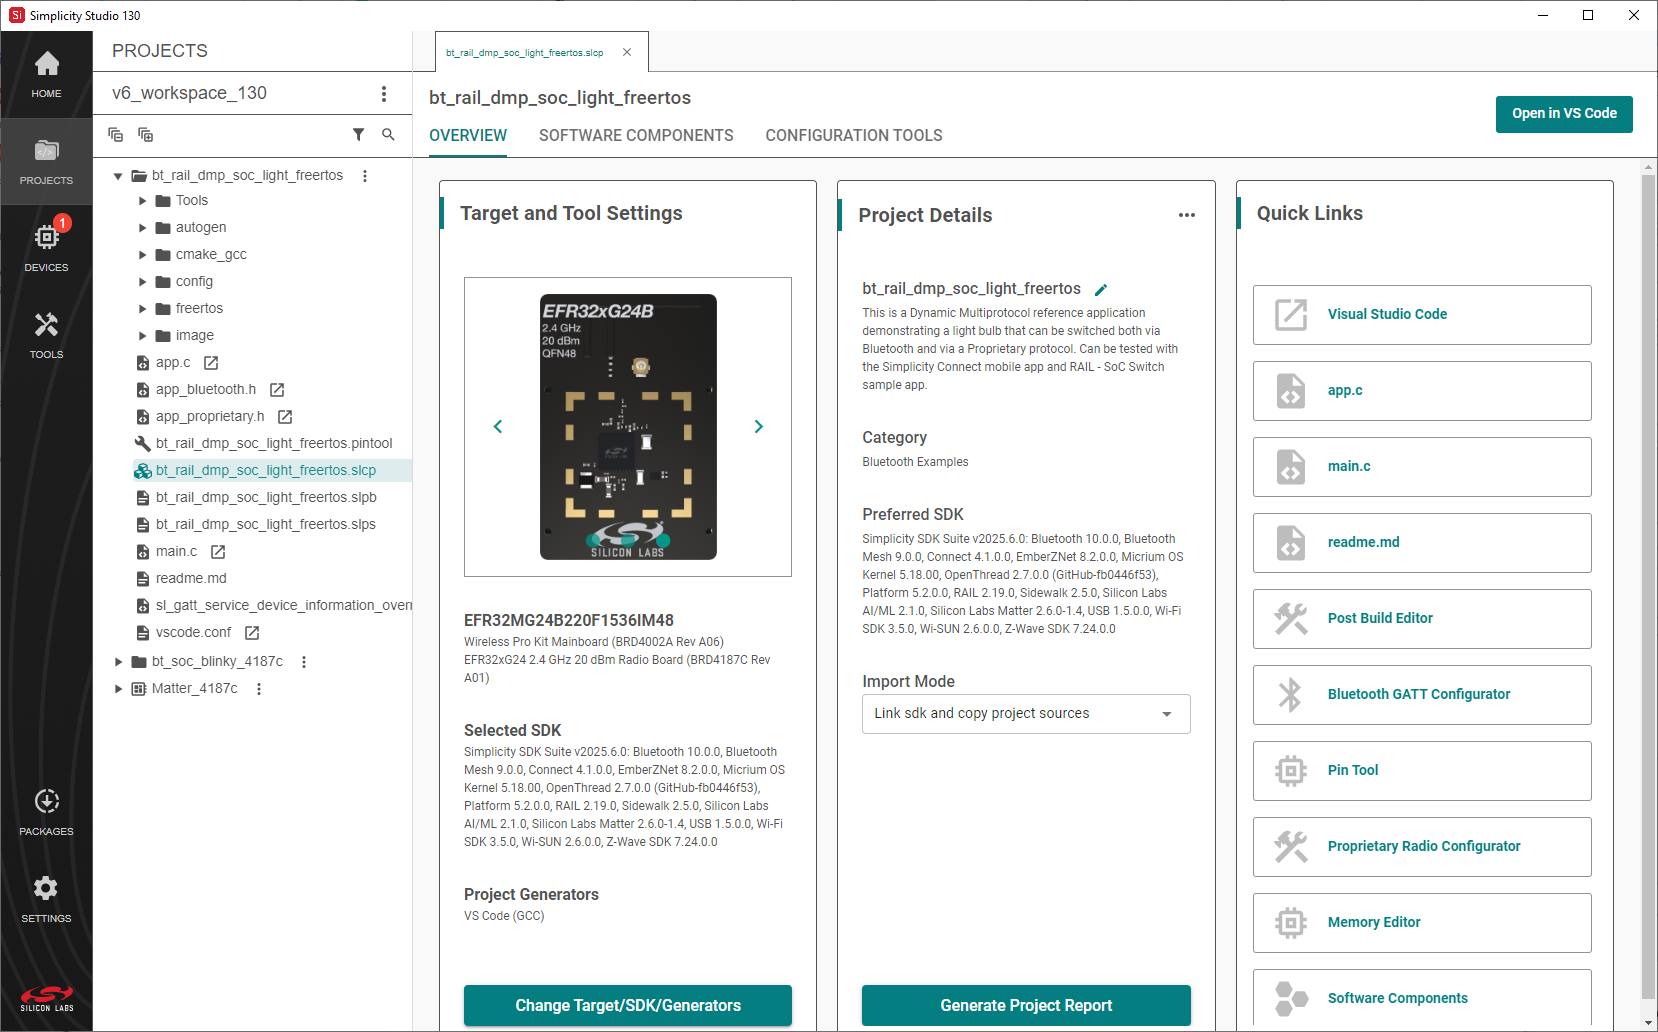
When complete, the project appears in the PROJECTS pane. The project .slcp file opens in a tab with project information and configuration details.