Pseudo-Static Random Access Memory (PSRAM) Initialization and Configuration#
This section describes how to initialize and configure pseudo-static random access memory (PSRAM) on SiWx917 devices by using the following tools and components:
Simplicity Studio
WiSeConnect software development kit (SDK)
Universal Configurator (UC) and PSRAM driver application programming interfaces (APIs)
You create or open a PSRAM-enabled project, add the PSRAM component, generate code, and verify basic read and write operations.
Prerequisites#
Before you start:
Install and launch Simplicity Studio.
Install the WiSeConnect SDK for SiWx917.
Connect a supported SiWx917 evaluation board and verify it is detected.
Step-by-Step PSRAM Initialization and Configuration in Simplicity Studio#
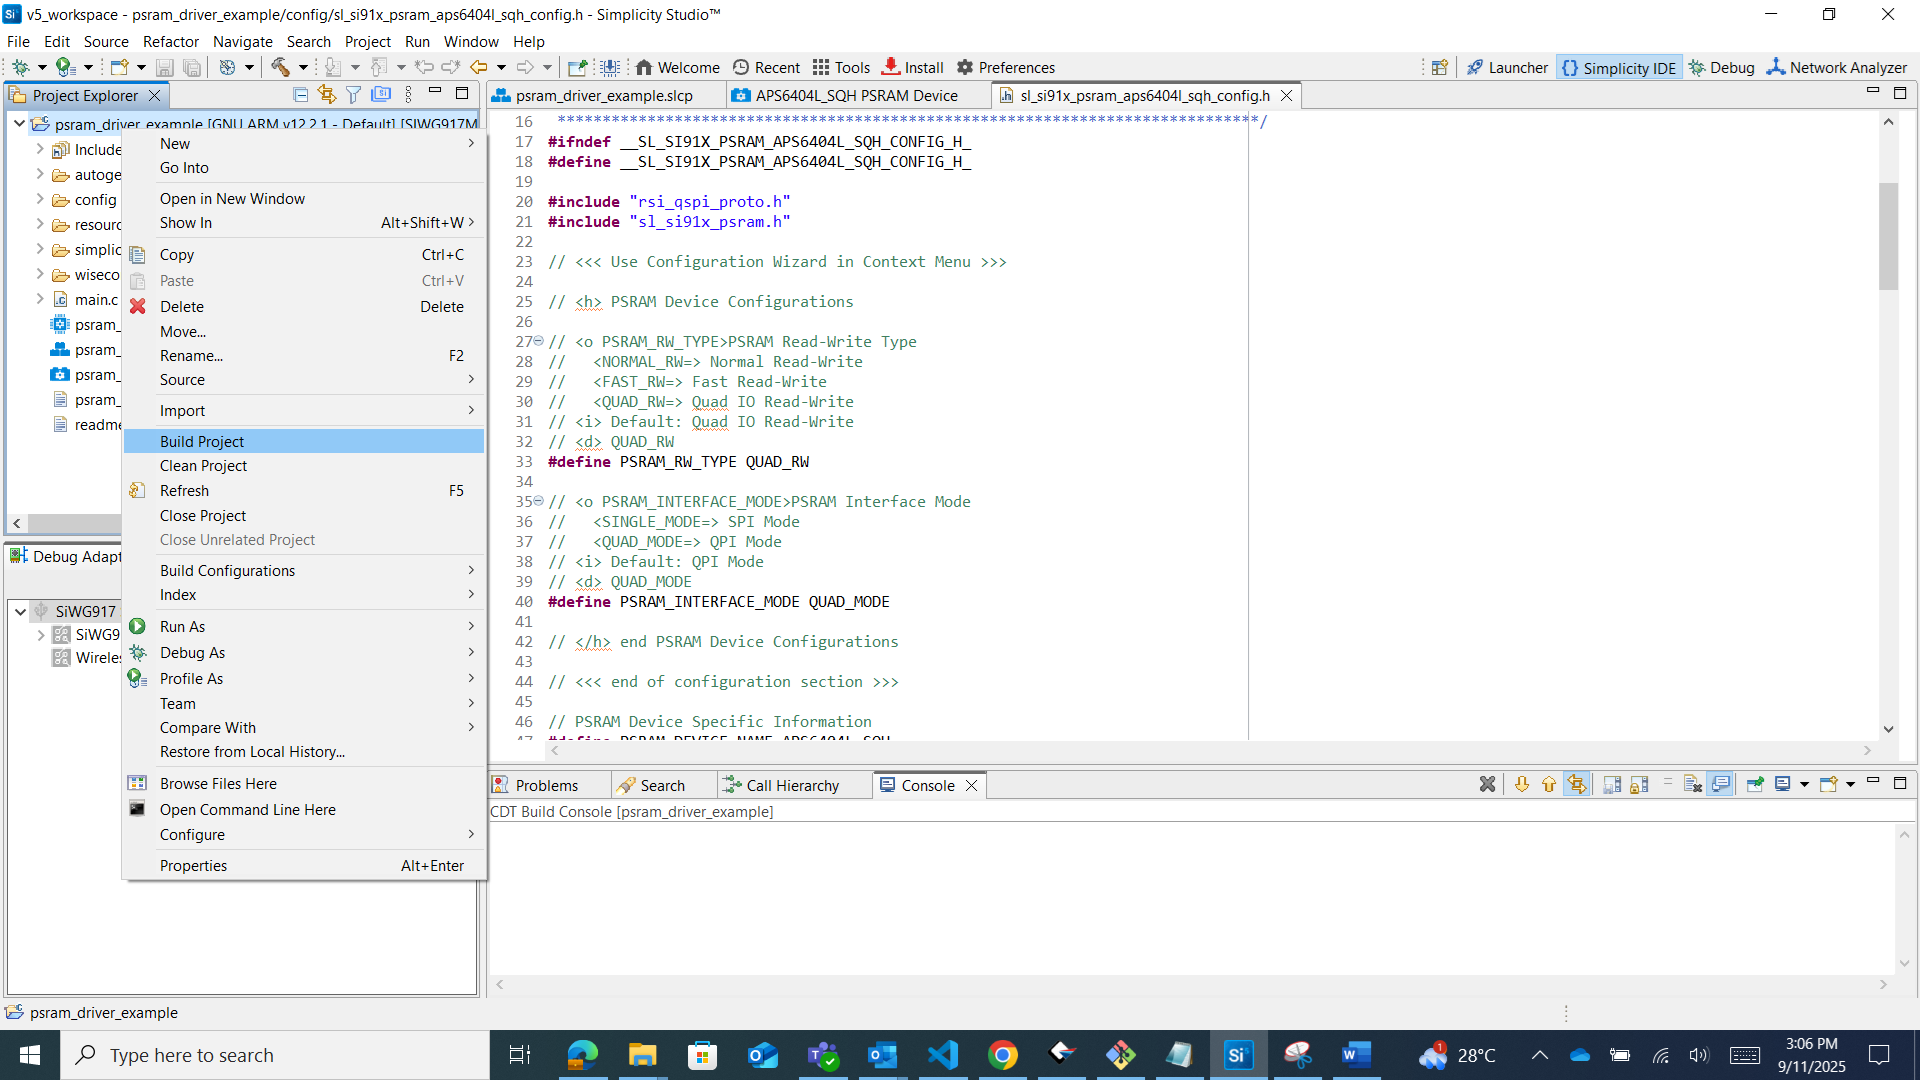
Step 1. Create or Open Your Project#
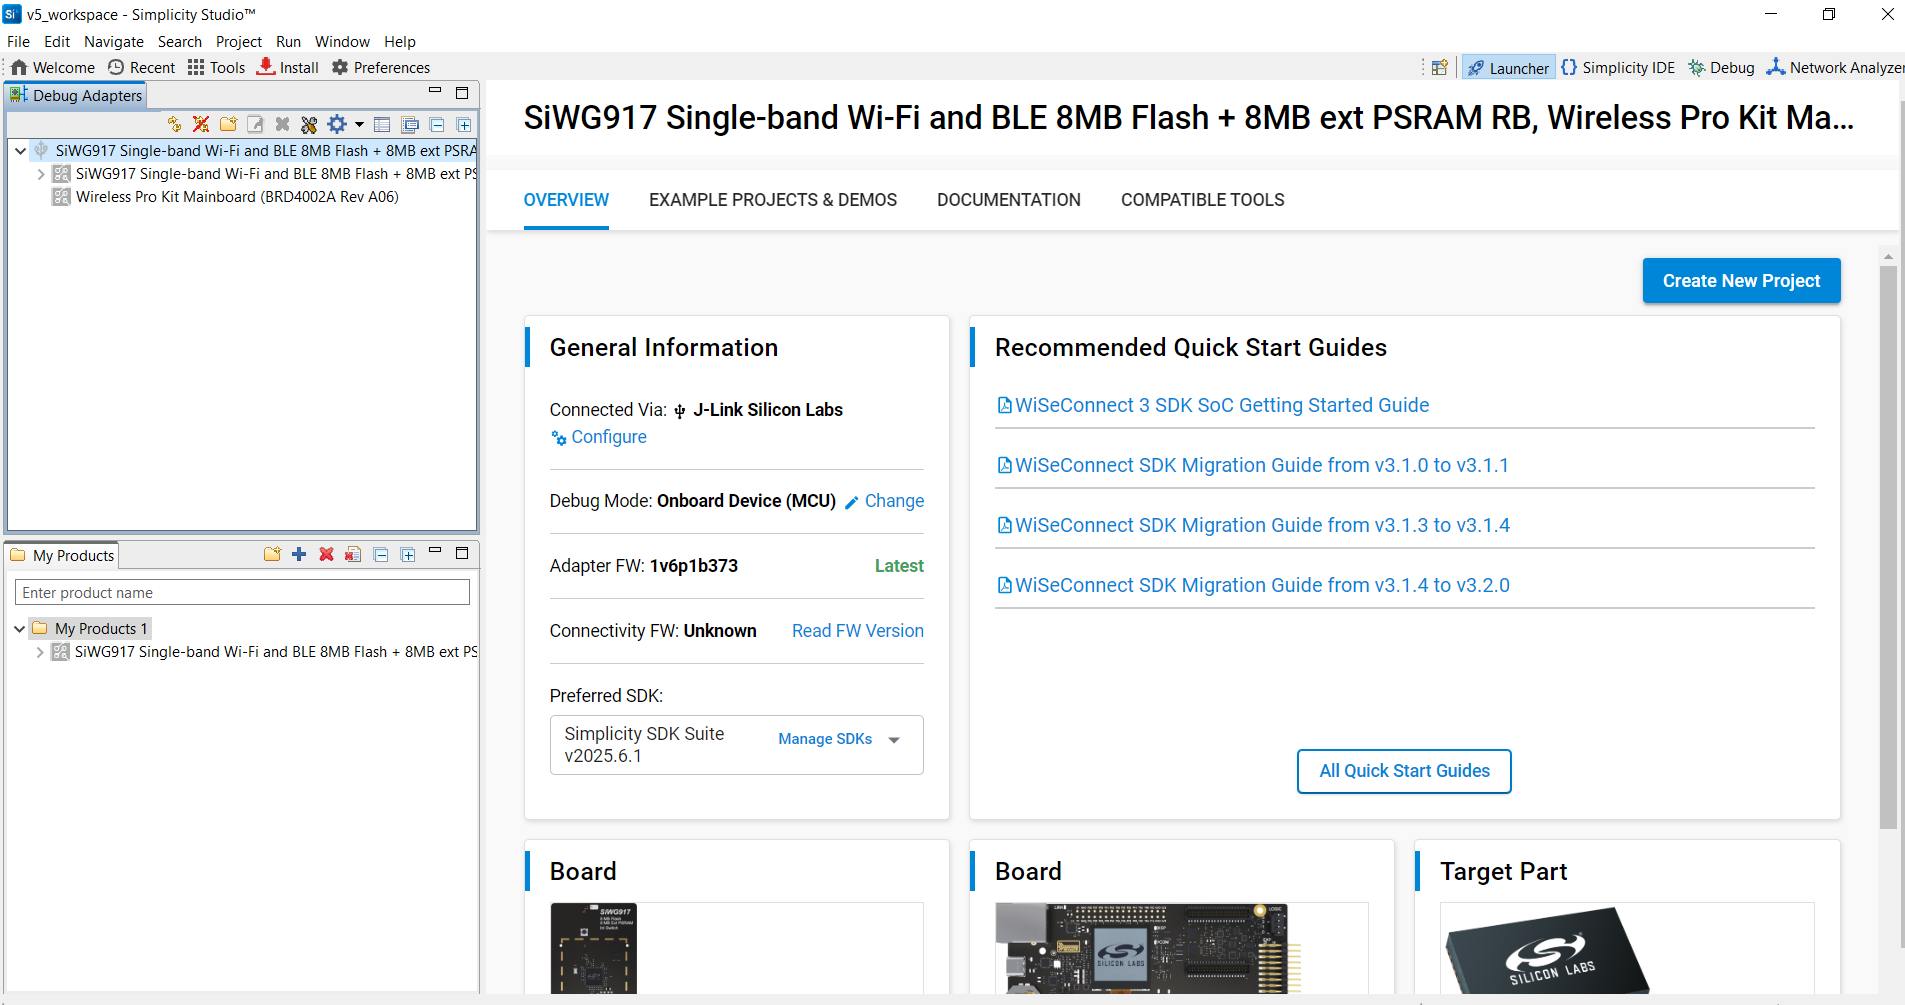
Open Simplicity Studio.
Create a new SiWx917 project or open an existing one.
From Example Projects & Demos, search for a PSRAM example, such as:
psram_driver_examplepsram_blinky
Select the example and click Create.
Connect your Si917 evaluation board and verify it is detected automatically.
Review the example documentation in
readme.mdto understand the project purpose and usage.
Example Directory Structure:
autogen/ // Auto-generated configuration and linker files
config/ // Platform-specific configuration headers
resources/ // Documentation images and resources
simplicity_sdk_*/ // Gecko SDK platform layer and libraries
wiseconnect3_sdk_*/ // WiSeConnect SDK components
main.c // Application entry point
readme.md // Example documentation
psram_driver_example.slcp // Project configuration file
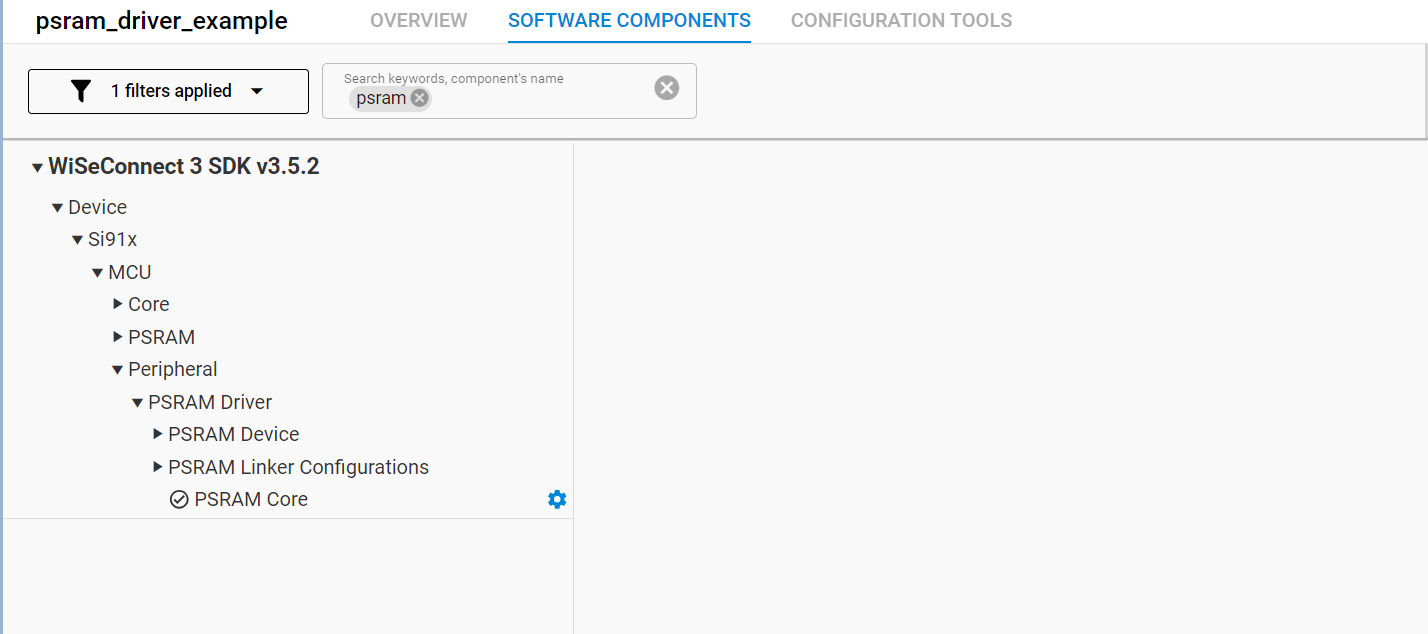
psram_driver_example.slps // Project set file for related solutionsStep 2. Add the PSRAM Component#
The PSRAM component is managed in Simplicity Studio through the Component Editor.
Note: If you create a PSRAM example project, the component is added automatically.
To add PSRAM manually:
Open the project
.slcpfile.Select the Software Components tab.
Search for PSRAM or navigate to:
WiSeConnect 3 SDK → Device → Si91x → MCU → ServiceSelect PSRAM and click Install.

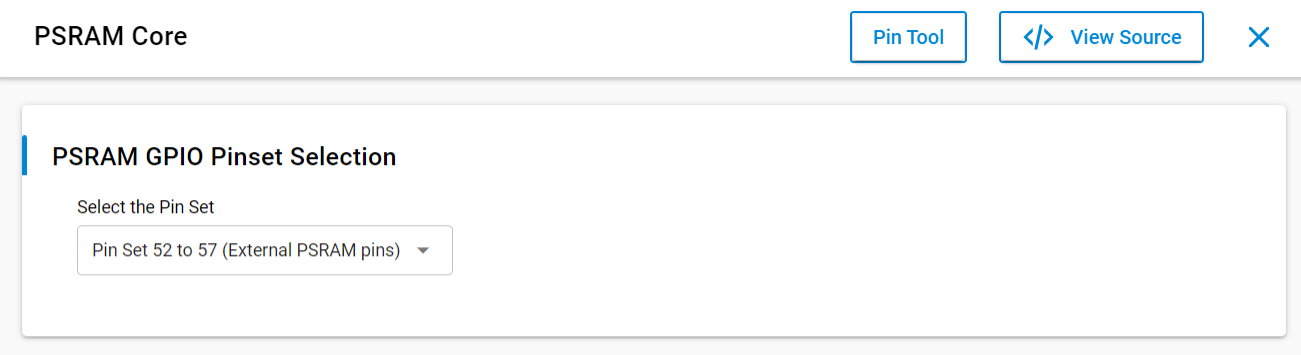
Step 3. Configure PSRAM Using Universal Configurator (UC)#
Use the UC to customize PSRAM configuration.
Open the PSRAM component in the Component Editor.
Click Settings to modify parameters.
Adjust pin mappings and device-specific configurations as needed.

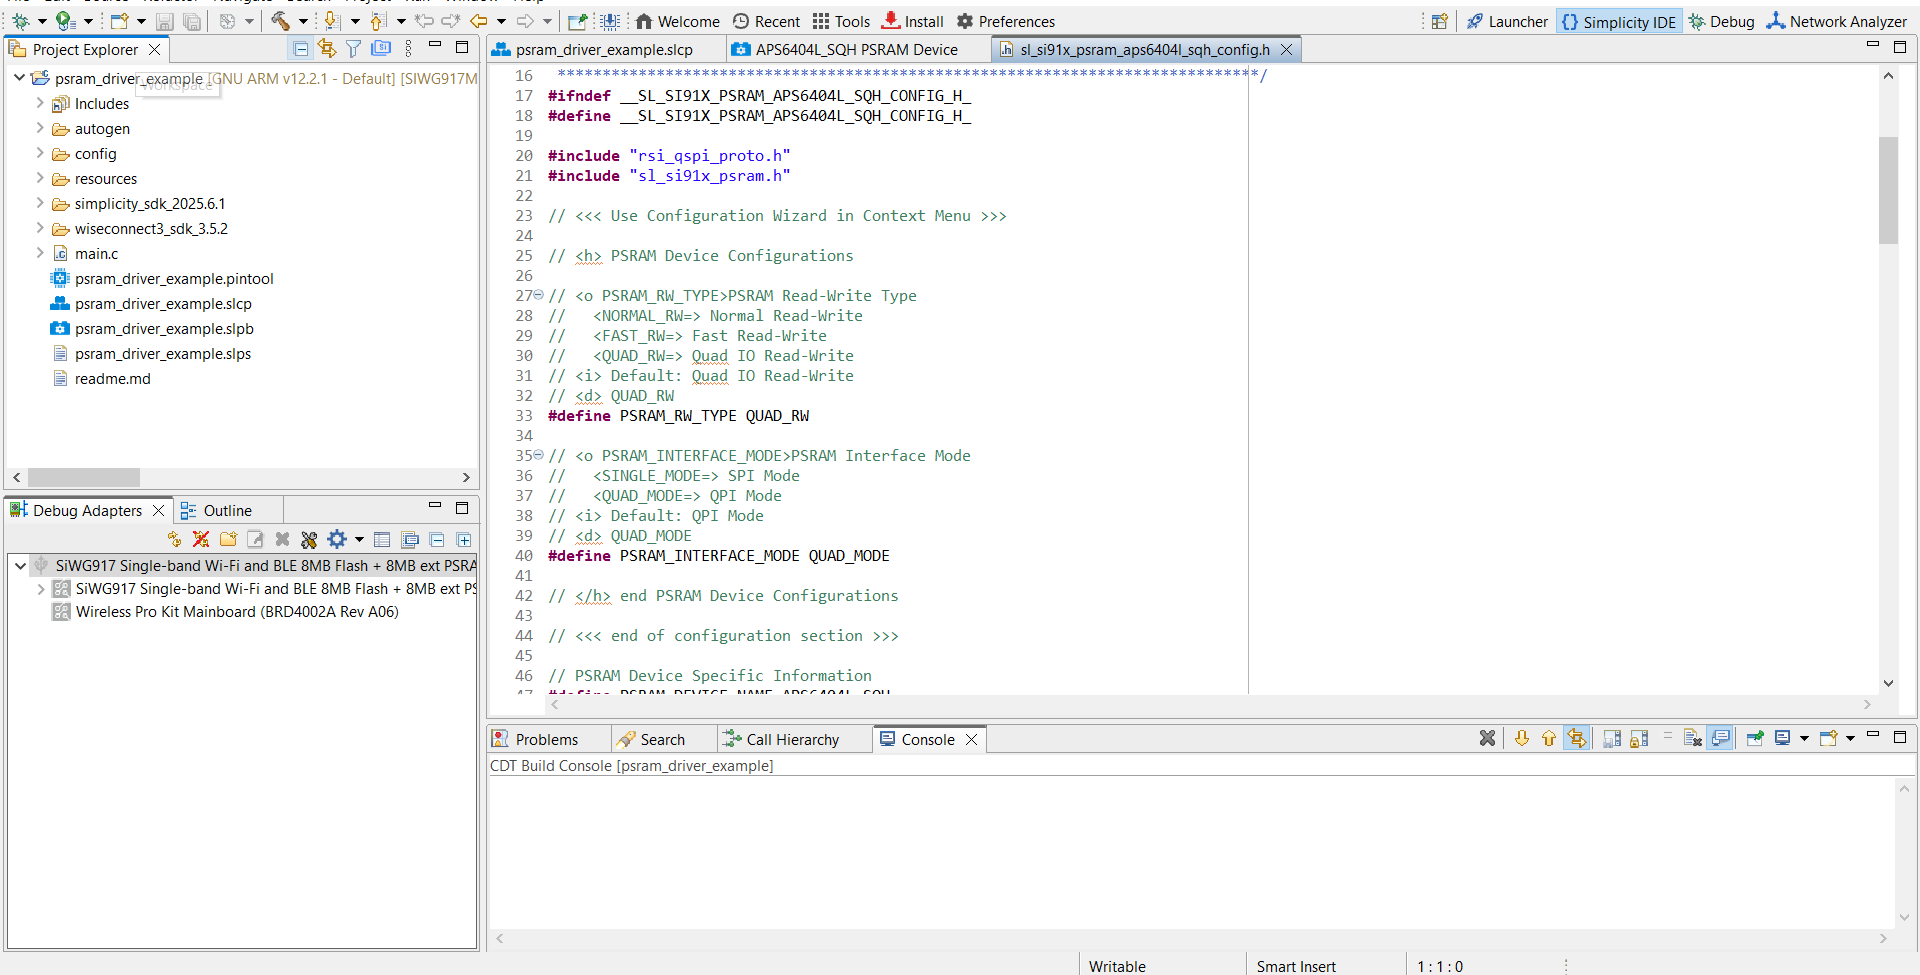
Step 4. Generate Initialization Code#
When components are added or modified, Simplicity Studio automatically generates the PSRAM driver and configuration source files.
To view the generated code, select View Source in the Universal Configurator interface.
Step 5. Build, Flash, and Test#
Build the project in Simplicity Studio.
Flash the firmware to your Si917 device.
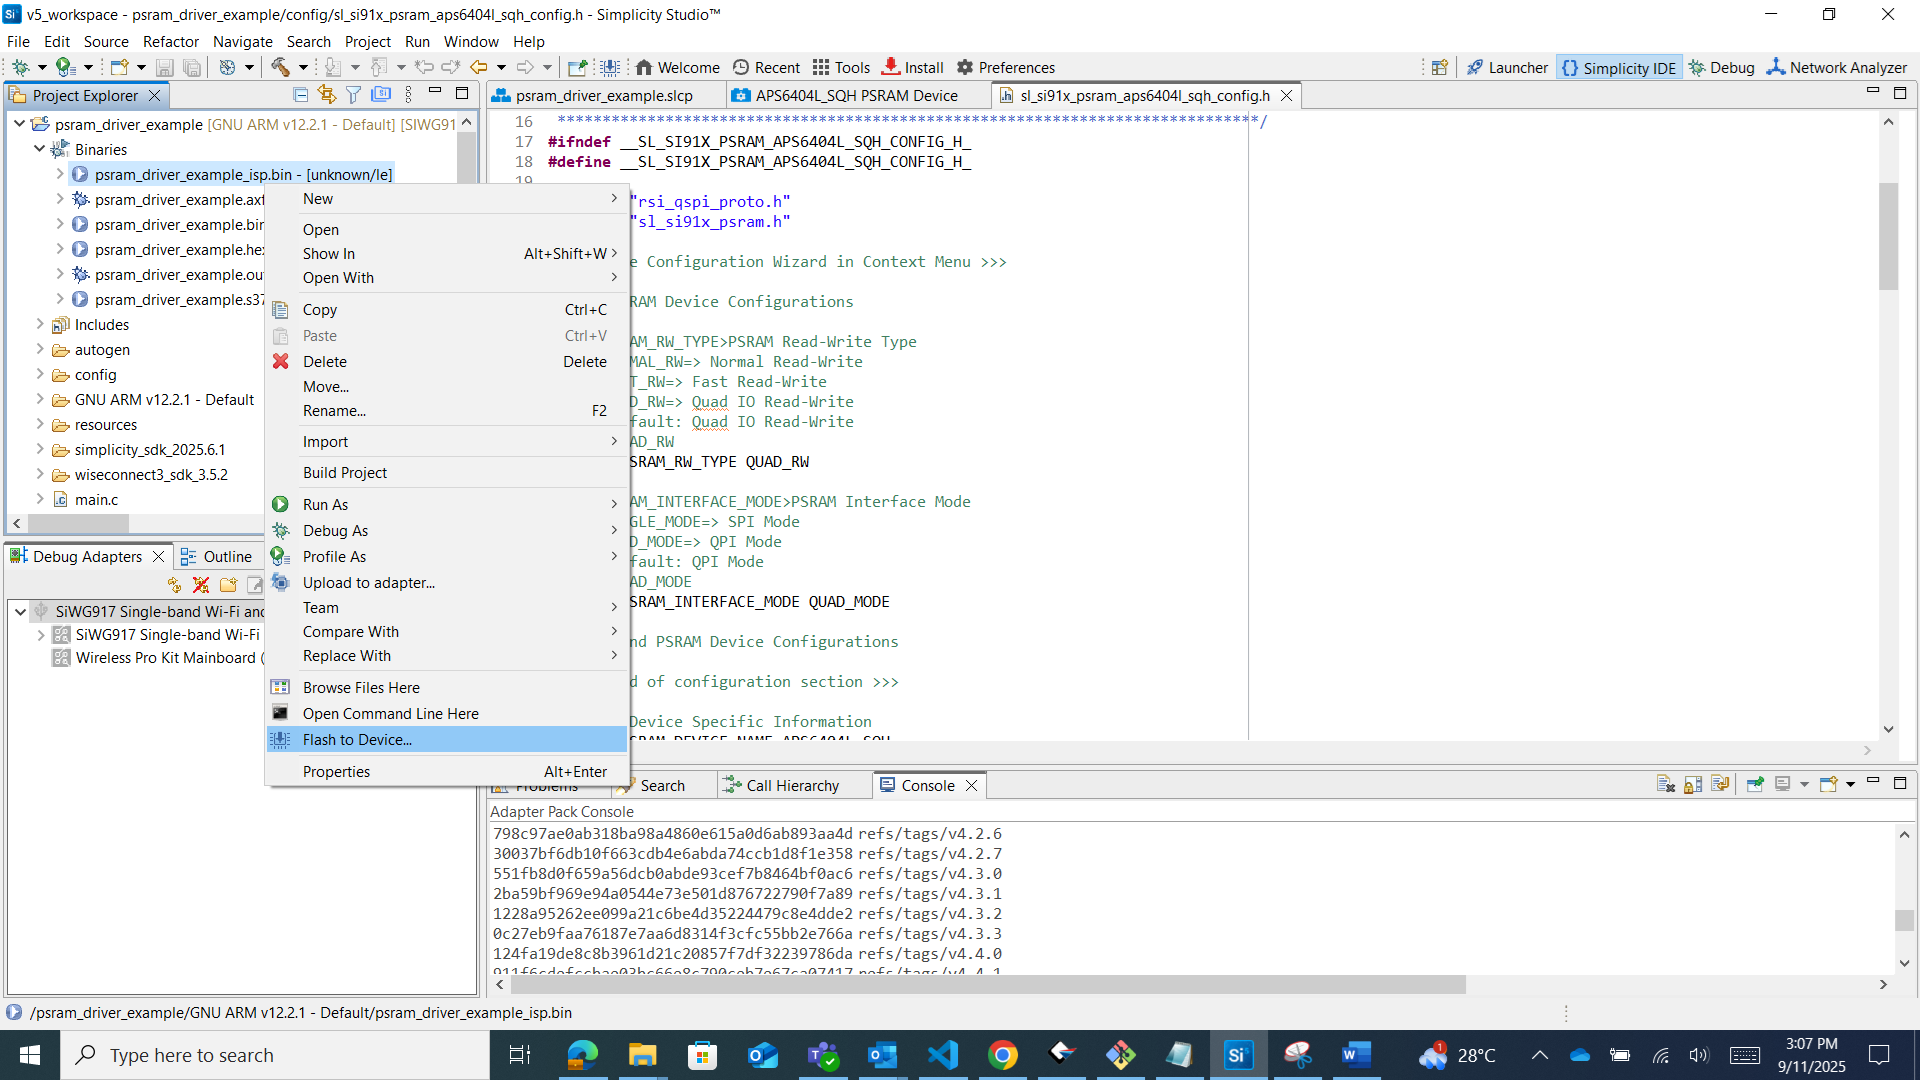
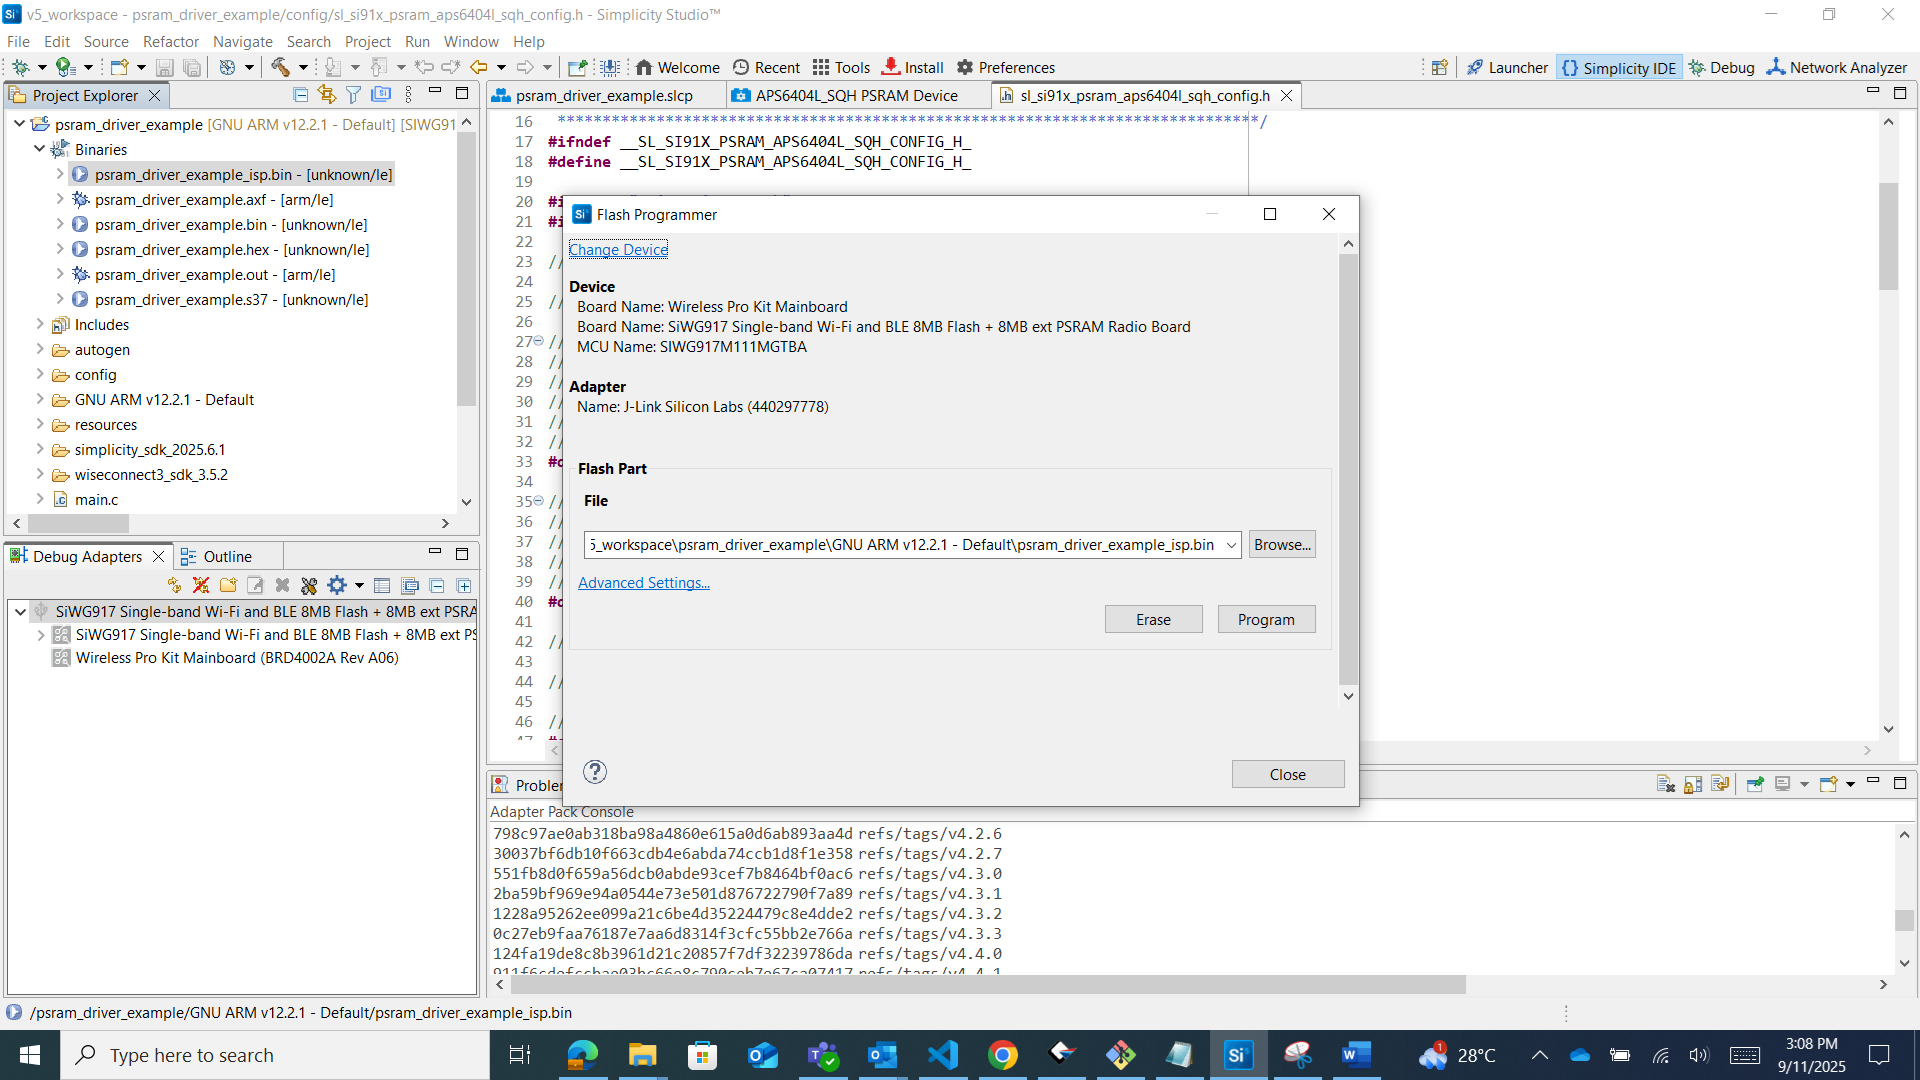
Verify PSRAM functionality using the serial console or debugger.
Example Console Output: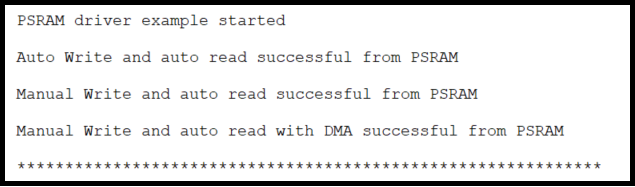
Notes:
Use the PSRAM APIs only after successful initialization.
Always validate data integrity after read/write operations.
Use direct memory access (DMA) transfers for large data operations to improve throughput.
API to Initialize#
The WiSeConnect SDK provides APIs for initializing and testing PSRAM functionality programmatically.
Example Initialization Code#
#include "sl_si91x_psram.h"
sl_status_t status;
// Initialize PSRAM
status = sl_si91x_psram_init();
if (status != SL_STATUS_OK) {
printf("PSRAM initialization failed: 0x%lx
", status);
}
// Write test data to PSRAM
uint8_t test_buf[128] = {0xA5};
status = sl_si91x_psram_manual_write_in_blocking_mode(
PSRAM_BASE_ADDRESS, test_buf, sizeof(test_buf), BIT_8_READ_WRITE_LENGTH);
// Read back data for verification
uint8_t verify_buf[128] = {0};
status = sl_si91x_psram_manual_read_in_blocking_mode(
PSRAM_BASE_ADDRESS, verify_buf, sizeof(verify_buf), BIT_8_READ_WRITE_LENGTH);