Creating a project with latest SDK#
In this method, we should make use of a reference project from the latest WiSeConnect SDK. Create the requried project by adding components, and merging the source file changes.
Install the recent WiSeConnect SDK to your local environment in the system.
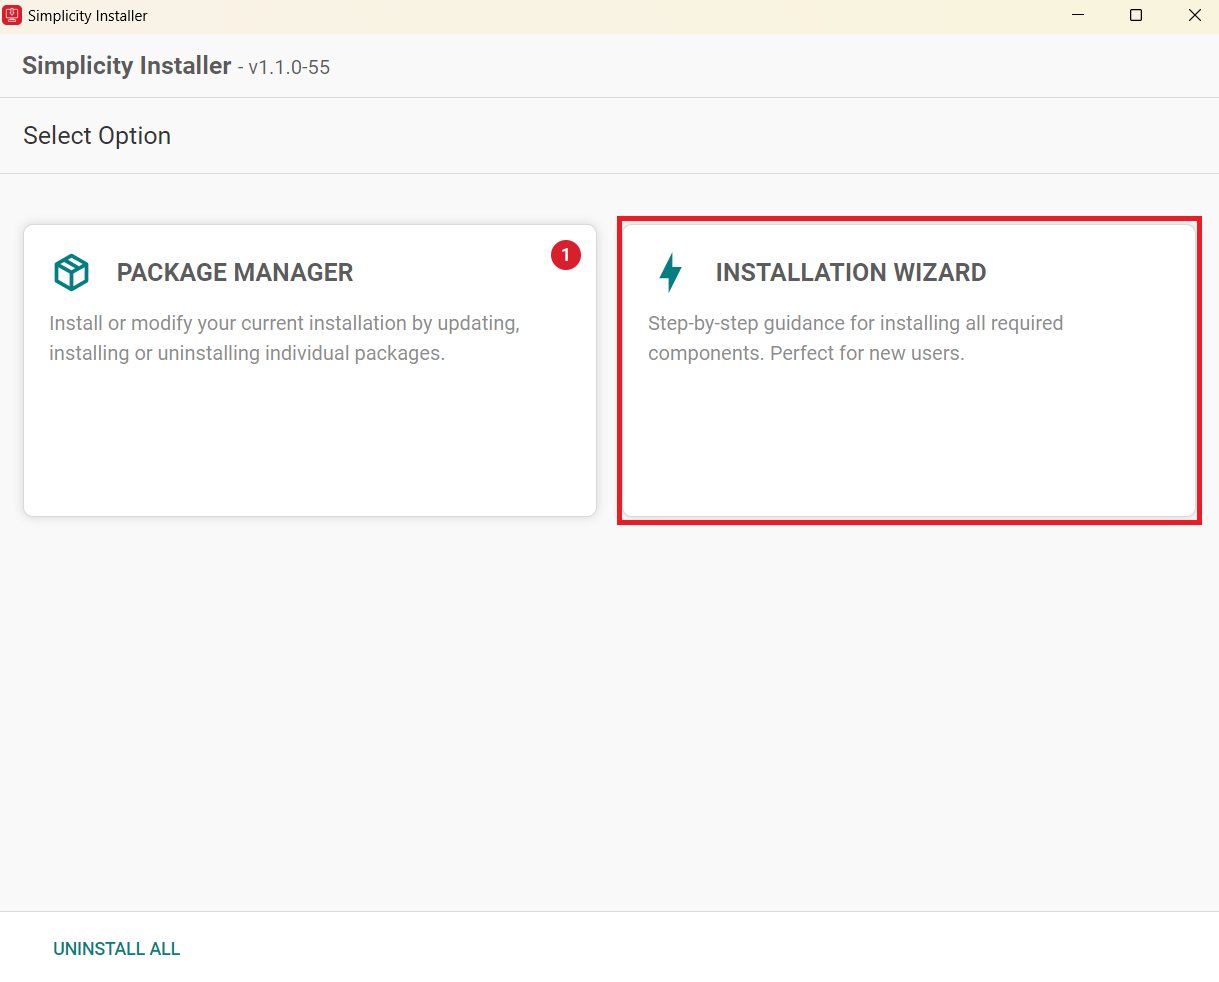
a. Open Simplicity Installer and click on INSTALLATION WIZARD.
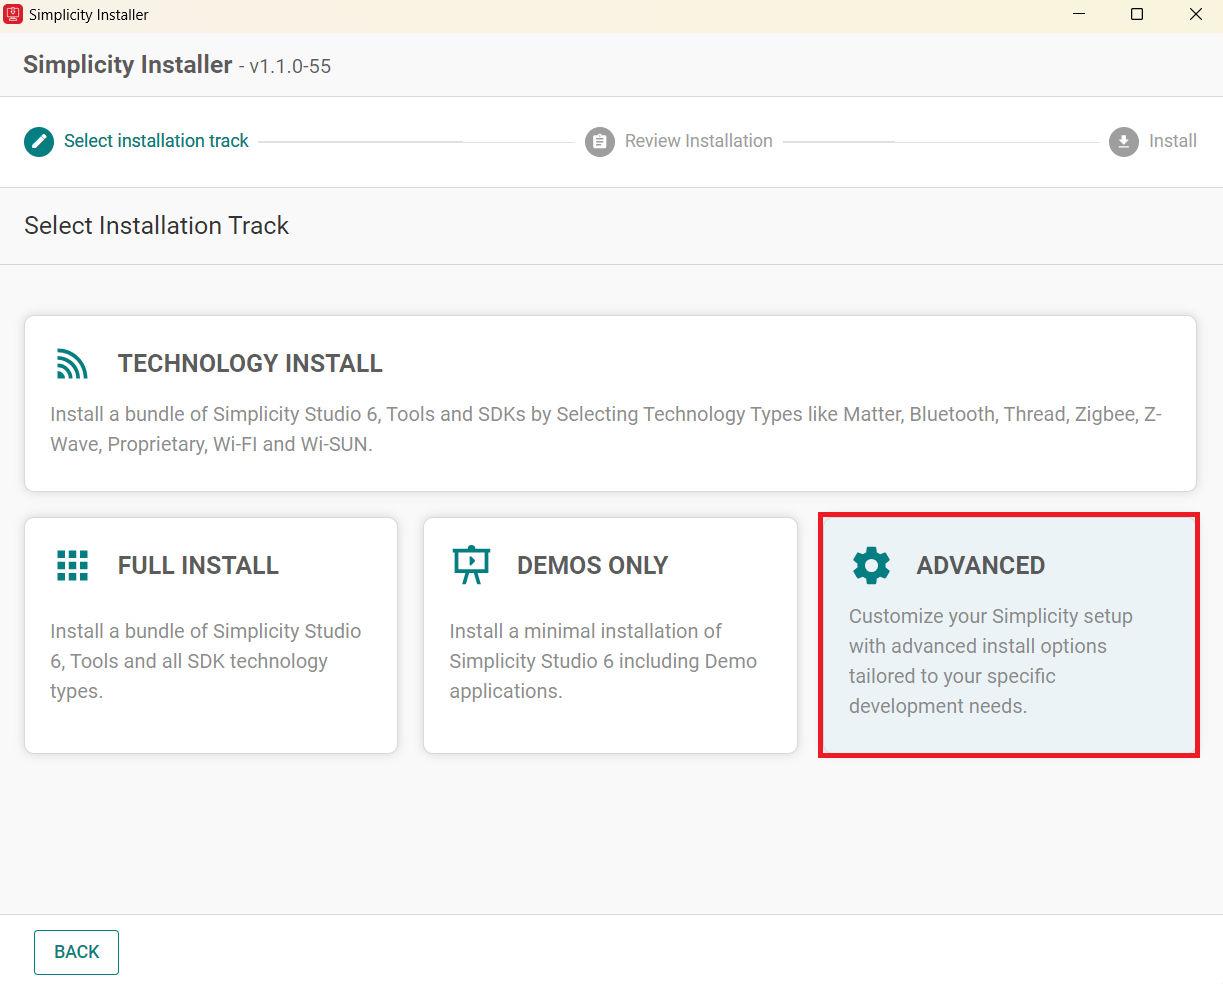
b. Click on ADVANCED.
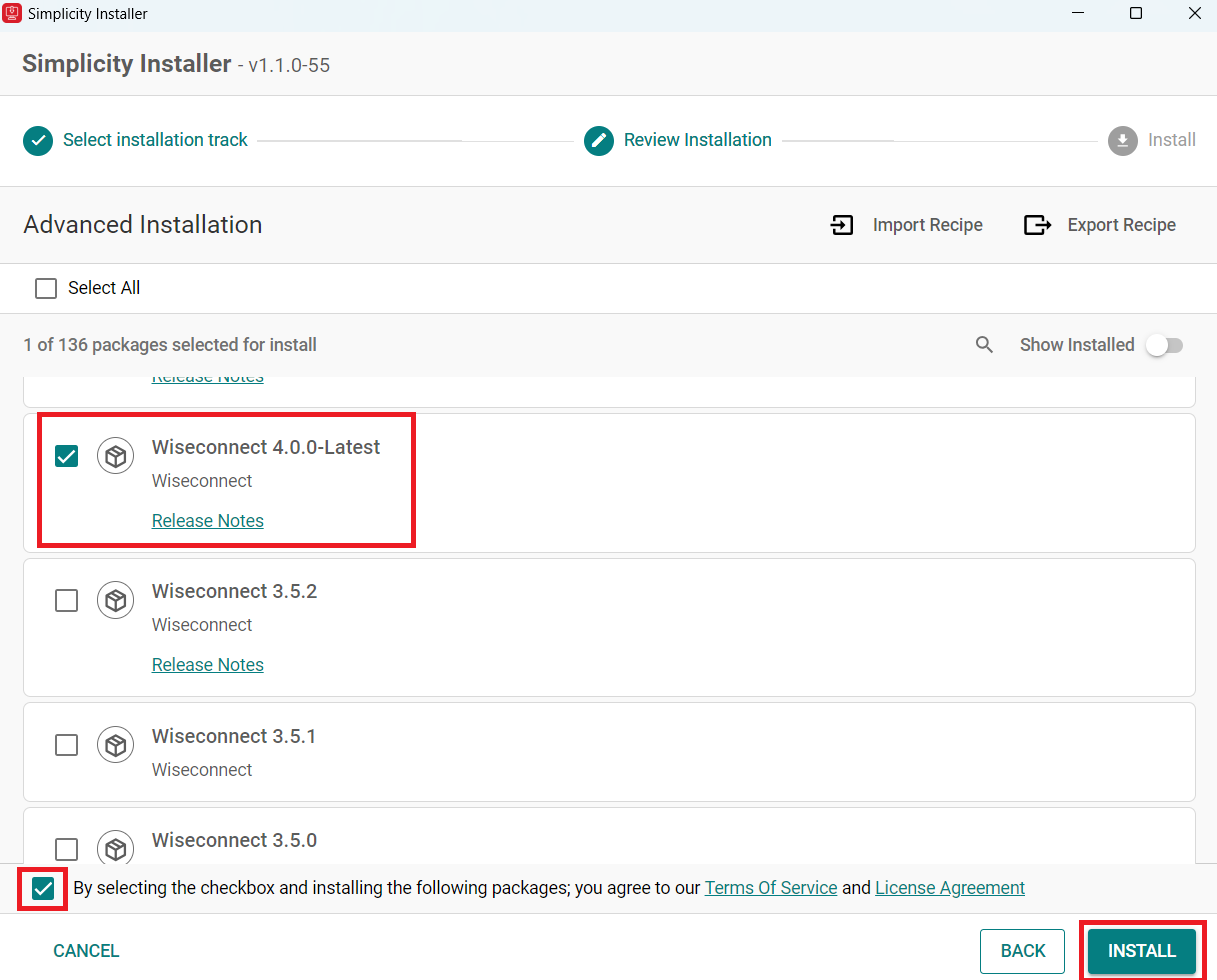
c. Select the latest version SiSDK and WiSeConnect extension, click on INSTALL.
d. Once the installation is successfully completed, open Simplicity Studio, navigate to SETTINGS > SDKs.
e. Select the latest SDK and click REFRESH.
This step ensures that the latest installed GSDK and WiSeConnect SDK combination is enabled.
Note: It is preferred to disable the older versions of SDKs.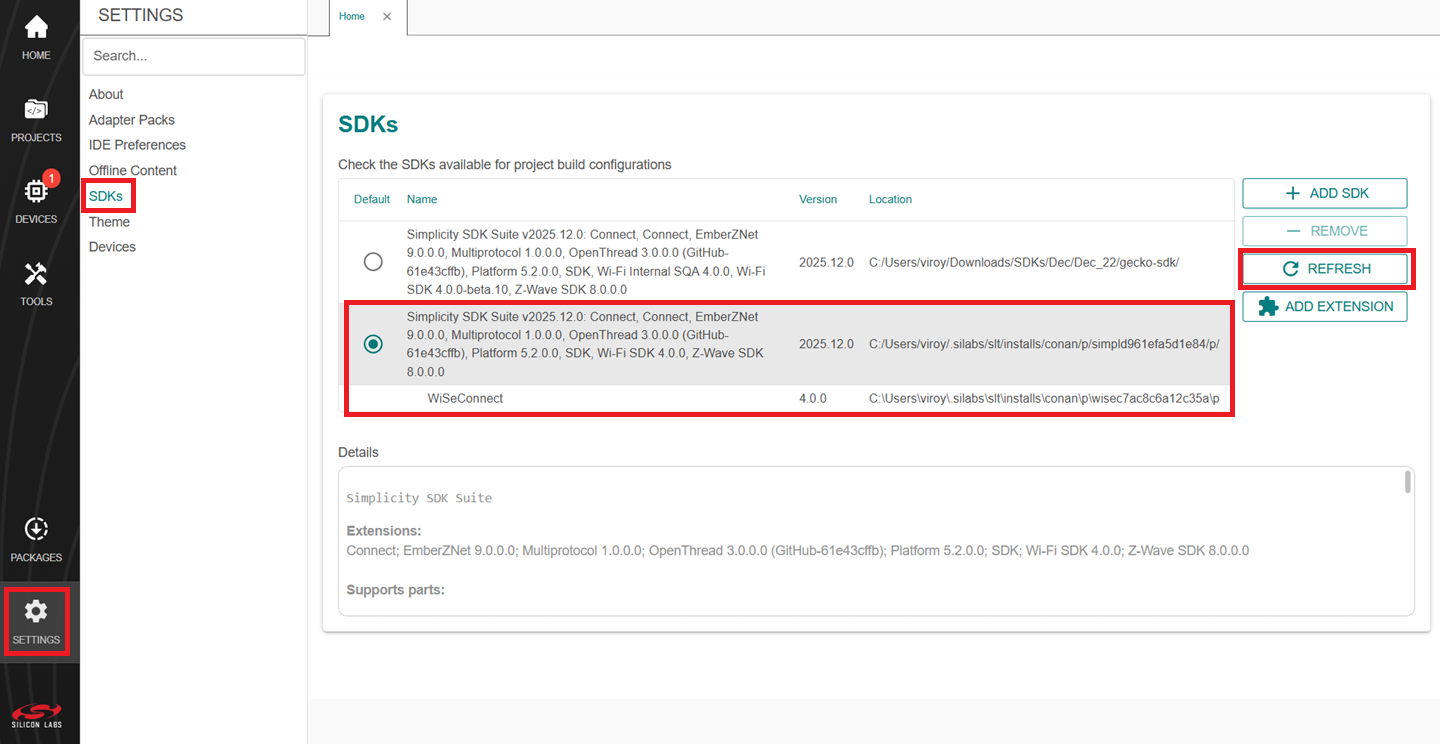
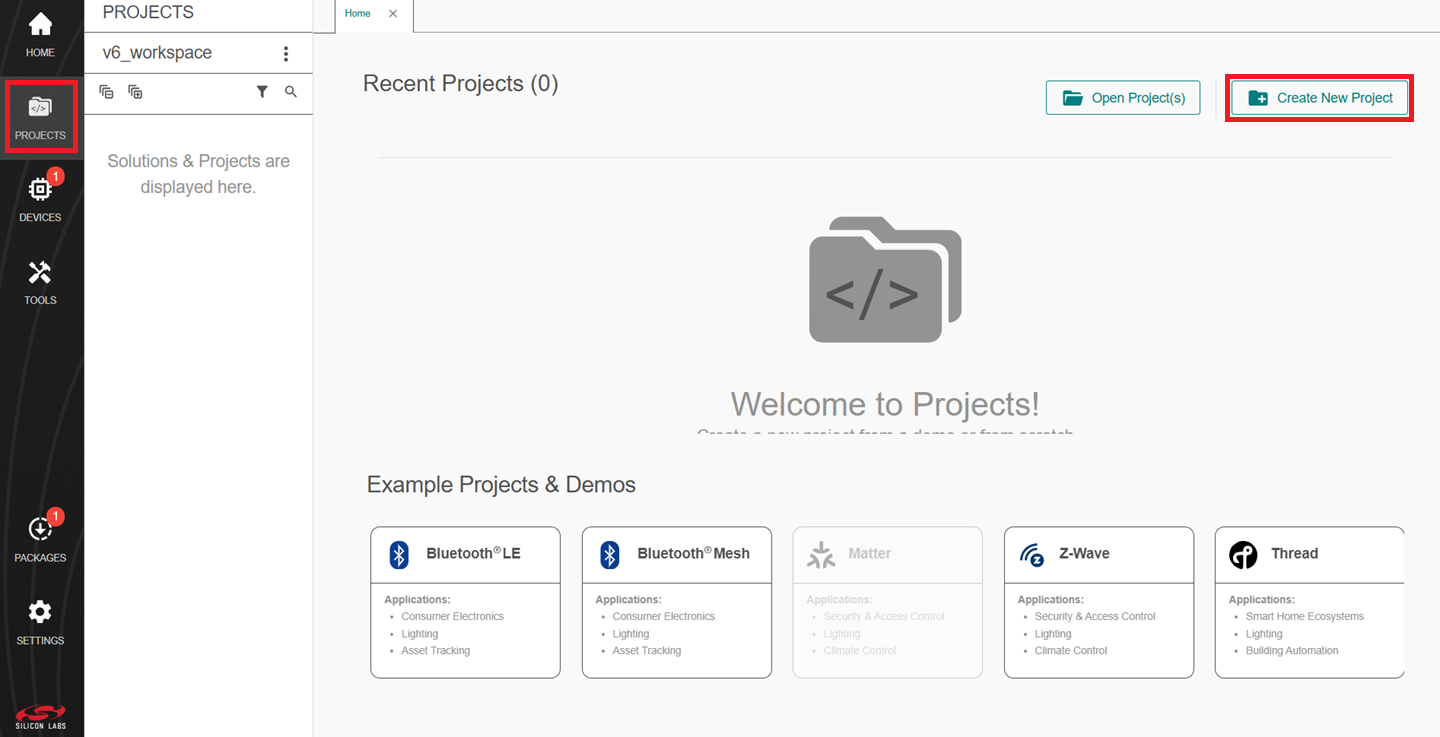
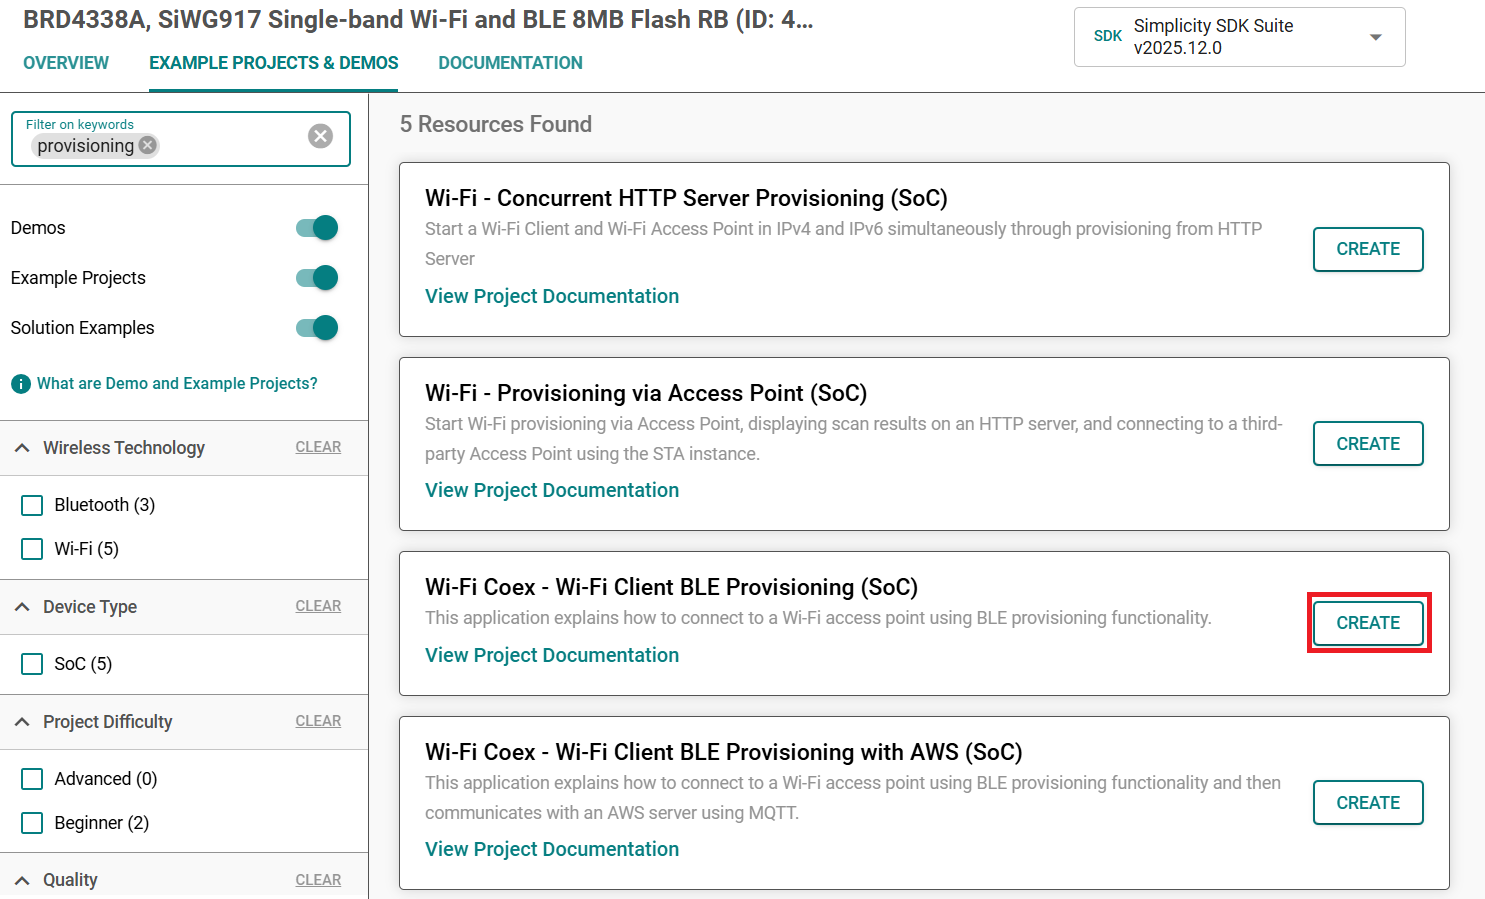
Choose and create a reference example that best suits your existing project from PROJECTS -> Create New Project.
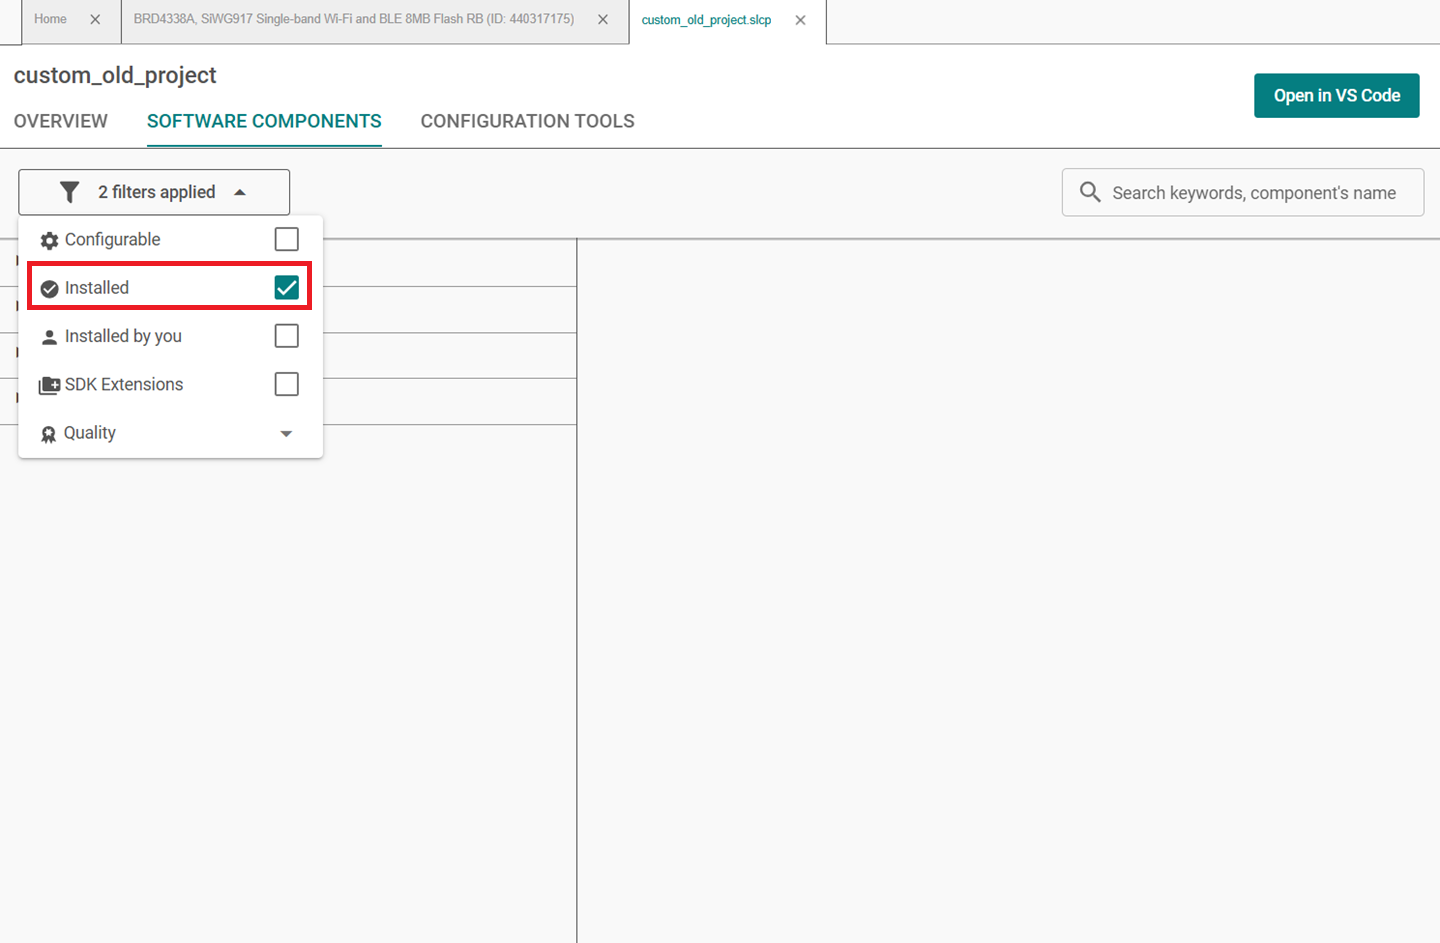
Use the Installed filter in your existing project to check which components are installed.
Install the same components for the new project.
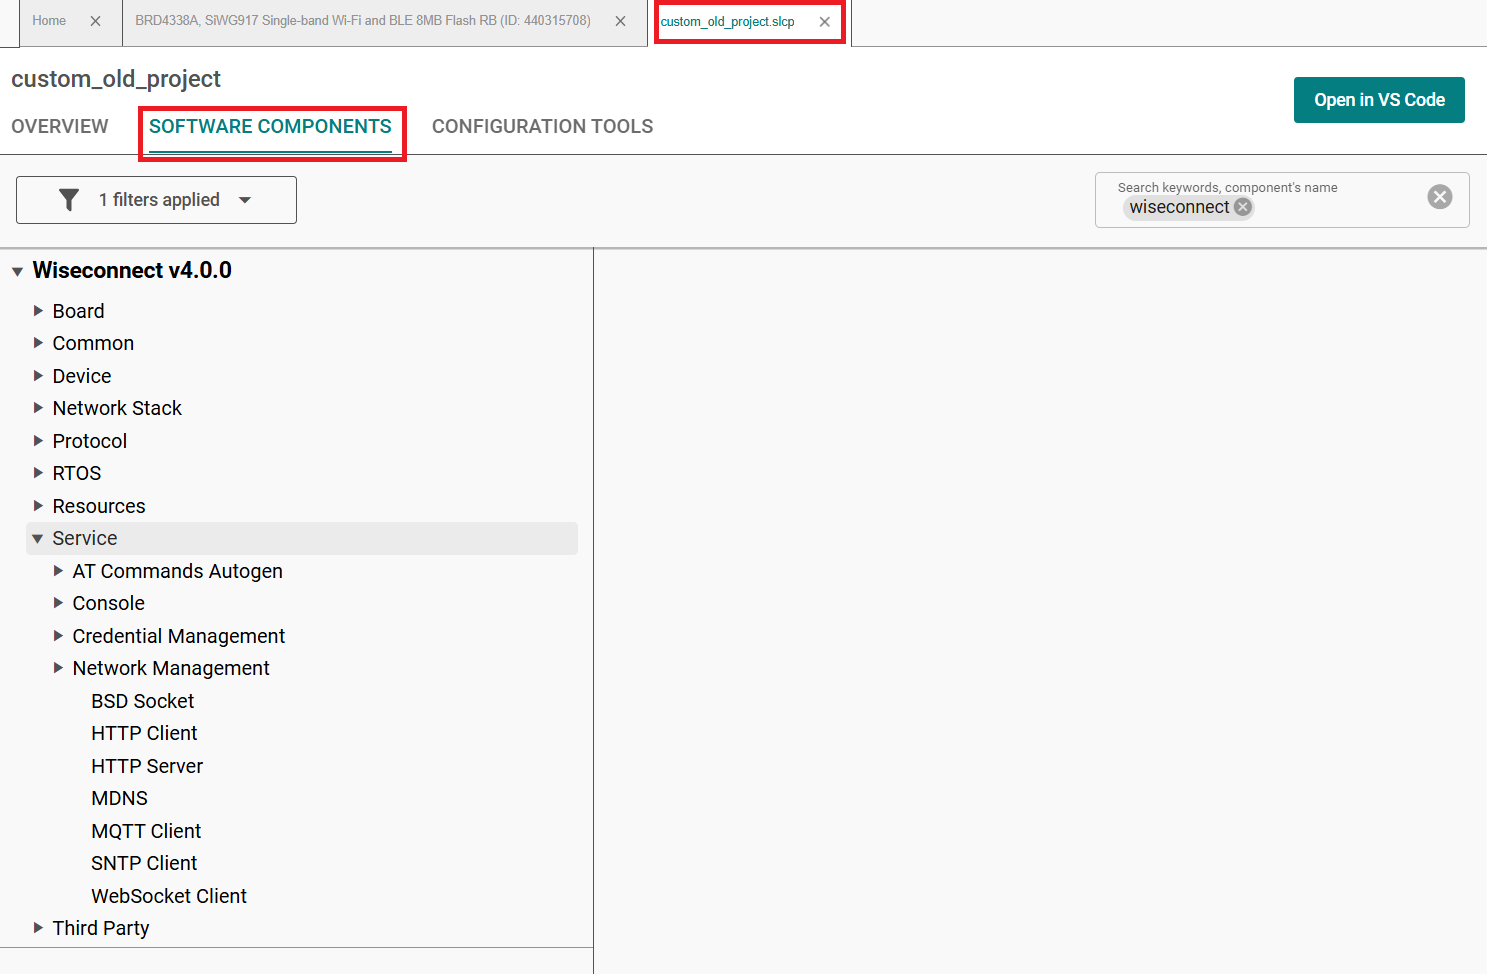
Once all the components are installed, refer to the existing project to configure the installed components.
At the end, copy or merge the project source files from the existing project to the new project in the Simplicity Studio VS Code IDE.
Refer to the respective SDK release migration guide, If there are any modifications that impact your application, replace them with the recent changes as mentioned in the migration guide.
If you are migrating from an older SDK which is more than two releases behind, refer to the migration updates for each SDK version and incorporate the necessary API and definition changes.