BLE Configure View#
Advertiser#
The Advertiser allows you to use the mobile device as a BLE peripheral by creating and customizing advertisement sets, including their configuration and payload. The Advertiser supports:
Legacy and extended advertising
Configurable advertisement interval, TX Power, primary/secondary PHYs
Manual advertisement start/stop and stop based on a time/event limit
Multiple AD types
This functionality is useful when you have only one Silicon Labs kit for a Bluetooth product and want to test, evaluate, or develop applications that use Silicon Labs Bluetooth stack functionality as a central device.
Create a New Advertisement Set#
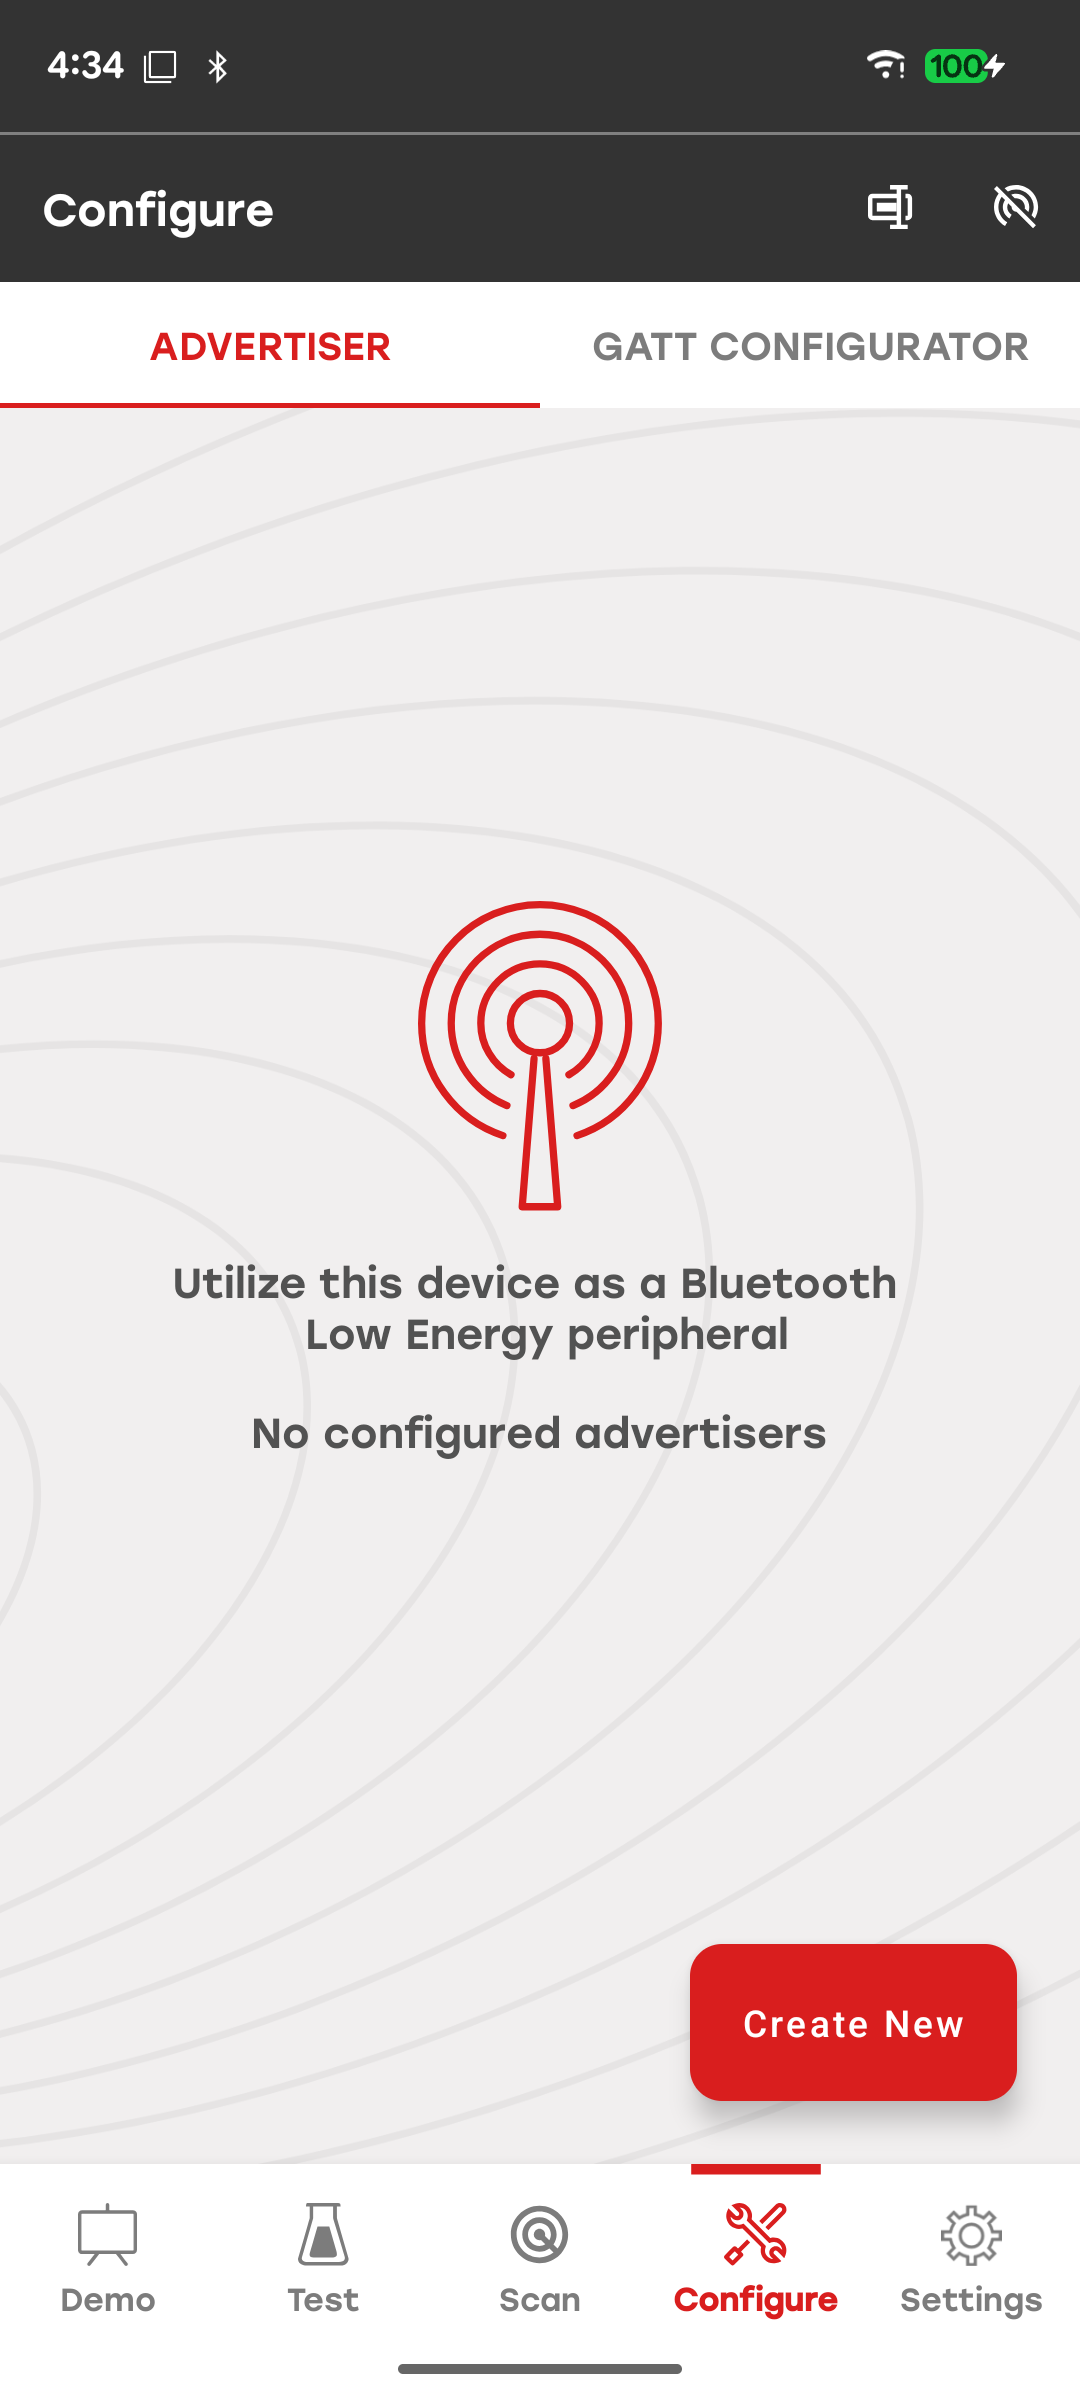
When you open the Advertiser for the first time, the app displays an empty list because no advertisement sets have been created.
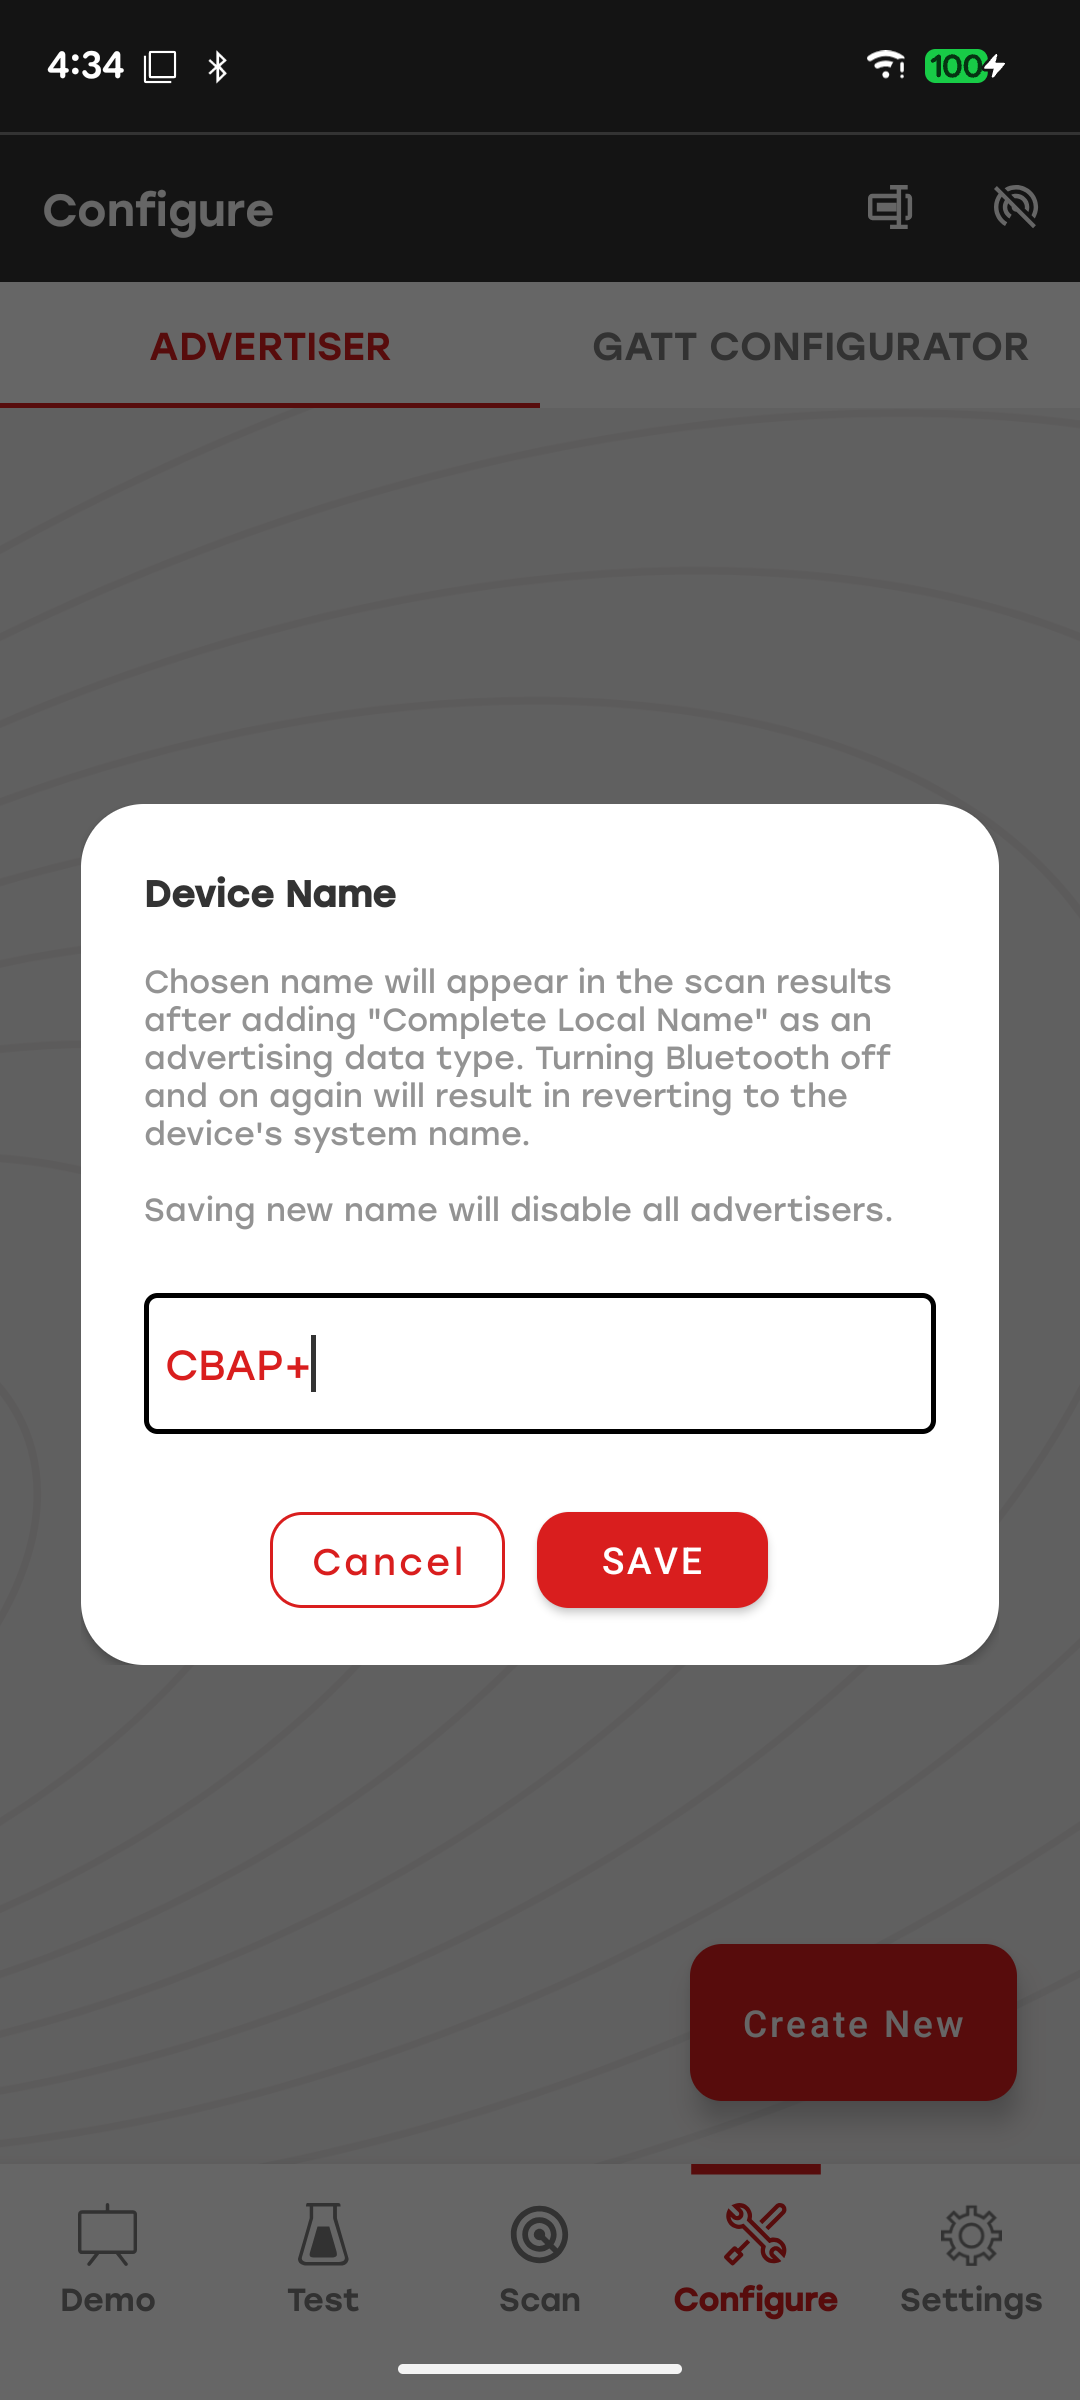
Tap the Change device name icon in the upper-right corner to open a dialog box where you can change the device name. The device name is a global setting and cannot be configured separately for each advertisement set.
Use the other icon in the upper-right corner to disable all advertisement sets.
The Create new control adds a new advertisement set that contains AD Type flags in its payload. The advertisement set is represented by a card, similar to the device representation in the Scanner view.
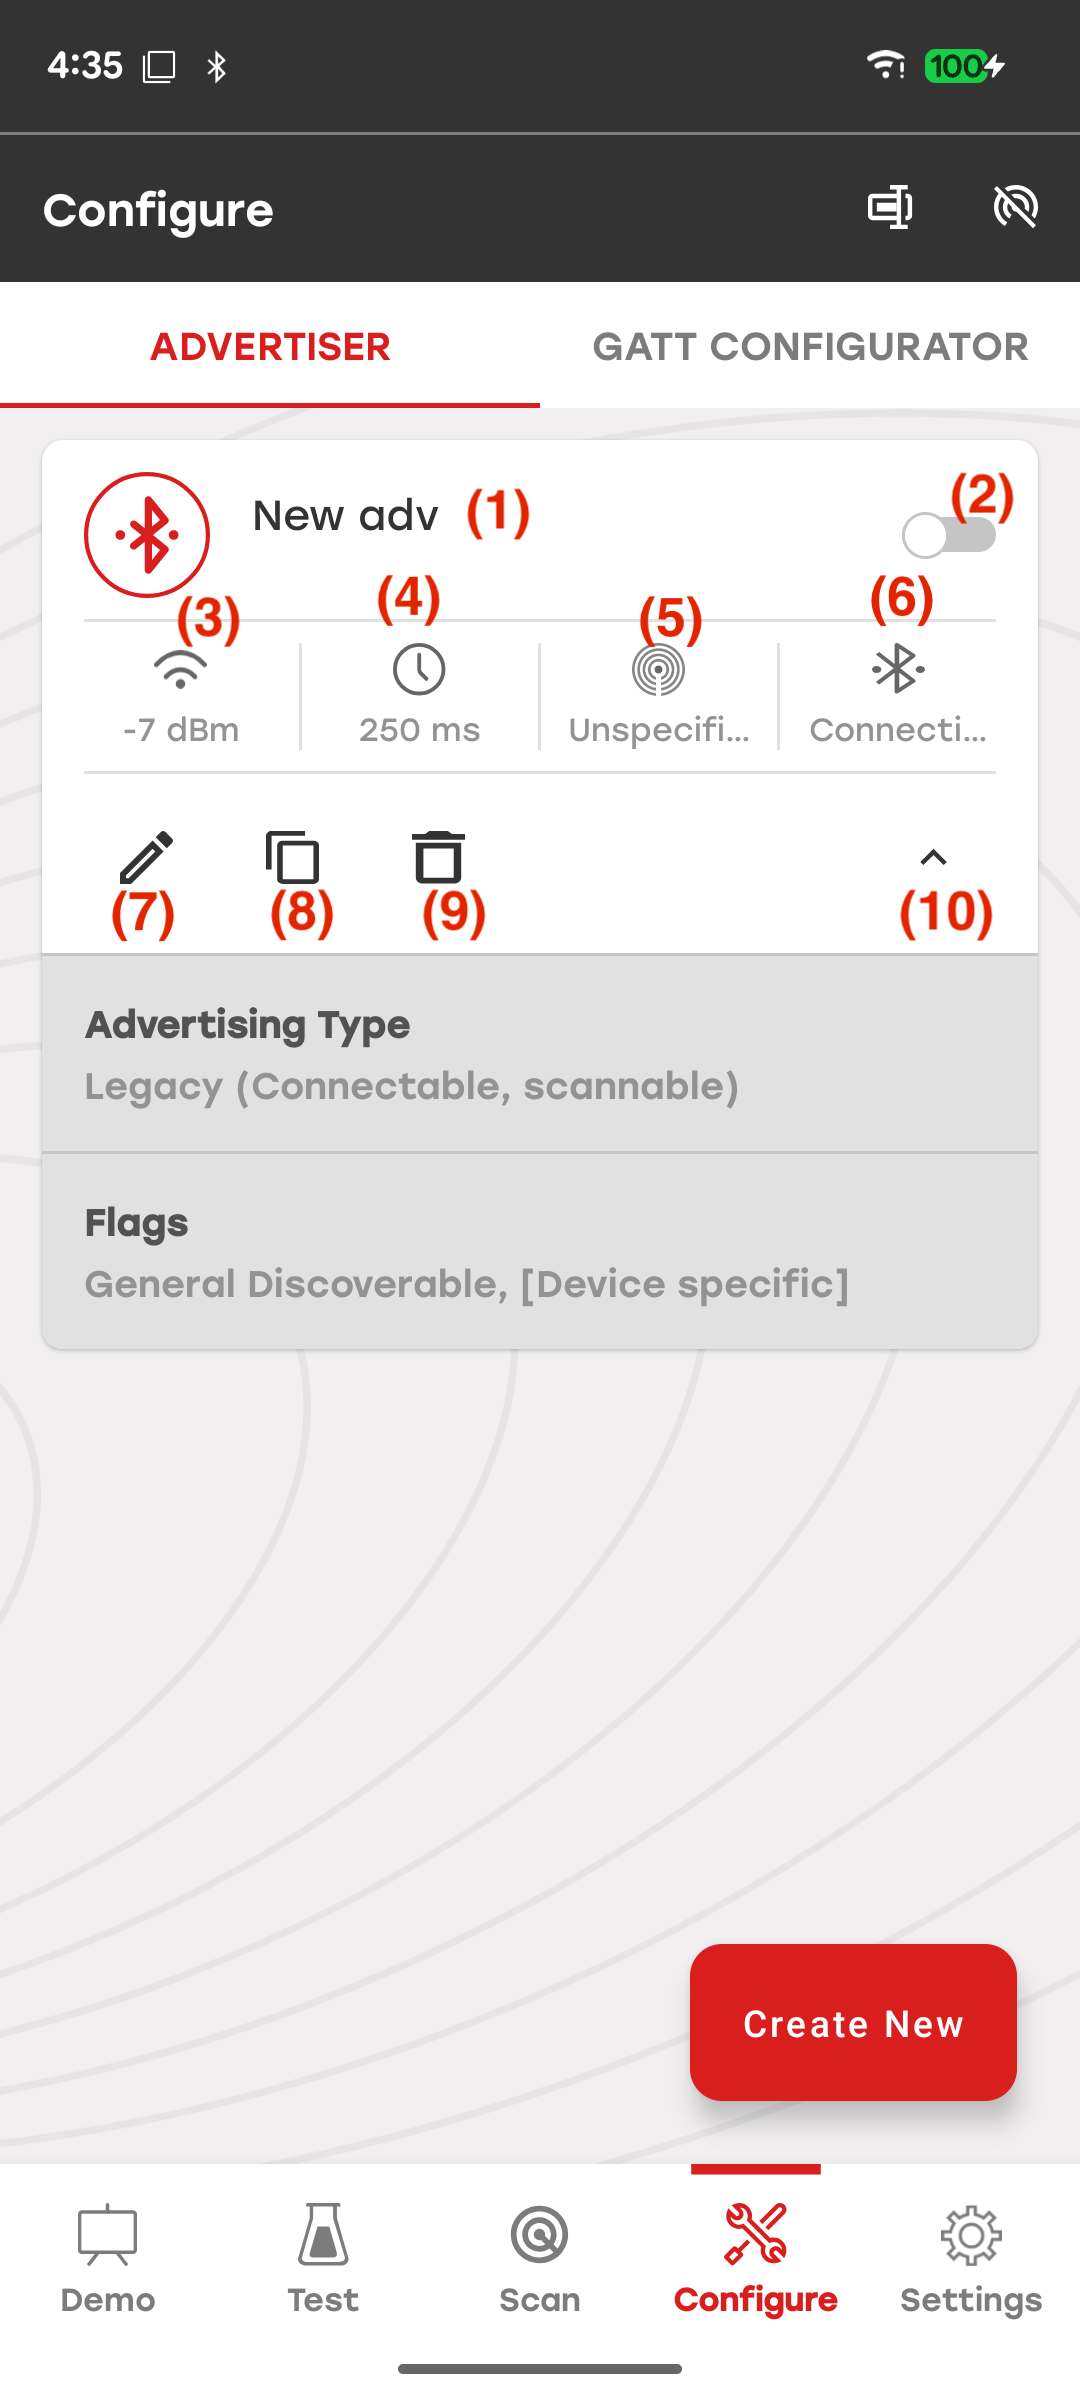
The image above shows the main elements of the advertiser card, which are as follows:
Name of the advertisement set: User-defined name of the advertiser set. This is not the advertised device name.
Enable/disable button: Enable/disable advertisement set.
TX Power: Signal power in dBm.
Advertisement interval: In milliseconds.
Beacon type: Configured known beacon type (iBeacon, Eddystone, Altbeacon) or Unspecified.
Advertisement type: Connectable or non-connectable.
Edit: Edit view of the specific advertisement set.
Copy: Clone the advertisement set and place at the end of the list.
Delete: Delete the specific advertisement set.
Expand/Collapse: Change the advertisement set to show more/fewer details.
Edit Advertisement Set#
When you open the edit view for an advertisement set, the customization options are divided into three sections:
Advertising Type
Note: This section is not available on iOS because of system limitations.
Advertising Data and Scan Response Data
Advertising Parameters
The first text box displays the user-defined name of the advertisement set. You can then select either Legacy Advertising or Extended Advertising, which was introduced in the Bluetooth 5.0 specification.
Support for Extended Advertising depends on the mobile device and operating system. If Extended Advertising is not supported, the app displays a note and the Extended Advertising option is grayed out.
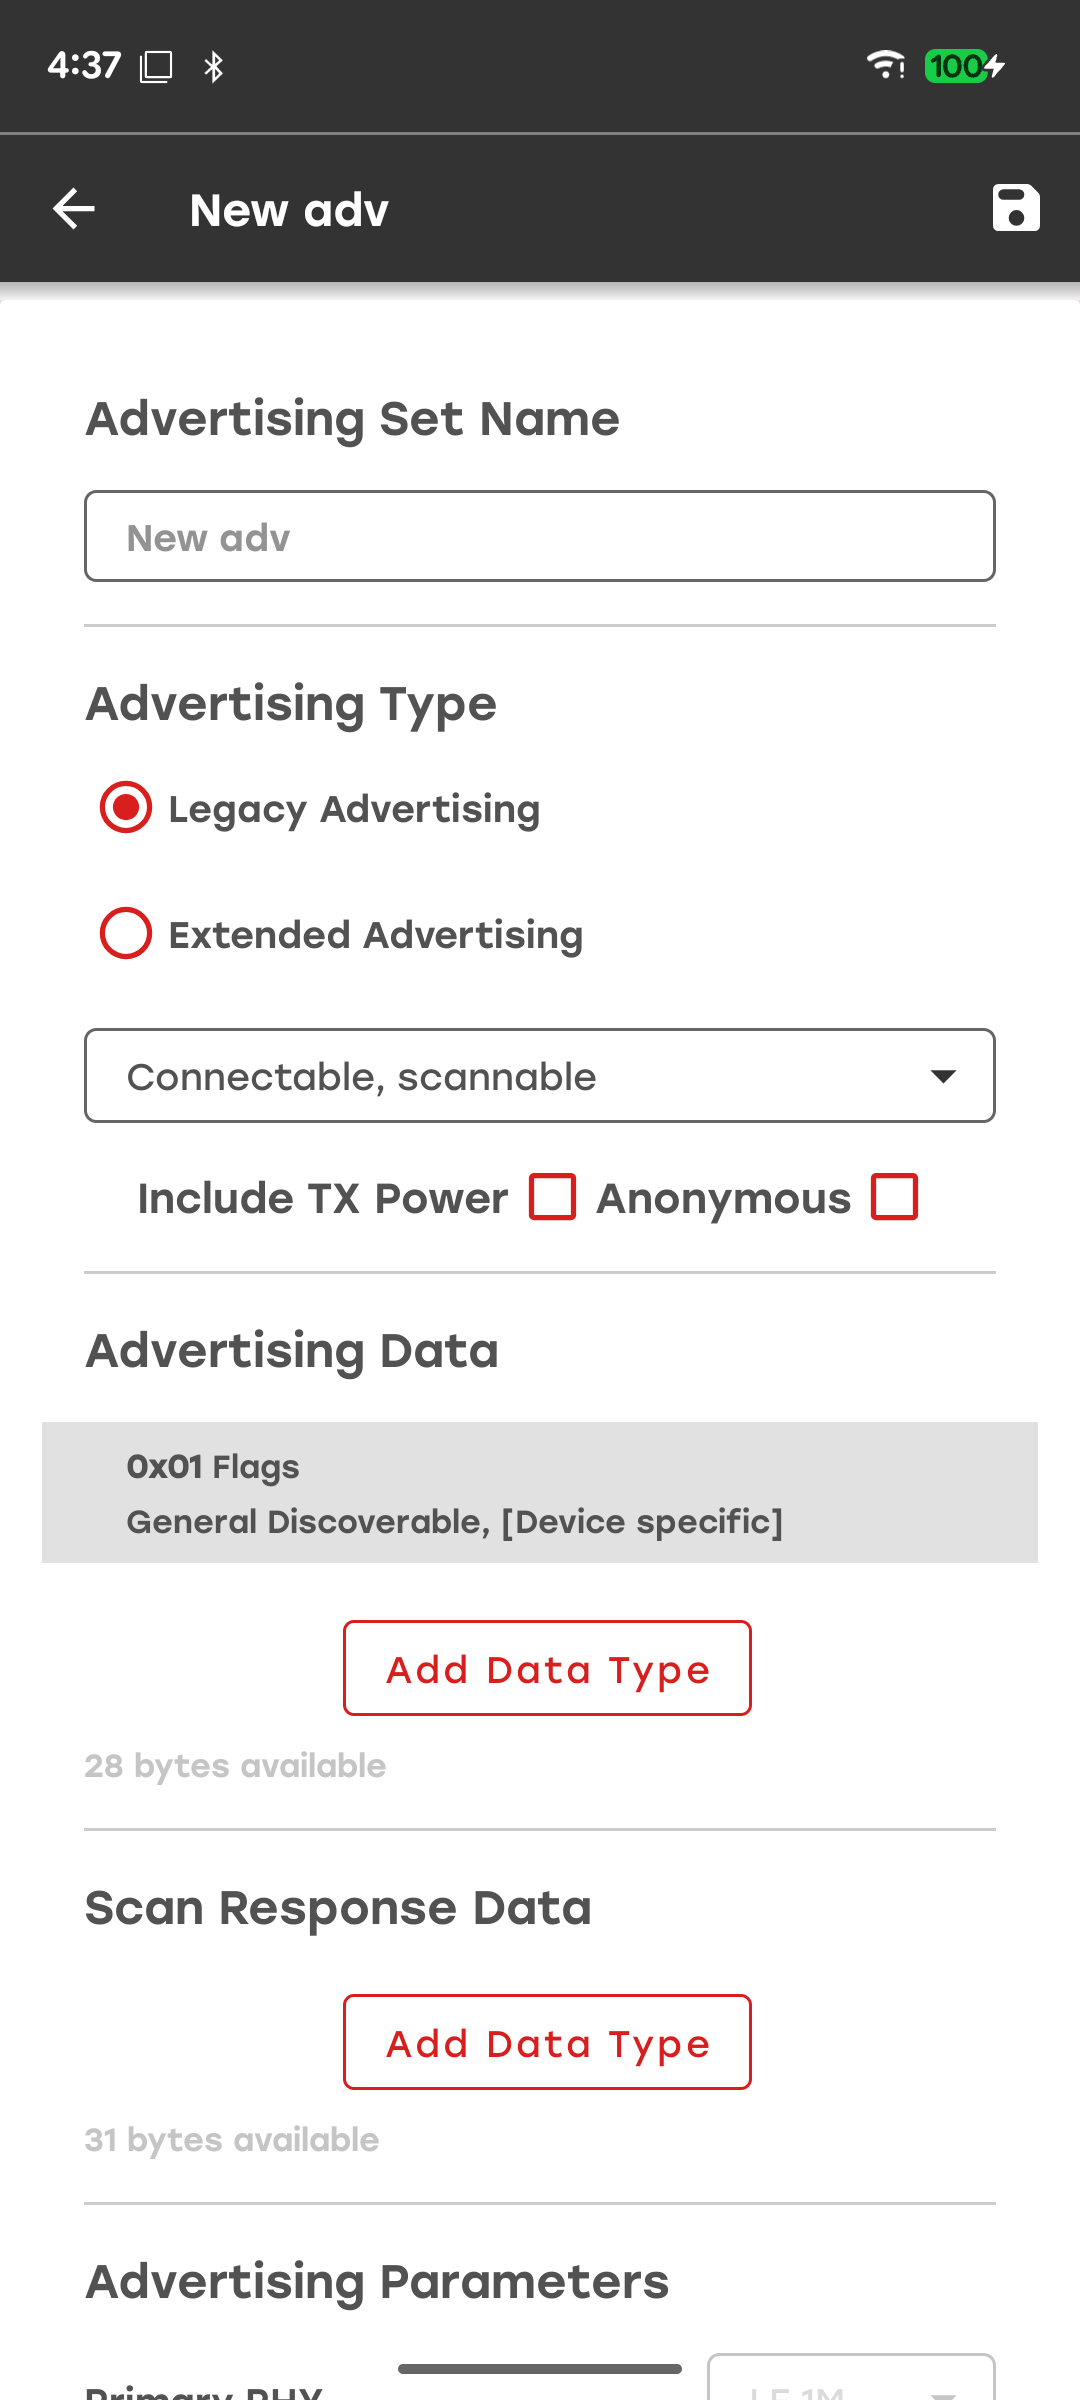
Legacy Advertising supports the following types:
Connectable, scannable
Non-connectable, scannable
Non-connectable, non-scannable
Extended Advertising supports the following types:
Connectable, non-scannable
Non-connectable, scannable
Non-connectable, non-scannable
You can optionally include TX power in extended advertising. If the advertising type is non-connectable, non-scannable, you can also configure anonymous advertising.
The availability of Advertising Data and Scan Response Data depends on the selected advertising type. For example, a connectable, non-scannable advertisement does not have a scan response. Therefore, Add Data Type for Scan Response Data is grayed out.
To add advertising data, select Add Data Type, and then select the data type that you want to add.
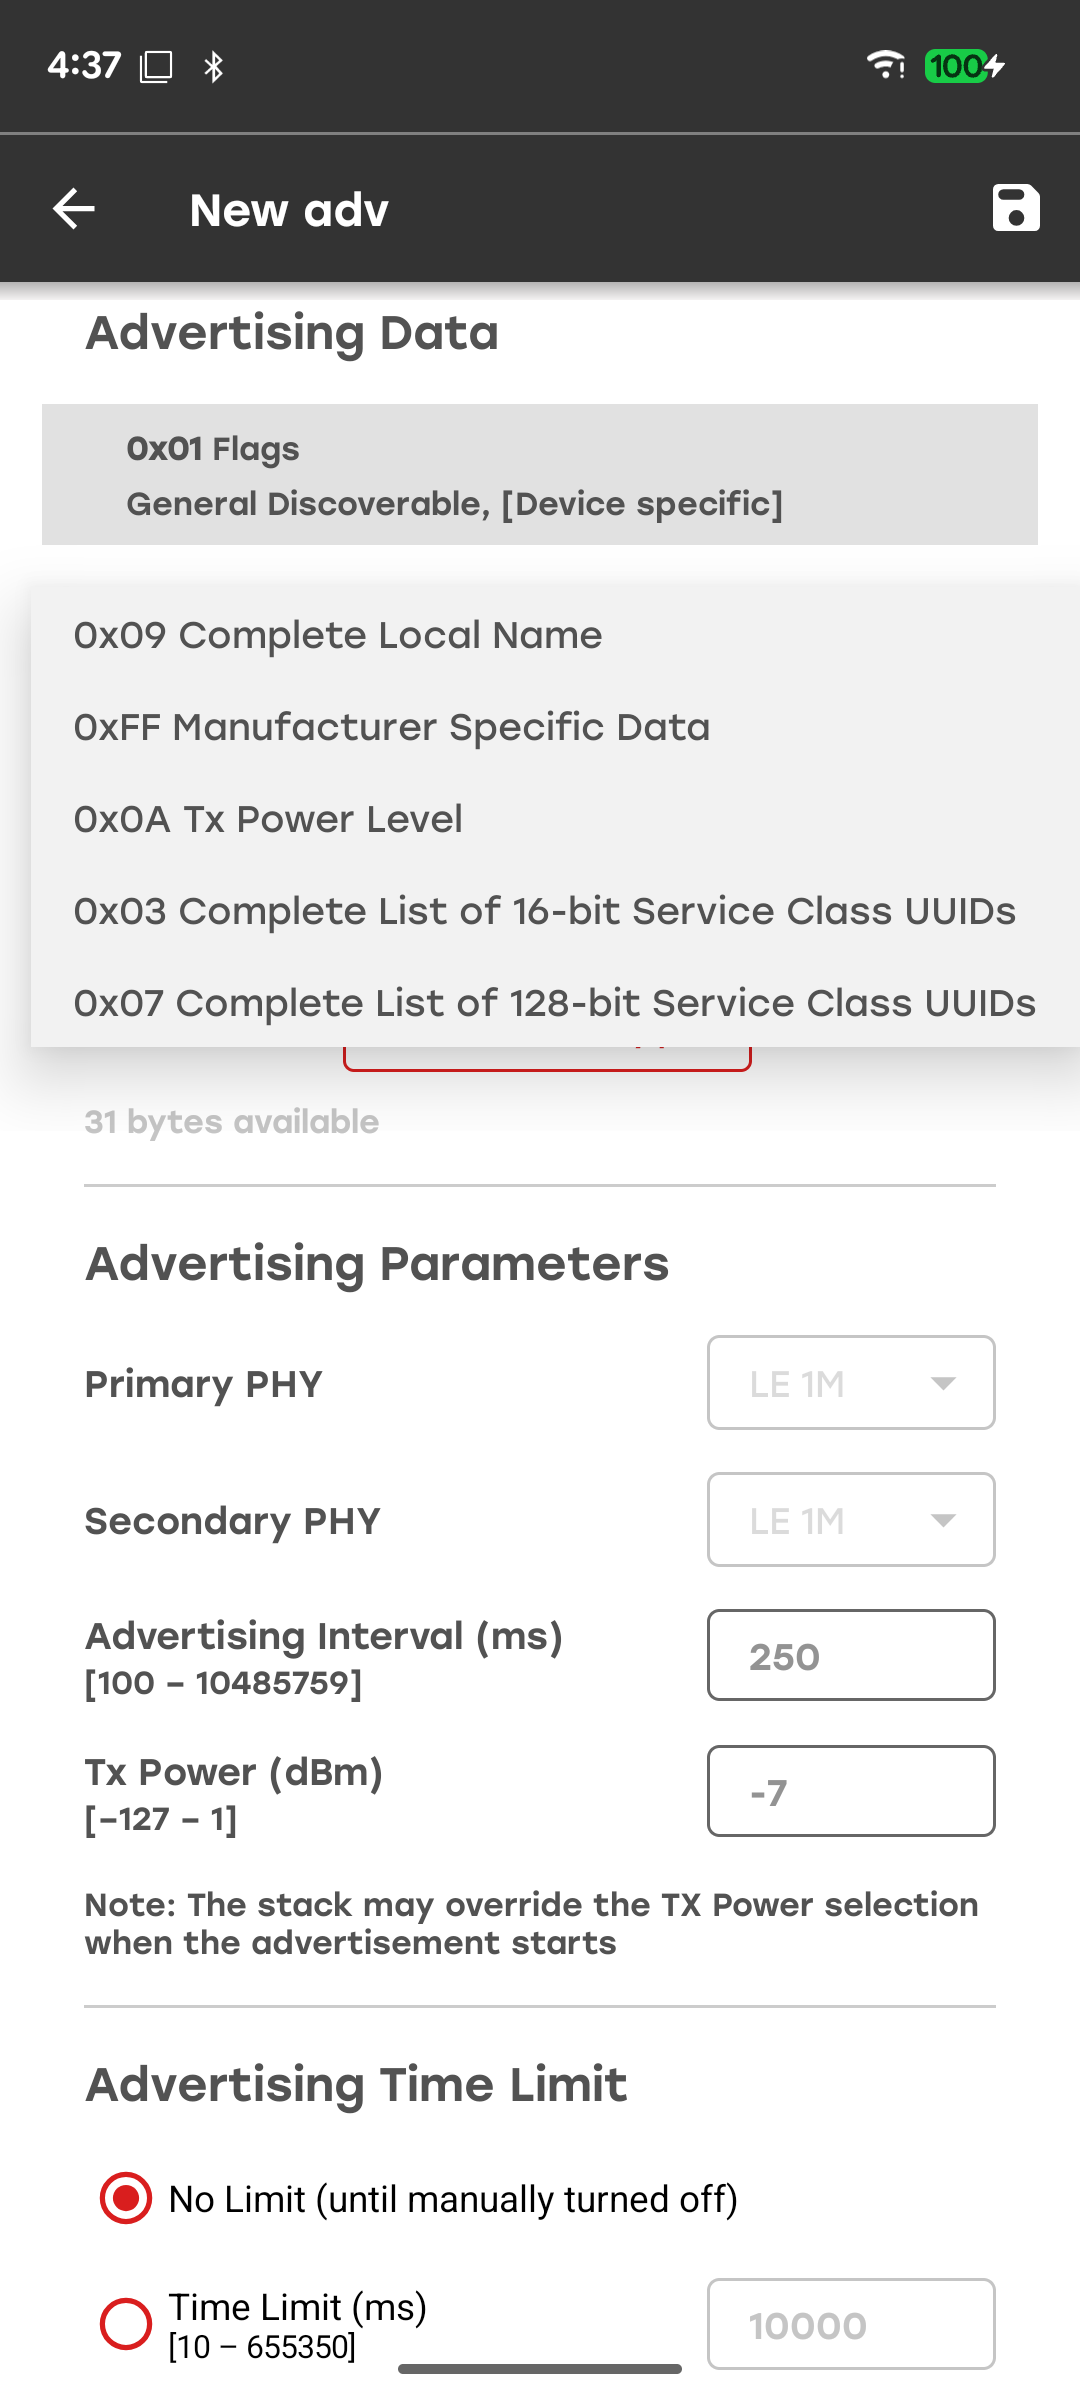
The following advertising data types are supported:
0x09: Complete Local Name
Note: On iOS, this option is available only in Scan Response Data because of system limitations.
0x03: Complete List of 16-bit Service Class UUIDs
Note: On iOS, this option is available only in Advertising Data because of system limitations.
0x07: Complete List of 128-bit Service Class UUIDs
Note: On iOS, this option is available only in Advertising Data because of system limitations.
0x0A: TX Power Level
Note: This option is not available on iOS because of system limitations.
0xFF: Manufacturer Specific Data
Note: This option is not available on iOS because of system limitations.
If types 0x03 or 0x07 are chosen, each service has to be added individually by tapping Add 16-bit service or Add 128-bit service controls.
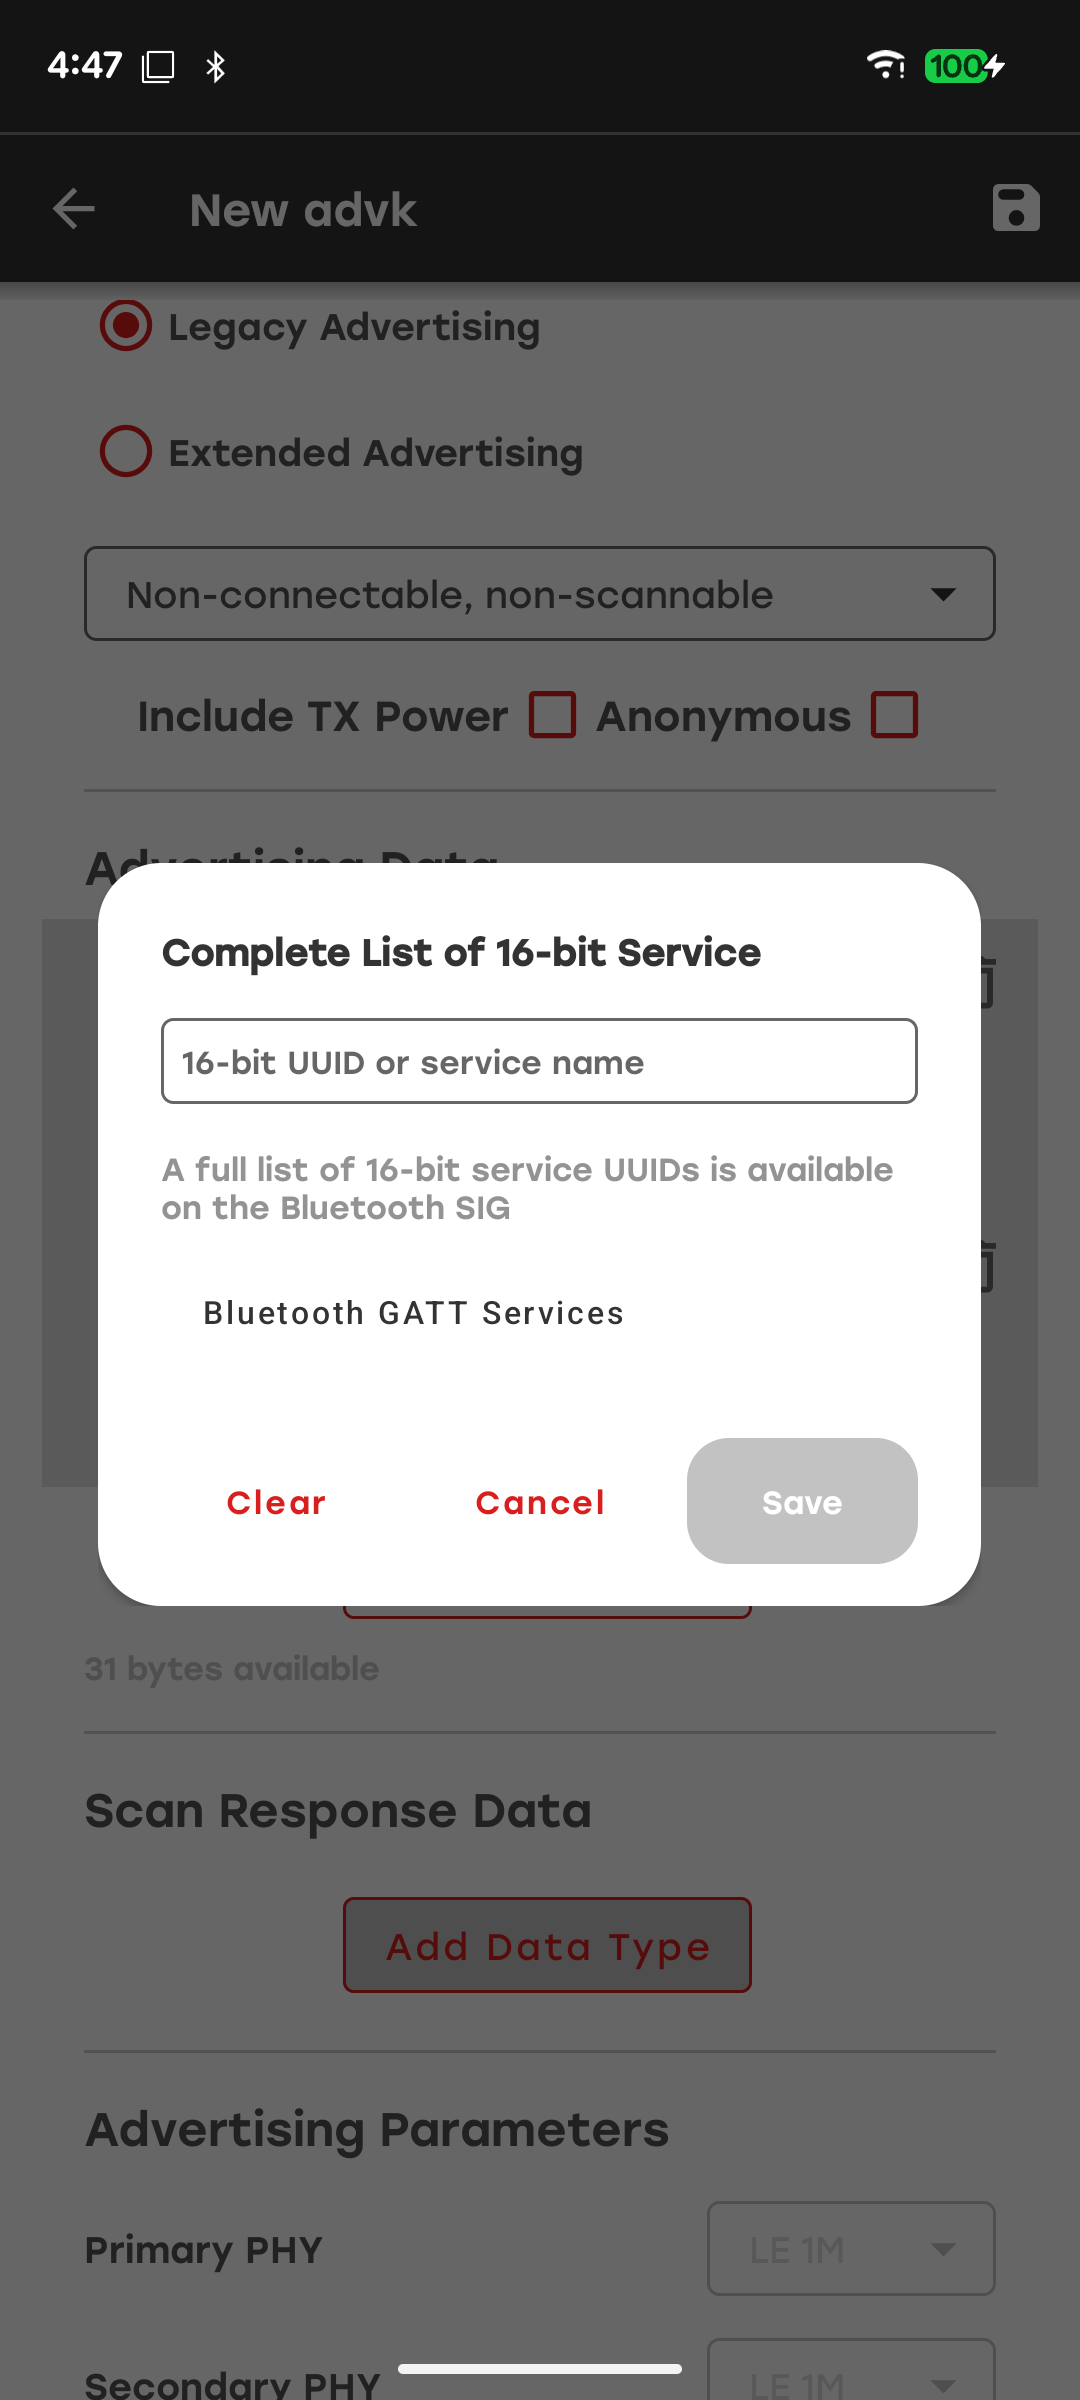
Add services in the dialog box by entering the service UUID or name. For 16-bit services, also known as adopted services, the autocomplete feature suggests services as you enter text. Select Bluetooth GATT Services to open the Bluetooth SIG webpage that lists adopted services.
You can add multiple services under the 0x03 and 0x07 AD types. To delete an individual service, select its trash icon. To remove an AD type and all services associated with it, select the trash icon for the AD type.
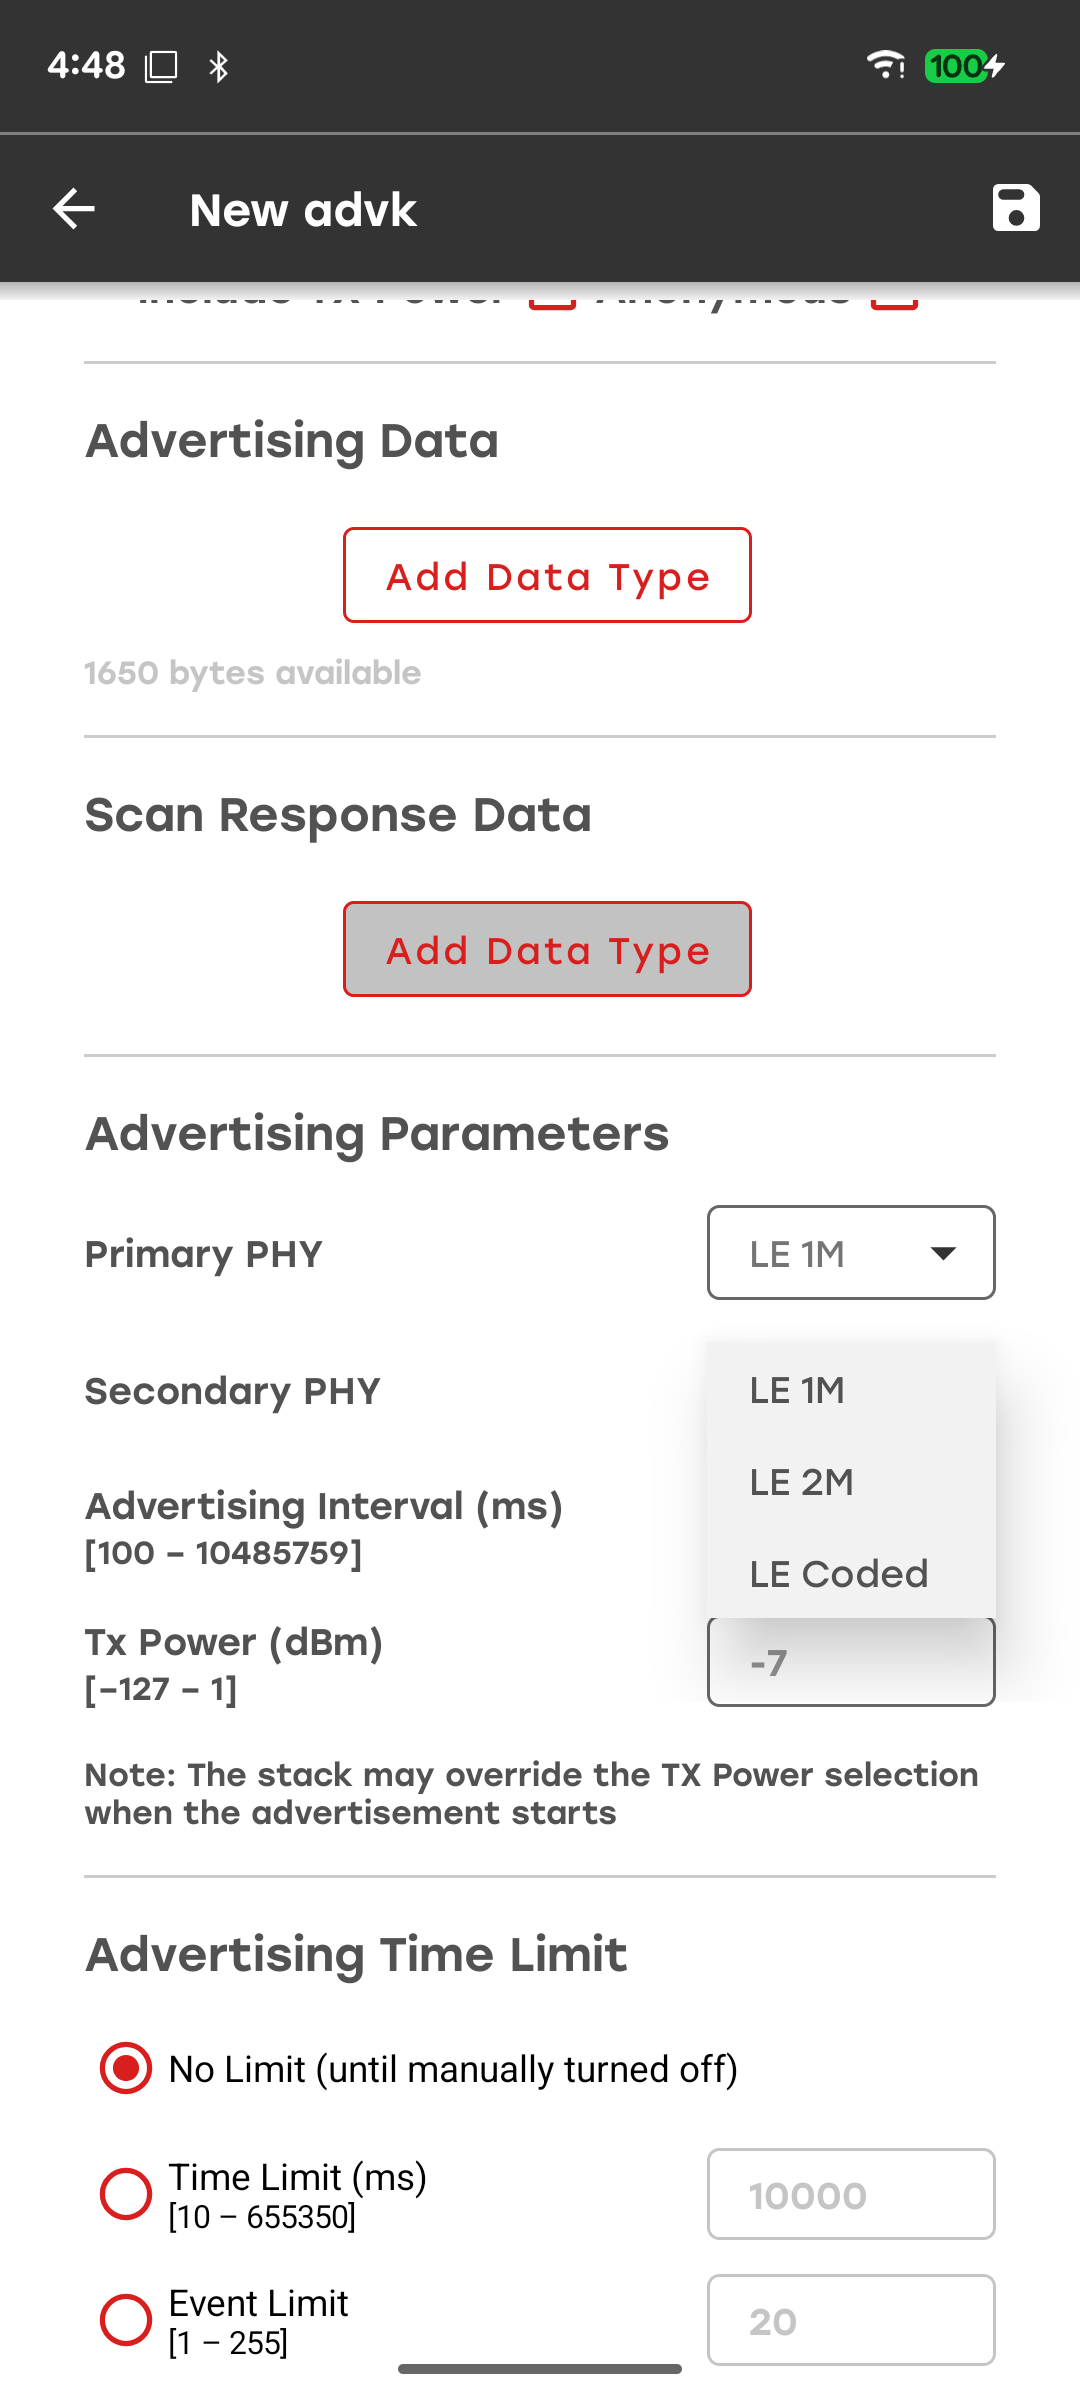
The Advertising Parameters section allows you to configure the advertising PHYs, advertising interval, and TX power.
Note: These options are not available on iOS because of system limitations.
You can also configure an Advertising Time Limit for an advertisement set. The time limit automatically disables advertising after a specified period or number of advertising events.
The available PHY options for the primary and secondary advertising channels depend on the capabilities of the mobile device and operating system. These options are available only when extended advertising is supported. Select the PHYs from the corresponding dropdown menus.
GATT Configurator#
The GATT Configurator allows you to create and modify the local GATT database on the mobile device running Simplicity Connect. You can also import and export GATT database definitions between the GATT Configurator in Simplicity Connect and the GATT Configurator in Simplicity Studio 5.
When developing a Bluetooth device with GATT client functionality, you can use Simplicity Connect to emulate a GATT server without writing code.
Create a New GATT Server#
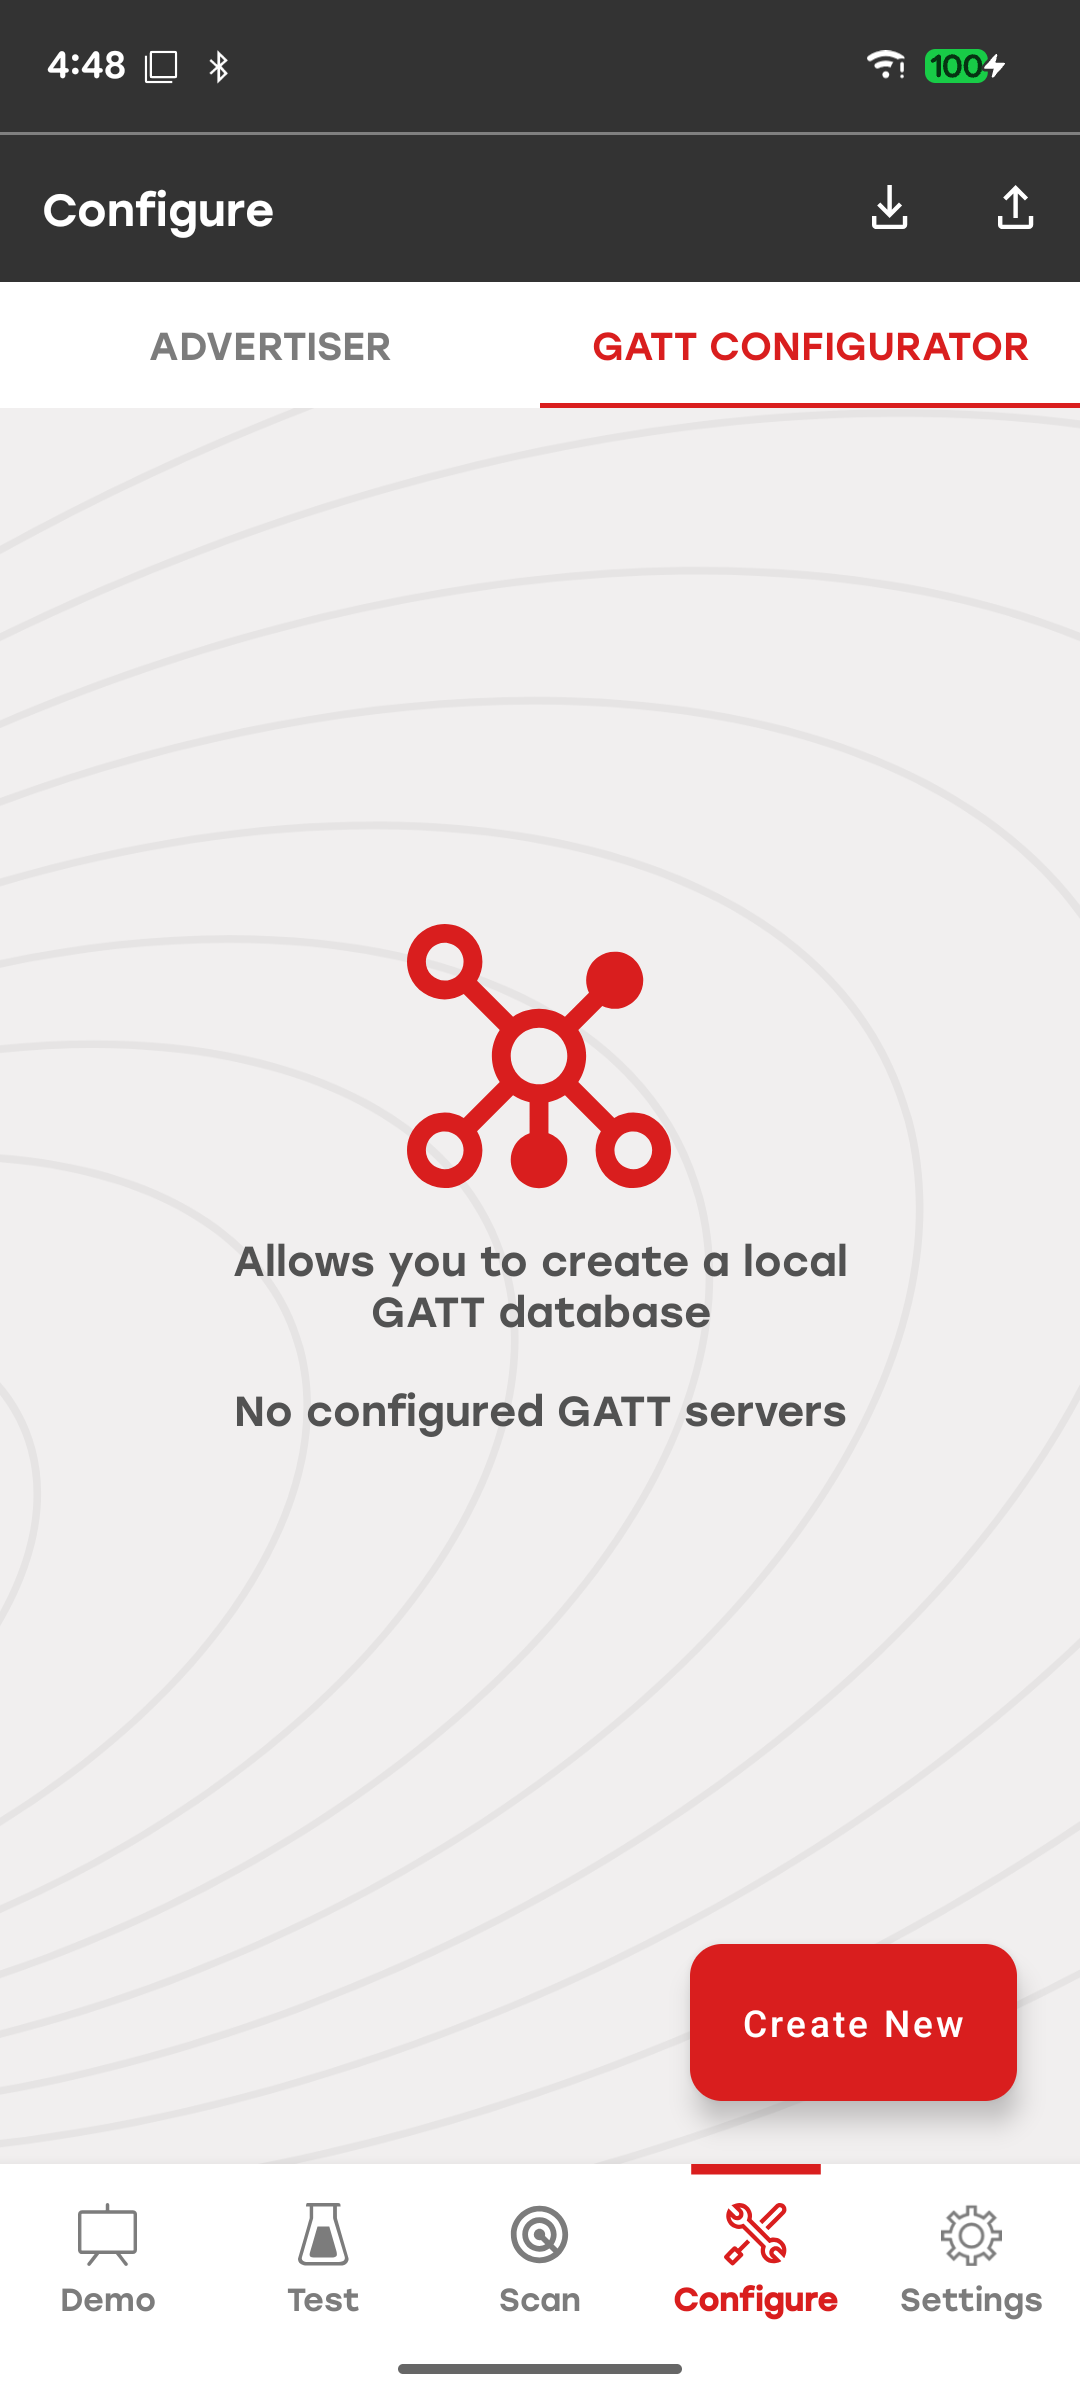
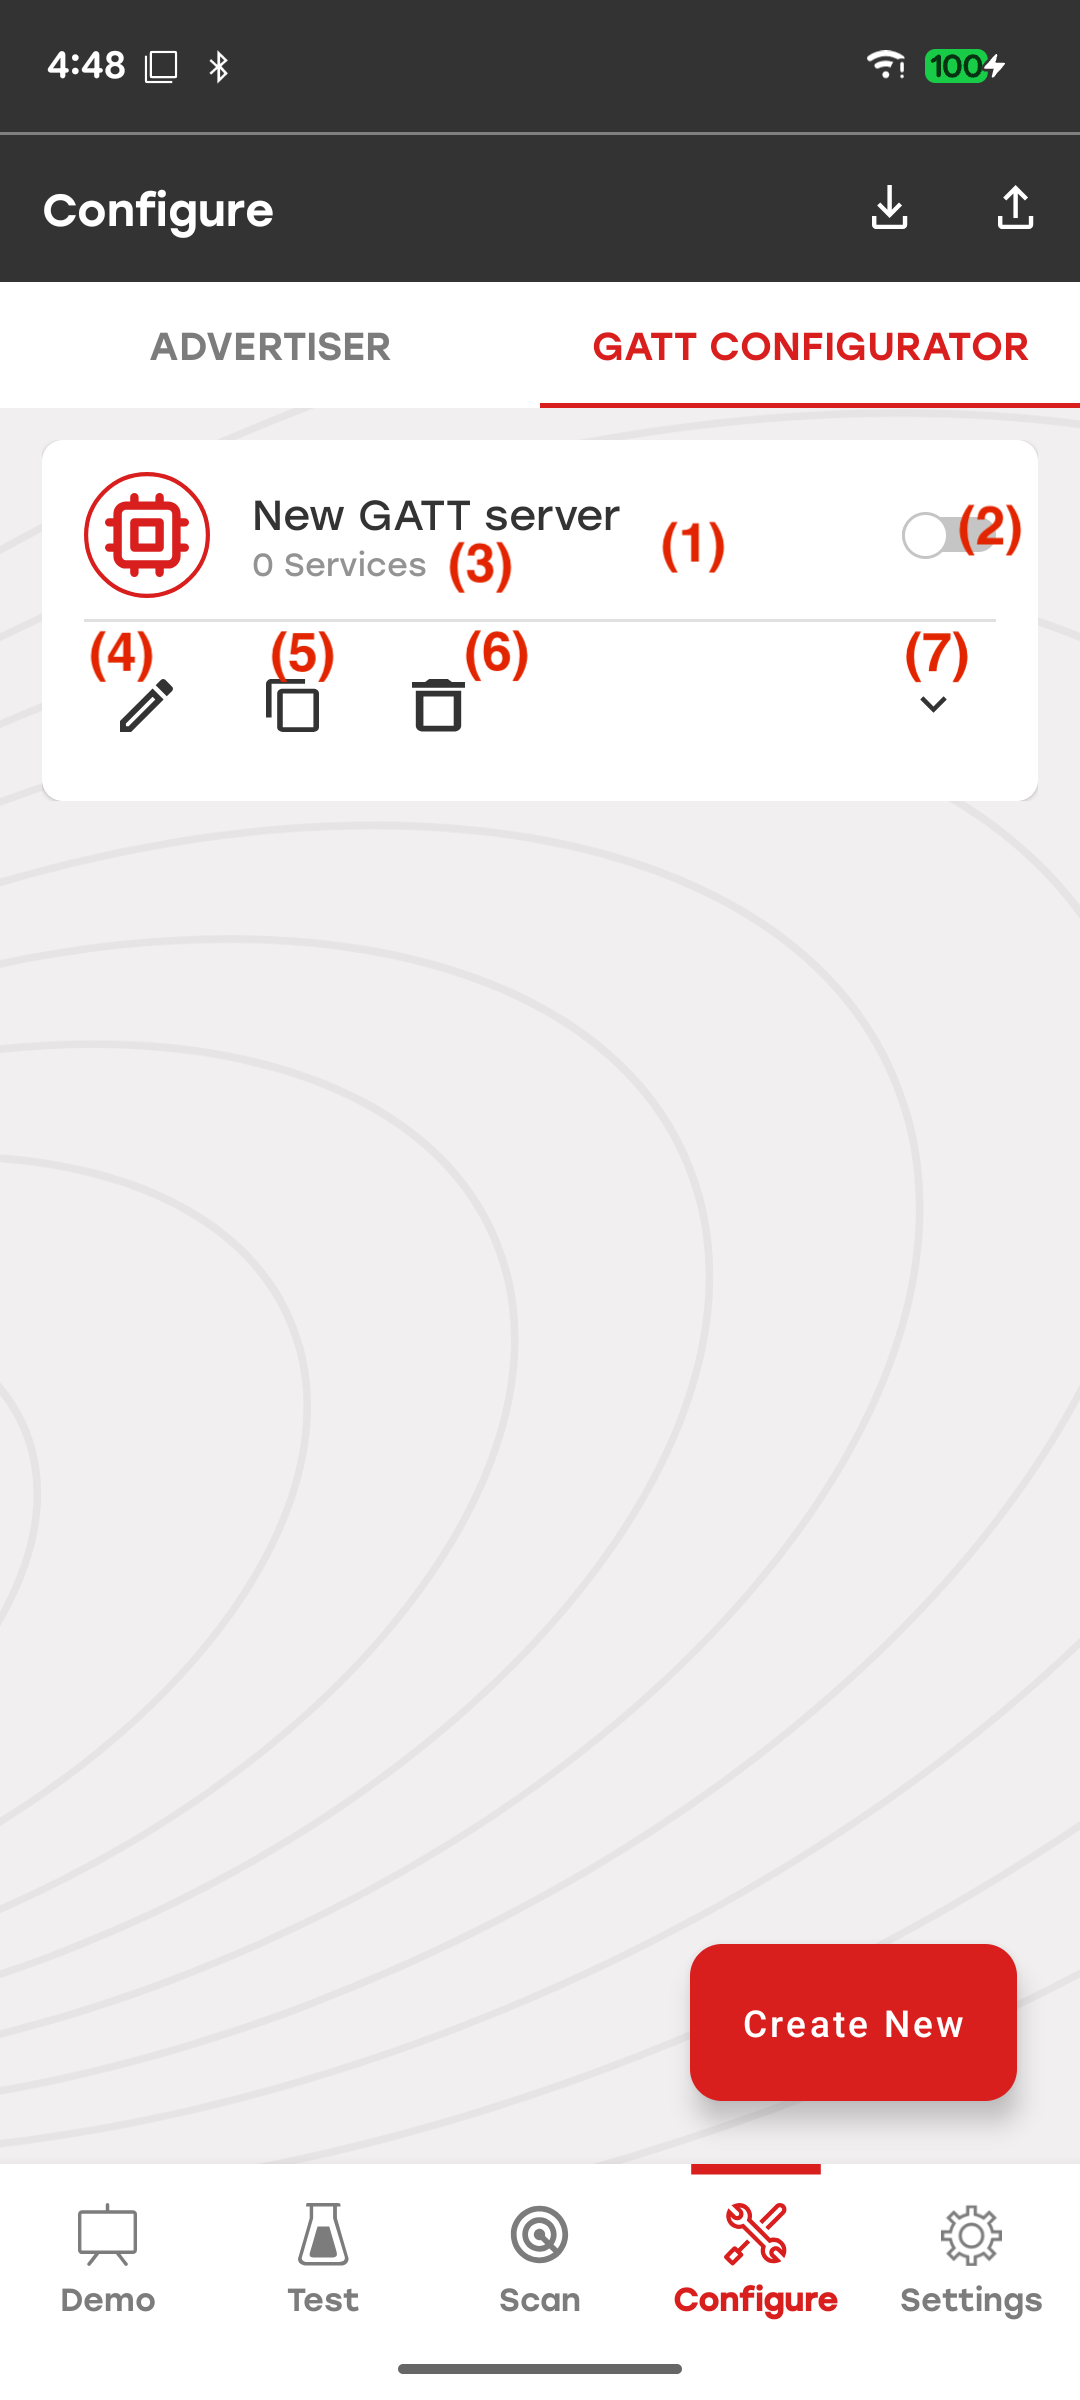
When you open the GATT Configurator for the first time, the app displays an empty list of GATT servers and an option to create a new server. Creating a server also creates an empty GATT database, which is represented by a card containing the following elements:
GATT database name: User-defined name of the GATT server.
Enable/disable switch: Enable/disable database (Note: Only one GATT database can be enabled at any given time. Enabling a new database automatically disables the existing one).
Number of services: Number of services within the database.
Edit: Edit view of a specific database.
Copy: Clone the database and place at the end of the list.
Delete: Delete the specific database.
Expand/Collapse: Show more details about the database.
Import / Export#
Use the controls in the upper-right corner to import or export GATT databases.
Import allows you to import a GATT database file created with the Simplicity Studio GATT Configurator in GSDK 3.0 or later. The file can be stored locally or in cloud storage. Before importing a file from Simplicity Studio, change the file extension from .btconf to .xml.
Export allows you to export one or more existing GATT databases as XML files that can be imported directly into the GATT Configurator in Simplicity Studio.
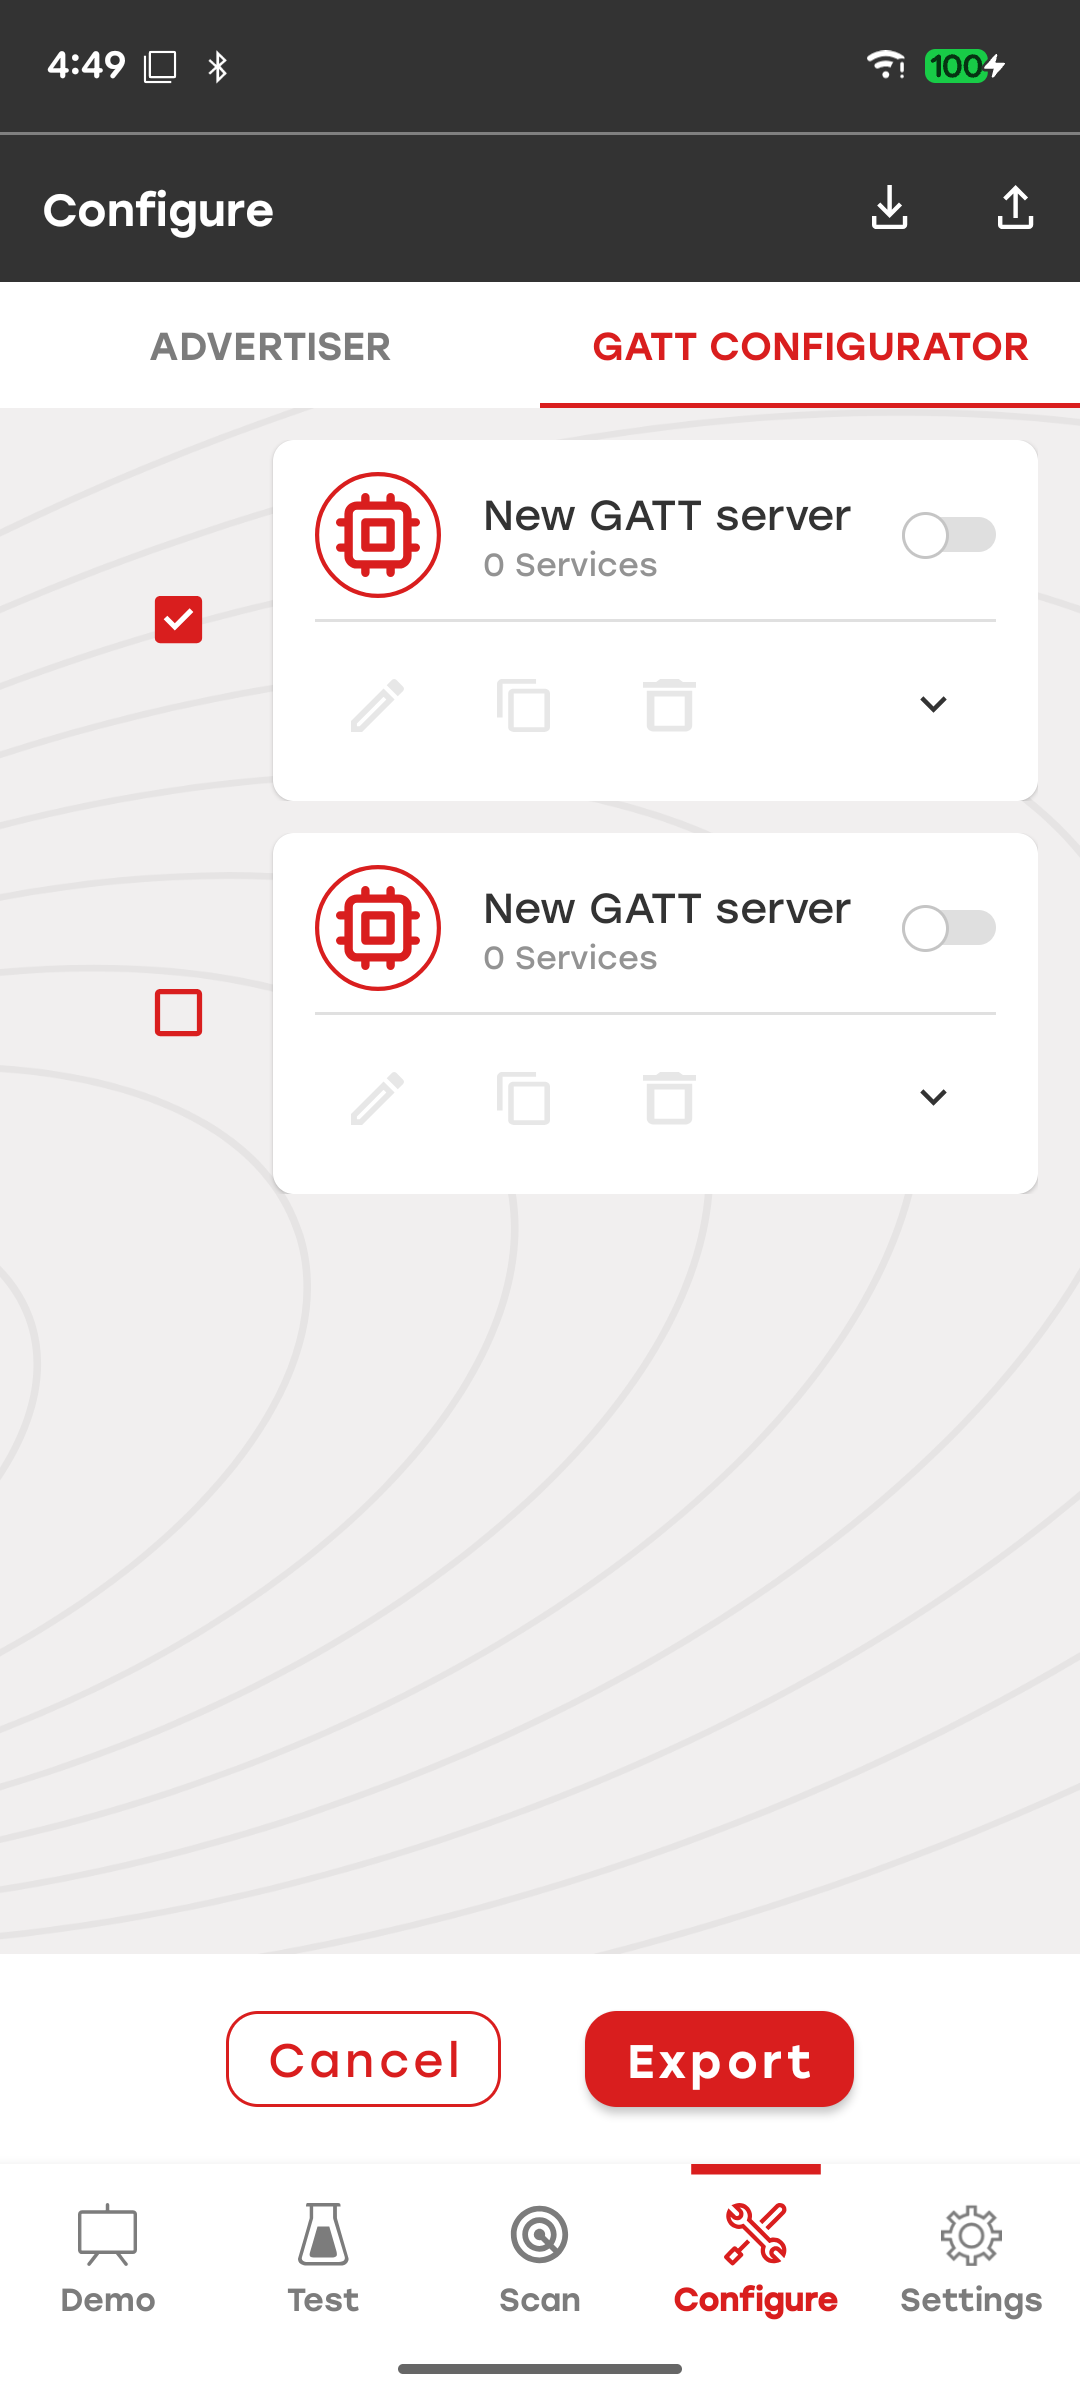
The XML filename is derived from the GATT database name. If you select multiple databases, each database is exported as a separate XML file. If multiple databases have the same name, a number is appended to each duplicate filename.
Add Service#
Tap Edit for a GATT database to open the edit view, where you can add services, characteristics, and descriptors. A newly created database displays an empty list of services and an option to add a service.
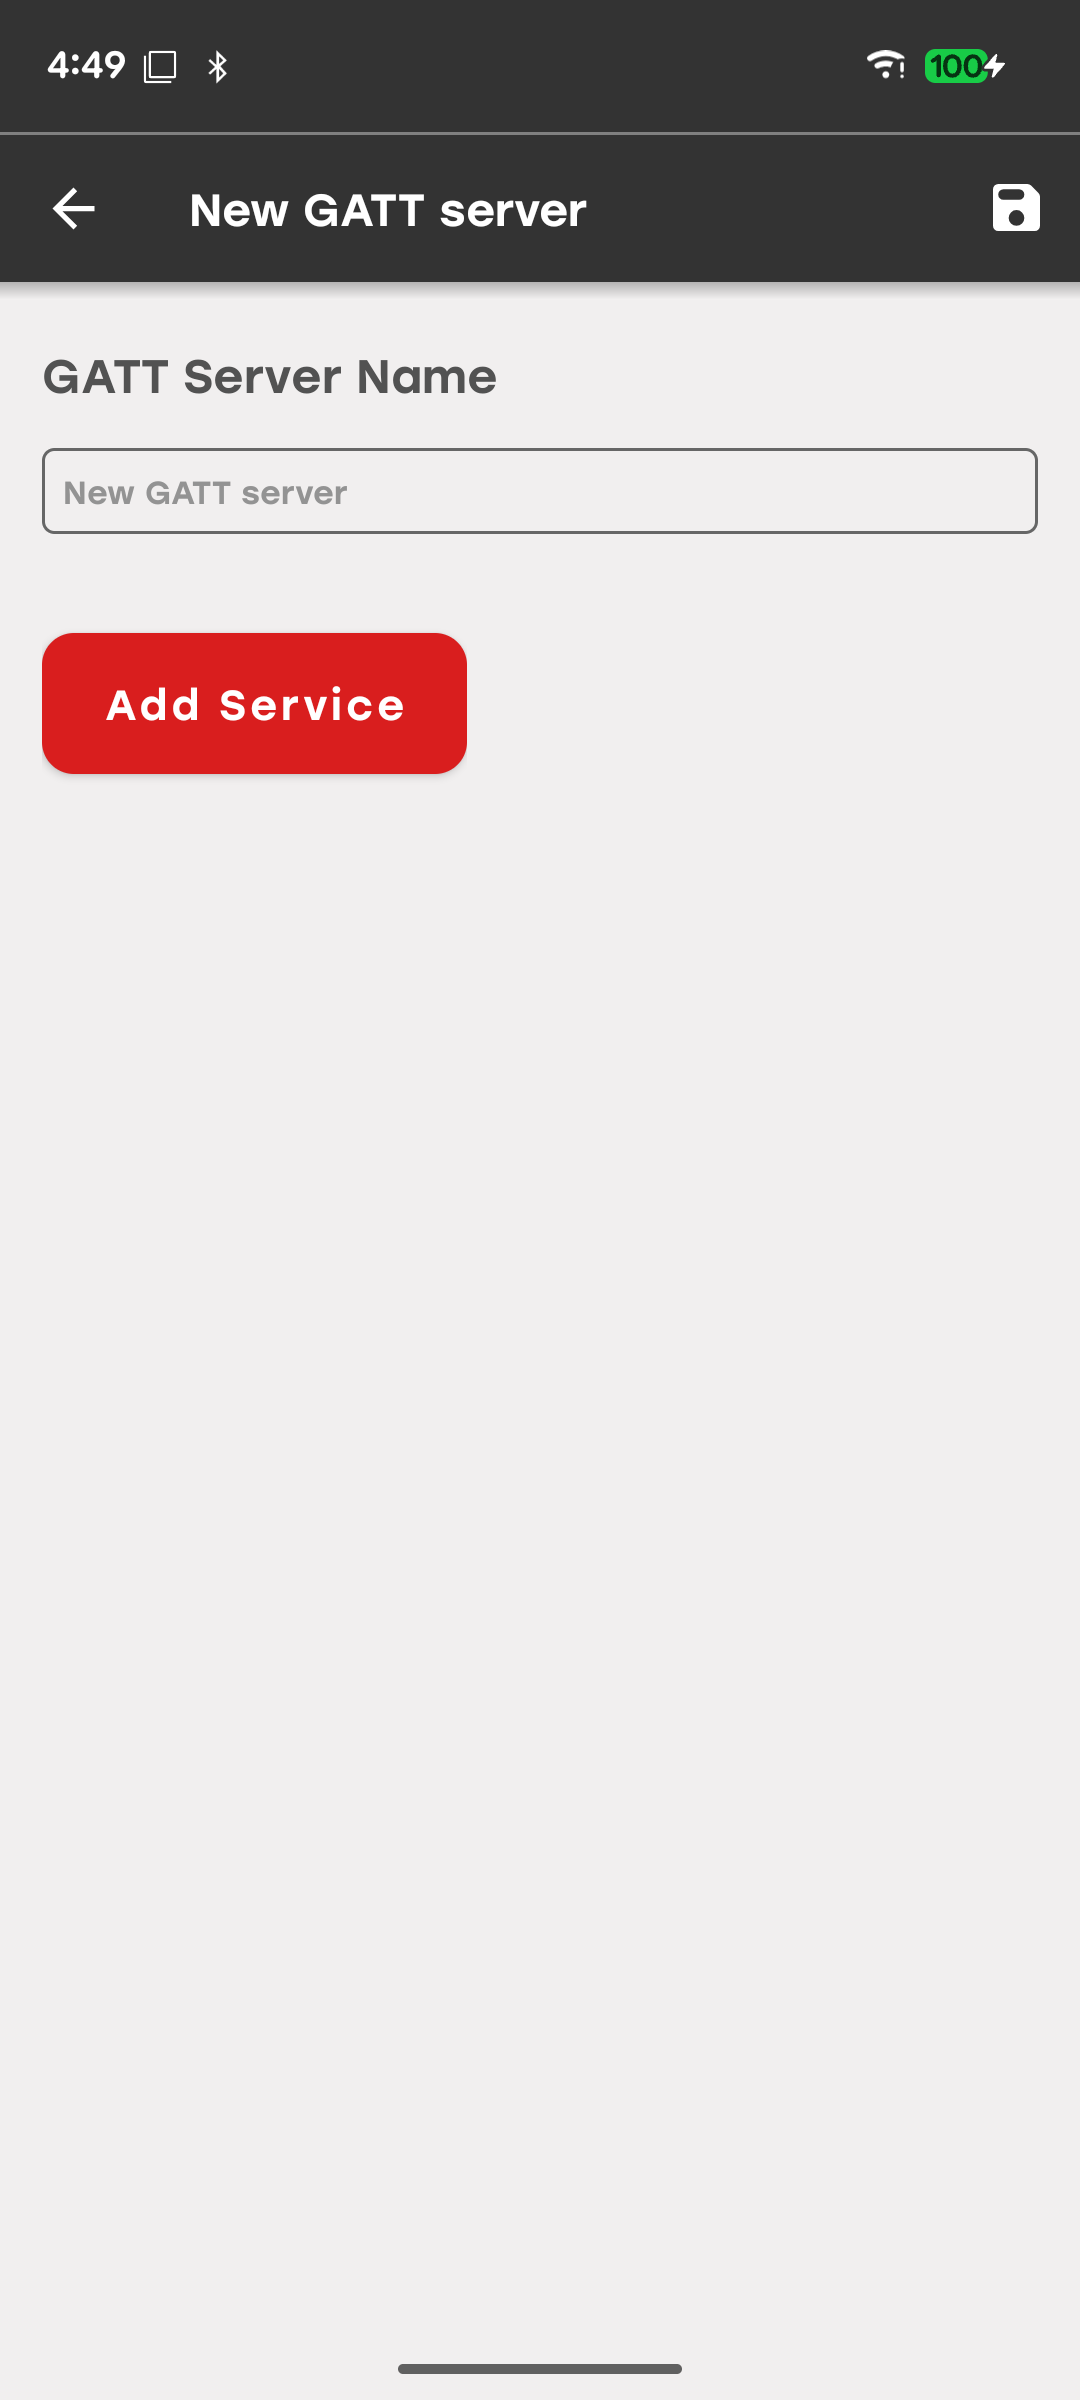
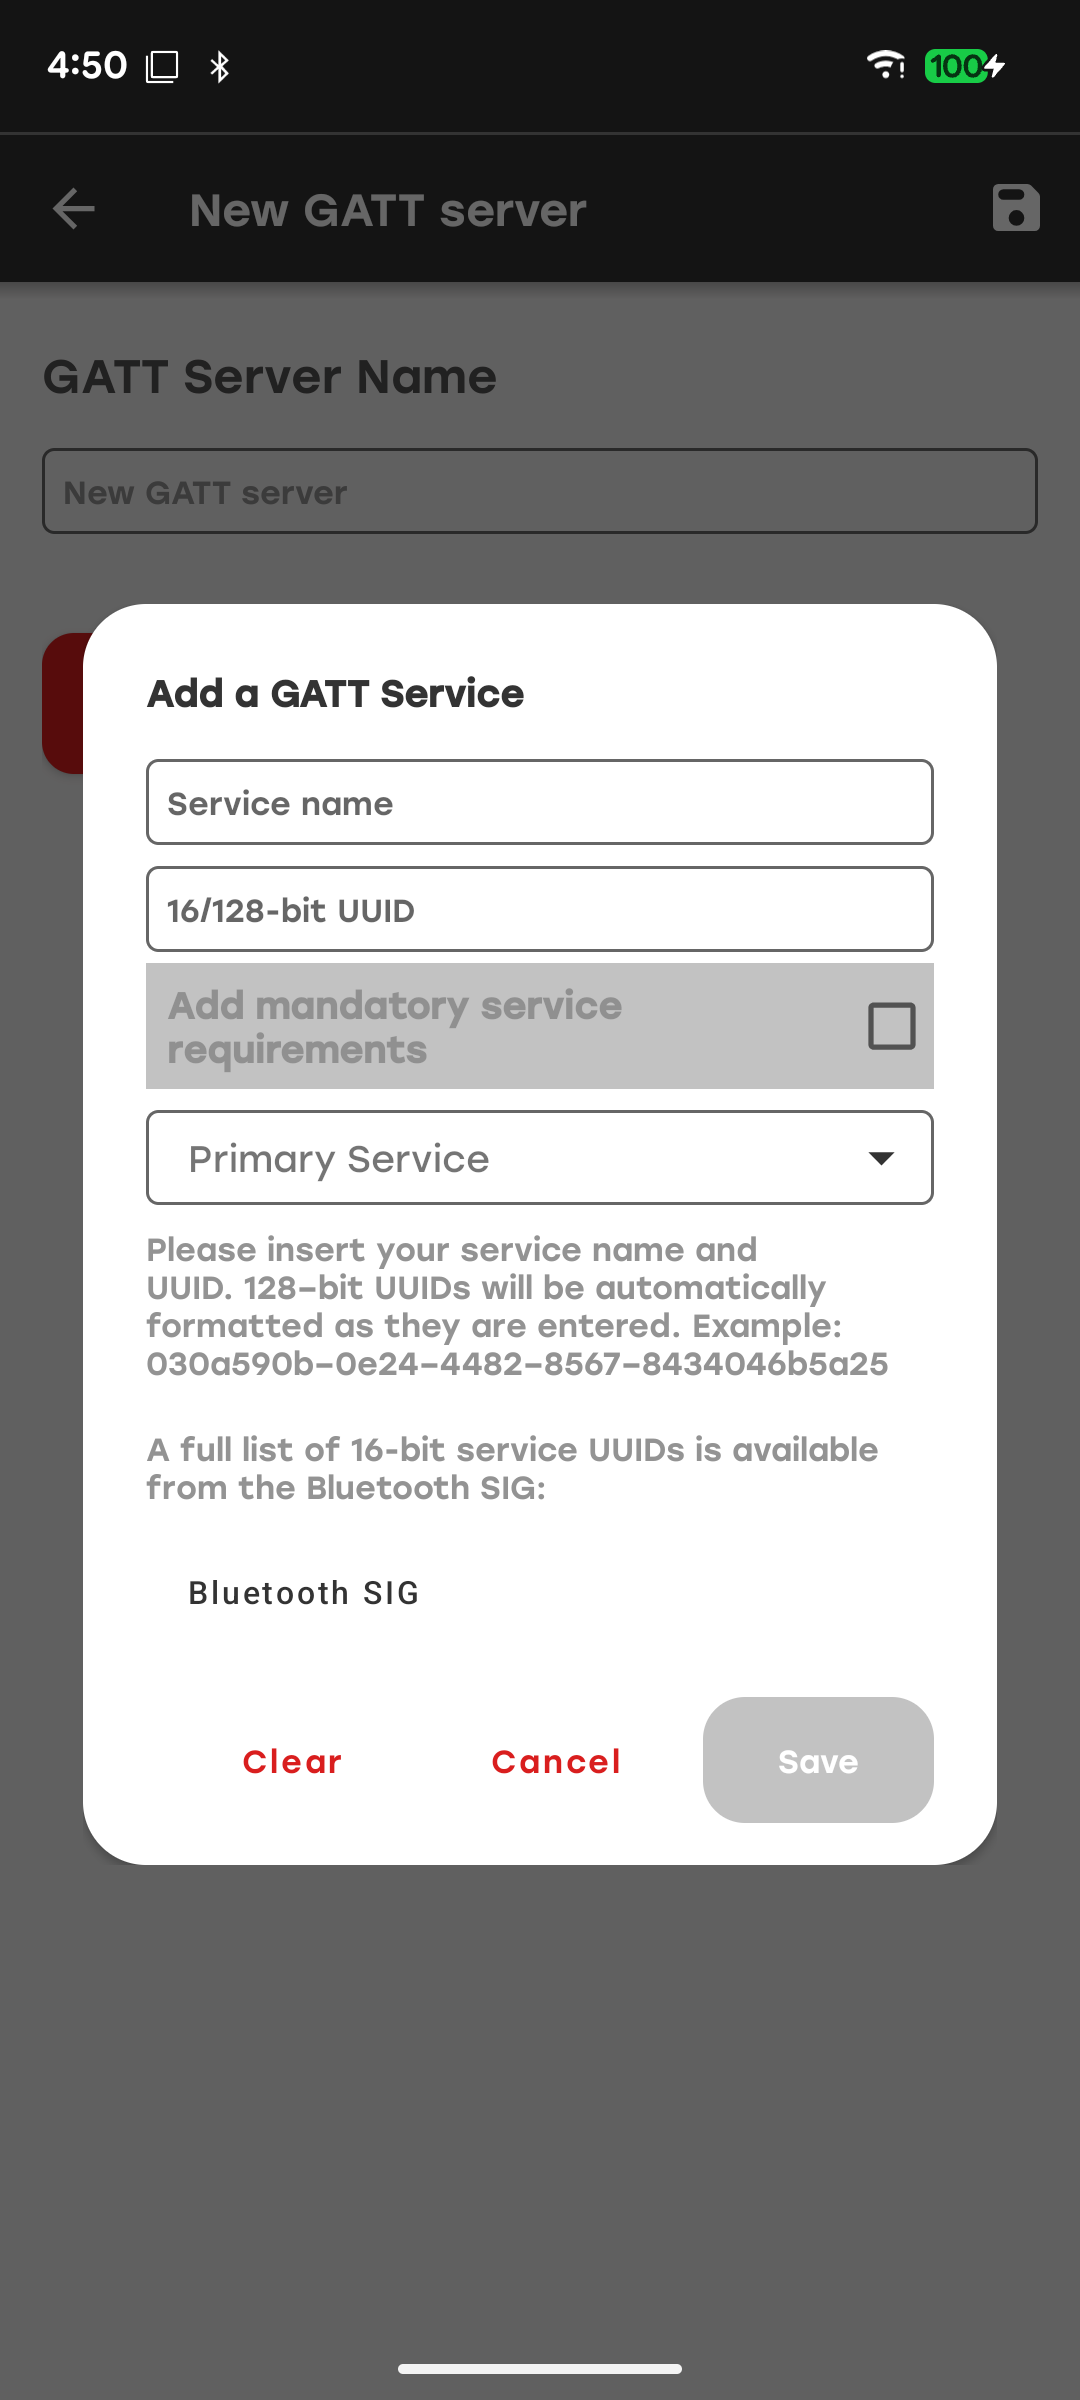
When you enter a service name, the autocomplete feature matches the text against Bluetooth SIG standard service names. When you select a standard service, you can add all mandatory service requirements, including the mandatory characteristics and descriptors for that service.
To add a custom service, enter the service name and its 128-bit UUID. The app automatically formats the UUID as you enter it.
After you add the service, it appears in the GATT server view. Select More Info to expand the service and view its characteristics and descriptors.
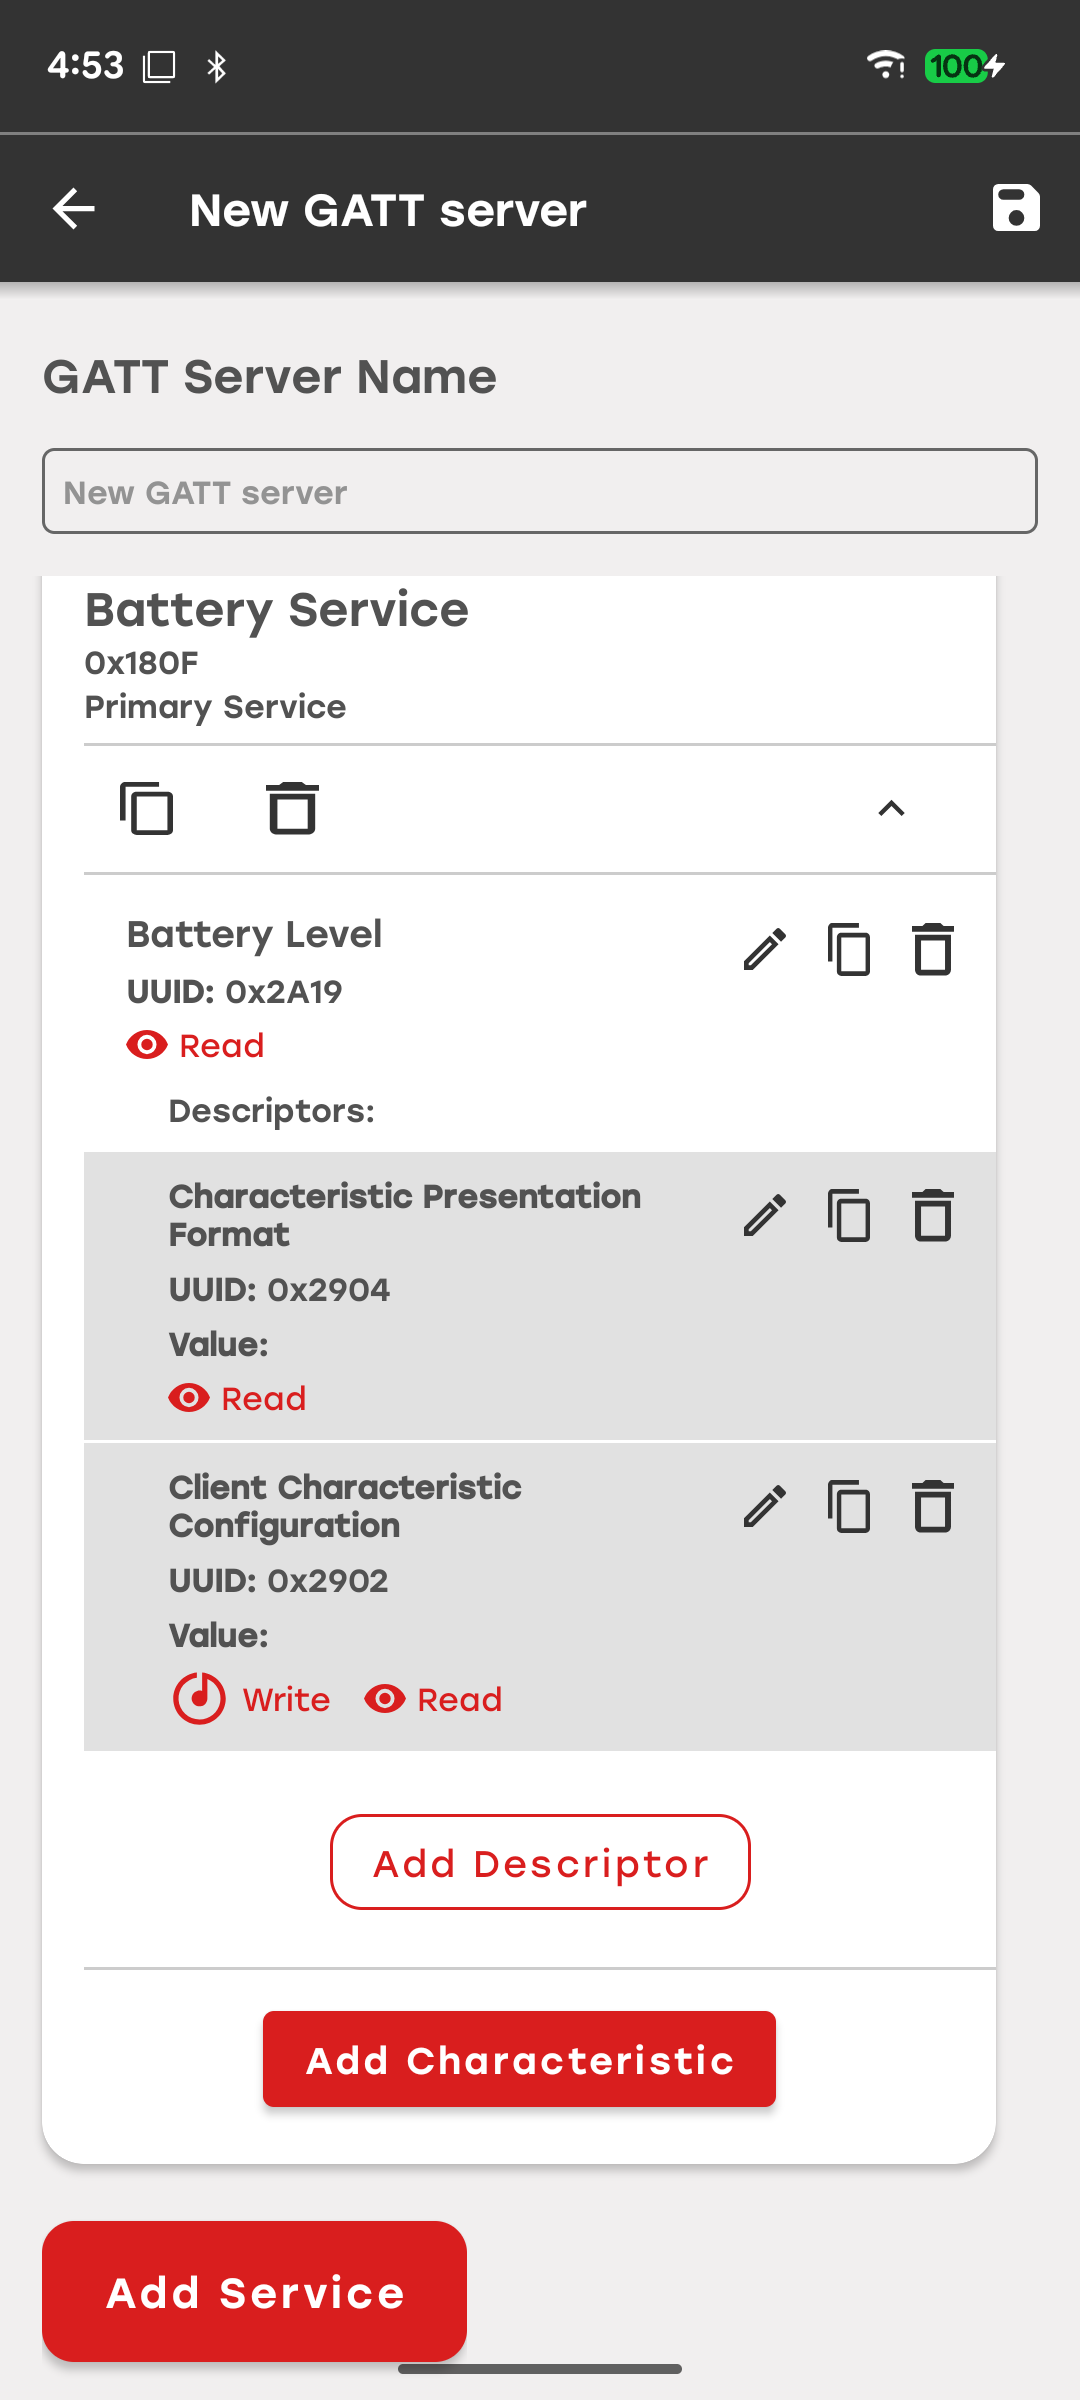
You can copy or delete a service by using the corresponding controls. You cannot edit a service after adding it.
For characteristics and descriptors, you can use the copy, edit, and delete controls. The permitted operations for each characteristic and descriptor, such as read, write, write without response, notify, and indicate, use the same icons as the Device View.
Add Characteristic#
An Add Characteristic control is available for each service. Similarly, an Add Descriptor control is available for each characteristic.
Tap Add Characteristic to open a dialog box where you can configure the characteristic parameters. The autocomplete feature suggests Bluetooth SIG standard characteristics as you enter text. You can also add a custom characteristic by specifying its unique 128-bit UUID.
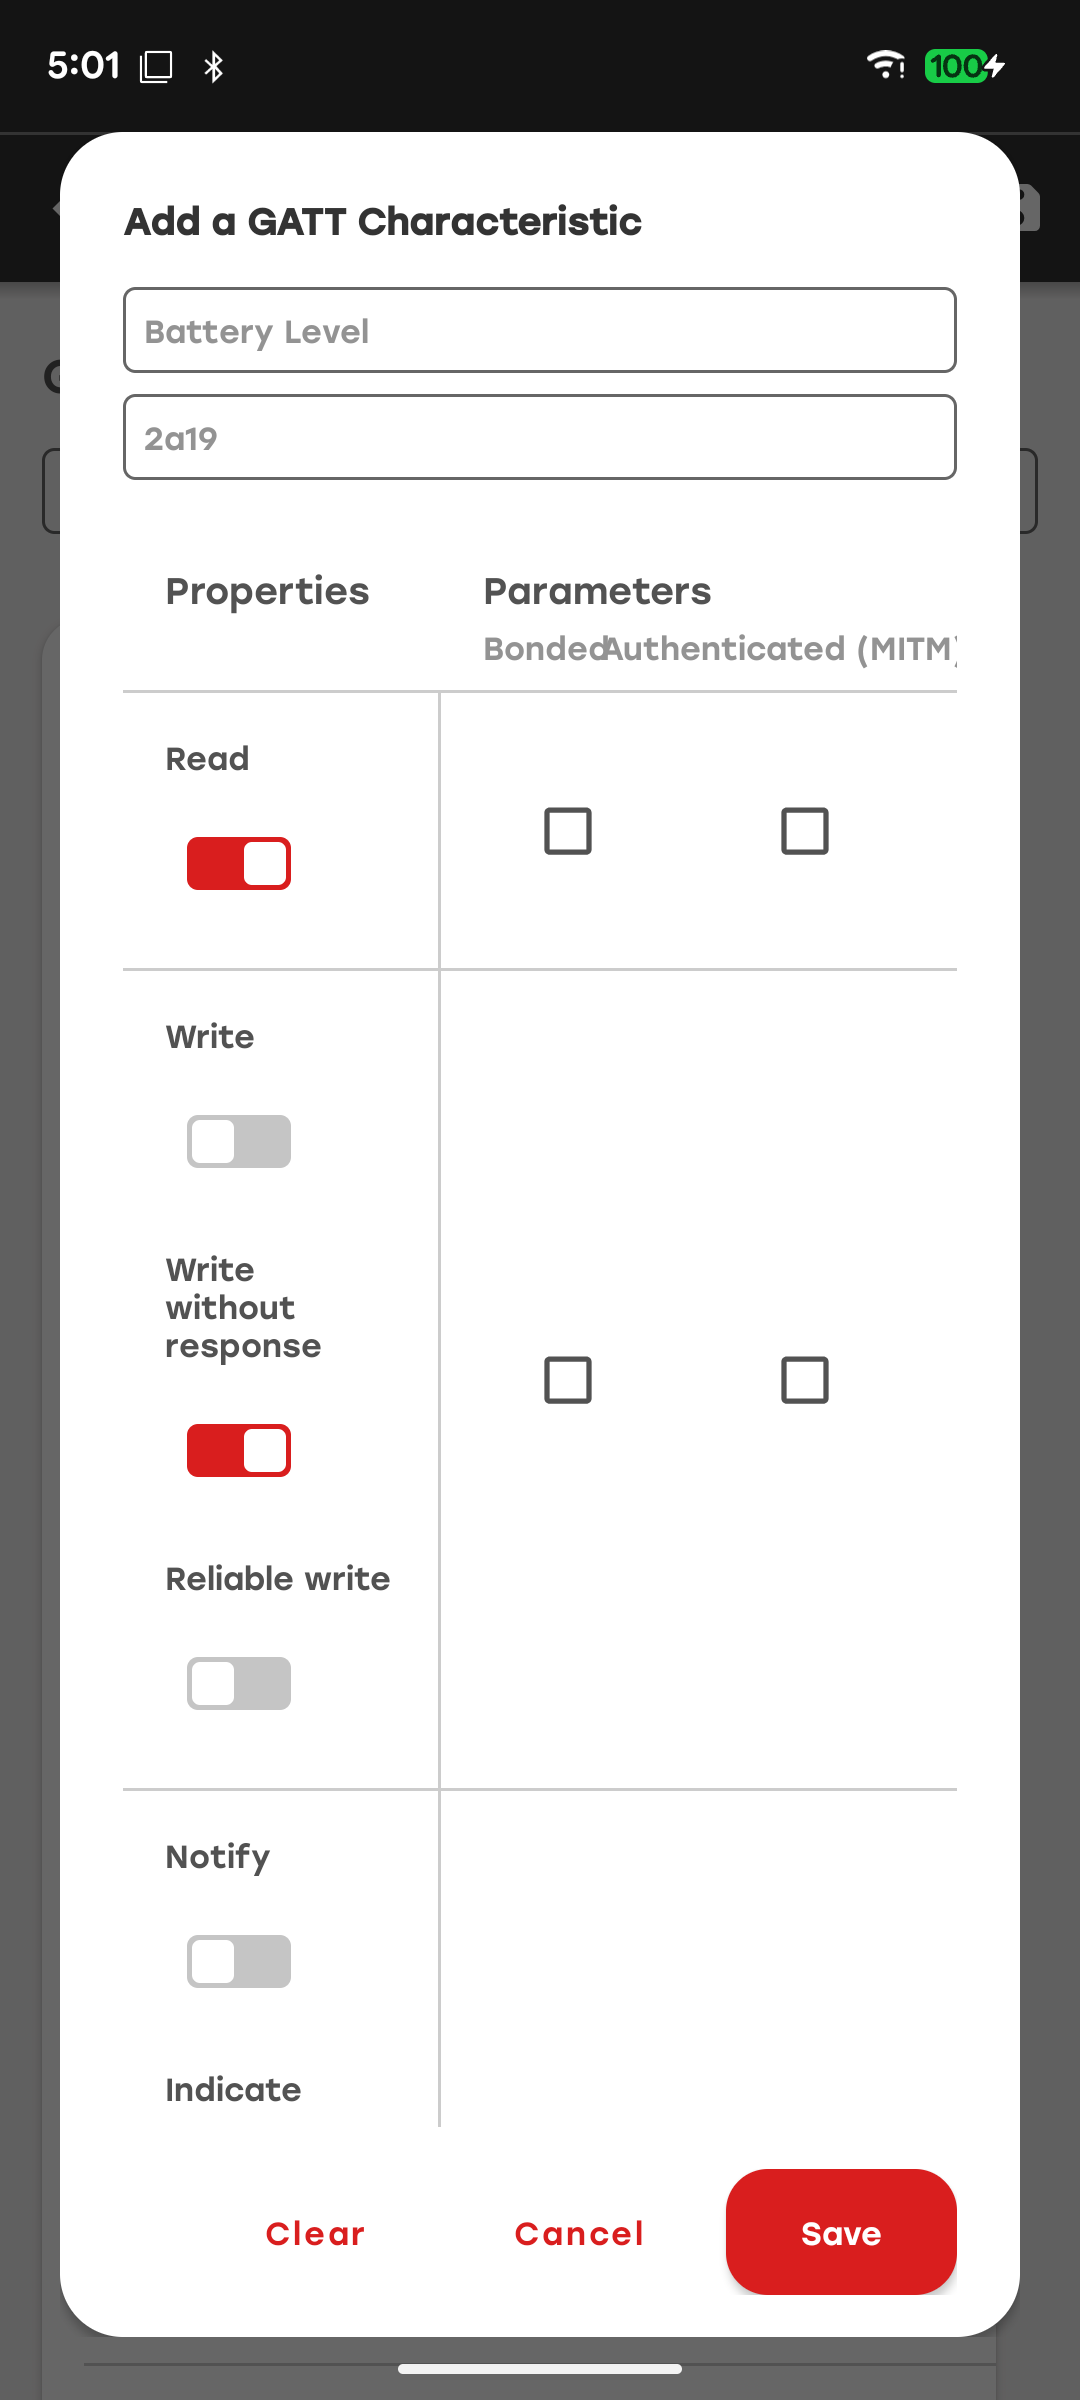
Following the characteristic name and UUID are the properties and access parameters. Available access parameters may vary between Android and iOS platforms. The last option in the list can be used to set the initial value of the characteristic. The field can be left blank as well.
Add Descriptor#
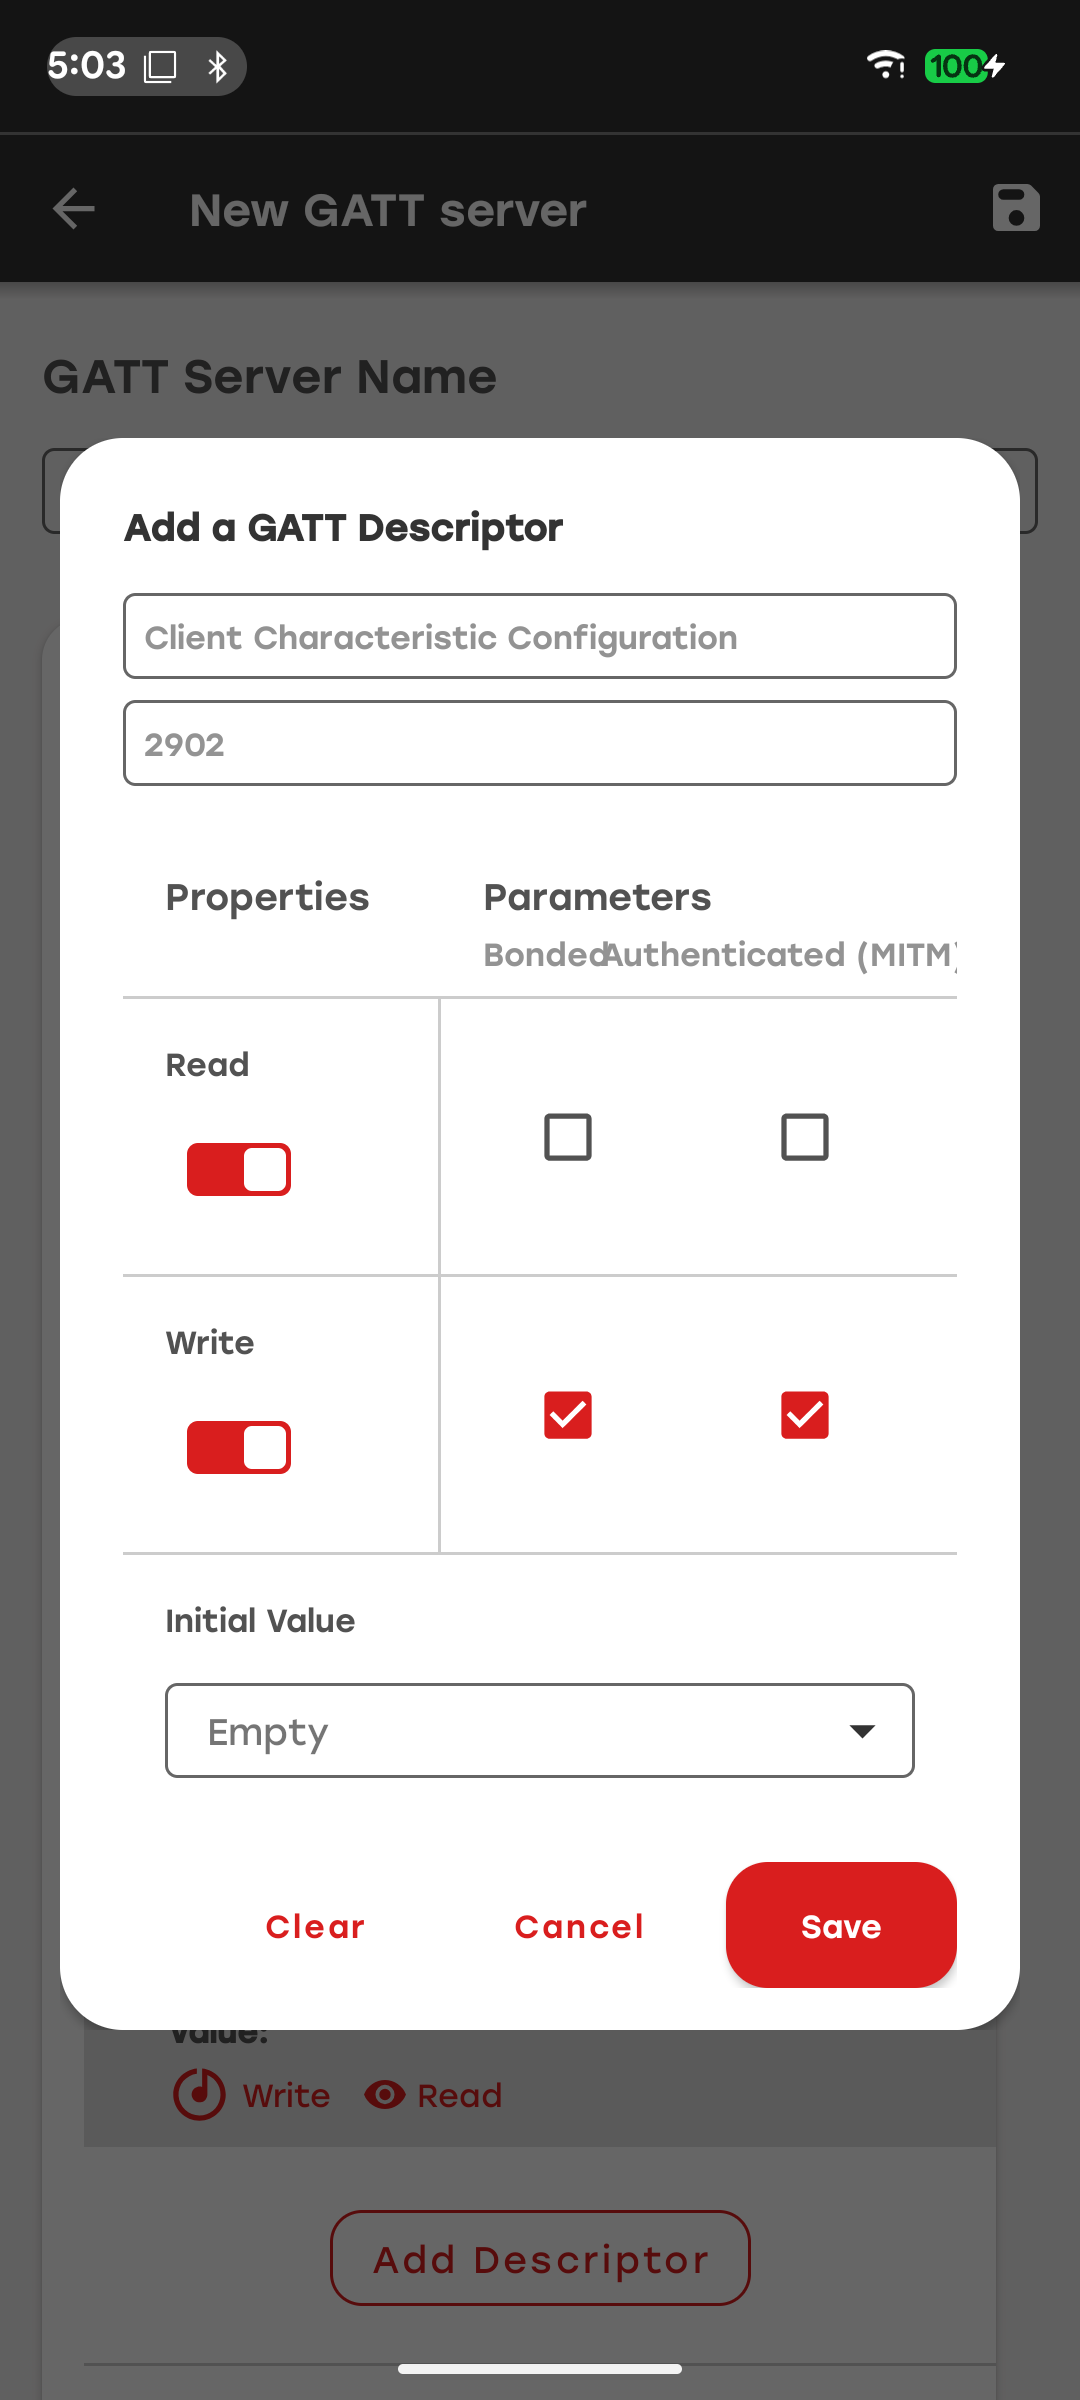
Adding a descriptor is similar to adding a characteristic, but fewer properties are available.