Defining Actions#
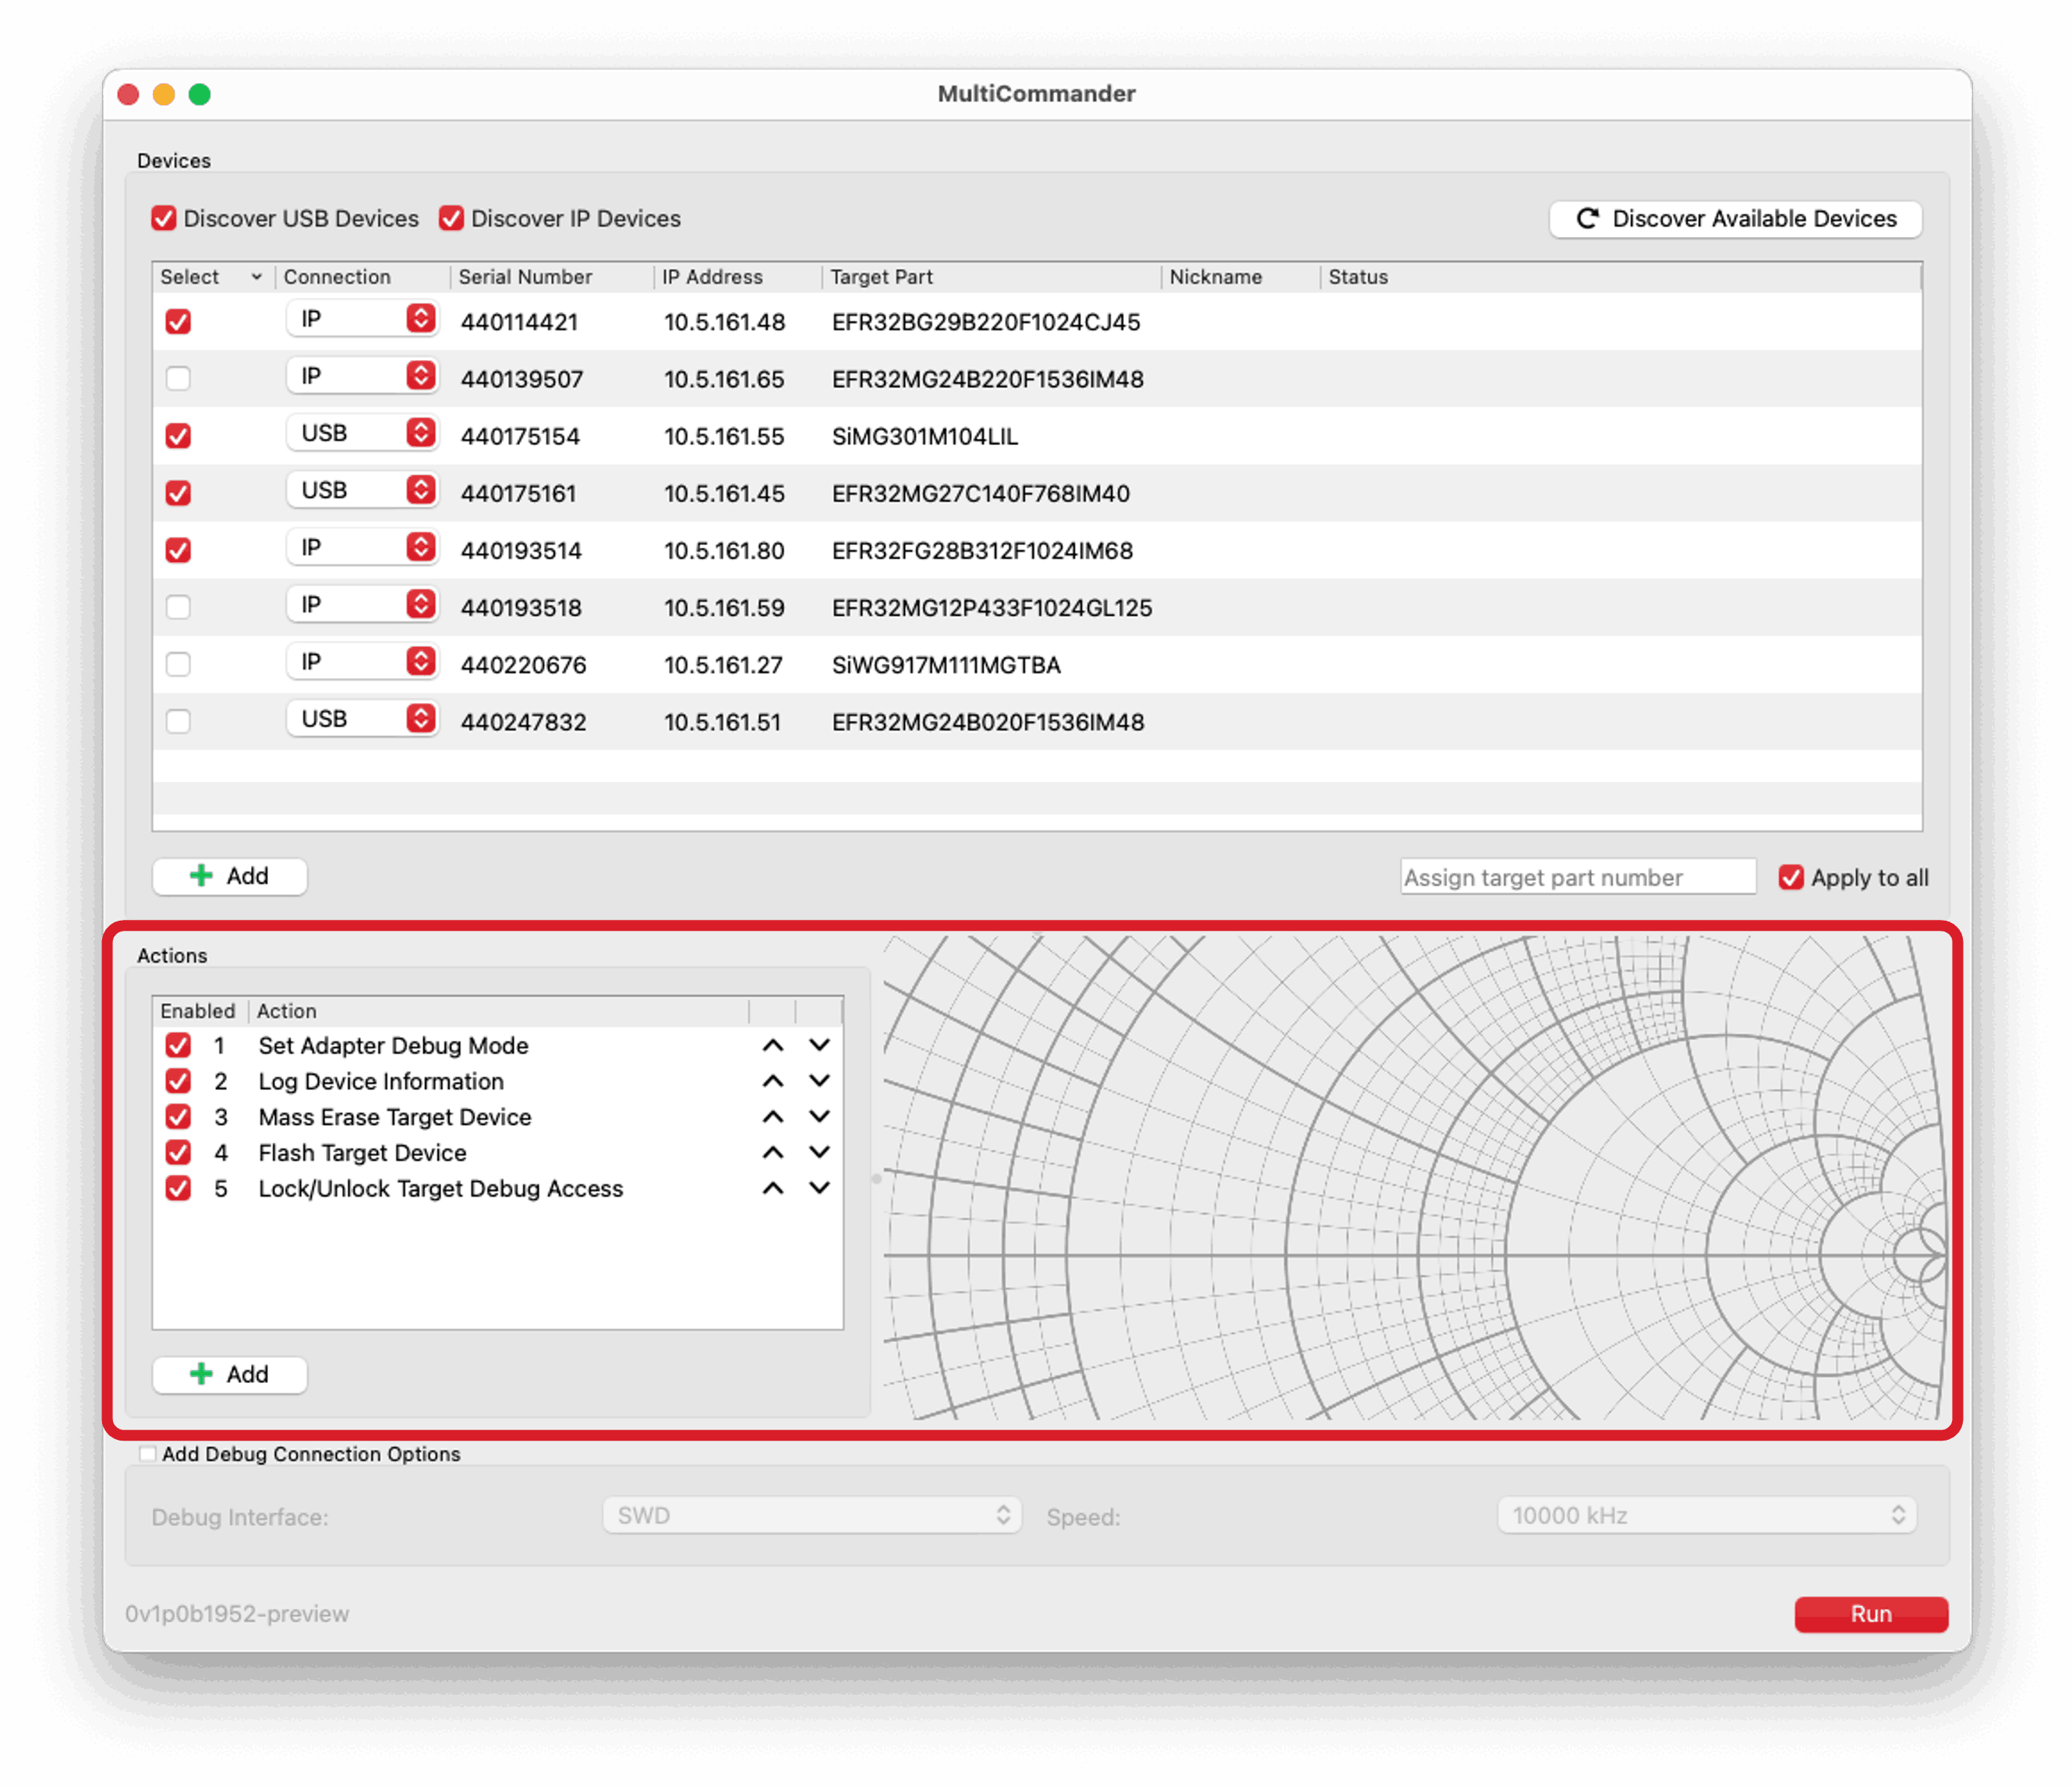
The lower portion of the MultiCommander user interface is used to define the sequence of actions to perform on the selected adapters. In this section, you can add, configure, and manage actions that are executed in order on each selected adapter.
Variables#
MultiCommander supports a set of device-specific variables that you can use in actions. These variables allow you to create flexible action sequences that adapt to each adapter based on properties such as serial number, IP address, target device, or nickname.
The supported variables include:
{{serial_number}}: The adapter serial number.{{ip_address}}: The adapter IP address.{{target_part}}: The part number of the target device connected to the adapter.{{nickname}}: The nickname assigned to the adapter.{{debug_interface}}: The debug interface type of the adapter (for example, SWD or JTAG).{{debug_speed}}: The debug speed configured for the adapter.
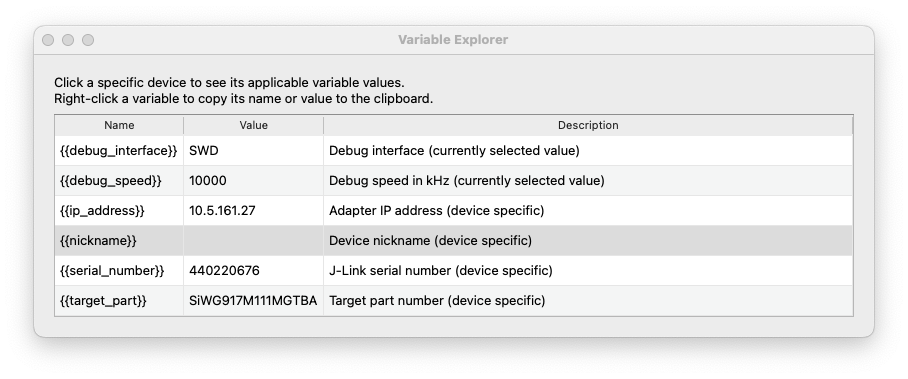
You can view all available variables in the Variable Explorer, which can be opened by clicking Variable Explorer... located next to the action selection drop-down. When you select an adapter in the device list, the explorer shows the variable values for that adapter.
Right-clicking a variable in the explorer lets you copy either the variable name or the variable value for the selected adapter to the clipboard.
Any actions that support text input fields will allow you to use these variables by including them in double curly braces (for example, {{serial_number}}). During execution, MultiCommander replaces each variable with the corresponding values for each adapter.
Adding Actions#
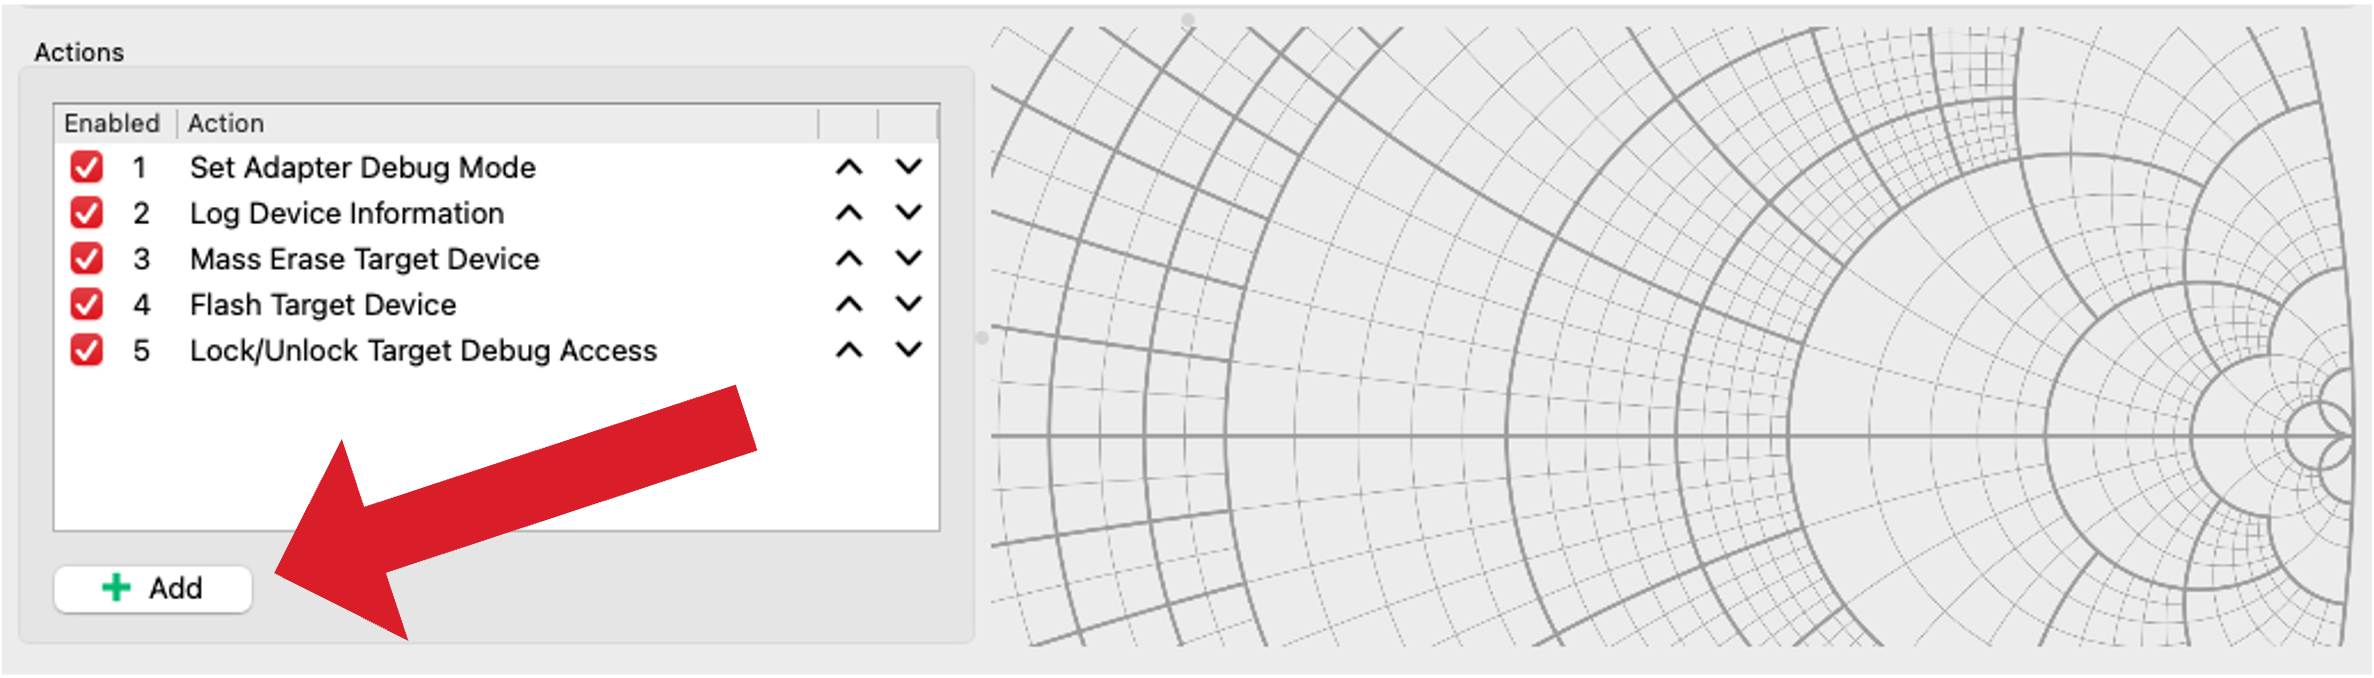
To add an action, click Add below the actions list. A box opens to the right, where you can choose an action from the drop-down list.
Available actions include:
Log Device Information
Flash Target Device
Mass Erase Target Device
Lock/Unlock Target Device
Recover Target Device
Wait
Run Custom Command
Install Adapter Firmware
Set Adapter Debug Mode
Each action has its own configuration options. When you select an action from the list, its options appear in the box on the right.
You can add an action to the list multiple times, and there is no limit to the number of actions you can define.
Removing Actions#
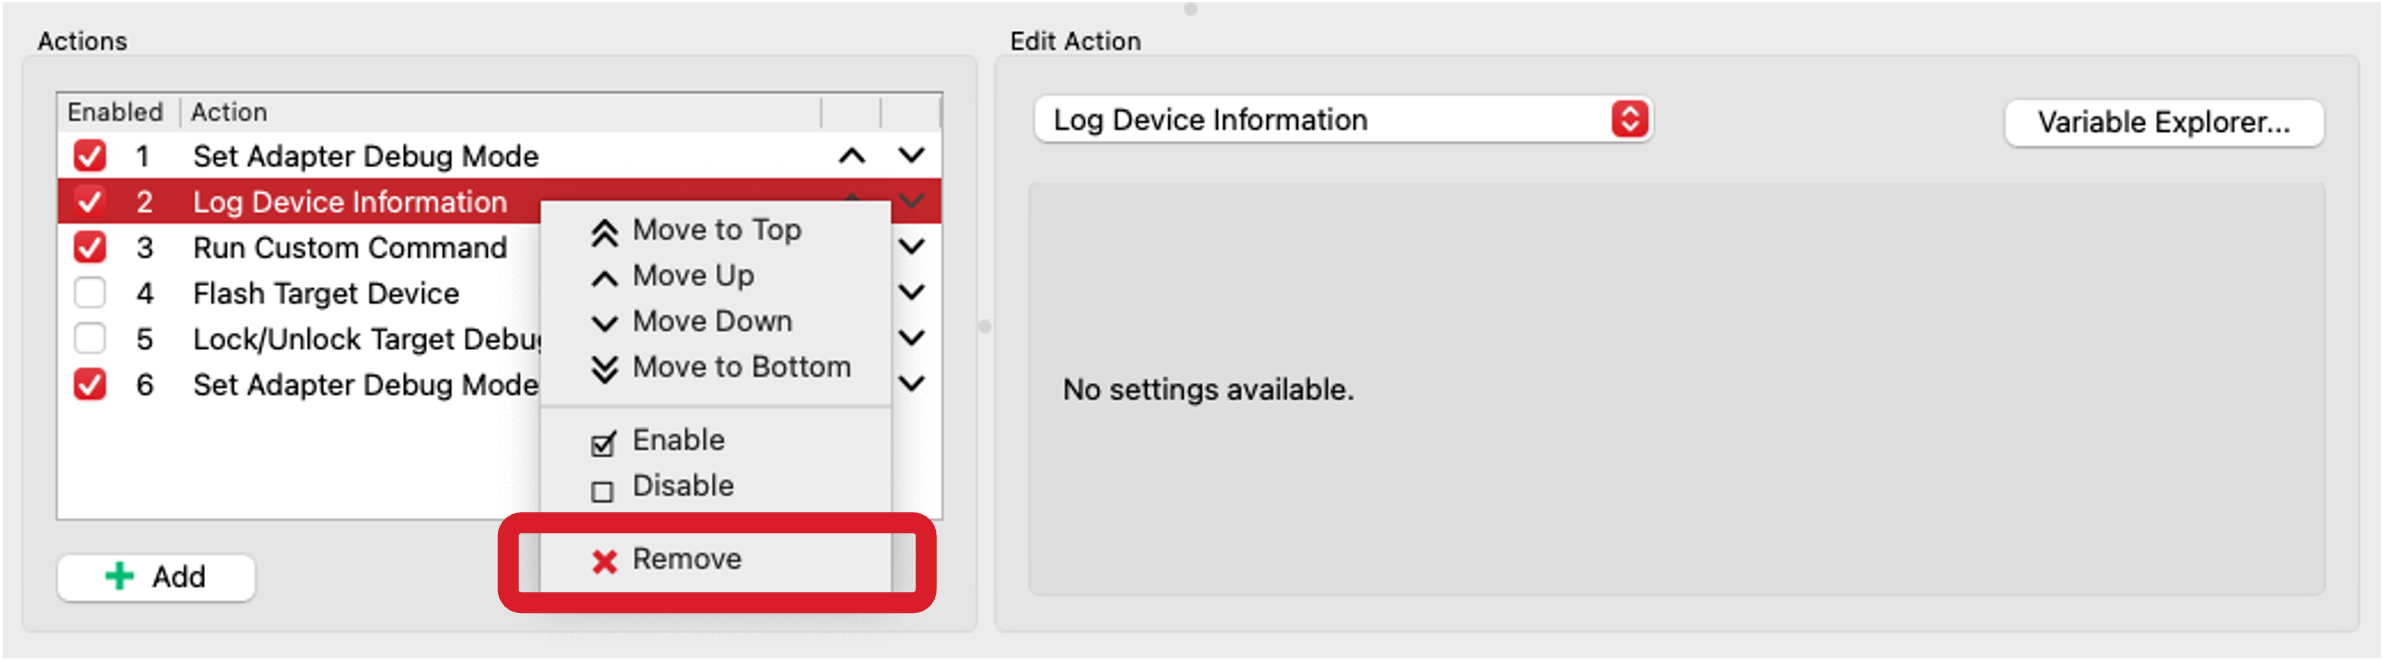
To remove actions from the list, right-click one or more highlighted actions and select Remove from the context menu. You can highlight multiple actions by holding down the Ctrl/Cmd or Shift keys while clicking rows in the list.
Reordering Actions#
You can reorder actions by selecting an action and using the arrow buttons next to each list item. The up arrow moves the selected action one position higher, and the down arrow moves it one position lower.
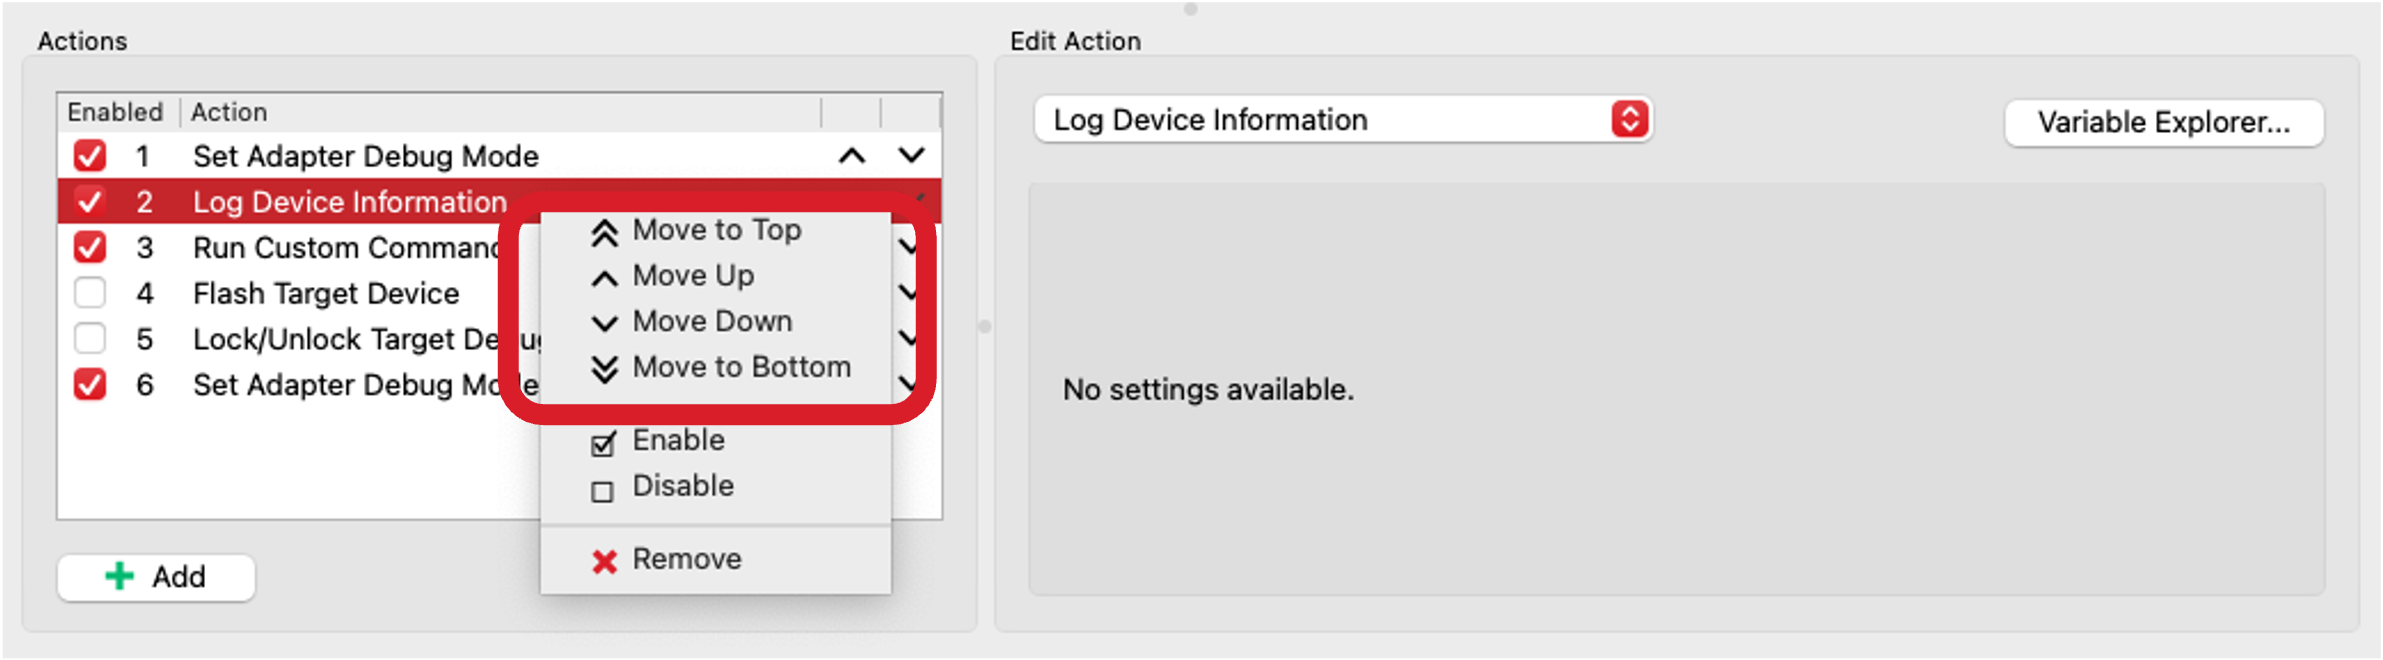
You can also right-click an action to view additional options to move the action to the top or bottom of the list. Multiple actions can be selected and moved at the same time.
Enabling/Disabling Actions#
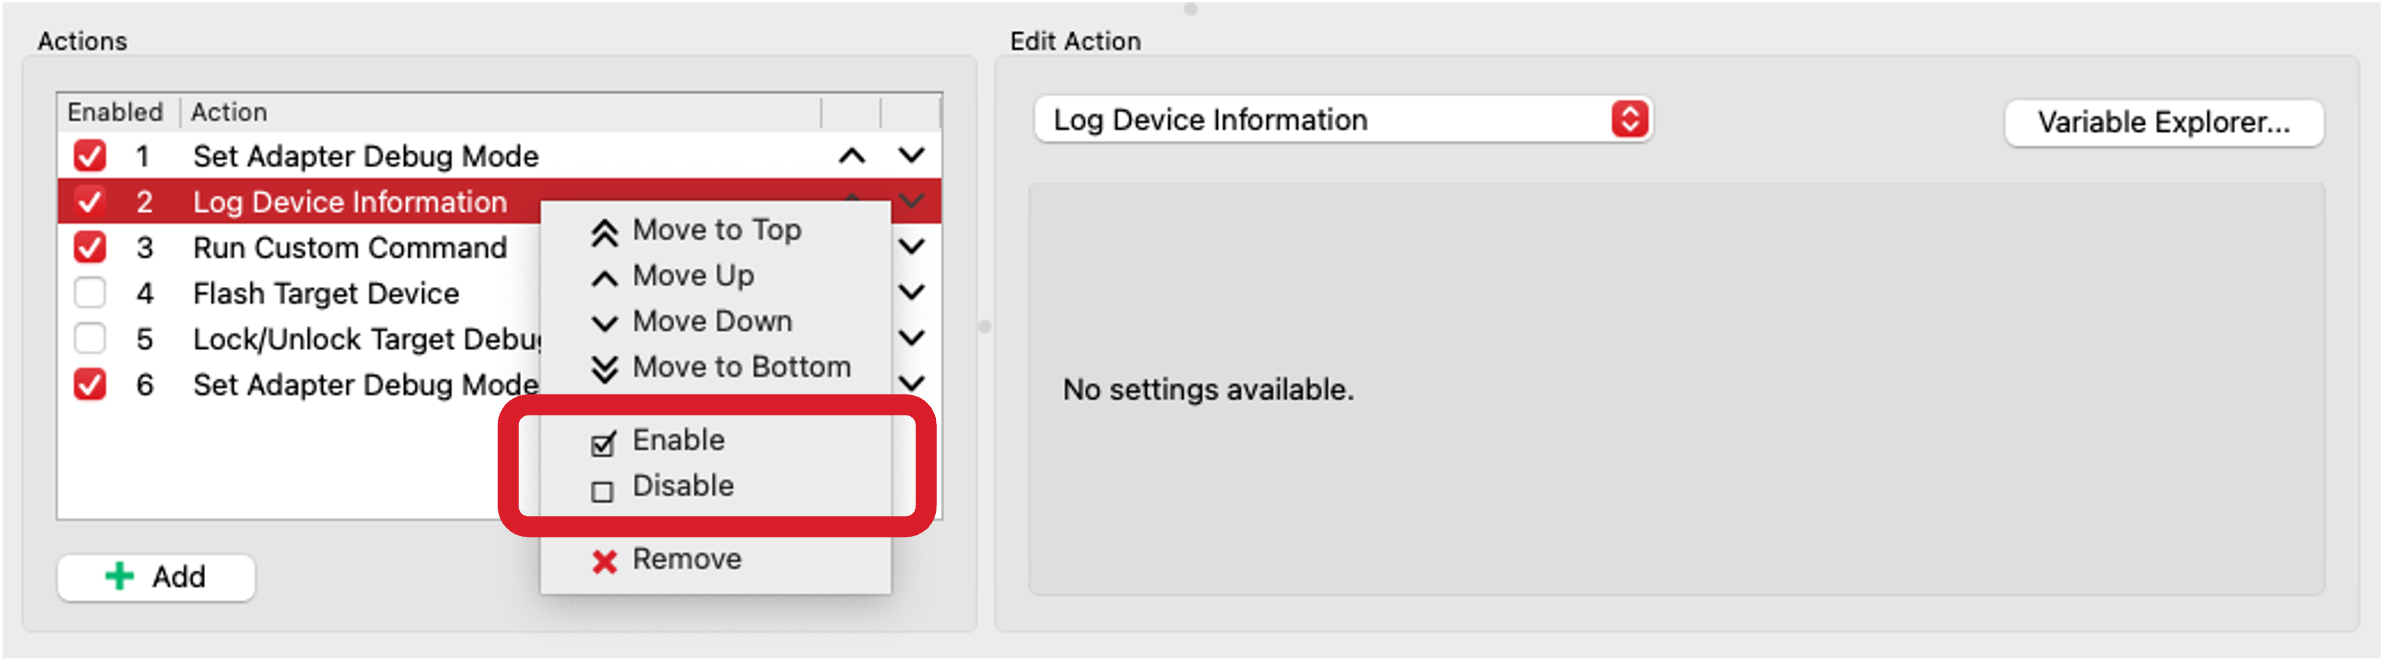
Each action includes a checkbox that indicates whether it is enabled. You can enable or disable an action by clicking the checkbox or by right-clicking the action and selecting Enable or Disable.
Disabled actions are skipped during execution, which allows you to modify the sequence of operations without removing actions.
Action: Log Device Information#
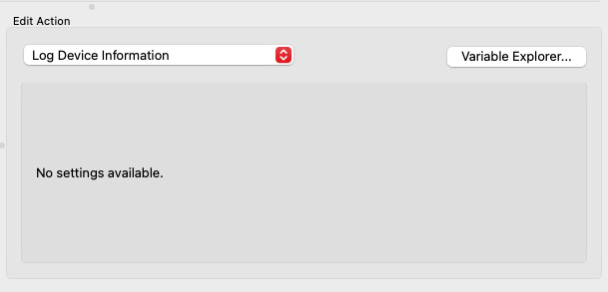
The Log Device Information action retrieves and logs information about the connected target device. Logged information includes the part number, flash size, RAM size, unique ID, and other details.
This action requires no additional configuration.
Action: Flash Target Device#
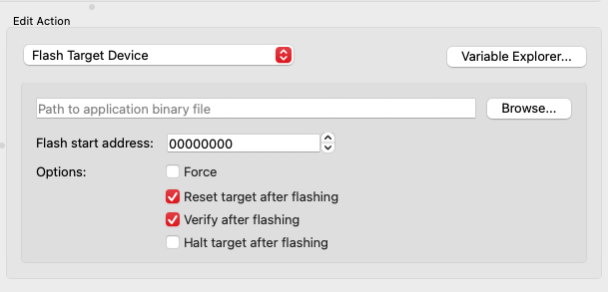
The Flash Target Device action allows you to program the connected target device with a specified application file.
You must provide the path to the application file. For binary files, you must also specify the flash address where the file is written. Additional options are available, such as resetting the device after flashing or verifying the flash contents.
This action supports variables in the file path field.
Action: Mass Erase Target Device#
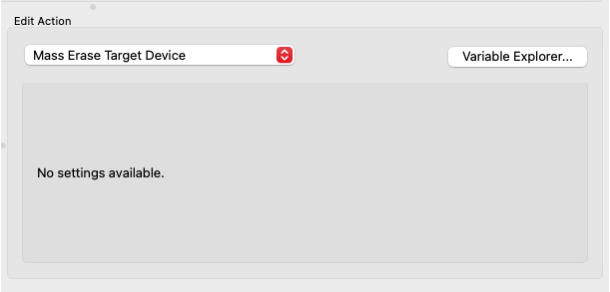
The Mass Erase Target Device action performs a mass erase on the target device connected to the adapter.
This action requires no additional configuration.
Action: Lock/Unlock Target Device#
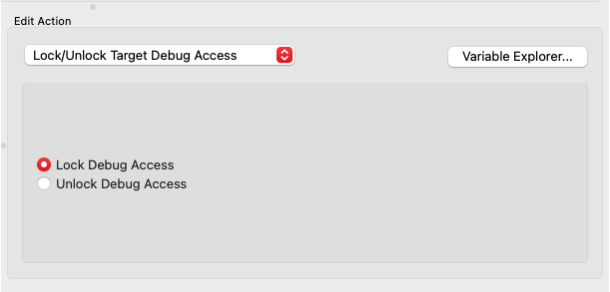
The Lock/Unlock Target Device action lets you enable or disable debug access on the target device connected to the adapter. Use the radio buttons to choose whether to lock or unlock the device.
Action: Recover Target Device#
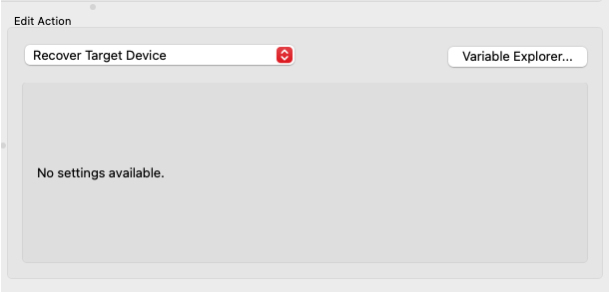
The Recover Target Device action attempts to recover a target device that is in a locked or bricked state.
This action requires no additional configuration.
Action: Wait#
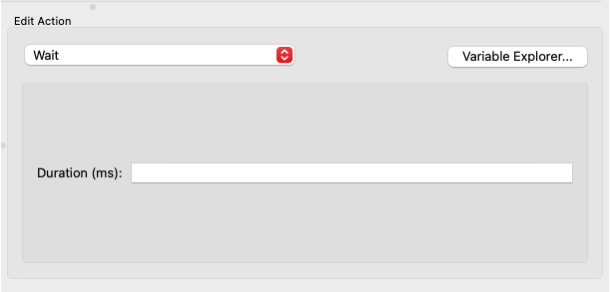
The Wait action inserts a delay into the action sequence. You specify the wait duration in milliseconds.
This can be useful when an operation requires additional time to complete before proceeding to the next action.
The maximum allowed wait time is 10 minutes (600,000 milliseconds).
Action: Run Custom Command#
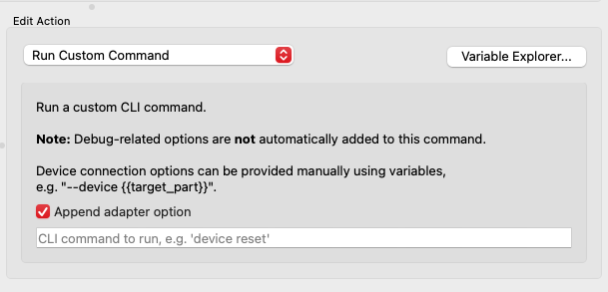
The Run Custom Command action executes a custom Simplicity Commander command on the adapter. You specify the full command line, excluding the commander executable, including all options and arguments.
If the custom command is to be run on an adapter, it is recommended to leave Append adapter option enabled, as MultiCommander automatically appends the appropriate adapter connection option (such as --serialno <serial number> or --ip <ip address>), based on the selected connection type for each adapter.
For host-only commands that do not require an adapter, you can disable this option.
Note: When running custom commands, debug connection options are not automatically applied. If needed, you must include them manually in the command line.
This action supports variables in the command line field.
Action: Install Adapter Firmware#
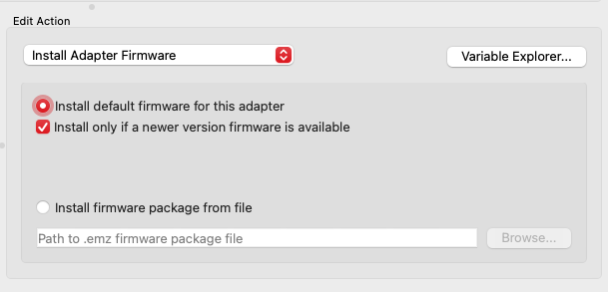
Note: This action only applies to Silicon Labs adapters.
The Install Adapter Firmware action updates the adapter firmware. By default, MultiCommander installs the latest available firmware version only if the installed version is older.
You can force installation regardless of the current firmware version or specify a custom firmware file by providing a file path.
This action supports variables in the firmware file path field.
Action: Set Adapter Debug Mode#
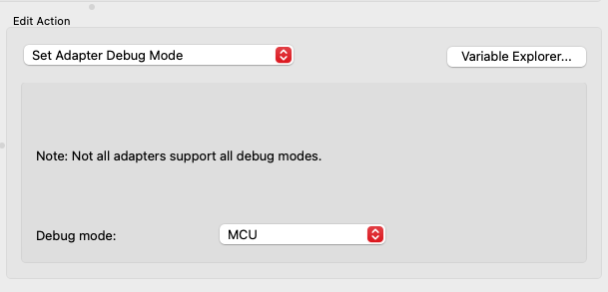
Note: This action only applies to Silicon Labs adapters.
The Set Adapter Debug Mode action configures the adapter debug mode. Available options include:
MCU
IN
OUT
MINI
OFF
Not all adapters support all debug modes. See Simplicity Link Adapter documentation for more information.