Solutions#
A solution is a construct that combines two or more projects such that they can be compiled, debugged, and flashed together. The solution is defined by a metadata .solutions file. Solutions can be local or shared. In a local solution, the .solutions file is stored in the Simplicity Studio Workspace. In a shared solution, the file is stored in the project specified when the shared solution is created. Shared solutions are easier to place under source control, and they can be exported to other Workspaces.
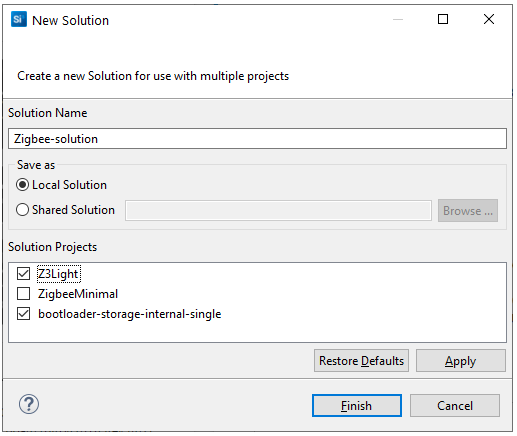
Solution examples are available on the Example Projects and Demos tab or you can create your own through File > New > Solution or Projects > Manage Solutions > New. The resulting dialog shows available projects in the current Workspace. Name the solution, select the projects to be included in it, and click Finish.
Note: The generic term for the construct that combines multiple projects is a workspace. However, in Simplicity Studio a Workspace is a special directory into which projects (and solutions) are created. Therefore, whenever possible, Simplicity Studio documentation uses the term 'solution' for this construct.
Create a Solution from an Example#
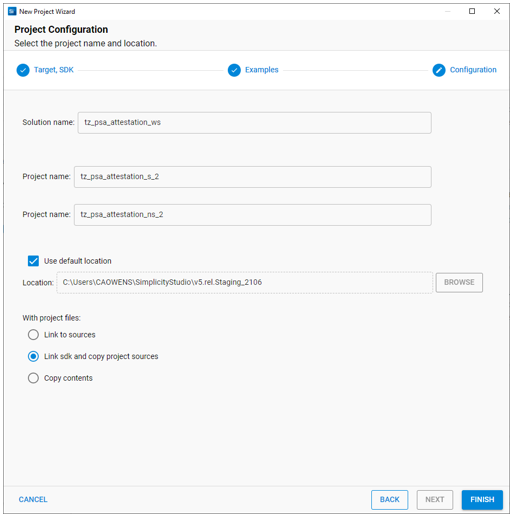
When you create a solution based on an example, the configuration dialog allows you to edit the name of the projects in the solution as well as the solution.
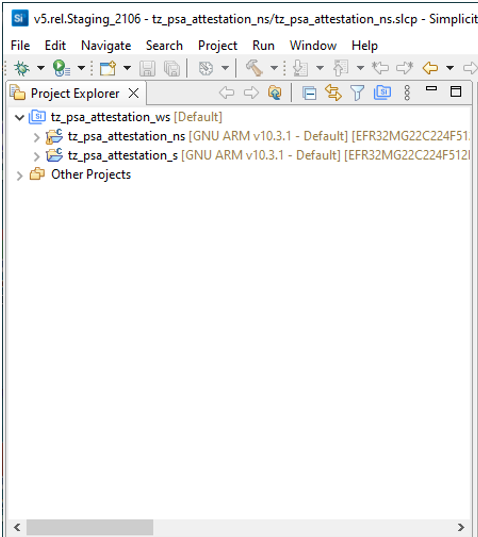
Each project in the solution then opens individually. Project Explorer view shows the solution as a separate folder, and projects in the Workspace folder that are not included in the solution as 'Other Projects'.
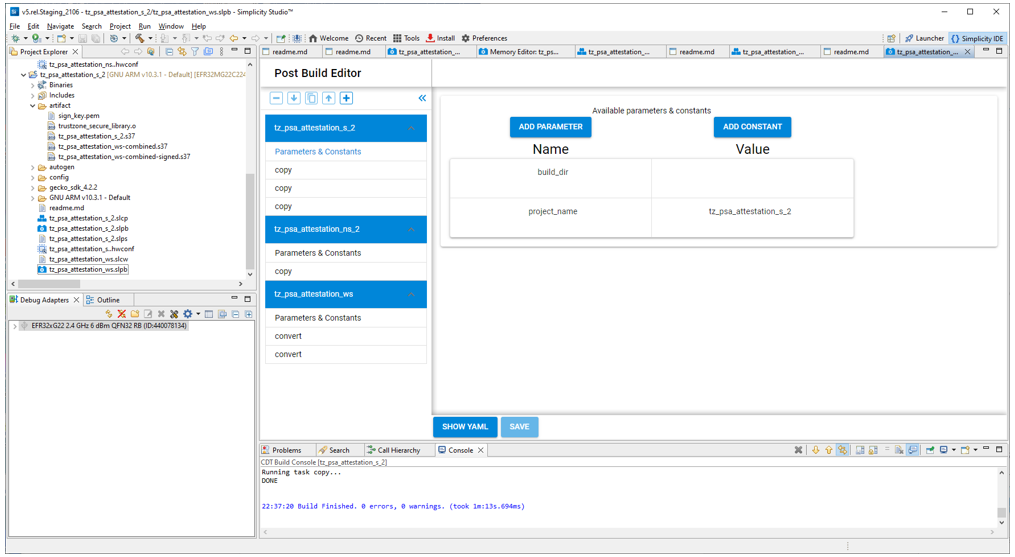
Configure the projects in the solution as you would other project. Select the solution folder and click Build to build all projects in the solution. Project- and solution-level post-build script files (.slpb) are provided with the examples, and will combine the individual projects into a downloadable .s37 image. Double-click an *.slpb file to open the Post-Build Editor to see how the script is configured.
While the default memory use in the example solutions is fine for development and debugging, you can use Memory Editor to finalize the application memory layouts. Rebuild the solution to update the memory configurations.
Solutions are required for applications to take advantage of the EFR32 Series 2 TrustZone security feature. See AN1374: Series 2 TrustZone for a discussion of both the feature and how solutions are used to implement it.
Manage Solutions#
Right-click the Solution in Project Explorer view, and click Solutions on the context menu to open the Manage Solutions dialog, set the active Configuration or sync solution configurations.
With Manage Solutions (also available on the Project menu) you can create, edit, and remove solutions.
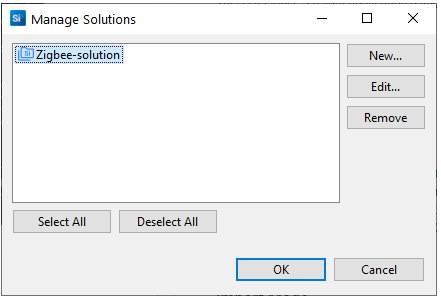
Click Edit... to rename a solution, add or remove projects from a solution, or save a local solution as a shared solution. You must specify the project to contain the solution metadata.
If the projects have multiple build configurations and the solution also has multiple build configurations, click Sync Solution Configuration to set the active build configuration of each project to match the solution's active build configuration.