Install SSv5 and Software#
This section discusses how to install SSv5 and, once SSv5 is installed, how to install software.
NOTE: Depending on your corporate environment, you may encounter installation problems. For example, if you cannot log in to Simplicity Studio® 5 (SSv5) but know you are entering your Customer Account username and password correctly, or if you get an error about connecting to the update server and your computer is definitely connected to the Internet, see SDK installation or updates are not working for possible causes and solutions.
Install SSv5#
Instructions for installation on Windows and MacOS and on Linux are provided.
On Windows and MacOS#
Download the SSv5 installation package from the Silicon Labs website. The Windows package is an '.iso' disk image. After the package finishes downloading, double-click it to mount the iso image as a drive and then double-click the setup.exe file inside the drive to launch the installer.
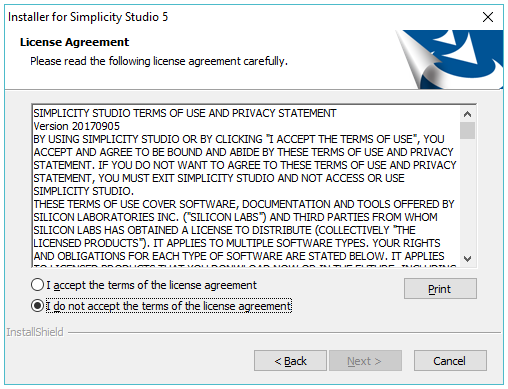
When the SSv5 installer first launches, it presents a Simplicity Studio License Agreement dialog. Accept the terms of the agreement and click Next >.
Choose a destination location, click Next >, and then click Install.
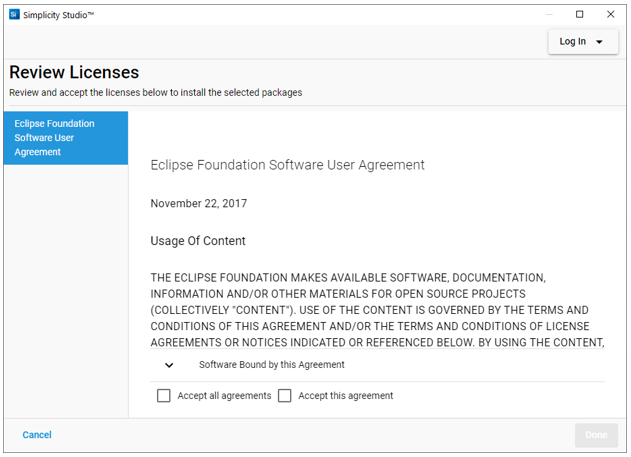
When SSv5 launches, you are presented with one or more additional license agreements. You can accept them individually or all at once. Click DONE when finished.
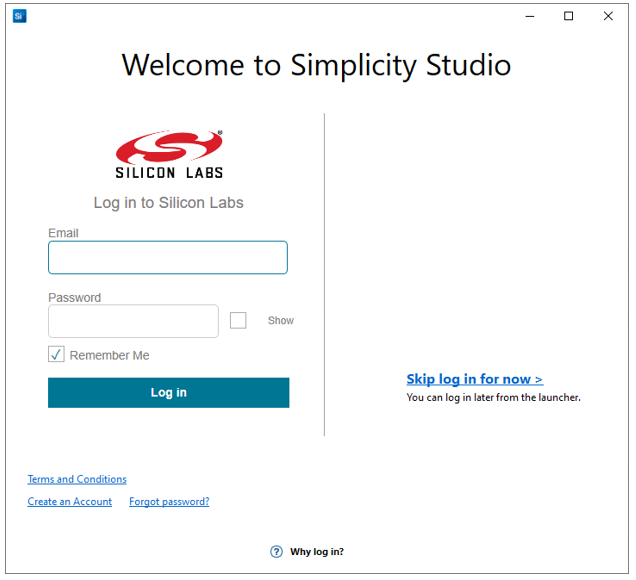
Next, you are invited to log in. Log in using your Silicon Labs account username and password. NOTE: Although you can skip log in here, you must be logged in to access some restricted access software packages.
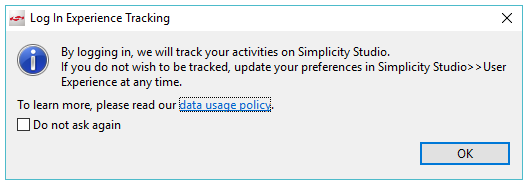
Before login completes, you must agree to Experience Tracking. You can change the status later in SSv5 Preferences >> Simplicity Studio >> User Experience.
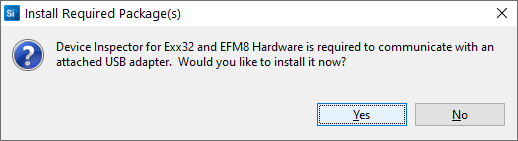
If you have hardware connected, depending on your operating system and security settings, you may need to allow SSv5 to make changes to your system. SSv5 prompts you to install the Device Inspector. Click Yes.
On Linux#
Simplicity Studio for Linux® OS is only officially supported on Ubuntu® LTS distributions. Simplicity Studio might work on other distributions, but it is only tested and verified to work with Ubuntu® LTS.
The base Simplicity Studio platform (not an installer) is delivered in a tar file that should be expanded into the desired installation directory. The recommended installation directory is the user's root directory (/home/USERNAME/SimplicityStudio_v5). This directory must be one that can be updated without root permissions.
Before launching Simplicity Studio the first time, execute the following:
sudo apt-get update
sudo apt-get upgrade
cd SimplicityStudio_v5
sudo ./setup.shSee Notices for more information on the setup.sh script.
When the Simplicity Studio executable 'studio' is launched, it starts a first-time installation process to add support either by a connected debug adapter or by technology type.
Notices#
setup.sh will:
Attempt to install dev rules for USB device connectivity
Install missing packages (libraries) through your system's package manager.
setup.sh will only install required external Linux® packages on Ubuntu® distributions. For other distributions, the setup.sh script should be examined for a list of possible packages that will need to be installed for Simplicity Studio to work.
If the Wayland display protocol is being used, start Simplicity Studio from a terminal window with ./studiowayland.sh.
JxBrowser: Simplicity Studio uses the third party product JxBrowser to render several windows, including the installation window, Launcher perspective and Project Configurator windows. By default JxBrowser expands the Chromium browser into the /tmp folder. If this is not a good option because of file permissions of the /tmp folder, the location can be changed by adding a line to the studio.ini file specifying a different path such as: -Djxbrowser.chromium.dir=/home/USERNAME/.jxbrowser
Install Software#
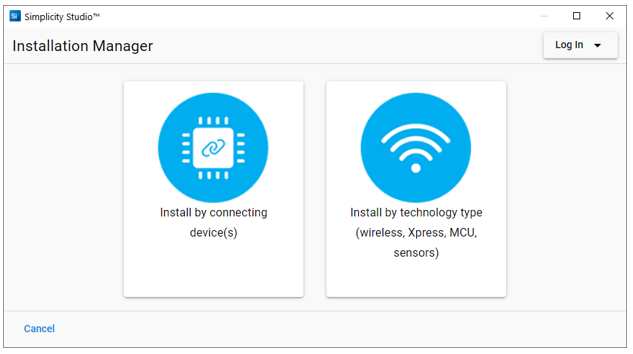
After SSv5 installation is complete, you are prompted to install software packages, such as the Gecko SDK (GSDK). SSv5 offers two options:
You do not need to have a target device connected to install by Technology Type.
Install Software by Connecting Devices#
Make sure you have a device connected and click Install by Connecting Devices. The connected devices are shown.
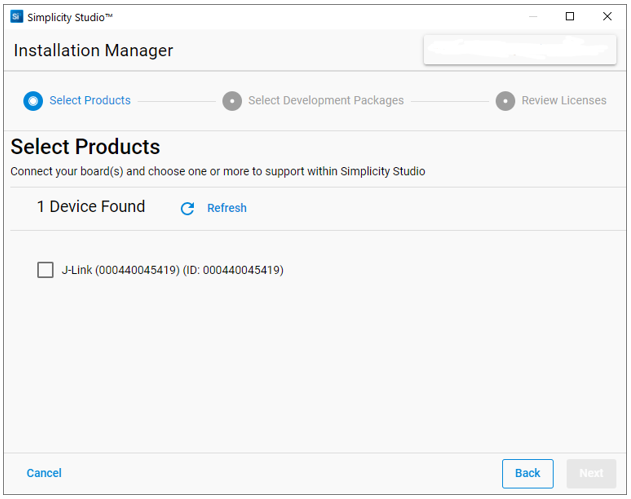
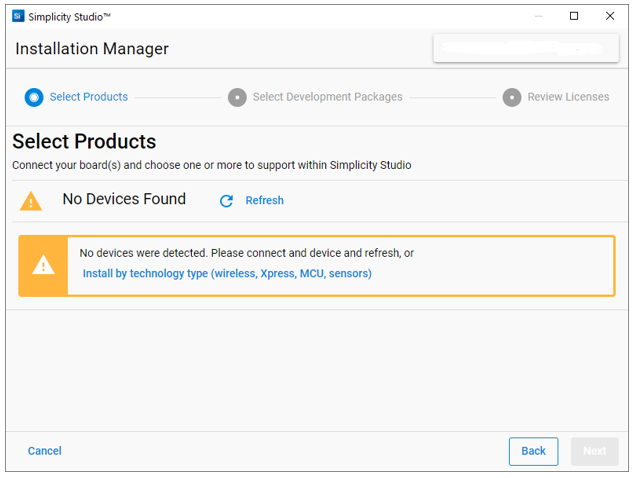
If you do not see a connected device, or if you connect a device after this dialog is presented, click Refresh. If you do not have a device connected you cannot continue.
Select the device(s) to use. If you select more than one device with different software compatibilities, Studio will download any package that is compatible with any of the devices. Click NEXT.
You have two installation options, Auto and Advanced.
Select Auto to have SSv5 automatically download all packages that are compatible with the connected hardware and to which you have permissions based on your login.
Select Advanced to select which packages you want to install or to specify an installation location for the Gecko SDK.
If you selected Advanced, all 'Required' packages must be installed. NOTE: Do not exclude packages unless you understand the full effect of the decision. Click Read More to see release notes for each item. Optionally change the default installation location for the Gecko SDK (GSDK). The GSDK installs as a clone of a GitHub repository. Do not select an existing folder with other content already in it, as your cloned repository will no longer be clean. The Matter Enablement Package is automatically selected when you select the GSDK.
Before package installation begins, accept one or more software license agreements.
Once you click NEXT, installation begins.
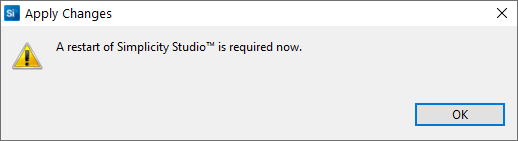
Depending upon your selections, installation may take some time. The progress bar may pause at points where large files are being installed, but will resume as they complete. If there is a problem during installation, SSv5 displays an error. You must restart SSv5 to resume.
When installation is complete, click CLOSE.
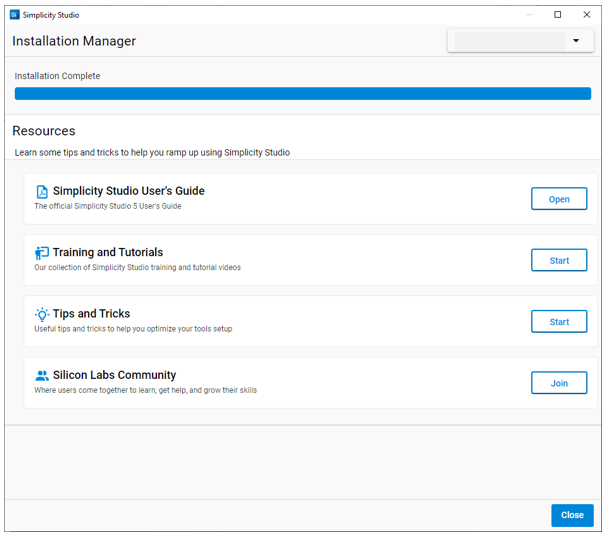
Click RESTART to begin working with projects.
Install Software by Technology Type#
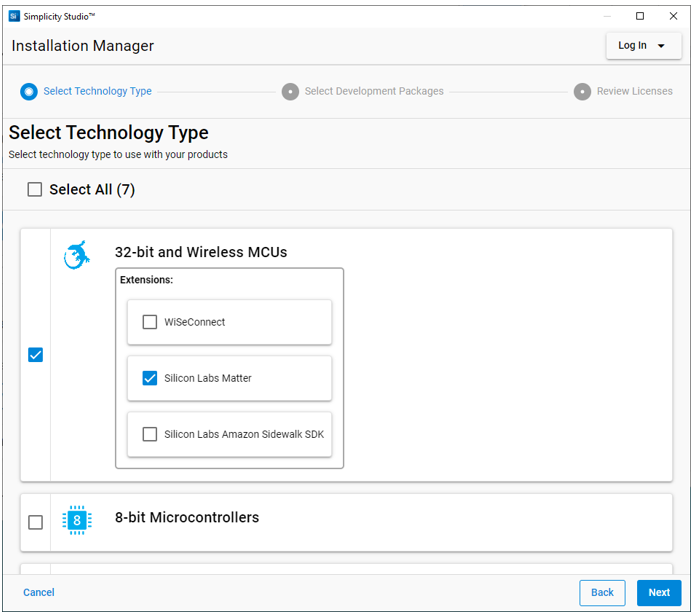
Click Install by Technology Type
Select the technology(s) to install and click NEXT. To install the Gecko SDK Suite, select 32-Bit and Wireless MCUs. The Matter Enablement Package is automatically selected when you select the GSDK.
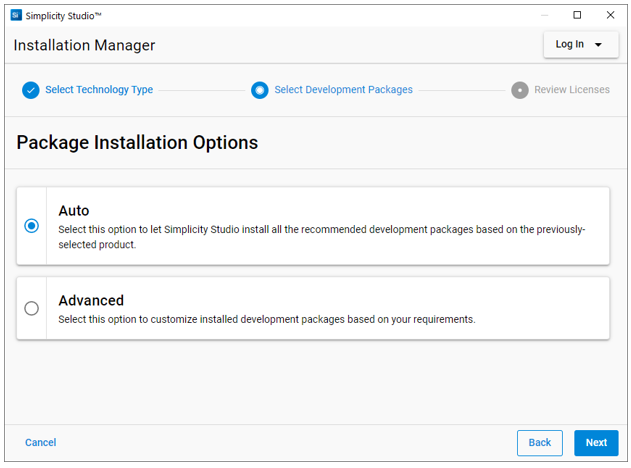
You have two installation options, Auto and Advanced.
Select Auto to have SSv5 automatically download all packages related to the selected technologies and to which you have permissions based on your login.
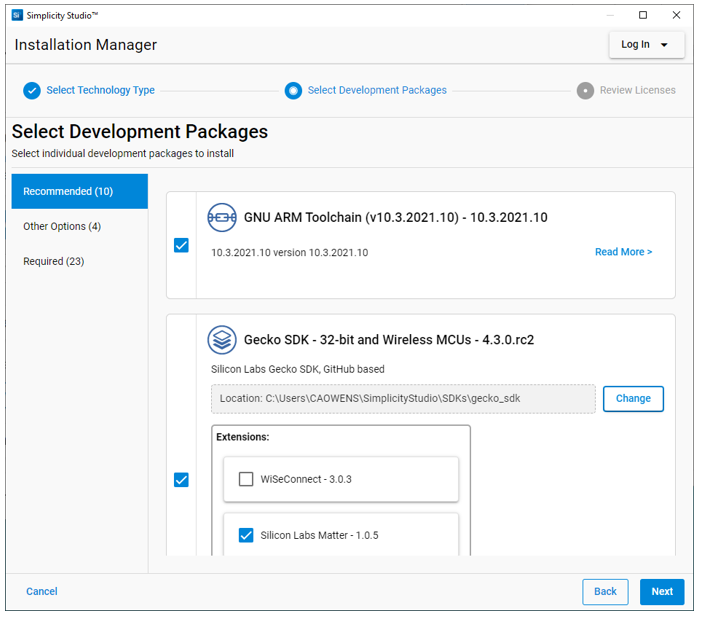
Select Advanced to select which packages you want to install.
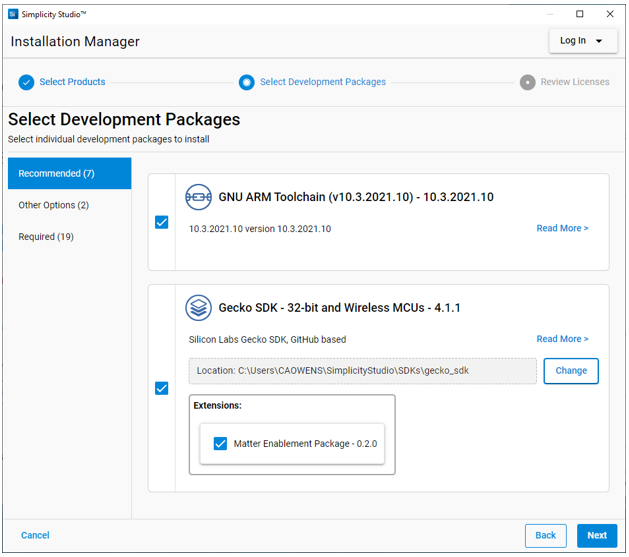
If you selected Advanced, all 'Required' packages must be installed. NOTE: Do not exclude packages unless you understand the full effect of the decision. Click Read More to see release notes for each item. Optionally change the default installation location for the Gecko SDK. The GSDK installs as a clone of a GitHub repository. Do not select an existing folder with other content already in it, as your cloned repository will no longer be clean. The Matter Enablement Package is automatically selected when you select the GSDK.
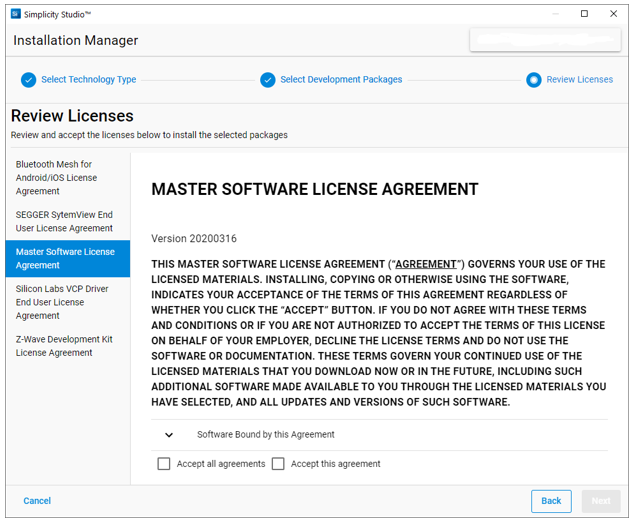
Before installation begins, accept one or more software license agreements.
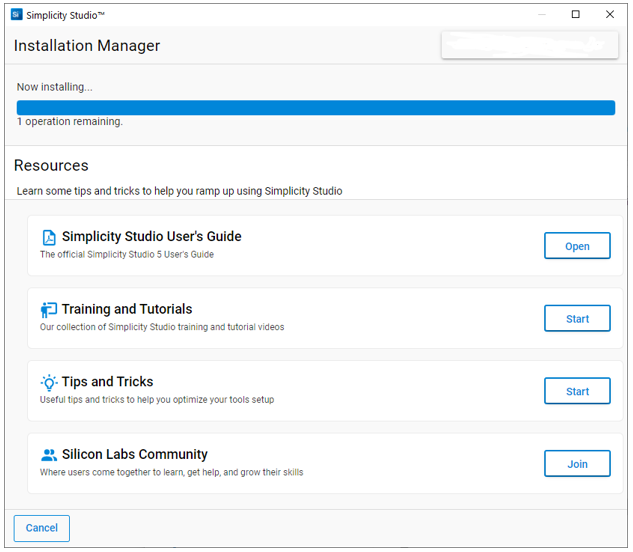
Once you click NEXT, installation begins.
Depending upon your selections, installation may take some time. The progress bar may pause at points where large files are being installed, but will resume as they complete. If there is a problem during installation, SSv5 displays an error. You must restart SSv5 to resume.
When installation is complete, click CLOSE.
Click RESTART to begin working with projects.