


Amazon AWS IoT Cloud Demo#
The AWS IoT cloud demo displays the sensor data from the SiWx91x Dev Kit, which features built-in sensors. In this demo, the SiWx91x Dev Kit and the mobile application connect to the same access point and establish a secure connection to the AWS IoT. On successful connection, the application collects and processes sensor data and displays it on the mobile dashboard. Additionally, you can control the LED on the Dev Kit board by pressing a button on the mobile application.
SiWx91x Dev Kit Setup#
Connect the SiWx917 Dev Kit (BRD2605A) to a PC, and open Simplicity Studio. Locate and create the Wi-Fi Coex - Wi-Fi Client BLE Provisioning with AWS example project.
Configure the following parameters:
SUBSCRIBE_TO_TOPIC
PUBLISH_ON_TOPIC
AWS_IOT_MQTT_HOST
Default topic values are provided. You can use the default values or modify them as needed.
app.c

aws_iot_config.h

Before proceeding, carefully read the project README to understand how to configure the project with AWS IoT. After completing the configuration, build the project.
Erase the board and flash Wi-Fi Coex - Wi-Fi Client BLE Provisioning with AWS firmware from Simplicity Studio into SiWx917 Dev Kit (BRD2605A) board.
Ensure to use the same endpoint, certificates, and topics to configure the mobile app as described in Configure AWS IoT.
Simplicity Connect Mobile App Setup#
Connect your mobile to an access point with internet connectivity.
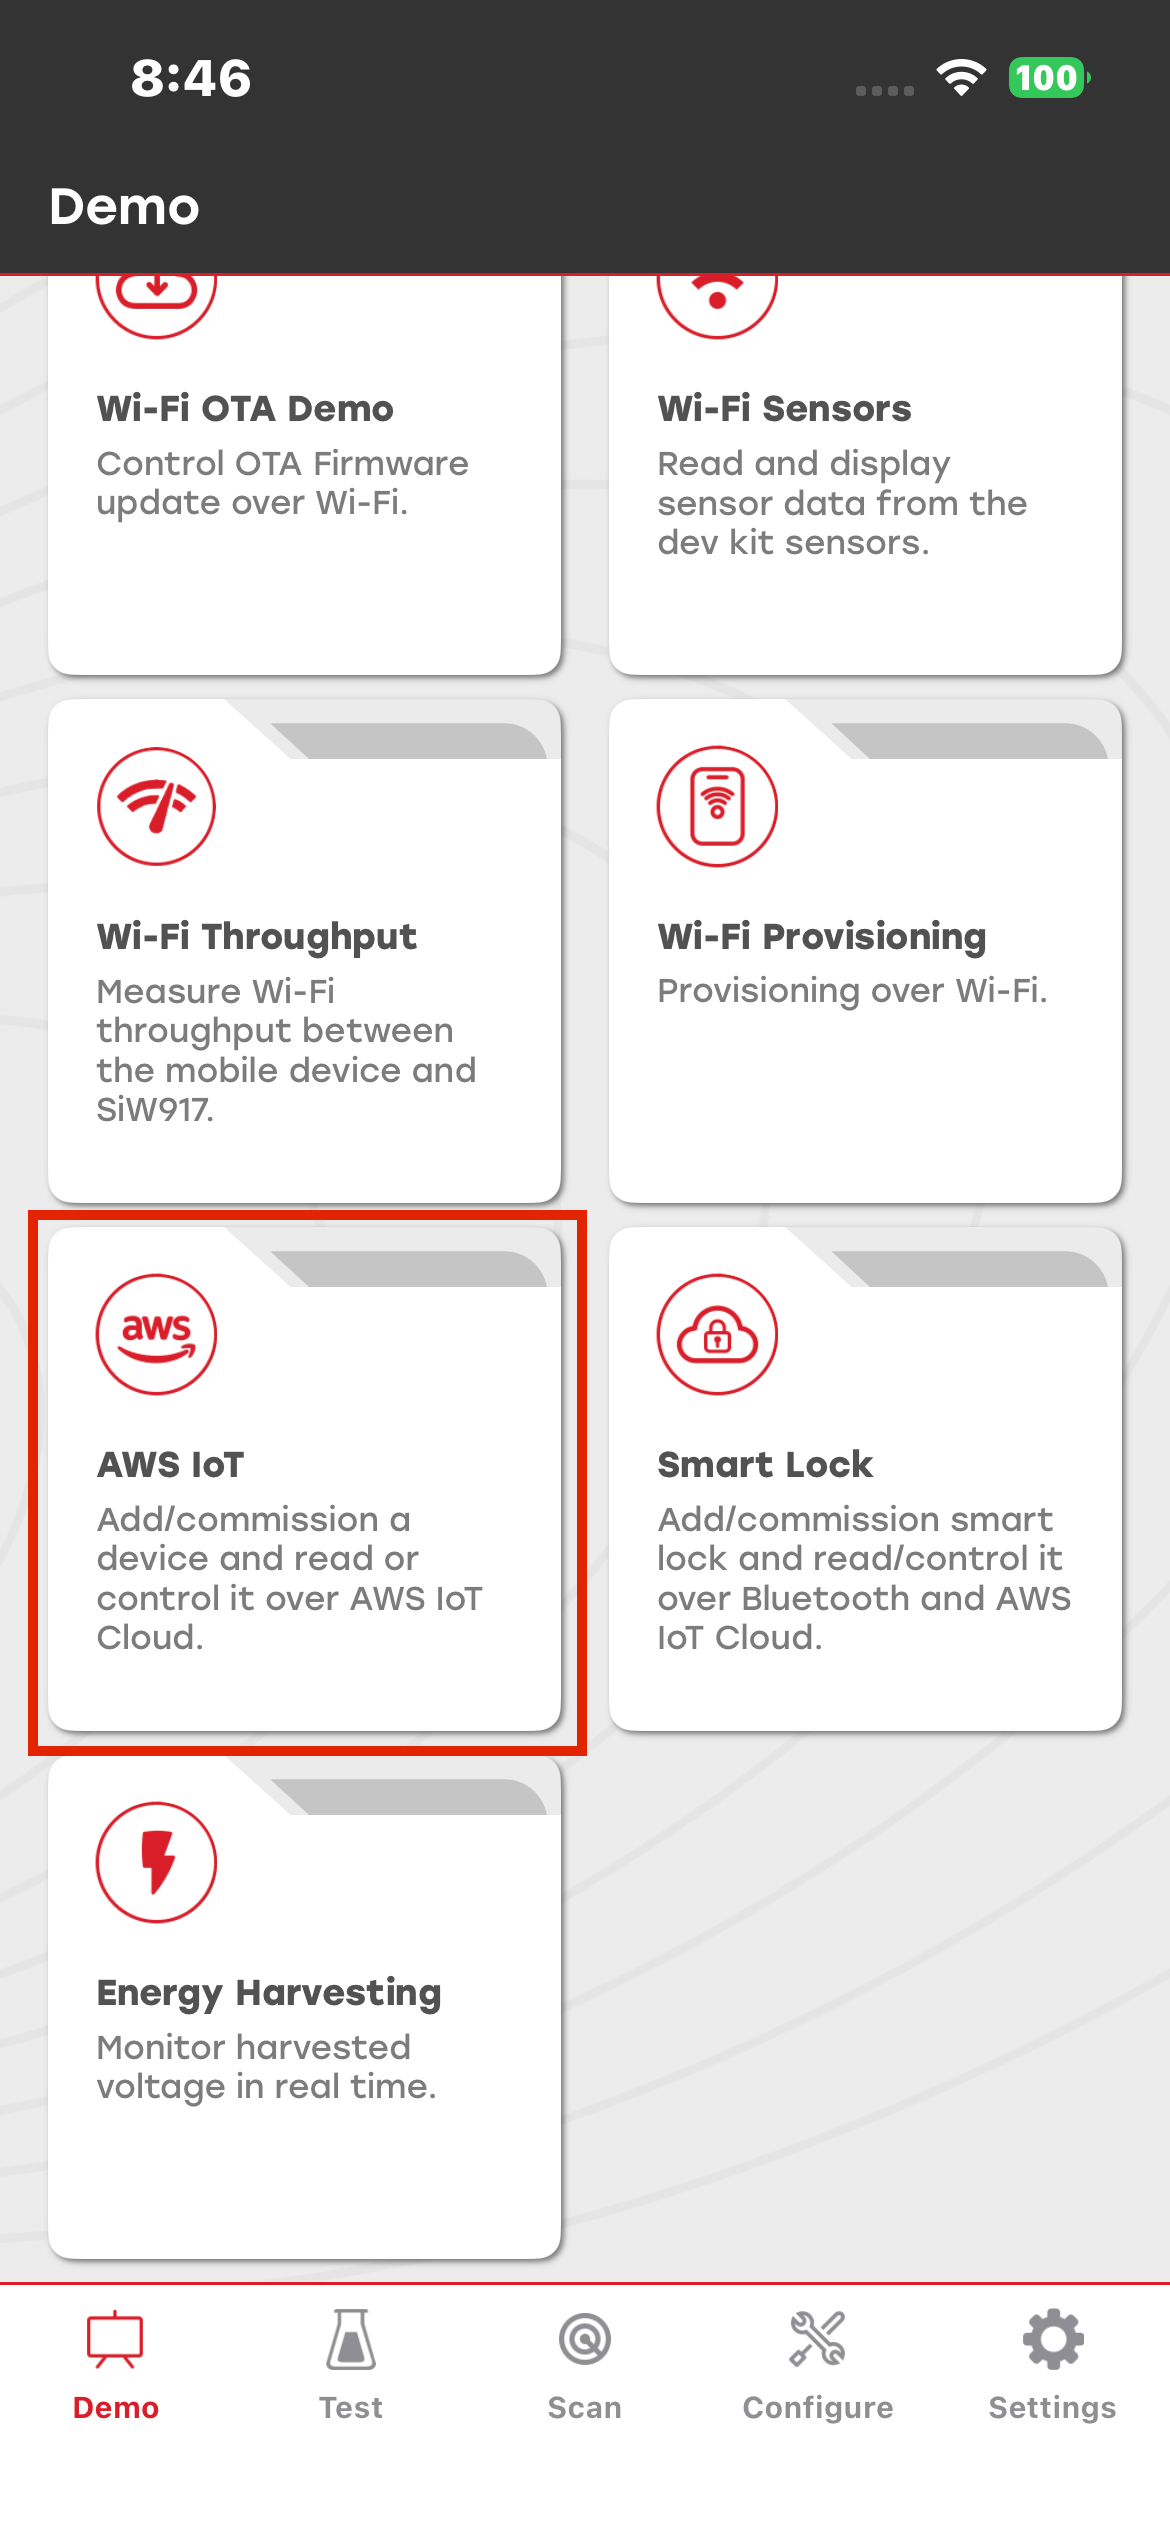
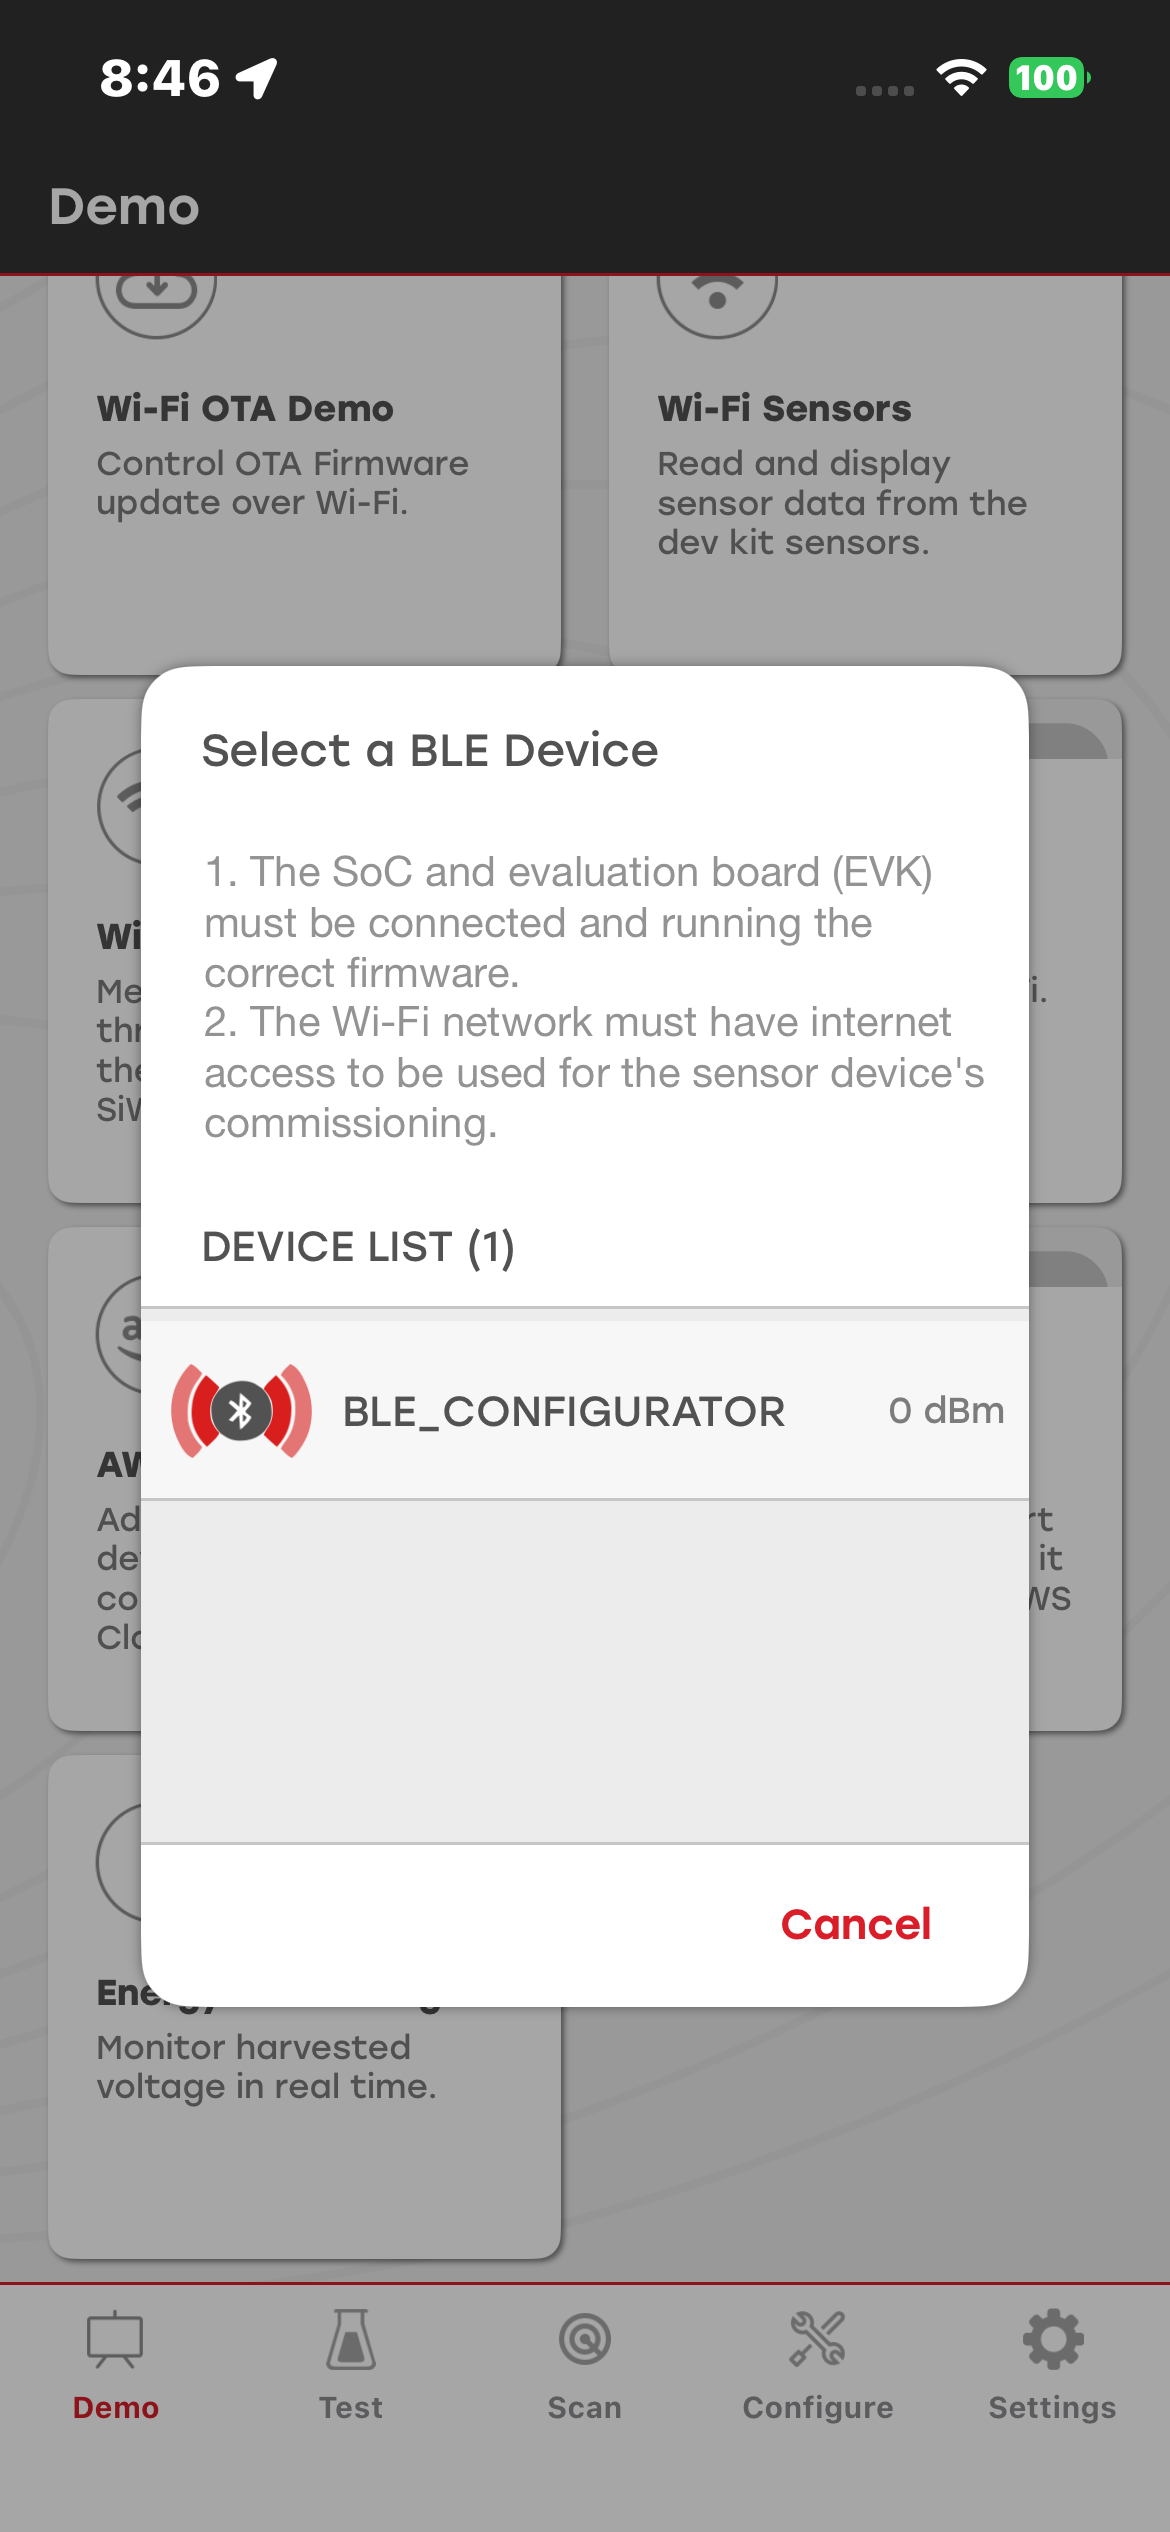
Select the AWS IoT section from the demo tile screen, and then choose the device you want to connect to.
Provisioning the Dev Kit#
Steps:
Before provisioning the Dev Kit, make sure that:
The access point (AP) has an active internet connection.
Bluetooth is enabled on the mobile device.
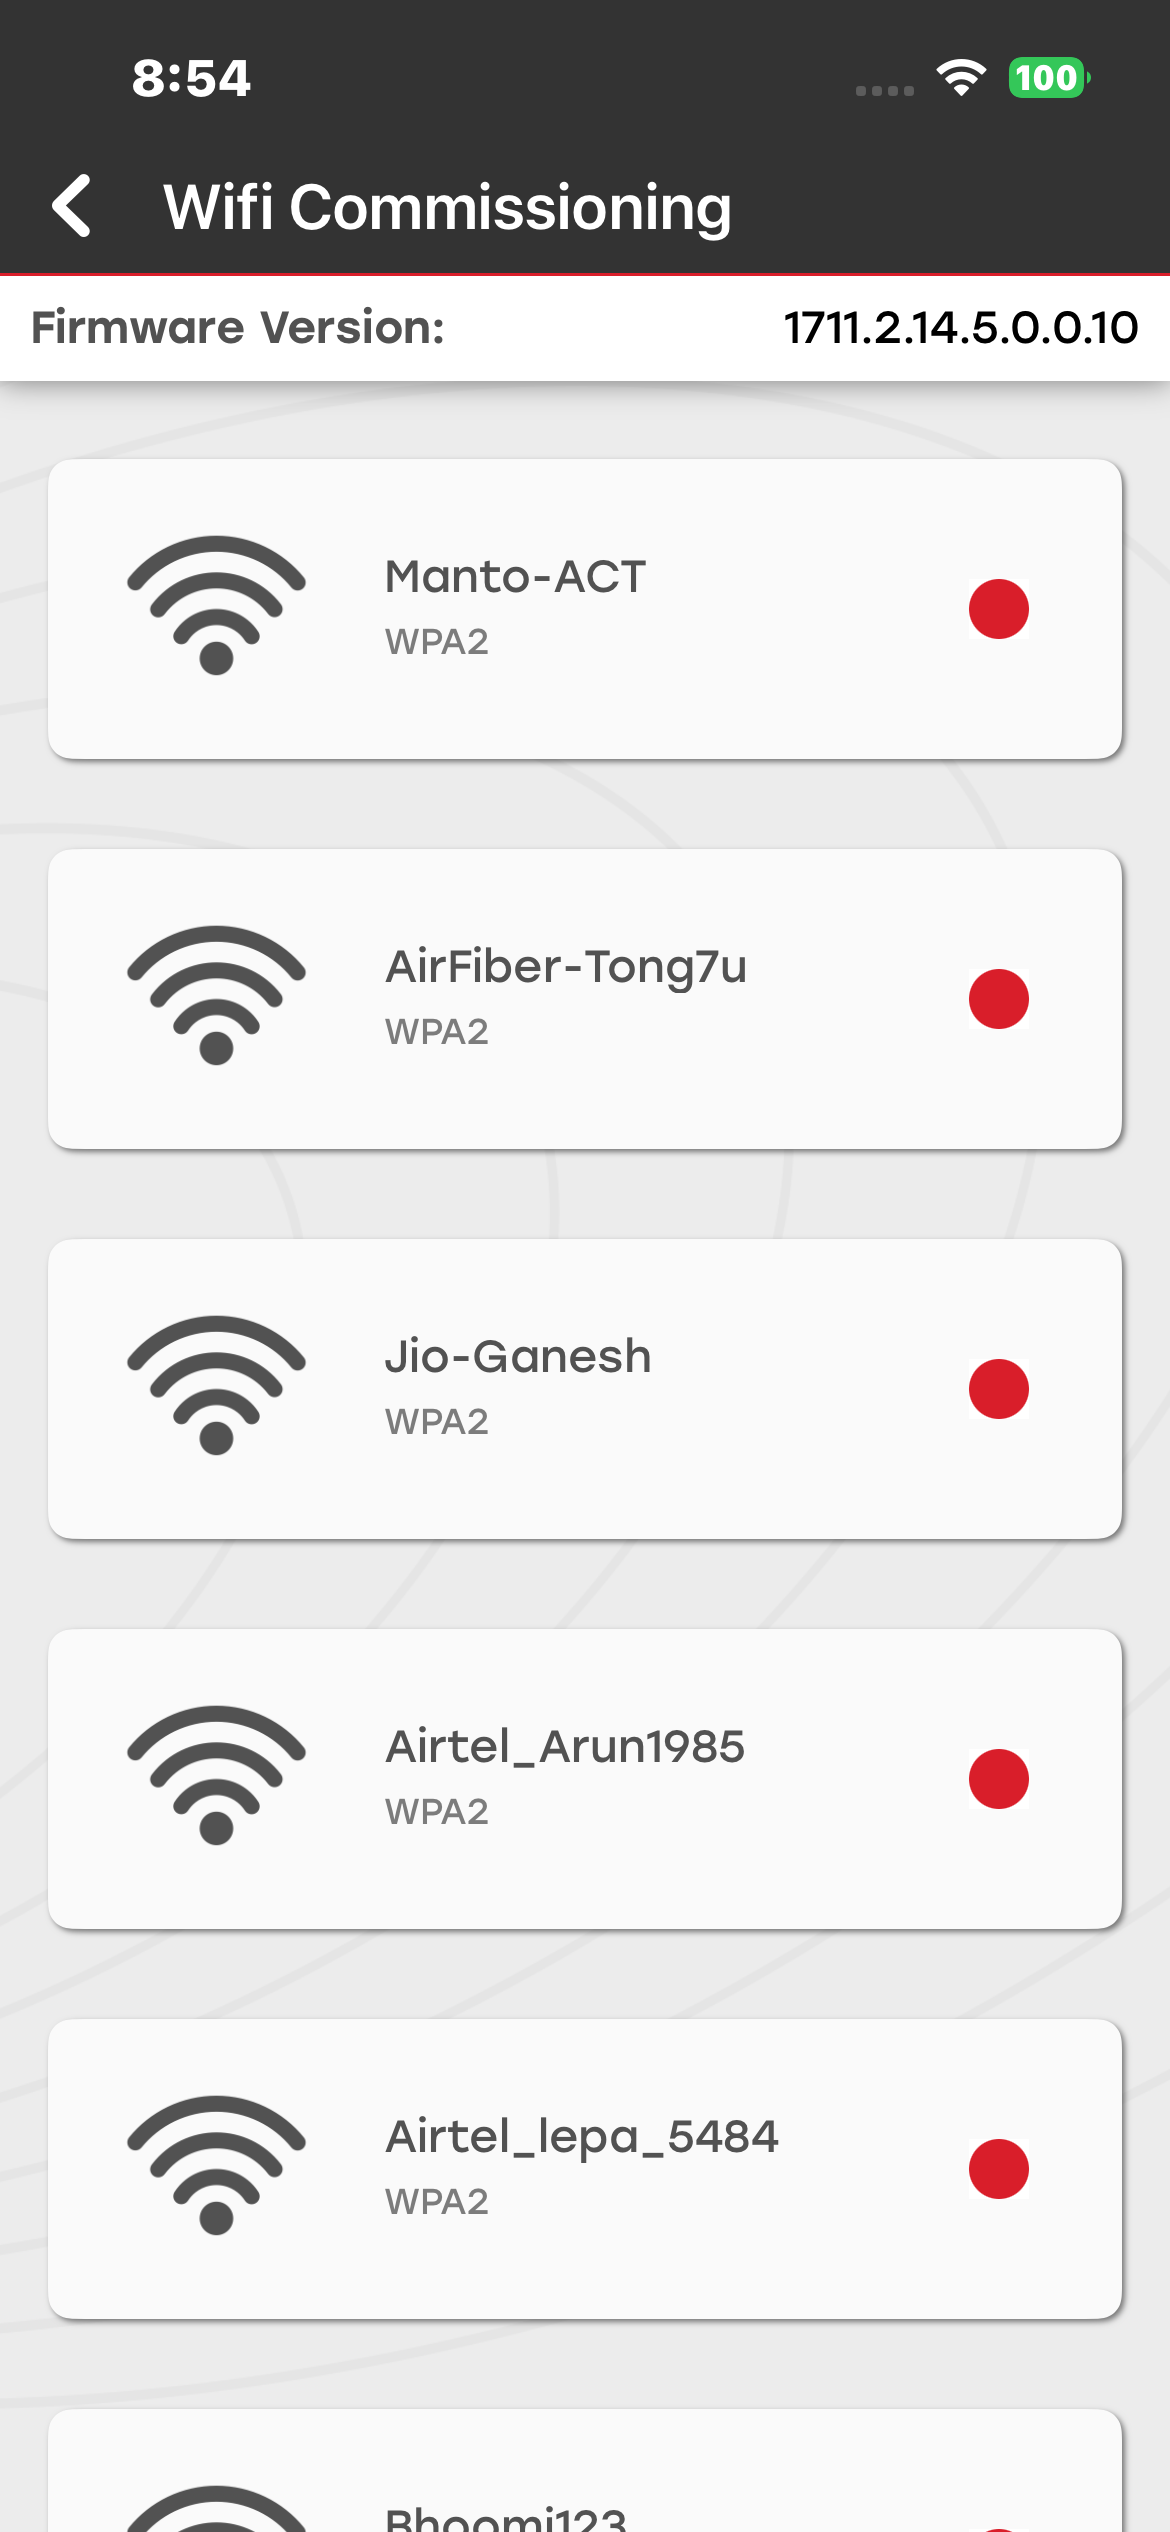
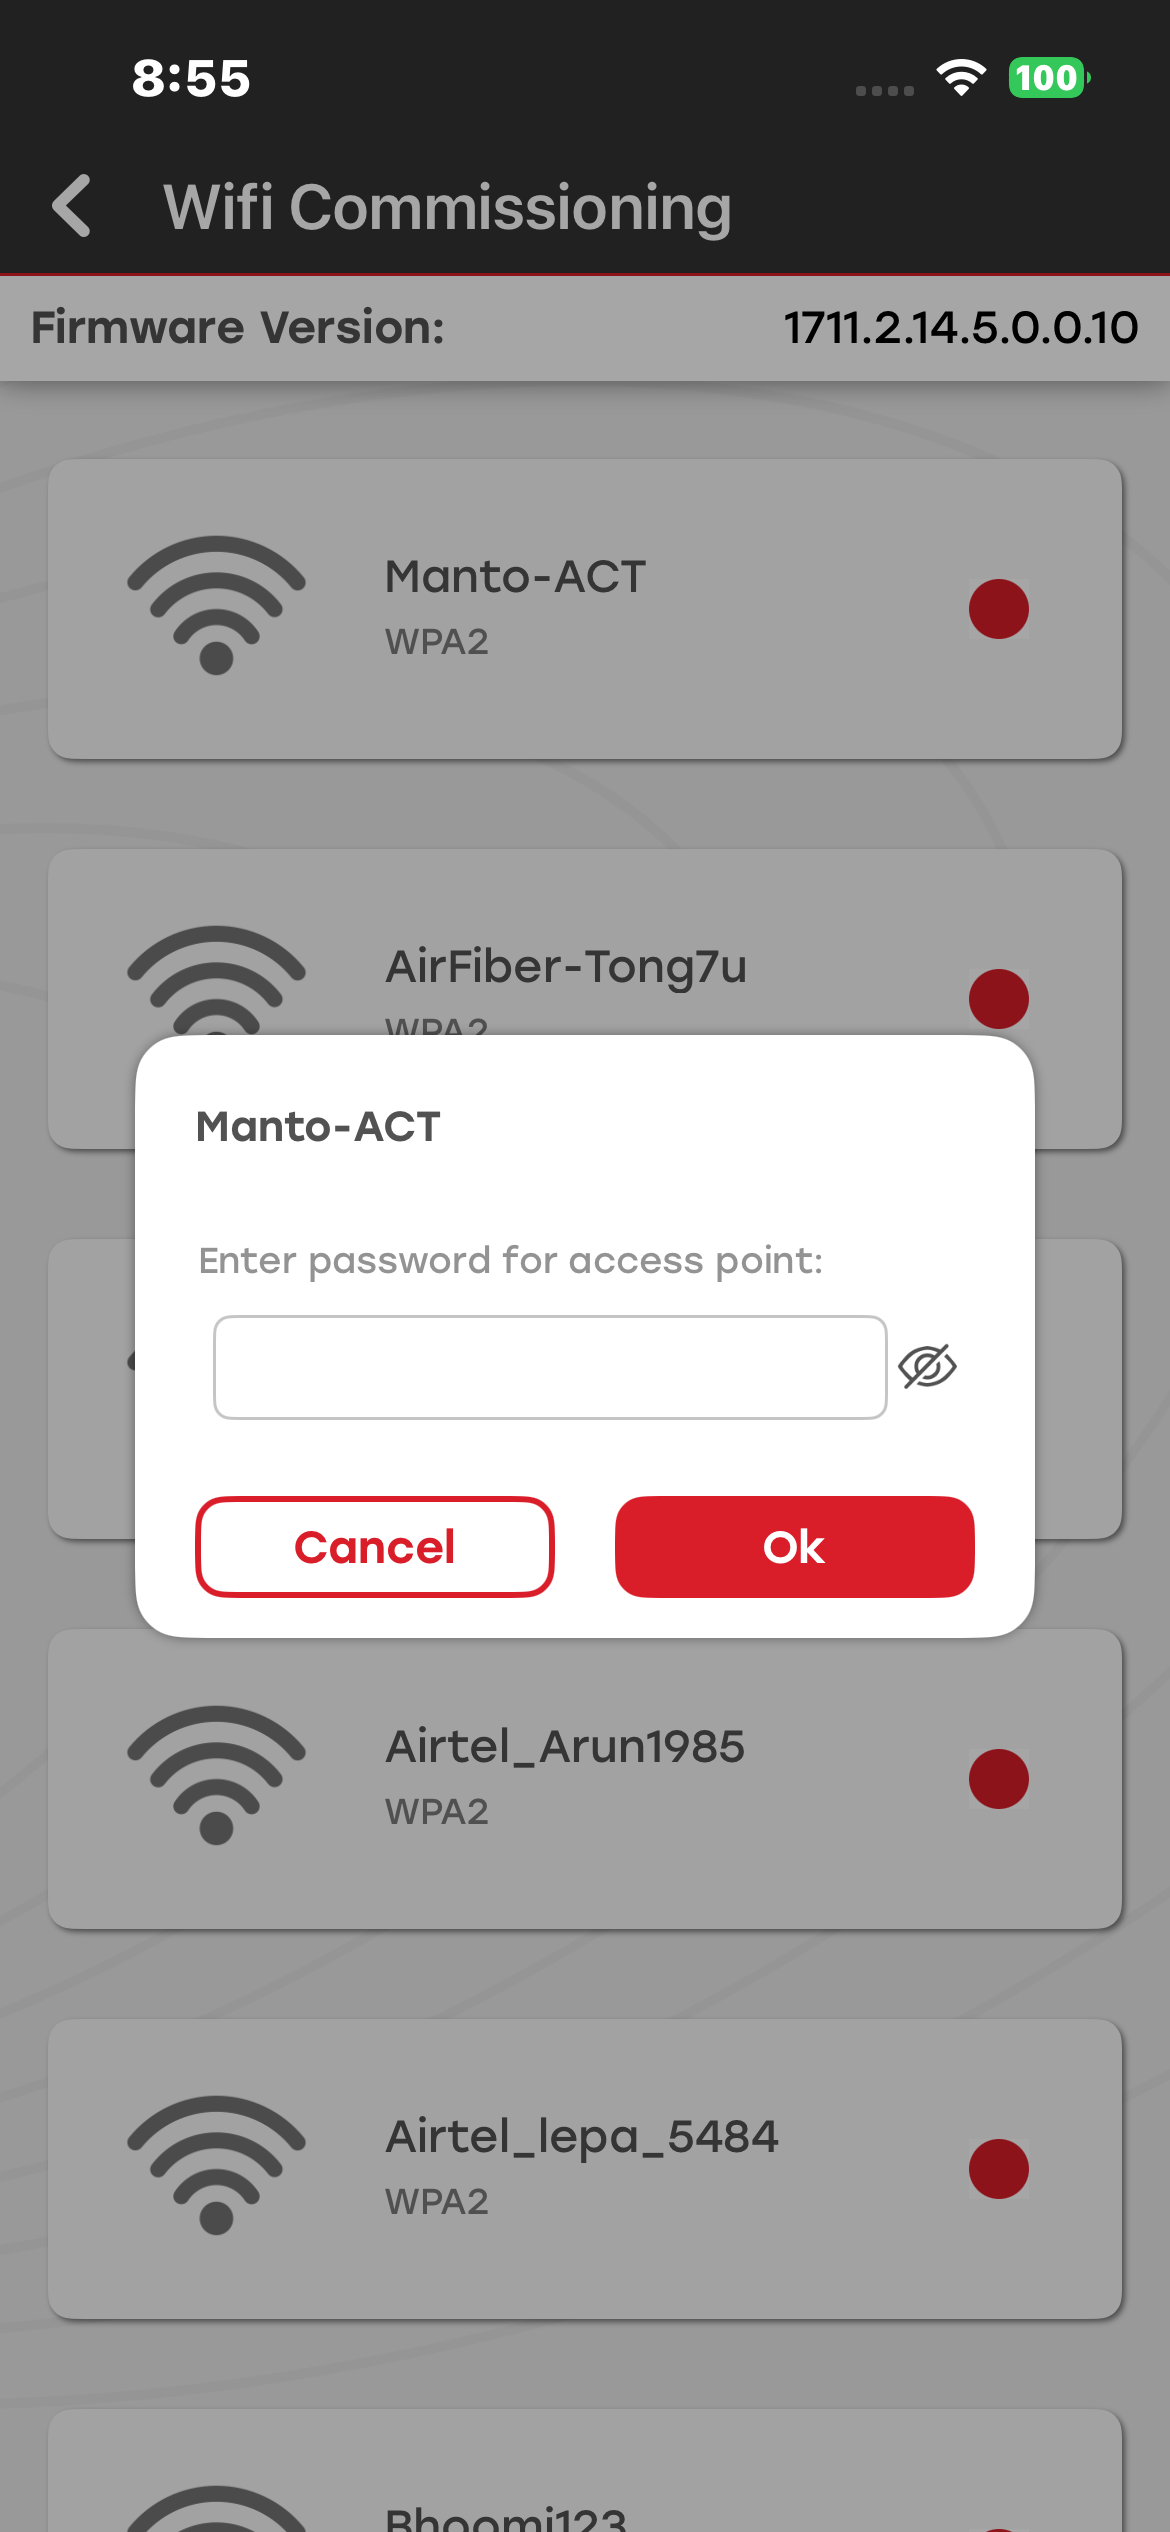
After you select the SiWx917 Dev Kit, the Wi-Fi Commissioning screen appears. Select the access point that you want to connect to, and then enter the password.
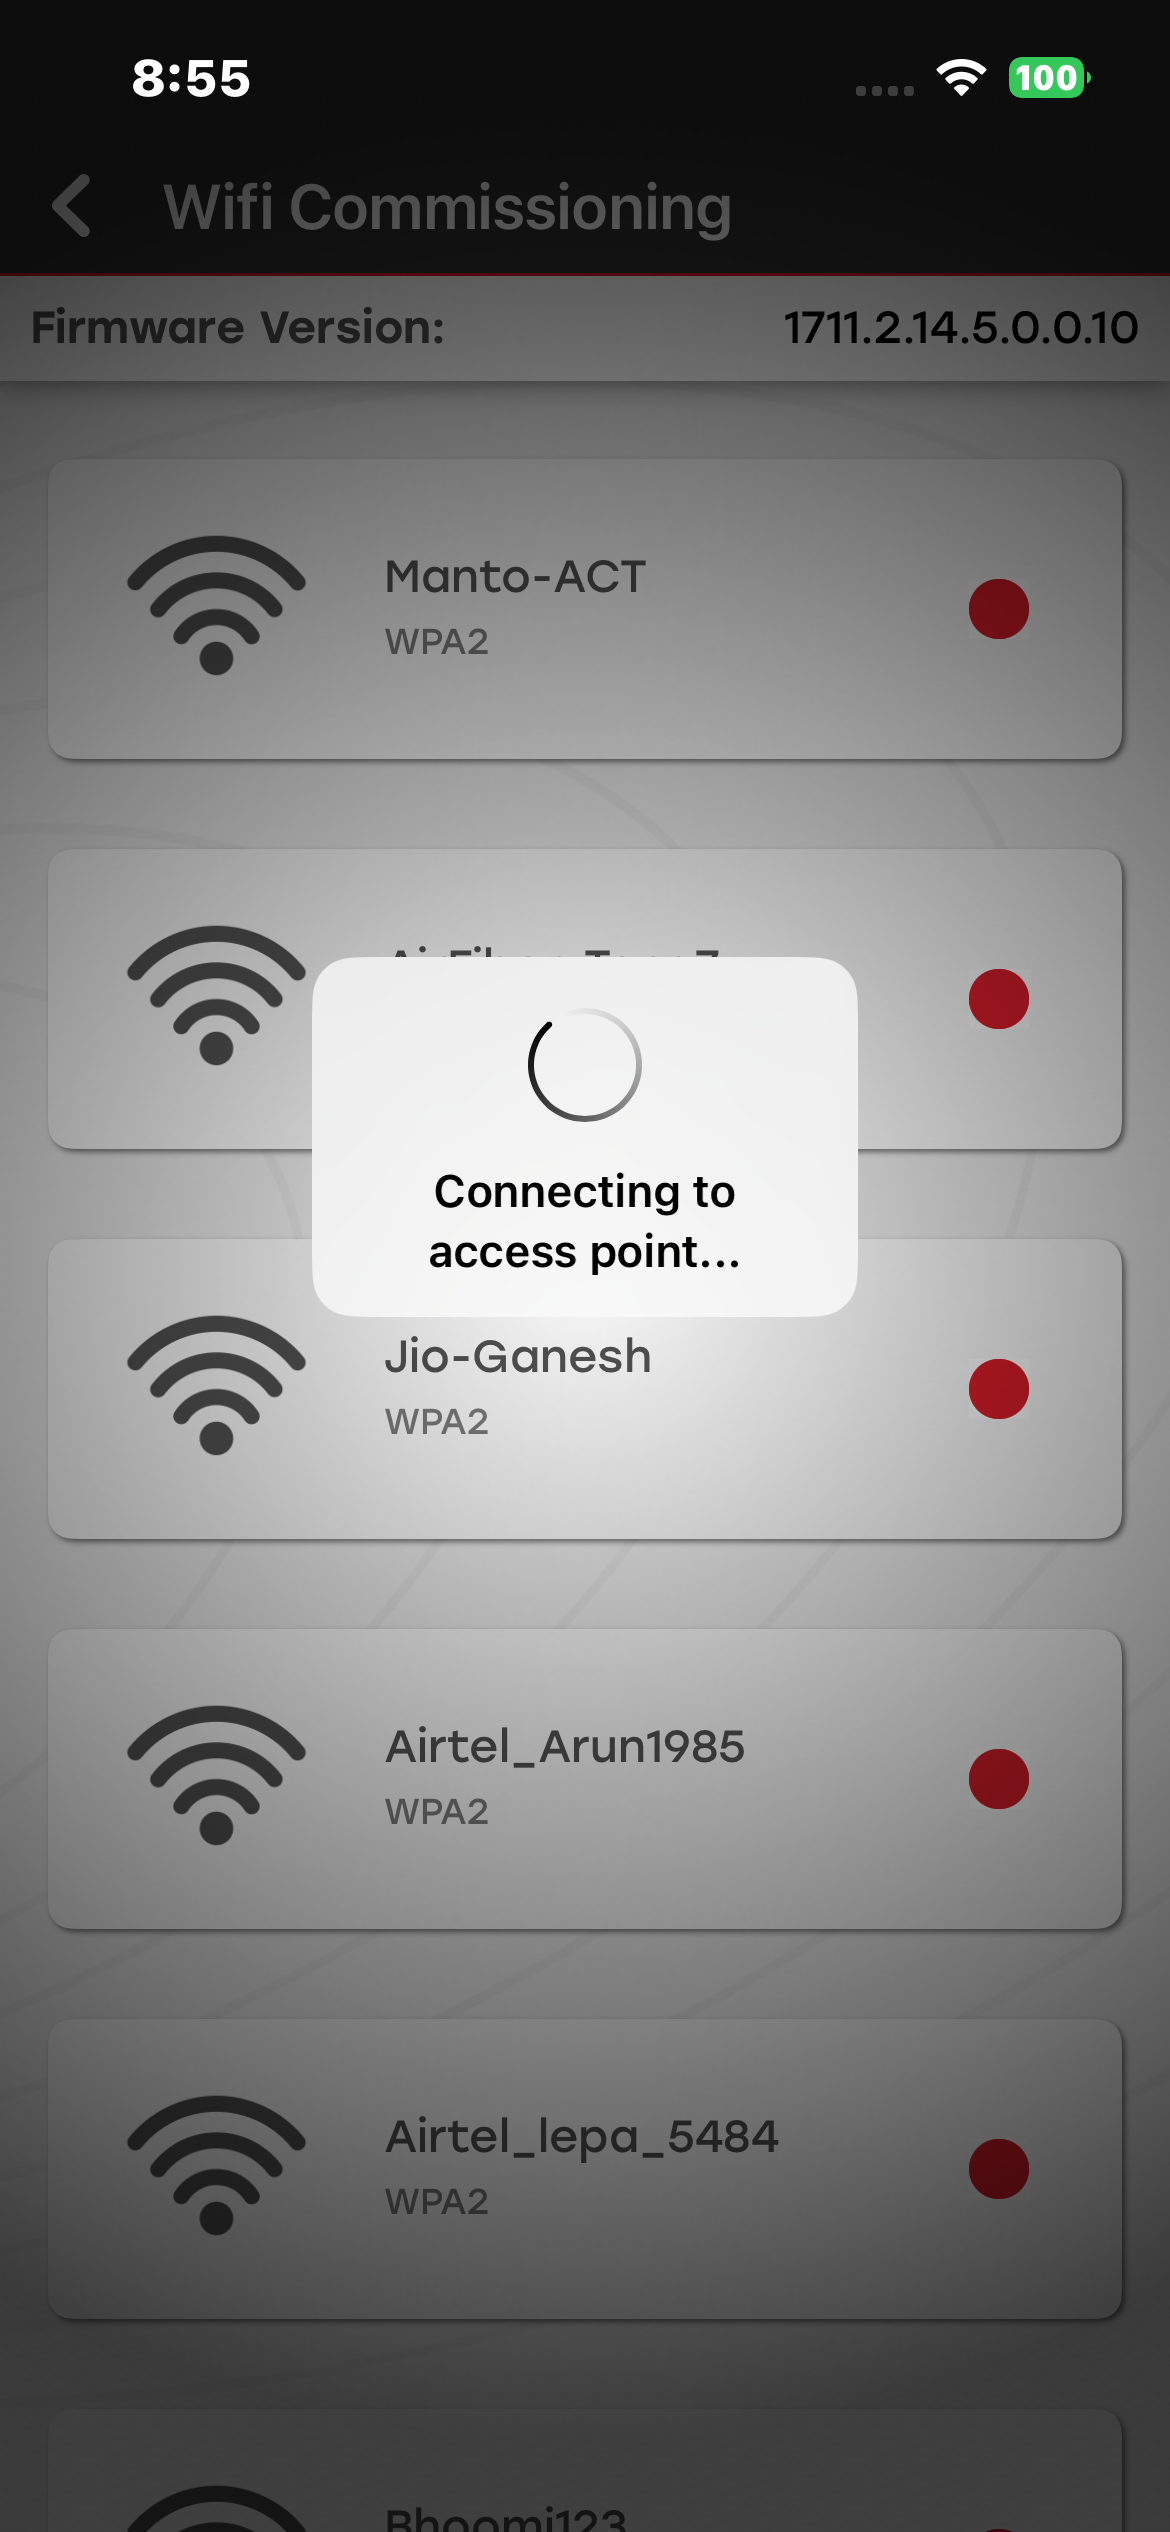
After the Dev Kit connects to the access point, a new screen appears. Configure the following:
Generate the AWS certificates as described here.
Provide the publish and subscribe topics as described here.
Provide the endpoint details as described here.
The mobile app will publish the lock or unlock command to the configured topic.
Script to Create a .p12 Certificate File#
Run the command below to generate the certificate file:
OpenSSL pkcs12 -export -legacy -out <Certificate_File_Name.p12> -in aws-certificate.pem.crt -inkey aws-private.pem.key


Note: Send the certificate files to the mobile device in a ZIP file, and then extract the files on the device.
Configure AWS IoT#
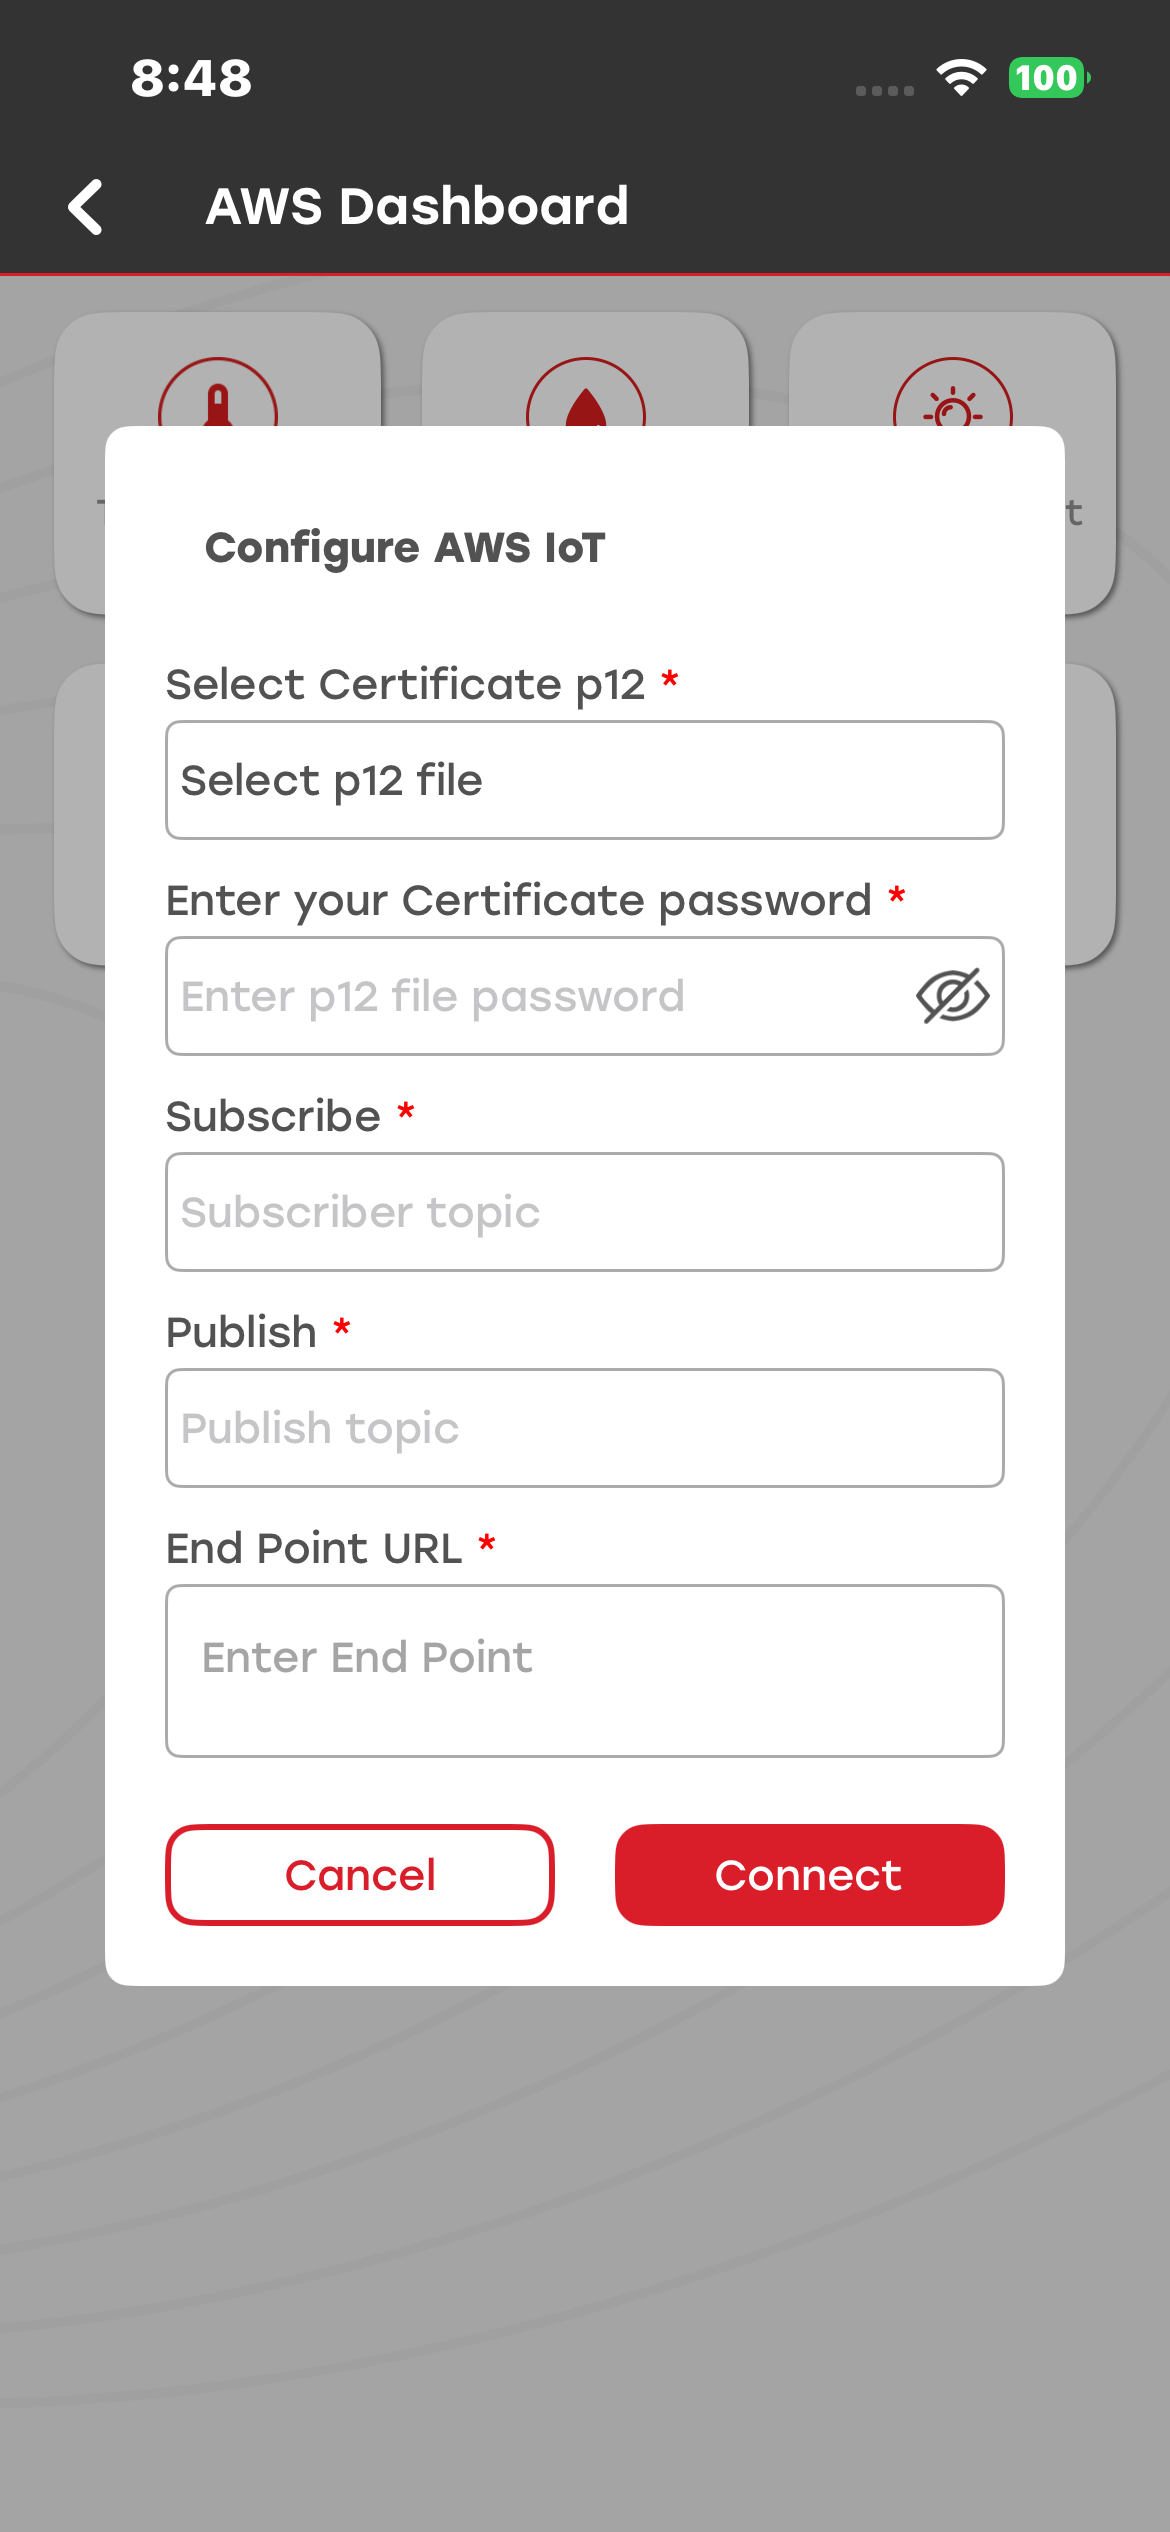
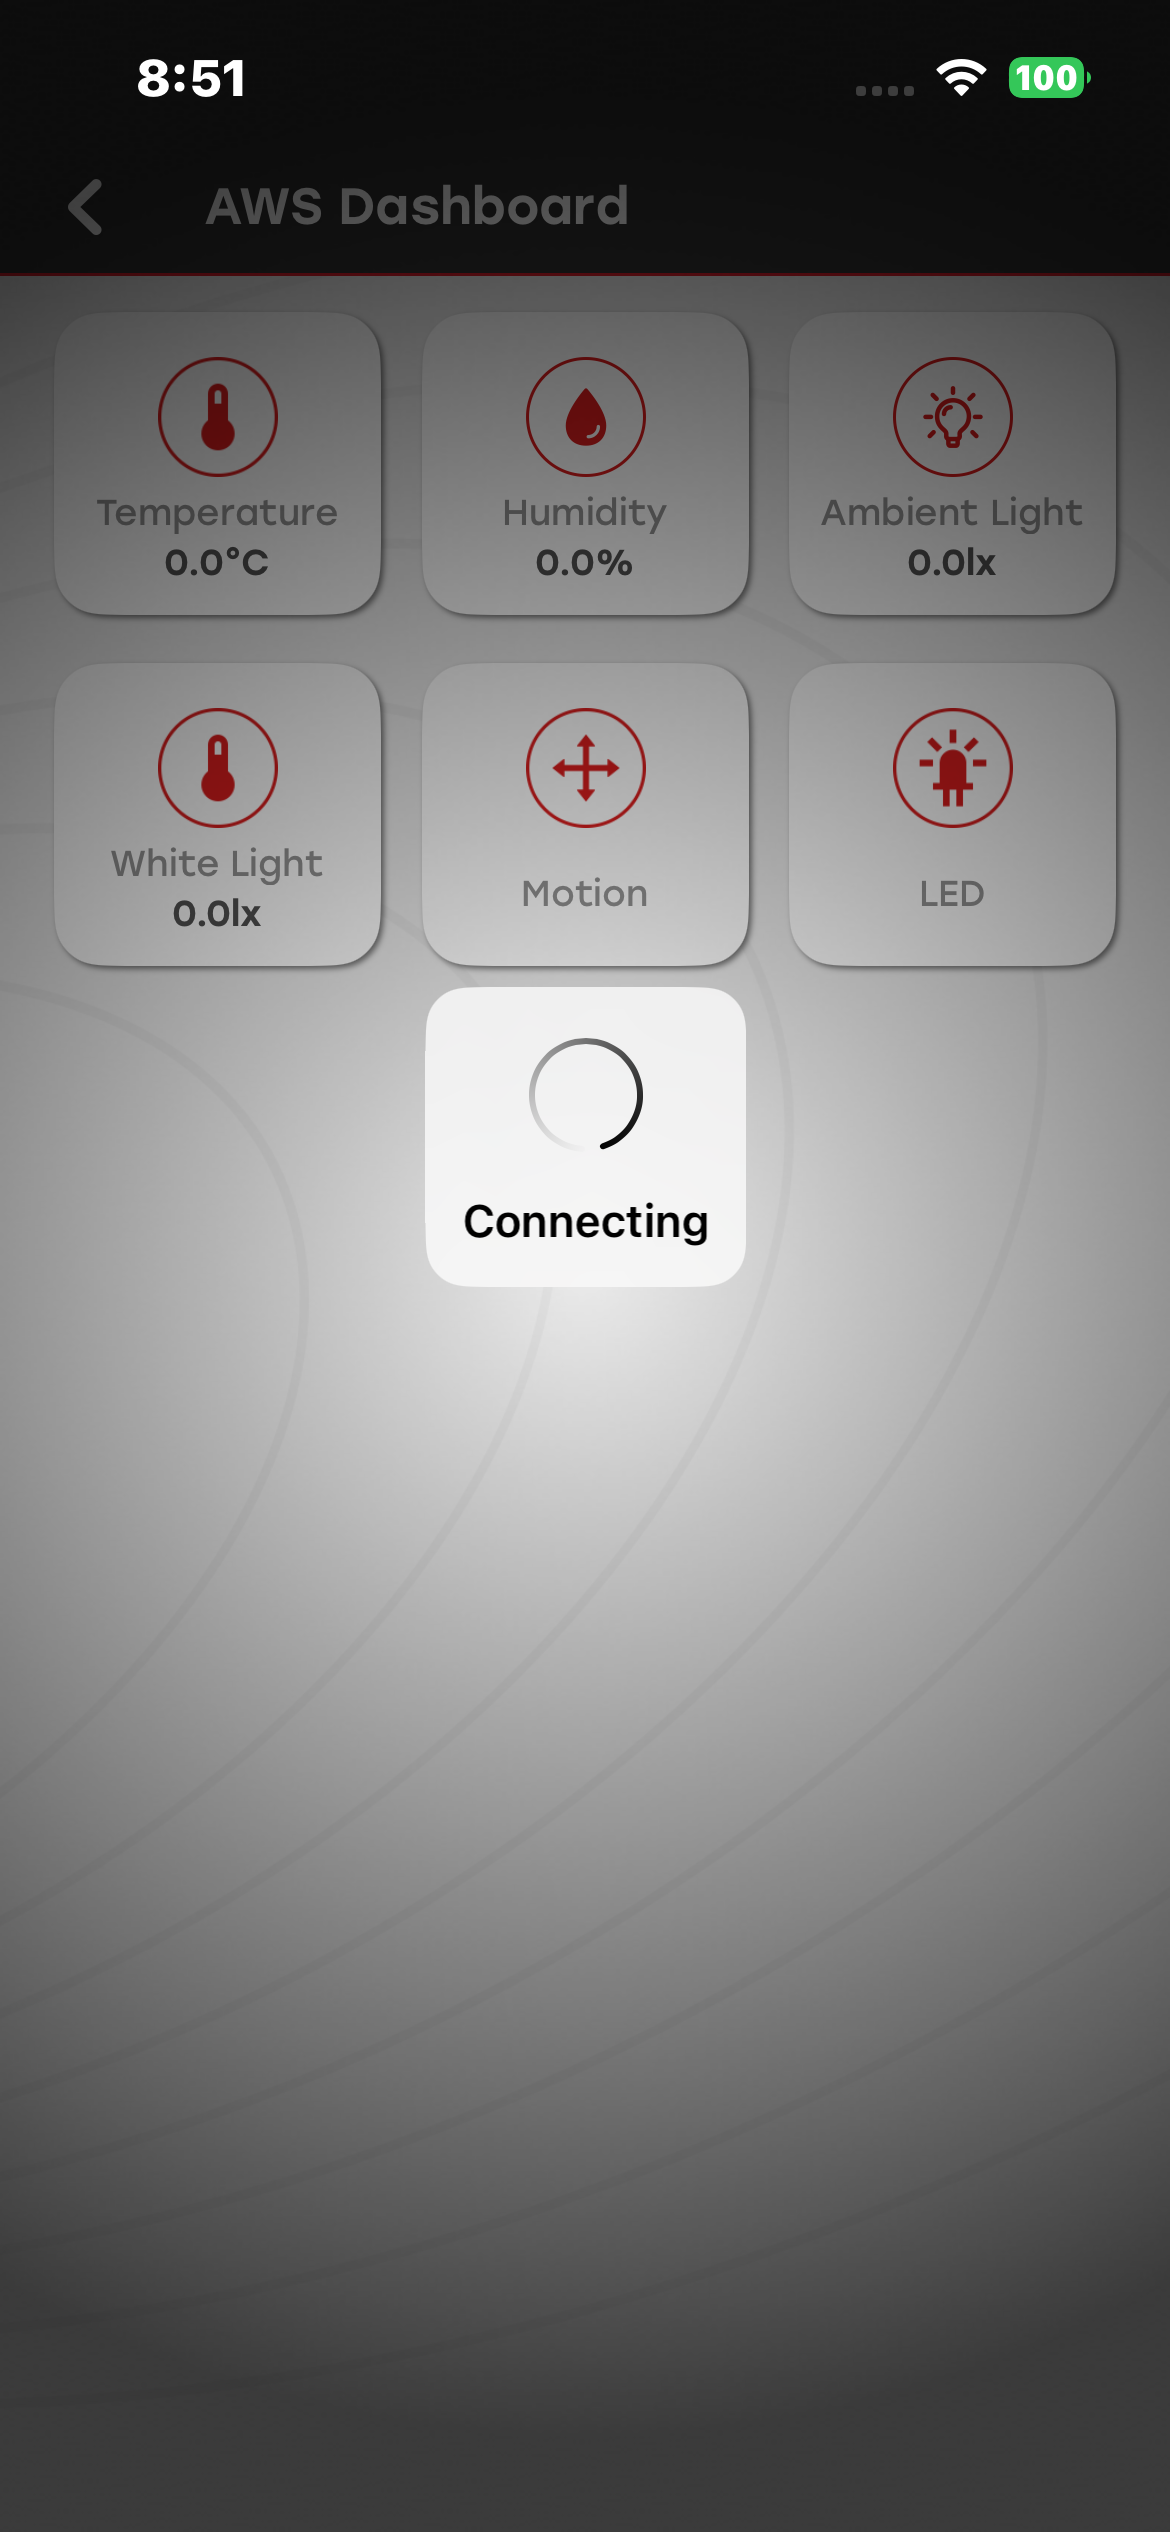
Note: Ensure that the information entered on the mobile device matches the information entered in SiWx91x Dev Kit Setup.
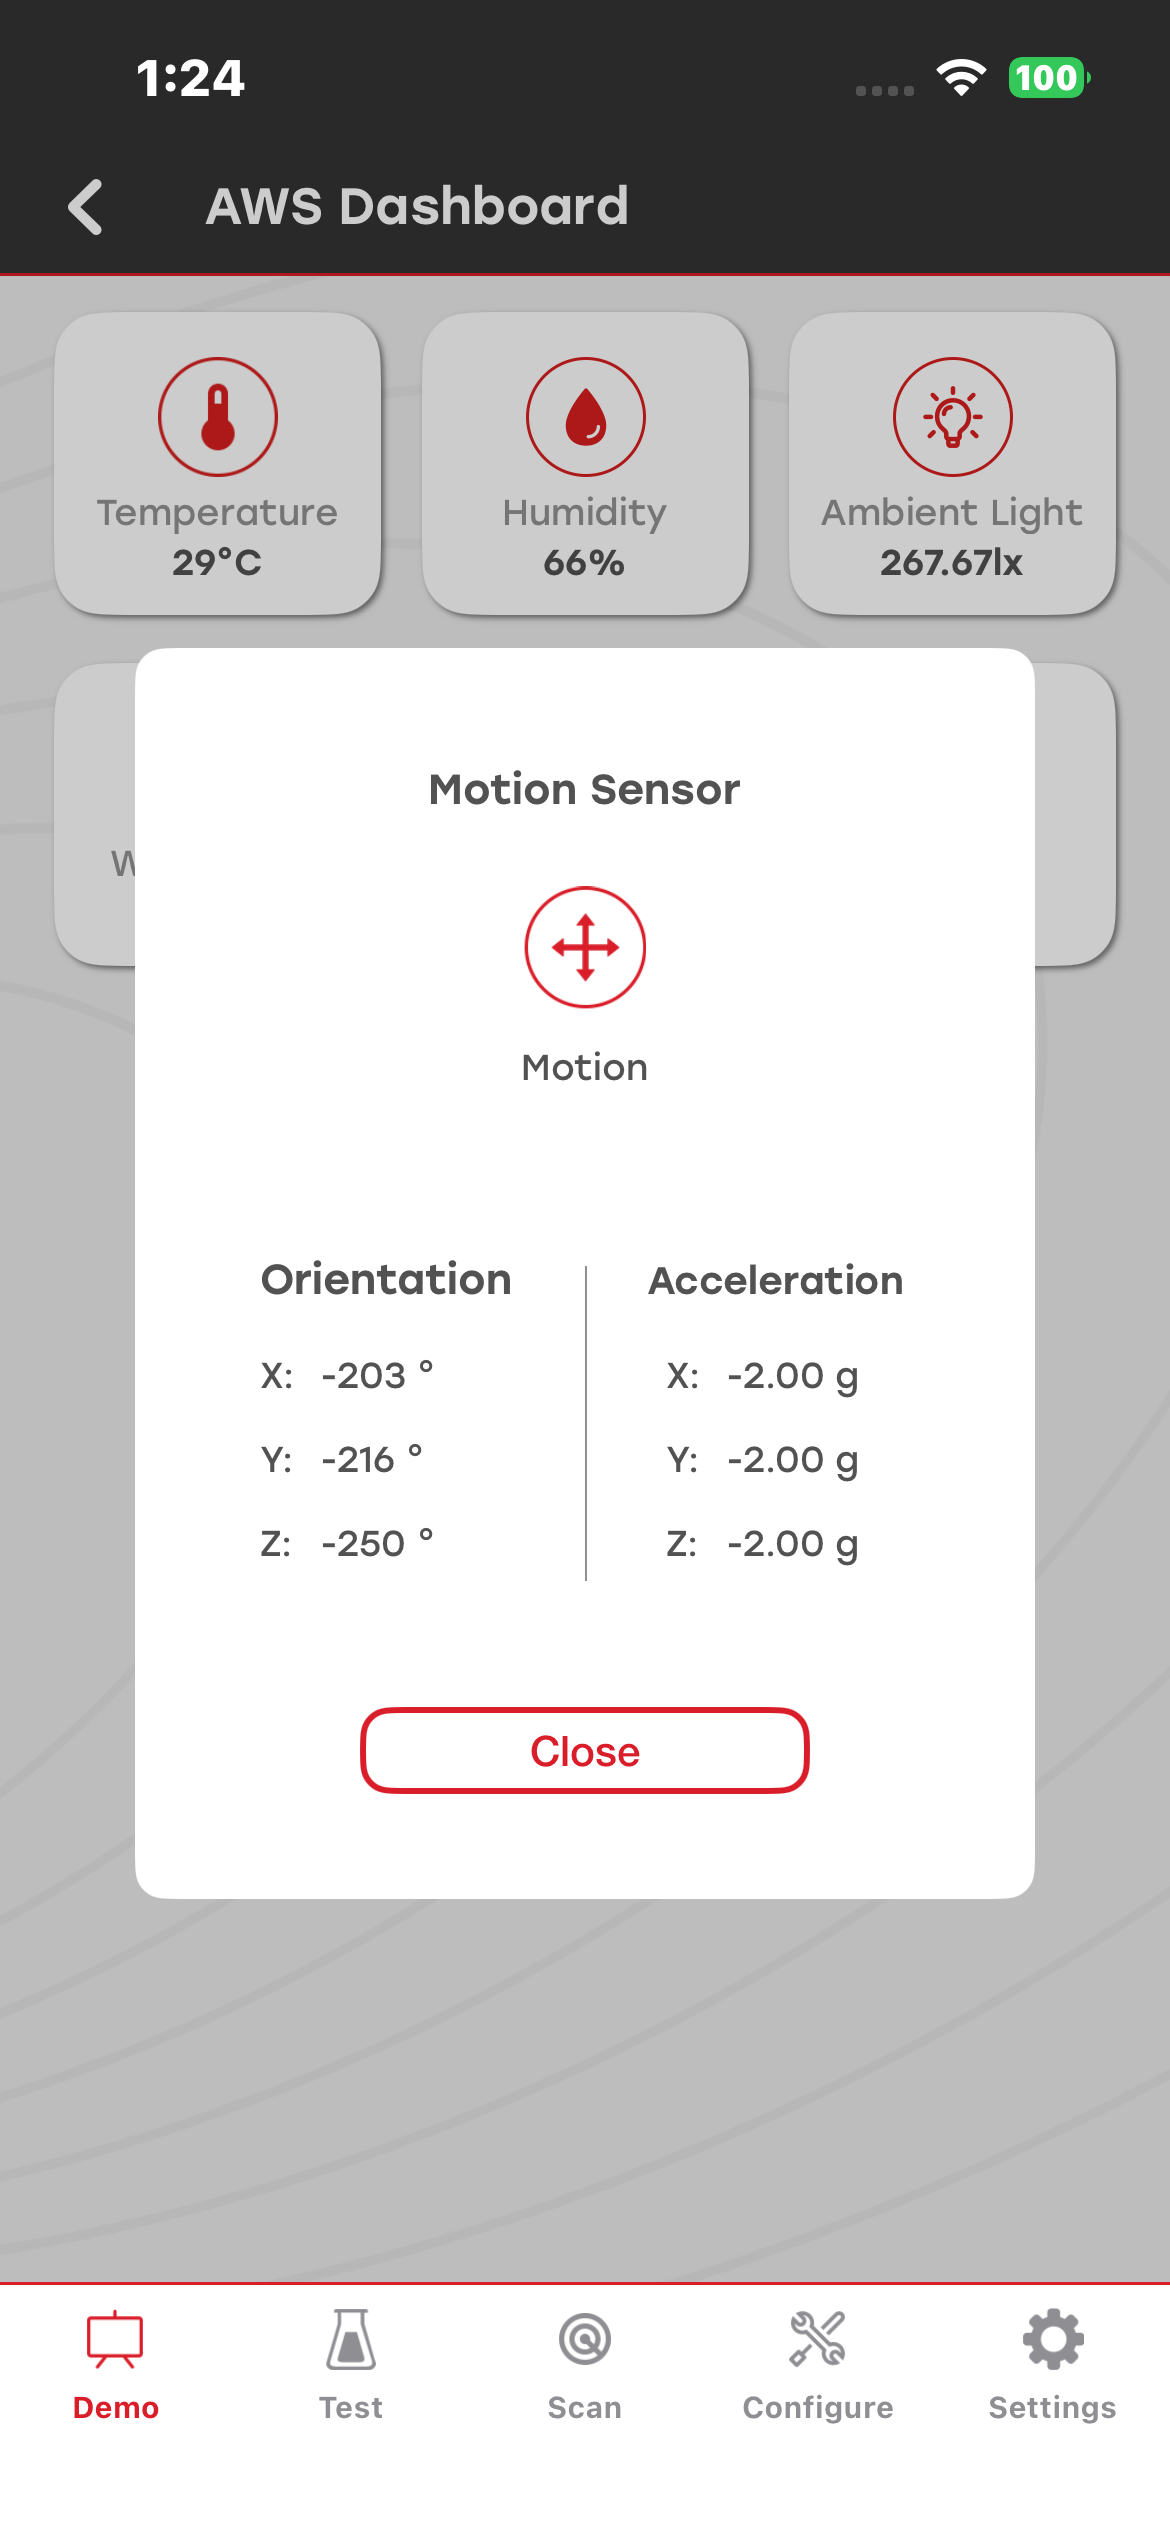
After successfully connecting to AWS IoT, you can view the temperature, humidity, ambient light, and white light data on the AWS Dashboard screen.
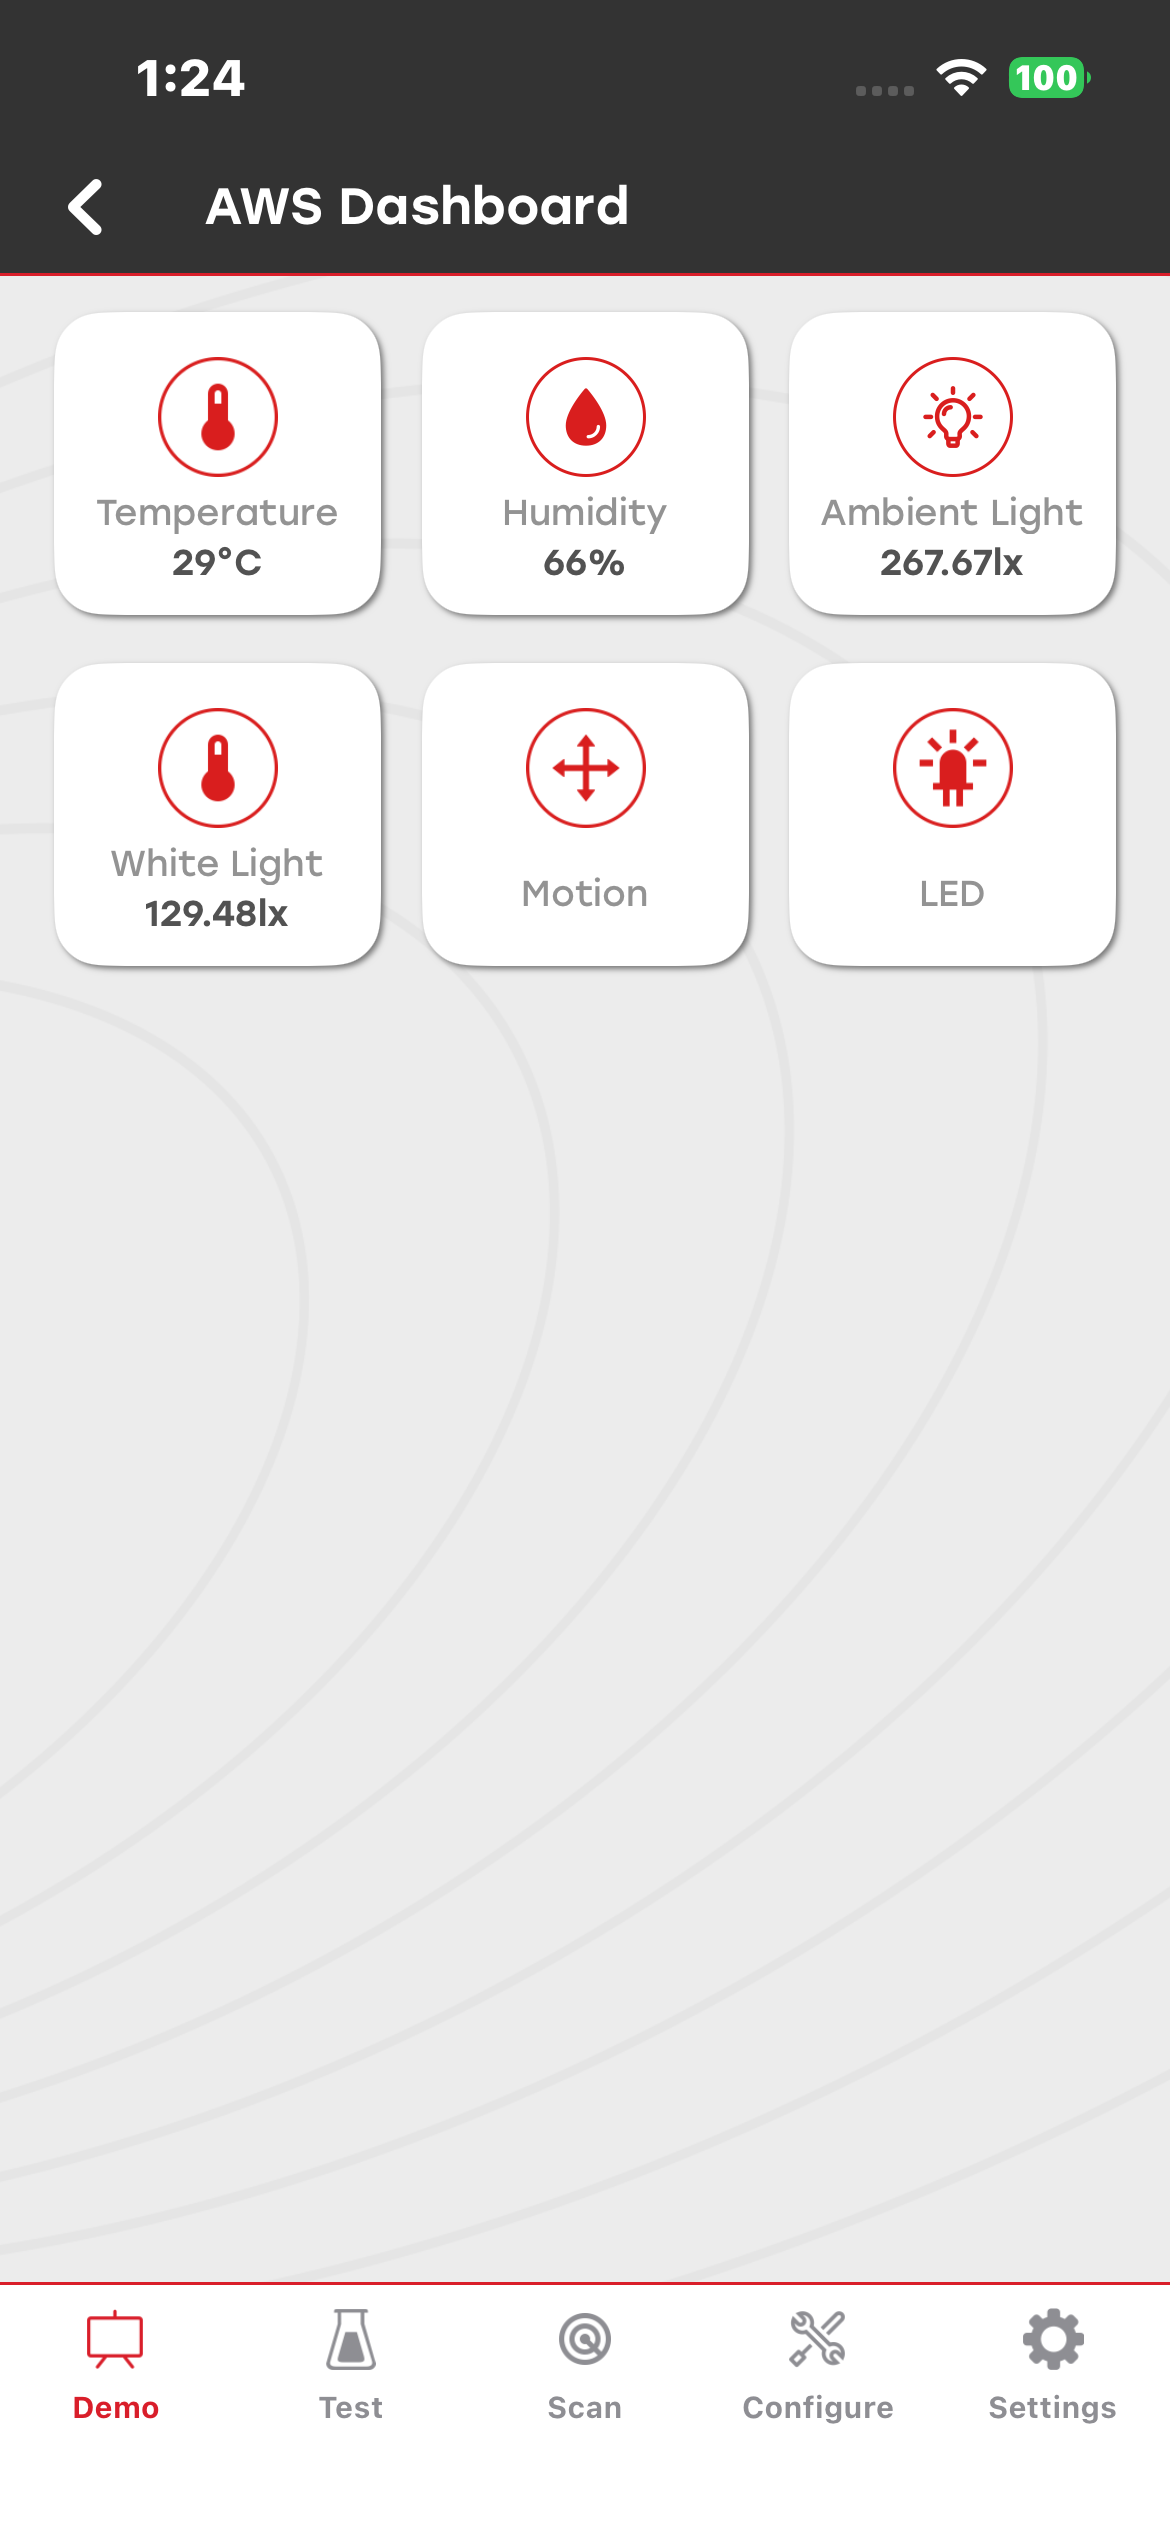
Tap the Motion to view the orientation and acceleration data.
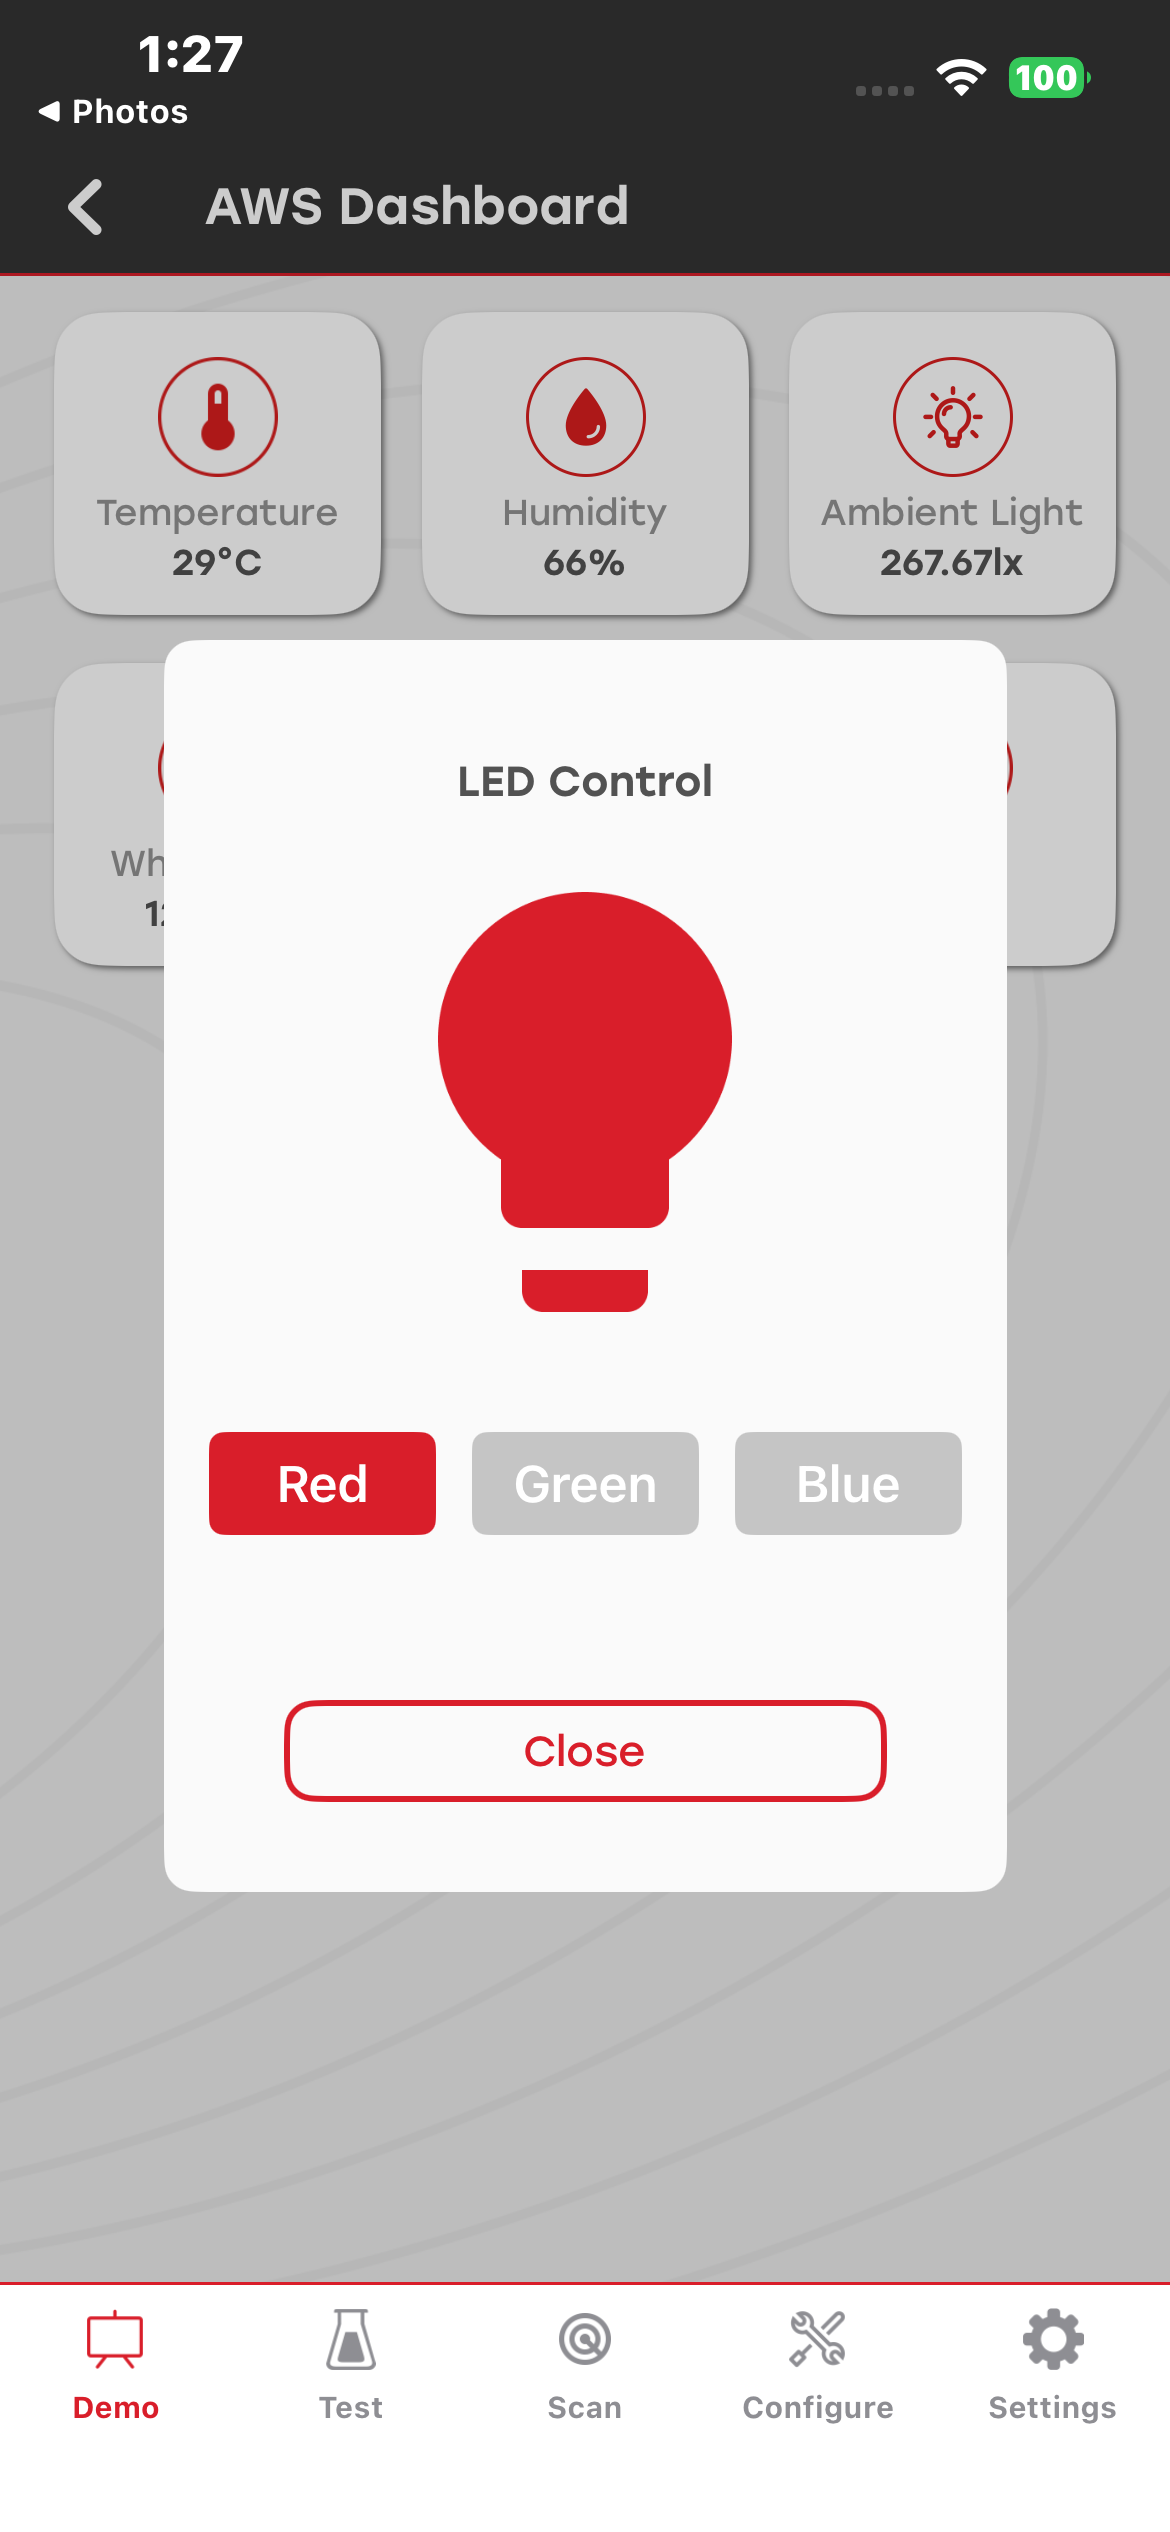
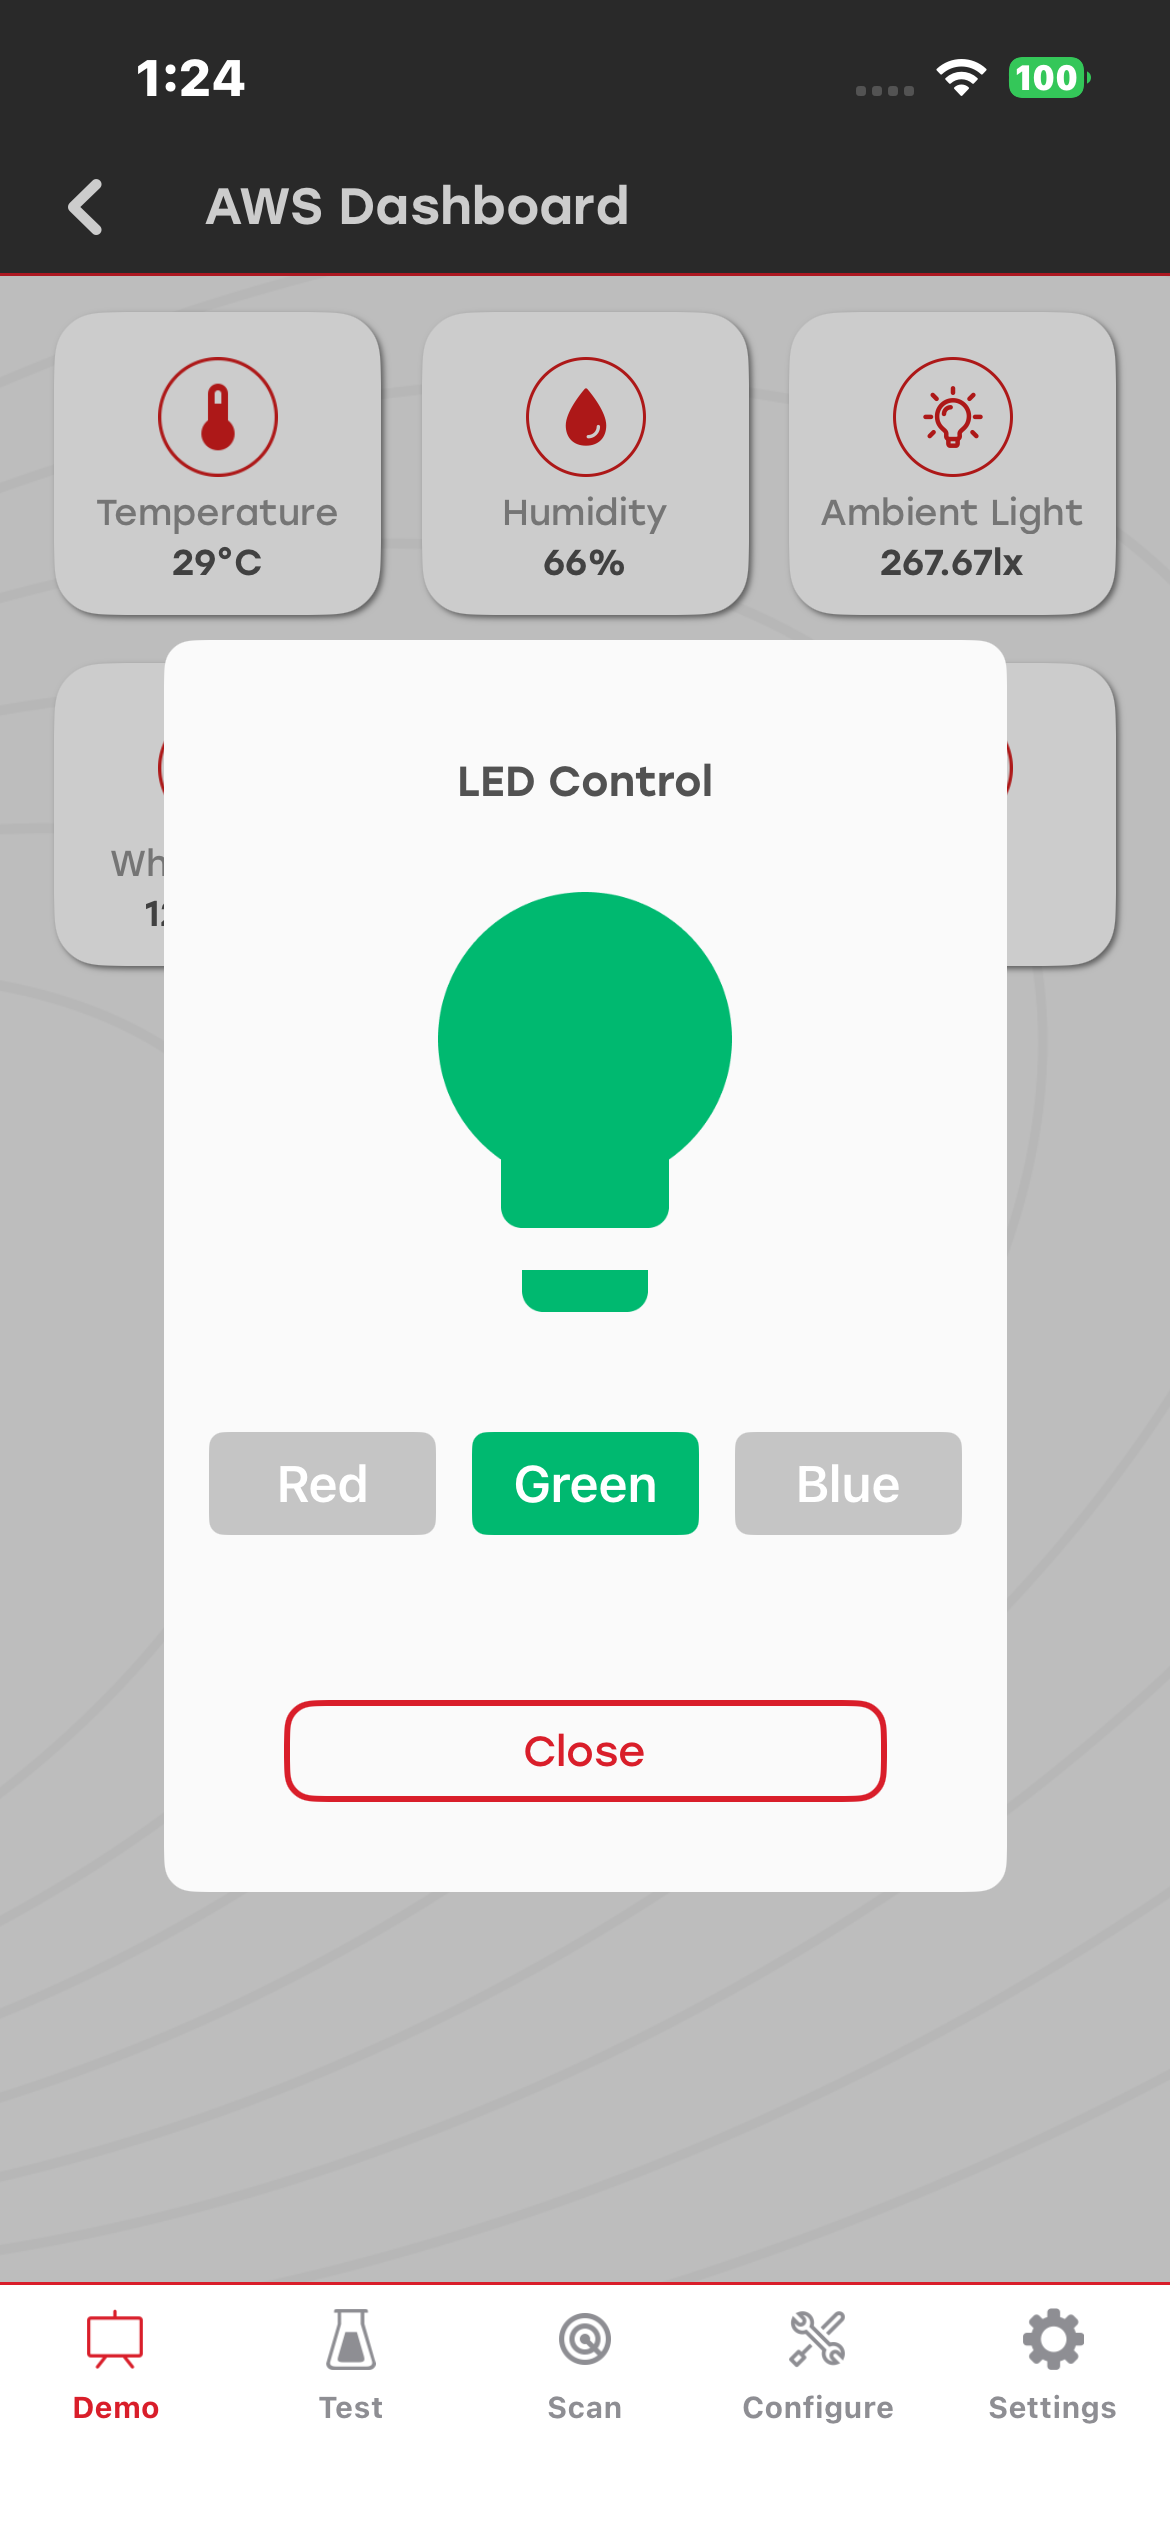
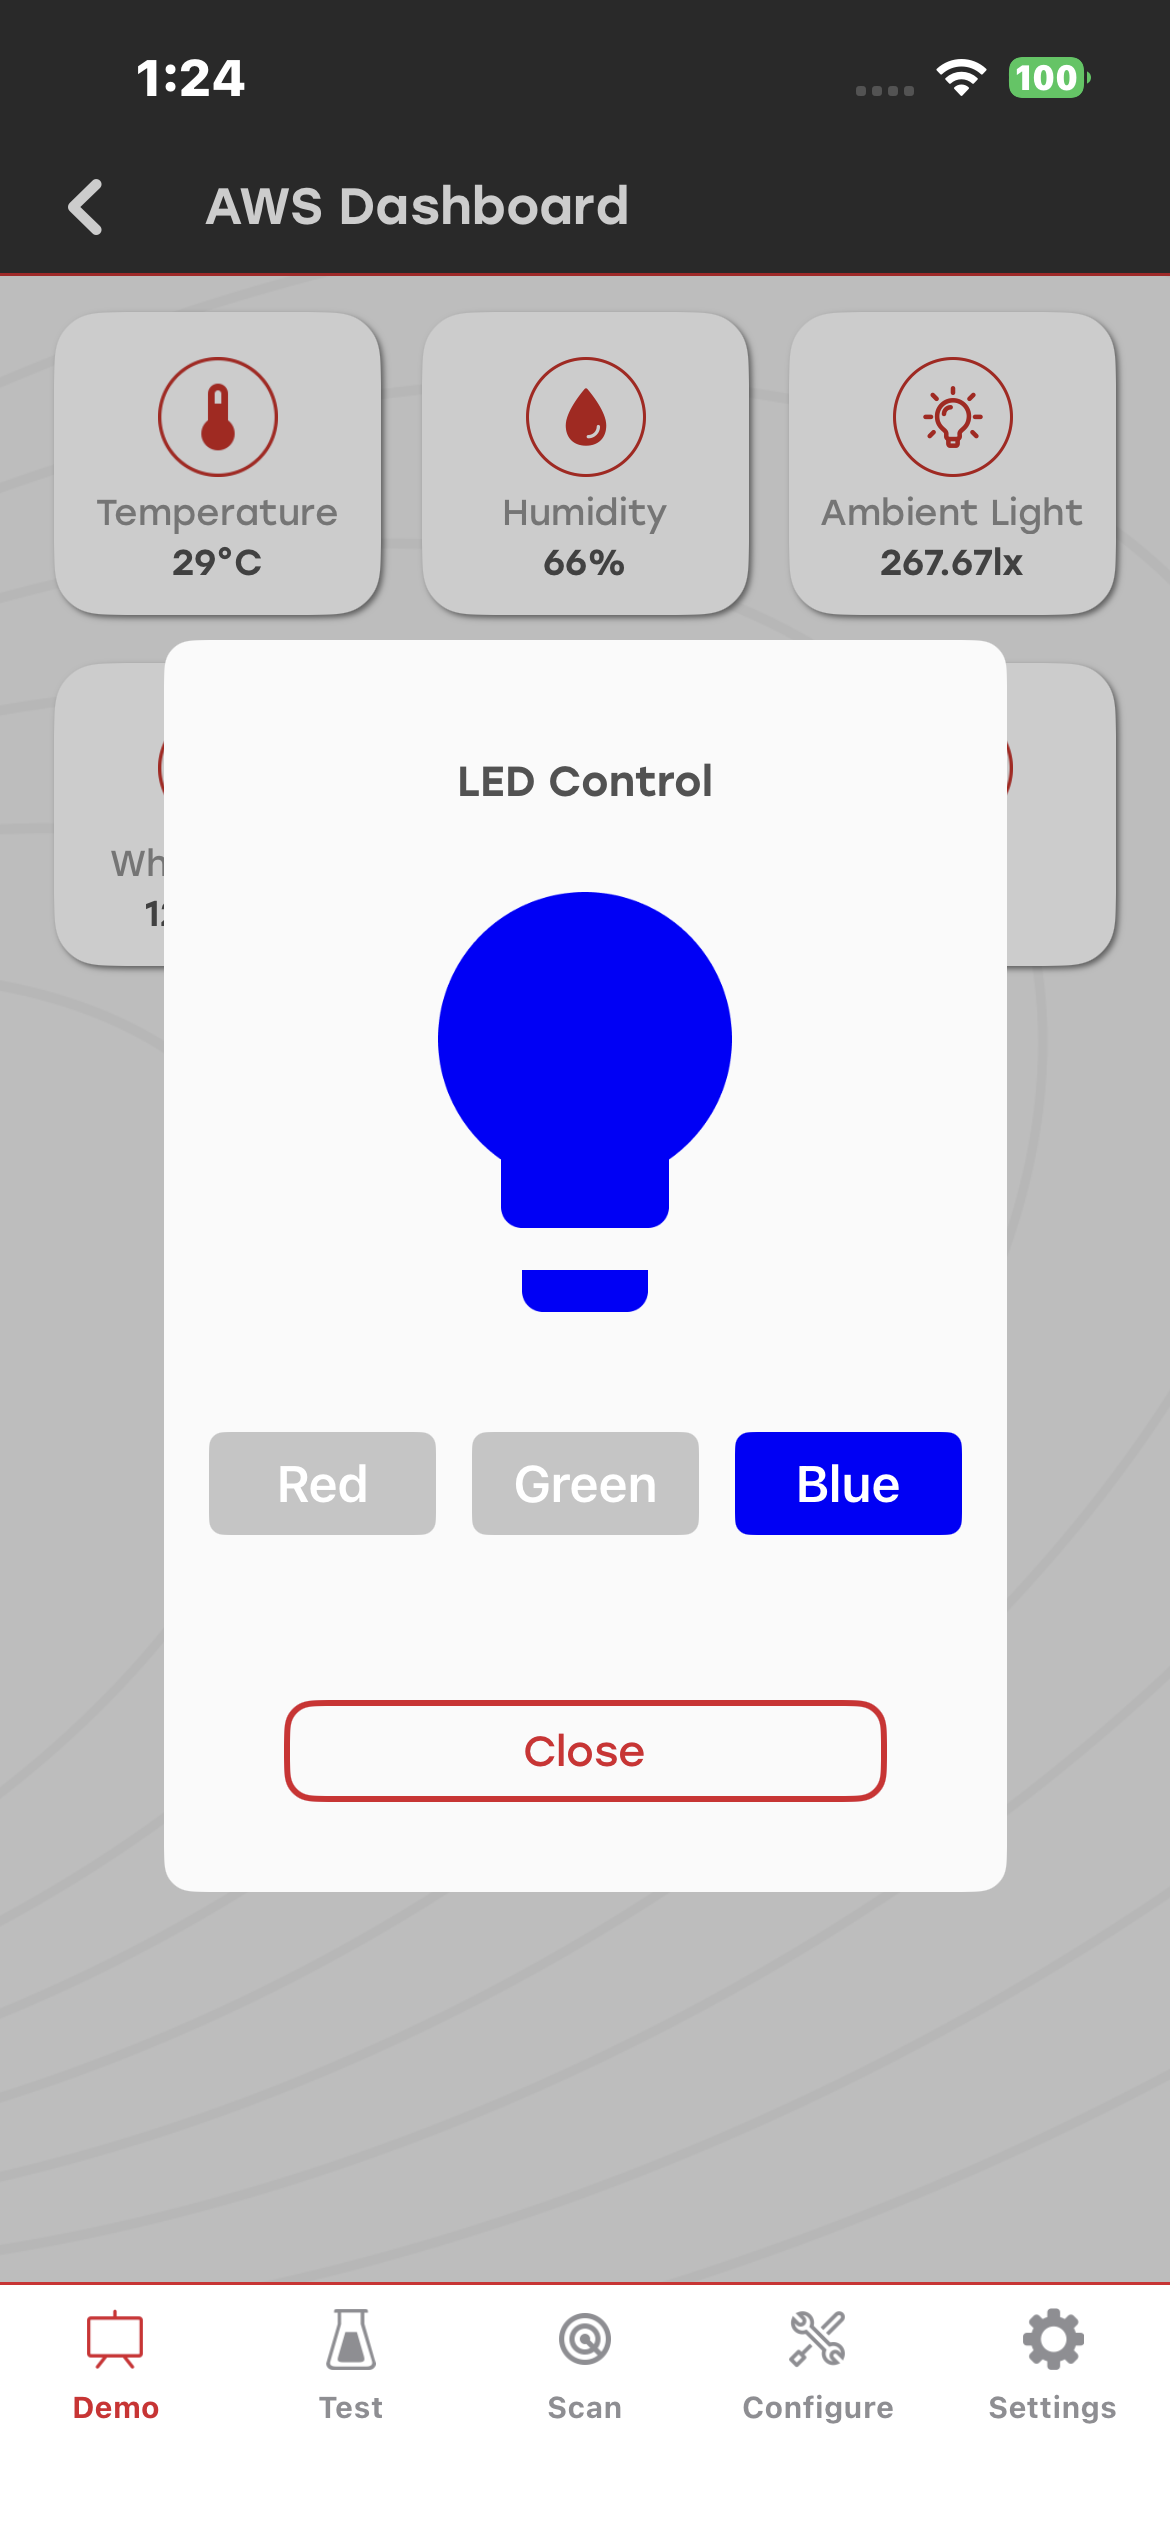
Tap the LED button to control the LEDs on the Dev Kit.
Note: After a successful connection, the BLE connection with the mobile app will be disconnected, as sensor data is now being received over Wi-Fi.