Smart Lock Demo#
The Smart Lock demo demonstrates how to control a smart lock using Bluetooth Low Energy (BLE) and Amazon Web Services (AWS). The SiWx91x Development Kit (Dev Kit) functions as the smart lock device. You can control the smart lock locally via BLE or remotely via AWS.
Additionally, you can lock or unlock the Smart Lock directly on the Dev Kit by pressing the BTN0 button. You can observe this action in the mobile application.
SiWx91x Dev Kit Setup#
Connect the SiWx917 Dev Kit (BRD2605A) to a PC, and follow the project README to configure the iot-pa-coex-smart_lock example project.
Configure the following parameters:
SUBSCRIBE_TO_TOPIC
PUBLISH_ON_TOPIC
AWS_IOT_MQTT_HOST
Default topic values are provided. You can use the default values or modify them as needed.
app.c

aws_iot_config.h

Before proceeding, carefully read the project README to understand how to configure the project with AWS IoT. After completing the configuration, build the project.
Ensure to use the same endpoint, certificates, and topics to configure the mobile app as described in Control Over AWS.
Simplicity Connect Mobile App Setup#
Connect your mobile to an access point with internet connectivity.
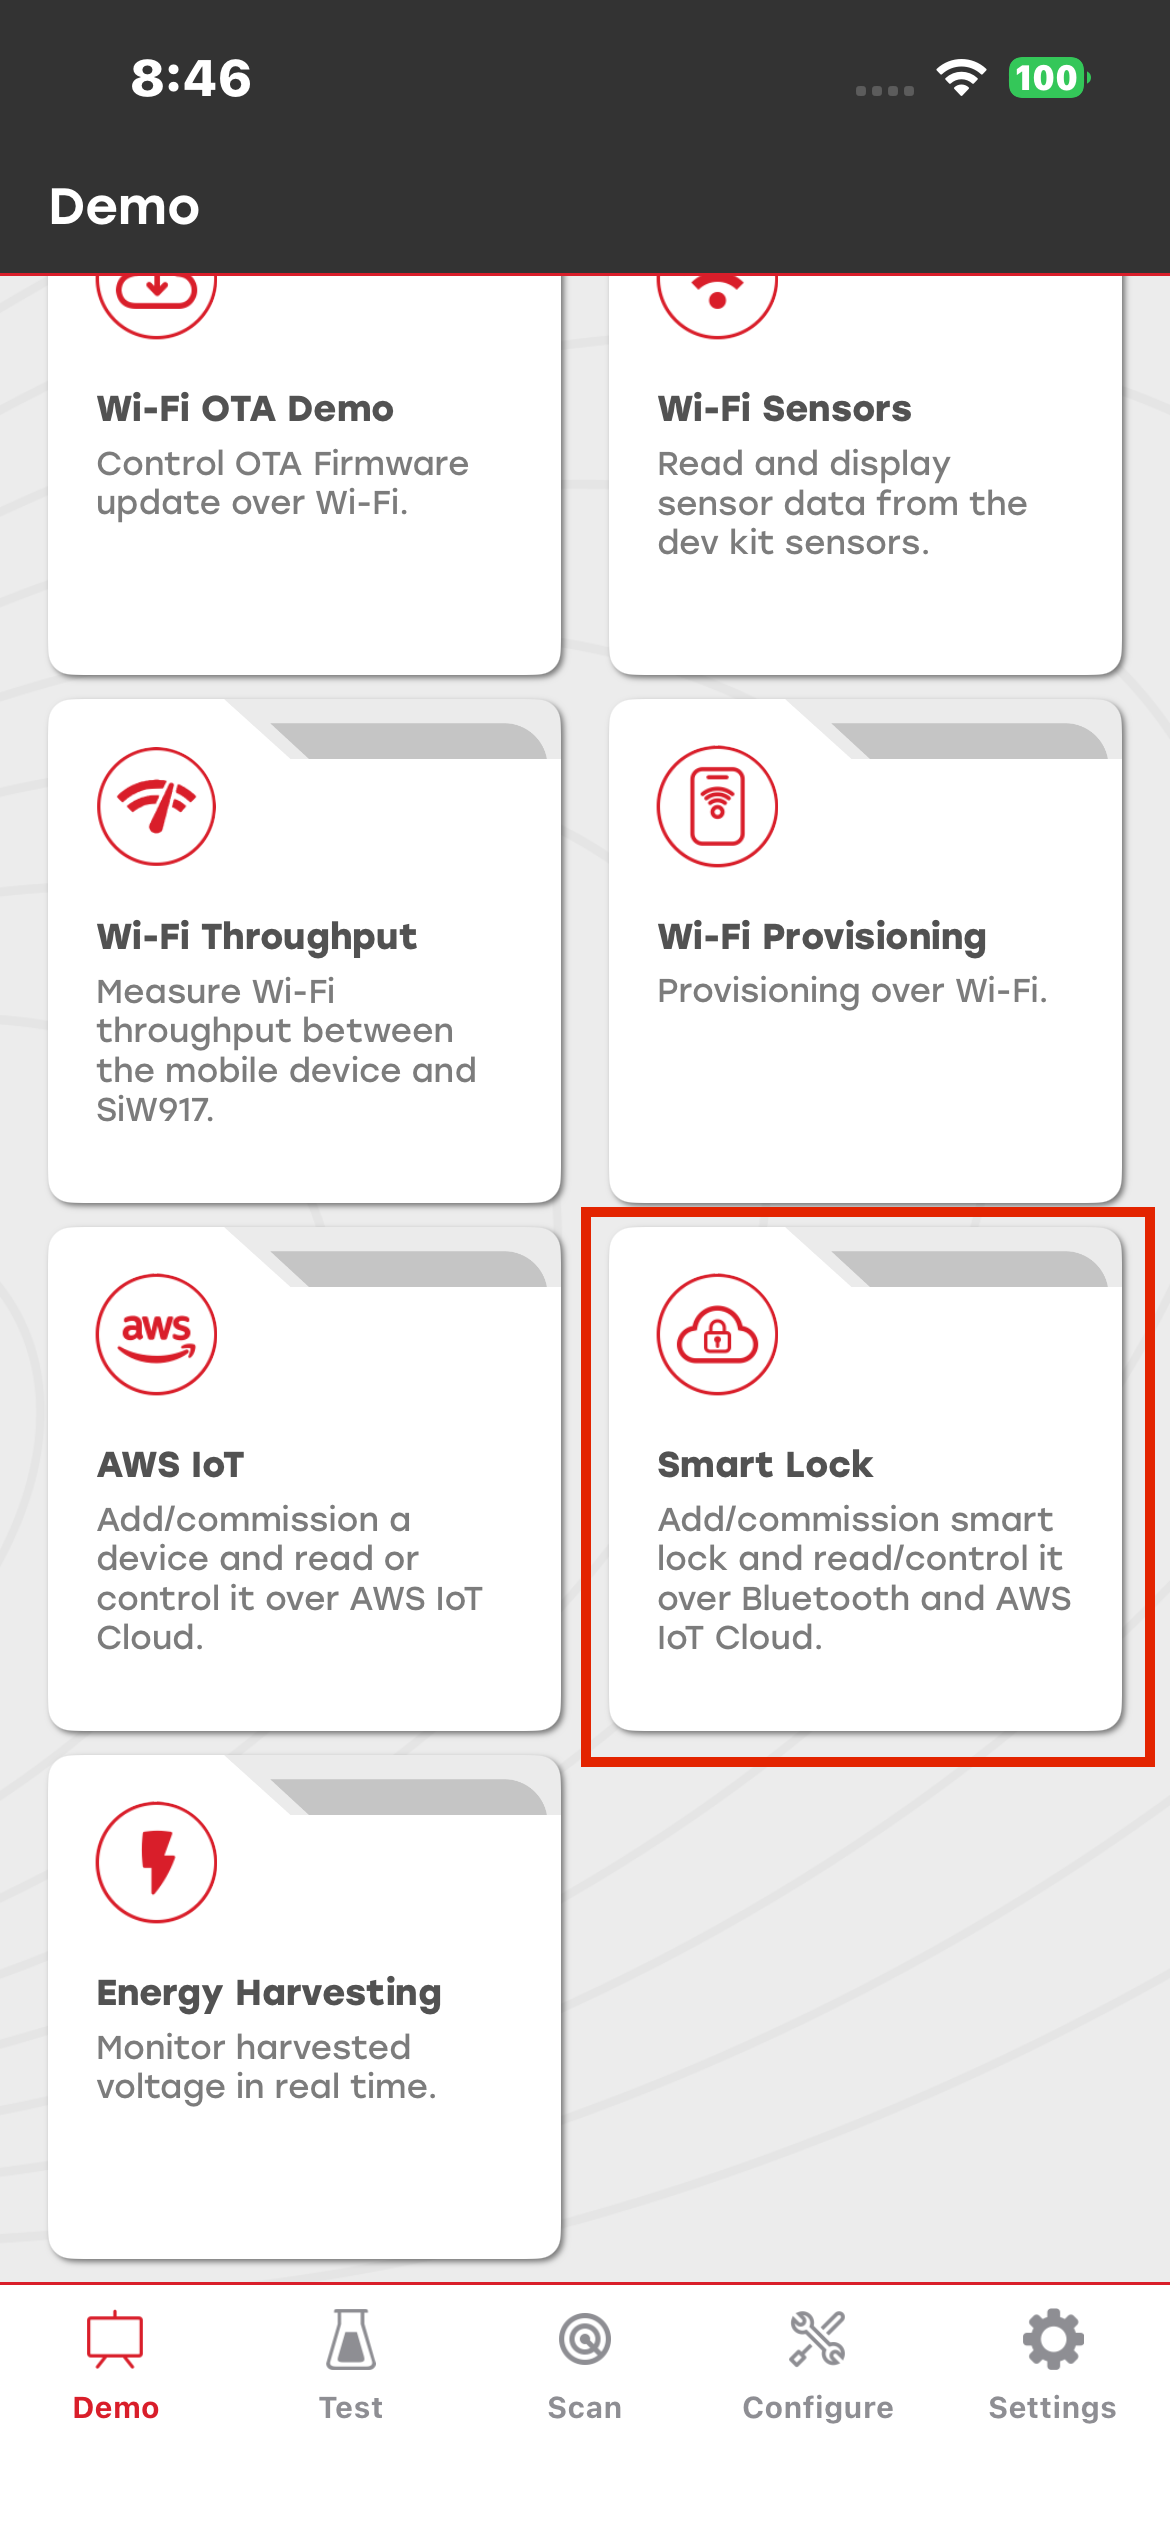
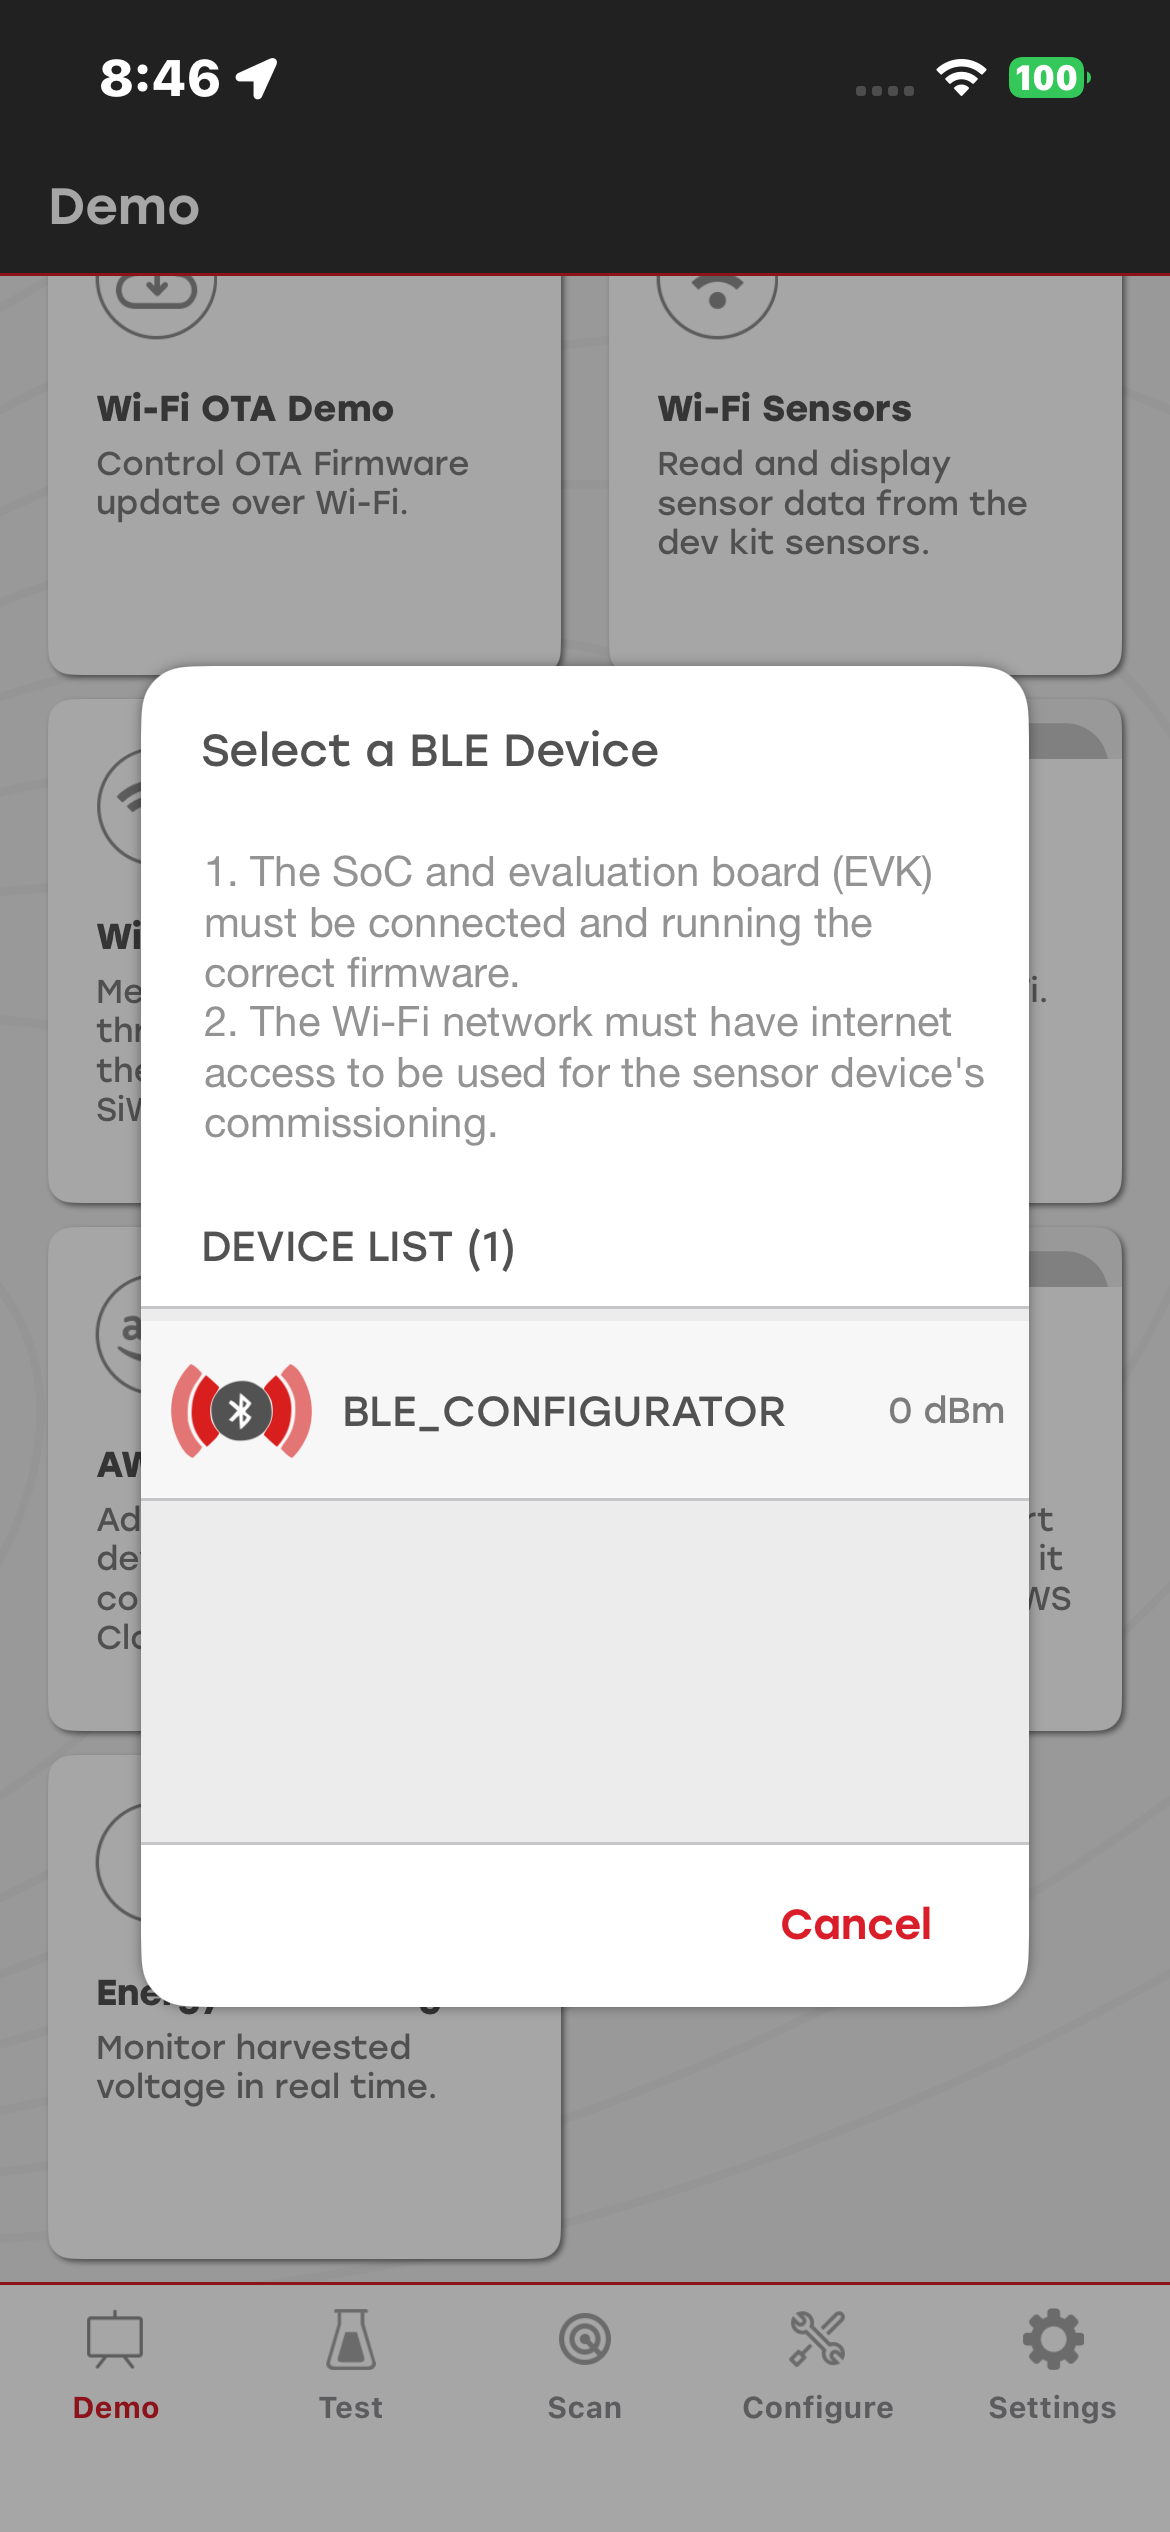
Select the Smart Lock section from the demo tiles screen and choose the SiWx917 Dev Kit you want to connect from the popup.
Provisioning the Dev Kit#
Before provisioning the Dev Kit, ensure that:
The access point (AP) has an active internet connection.
Bluetooth is enabled on the mobile device.
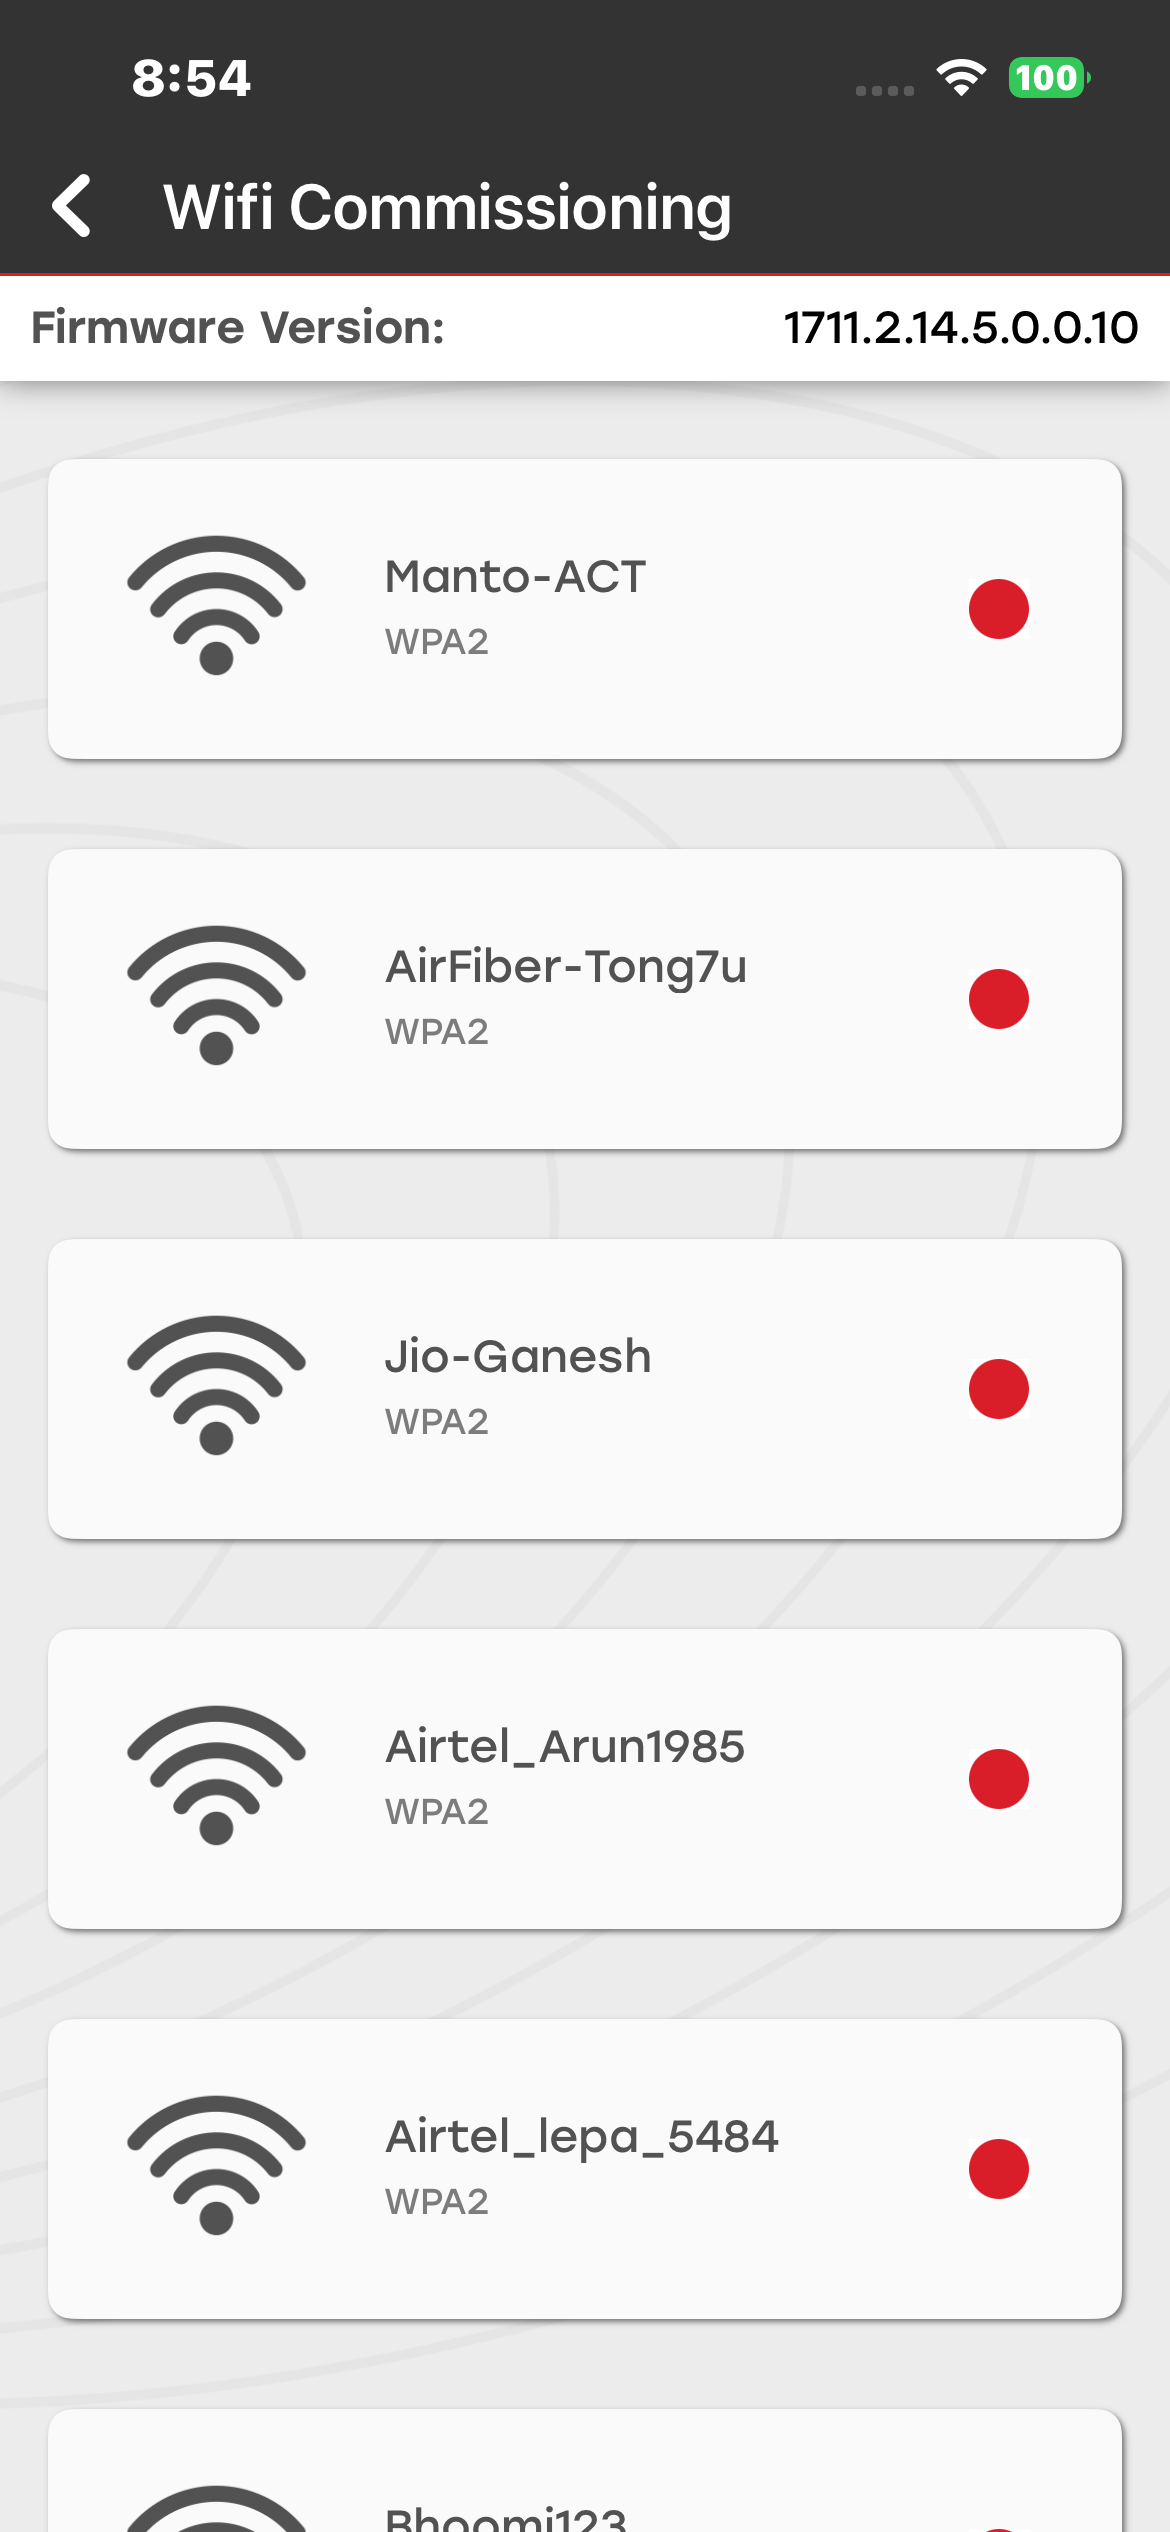
After you select the SiWx917 Dev Kit, the Wi-Fi Commissioning screen appears. Select the access point that you want to connect to, and then enter the password.
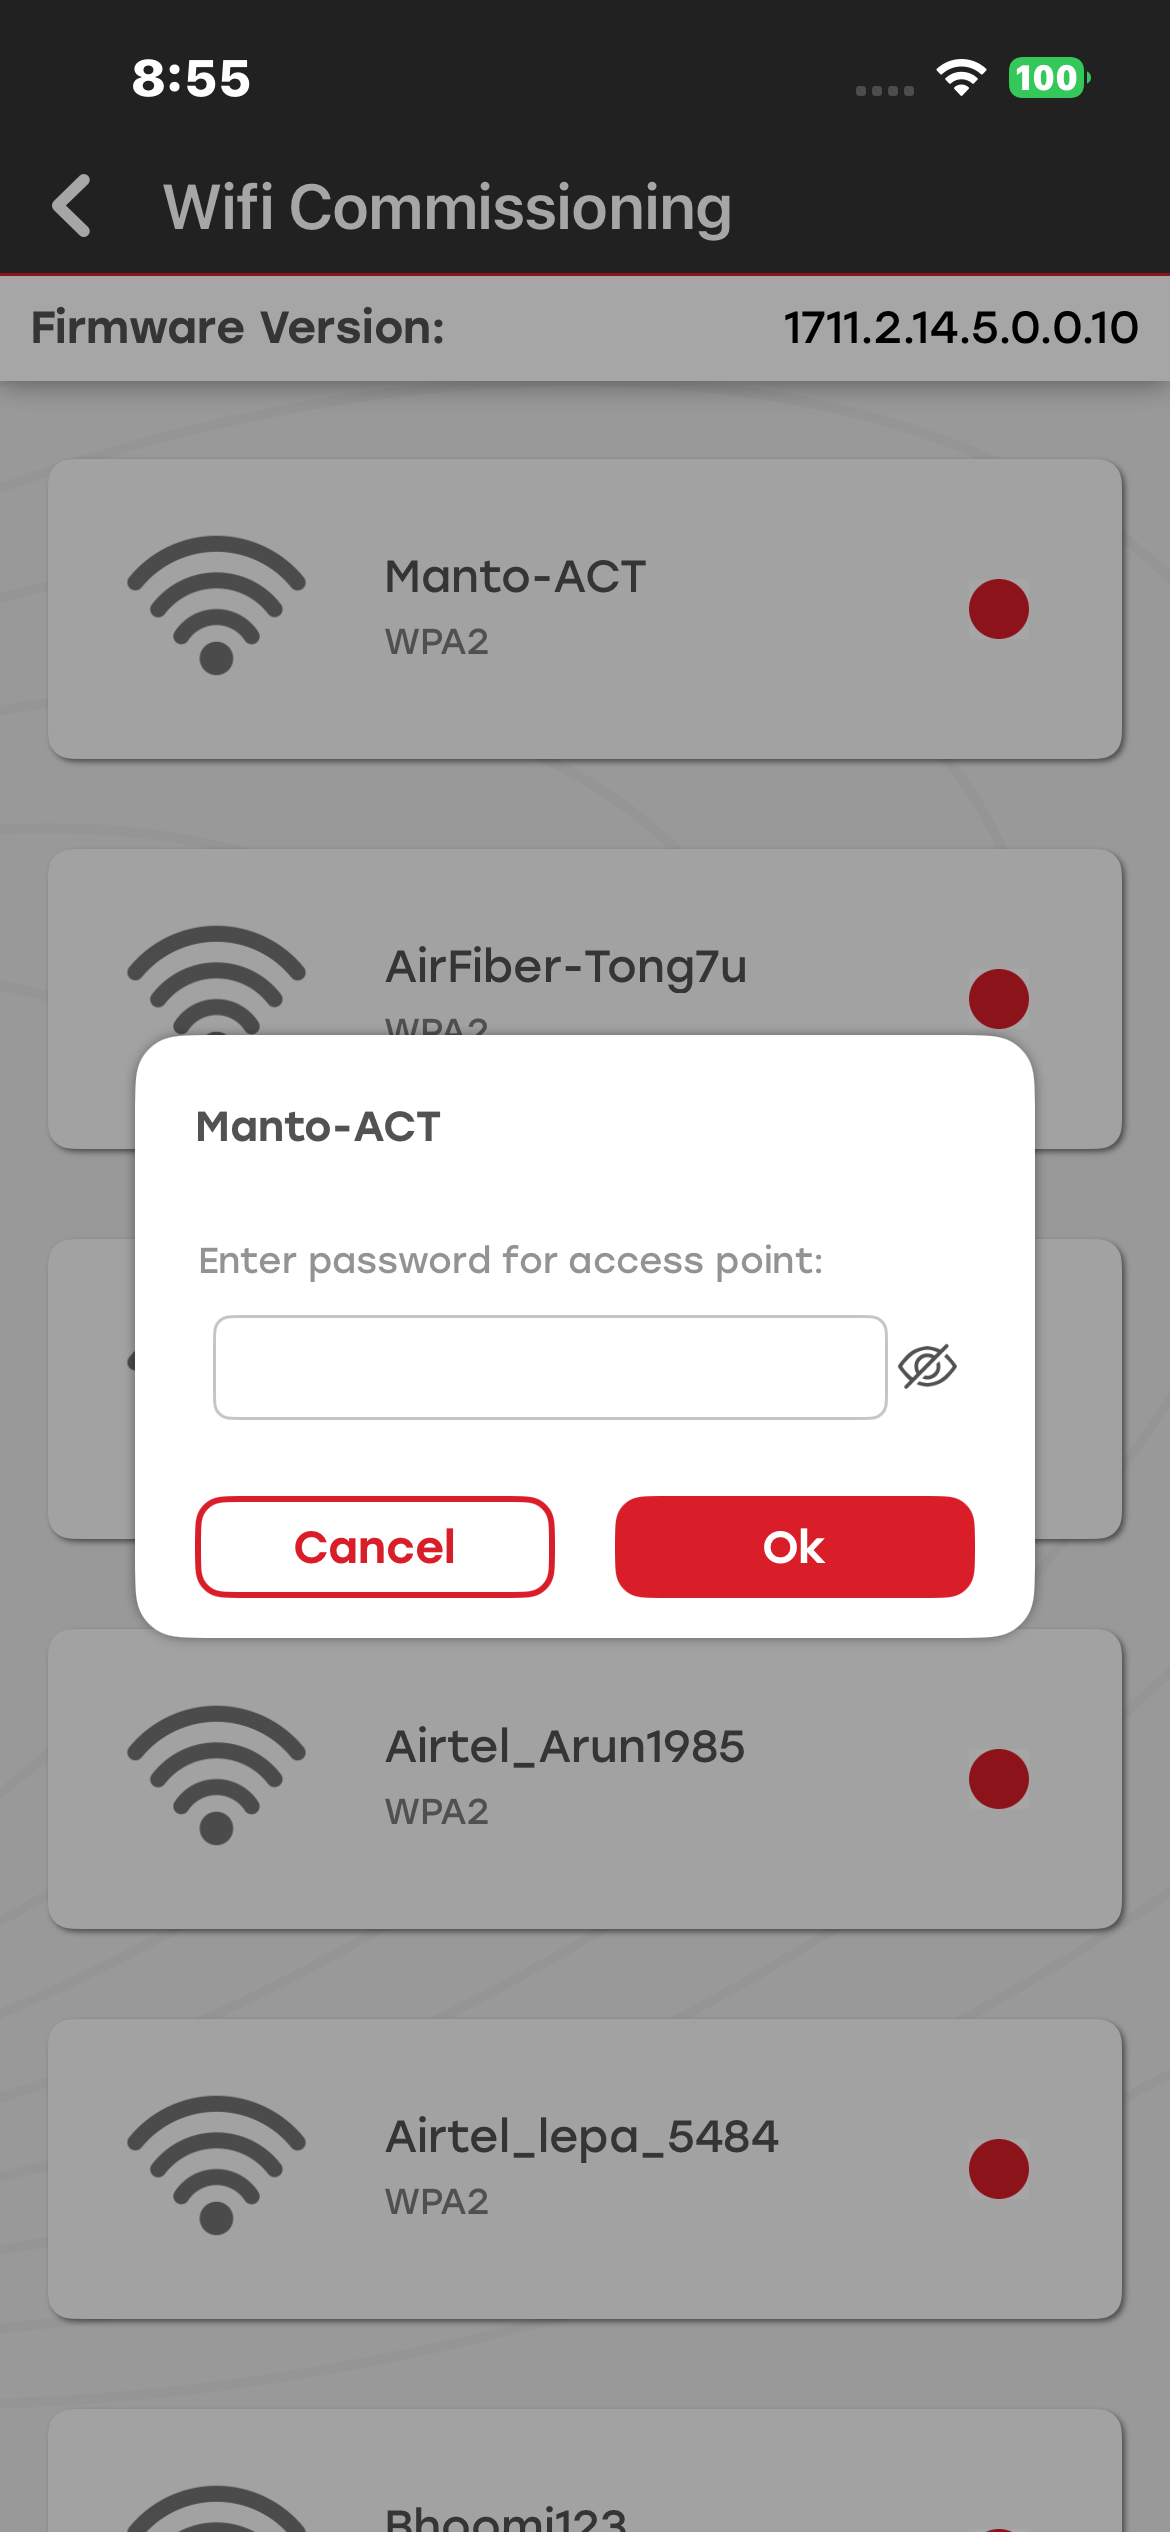
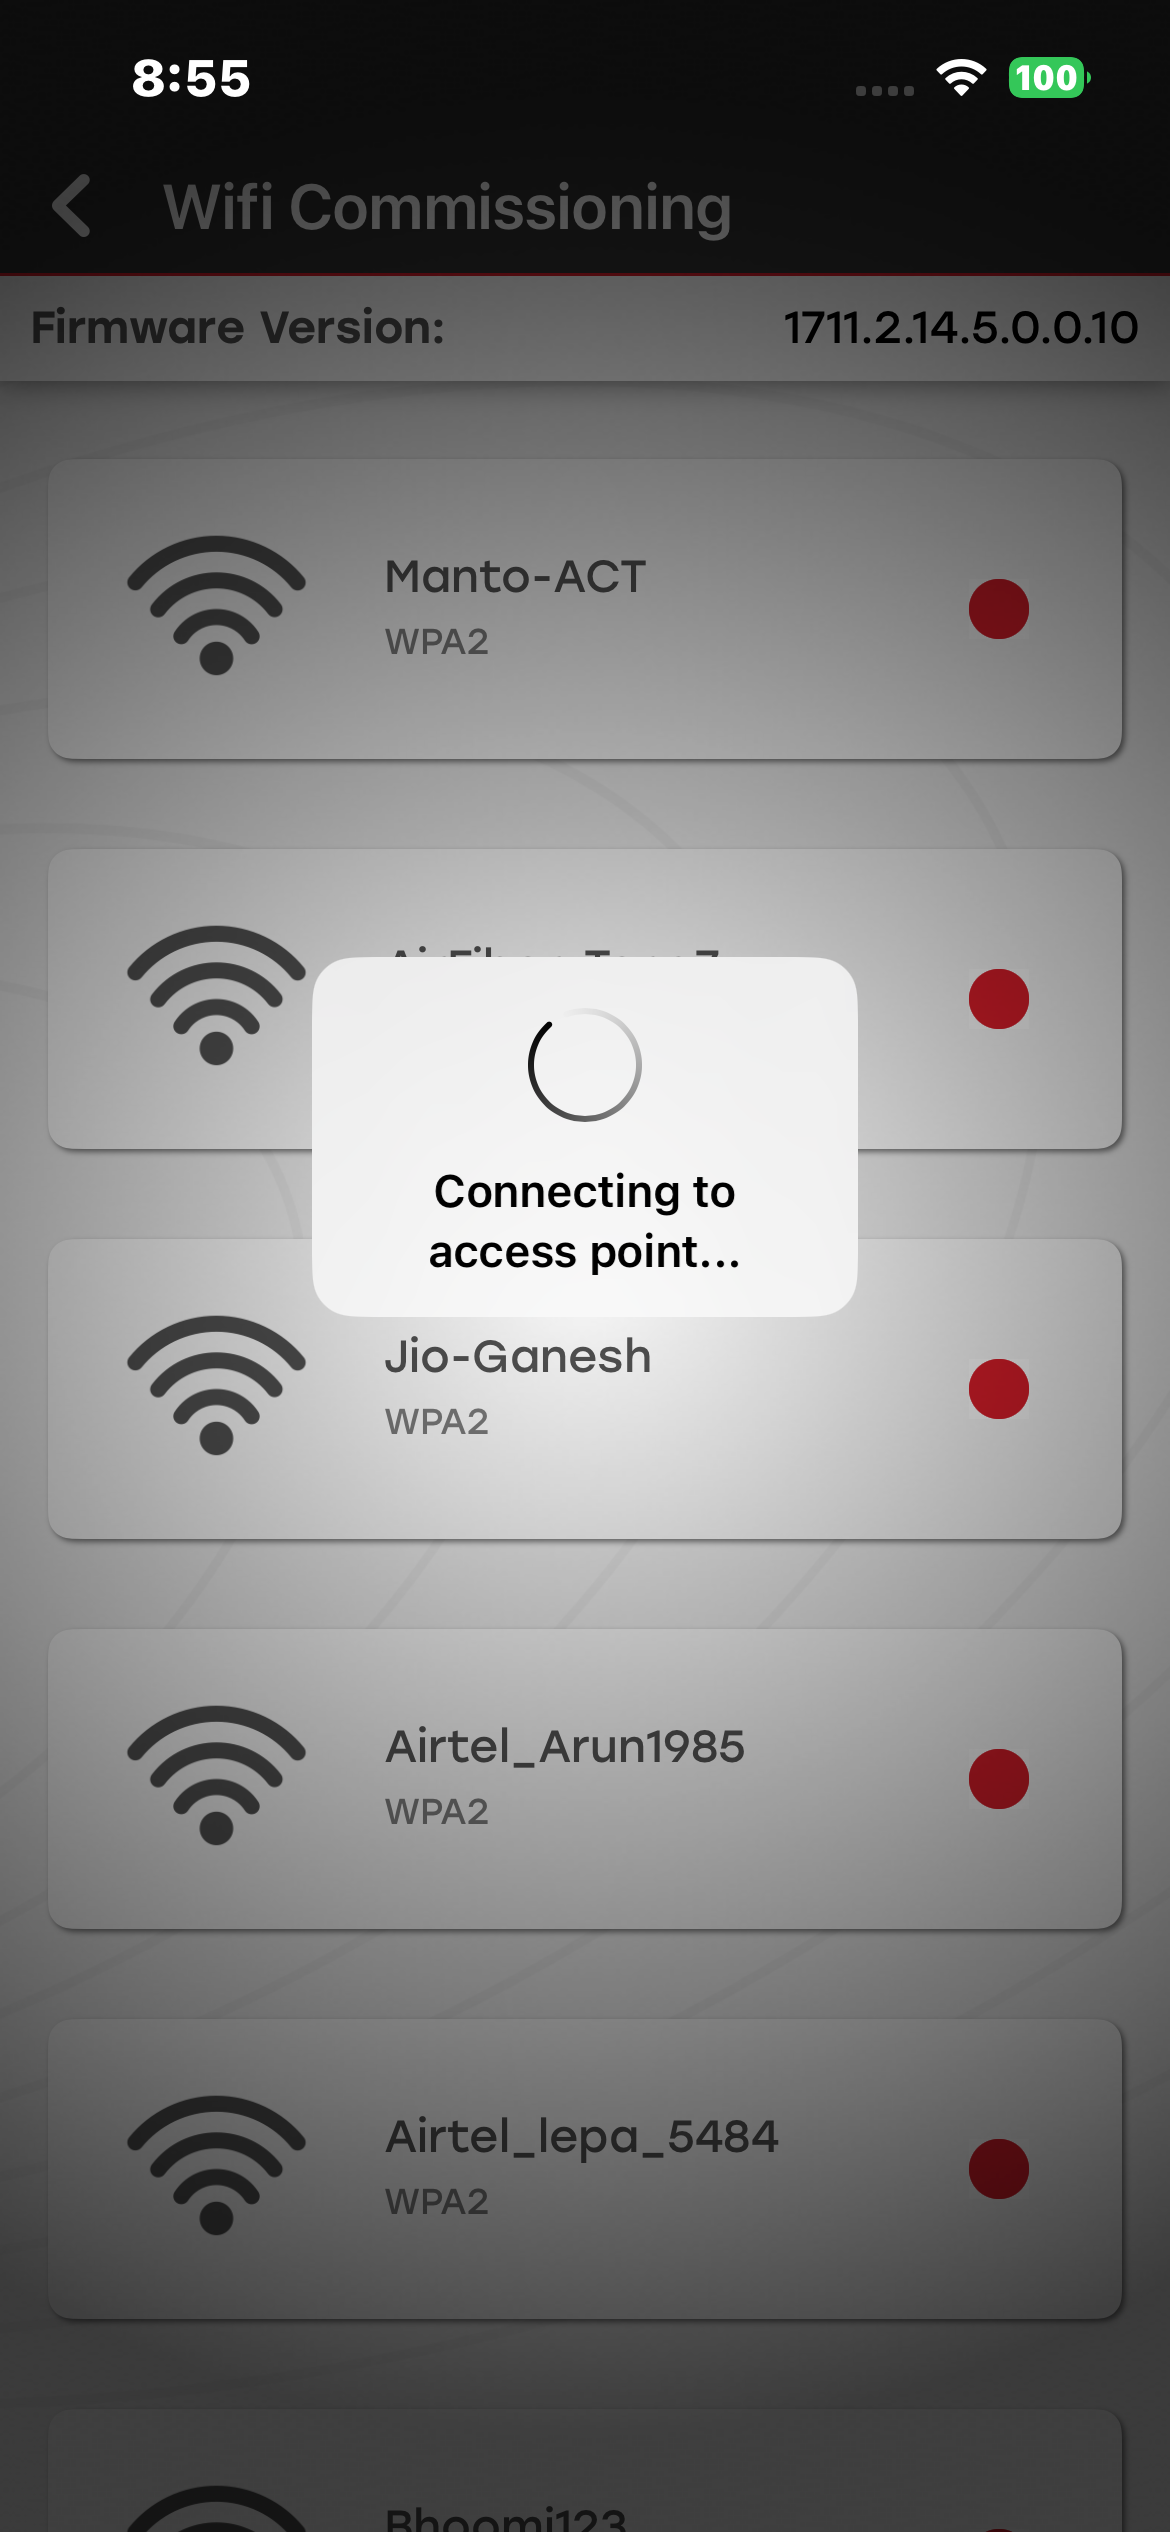
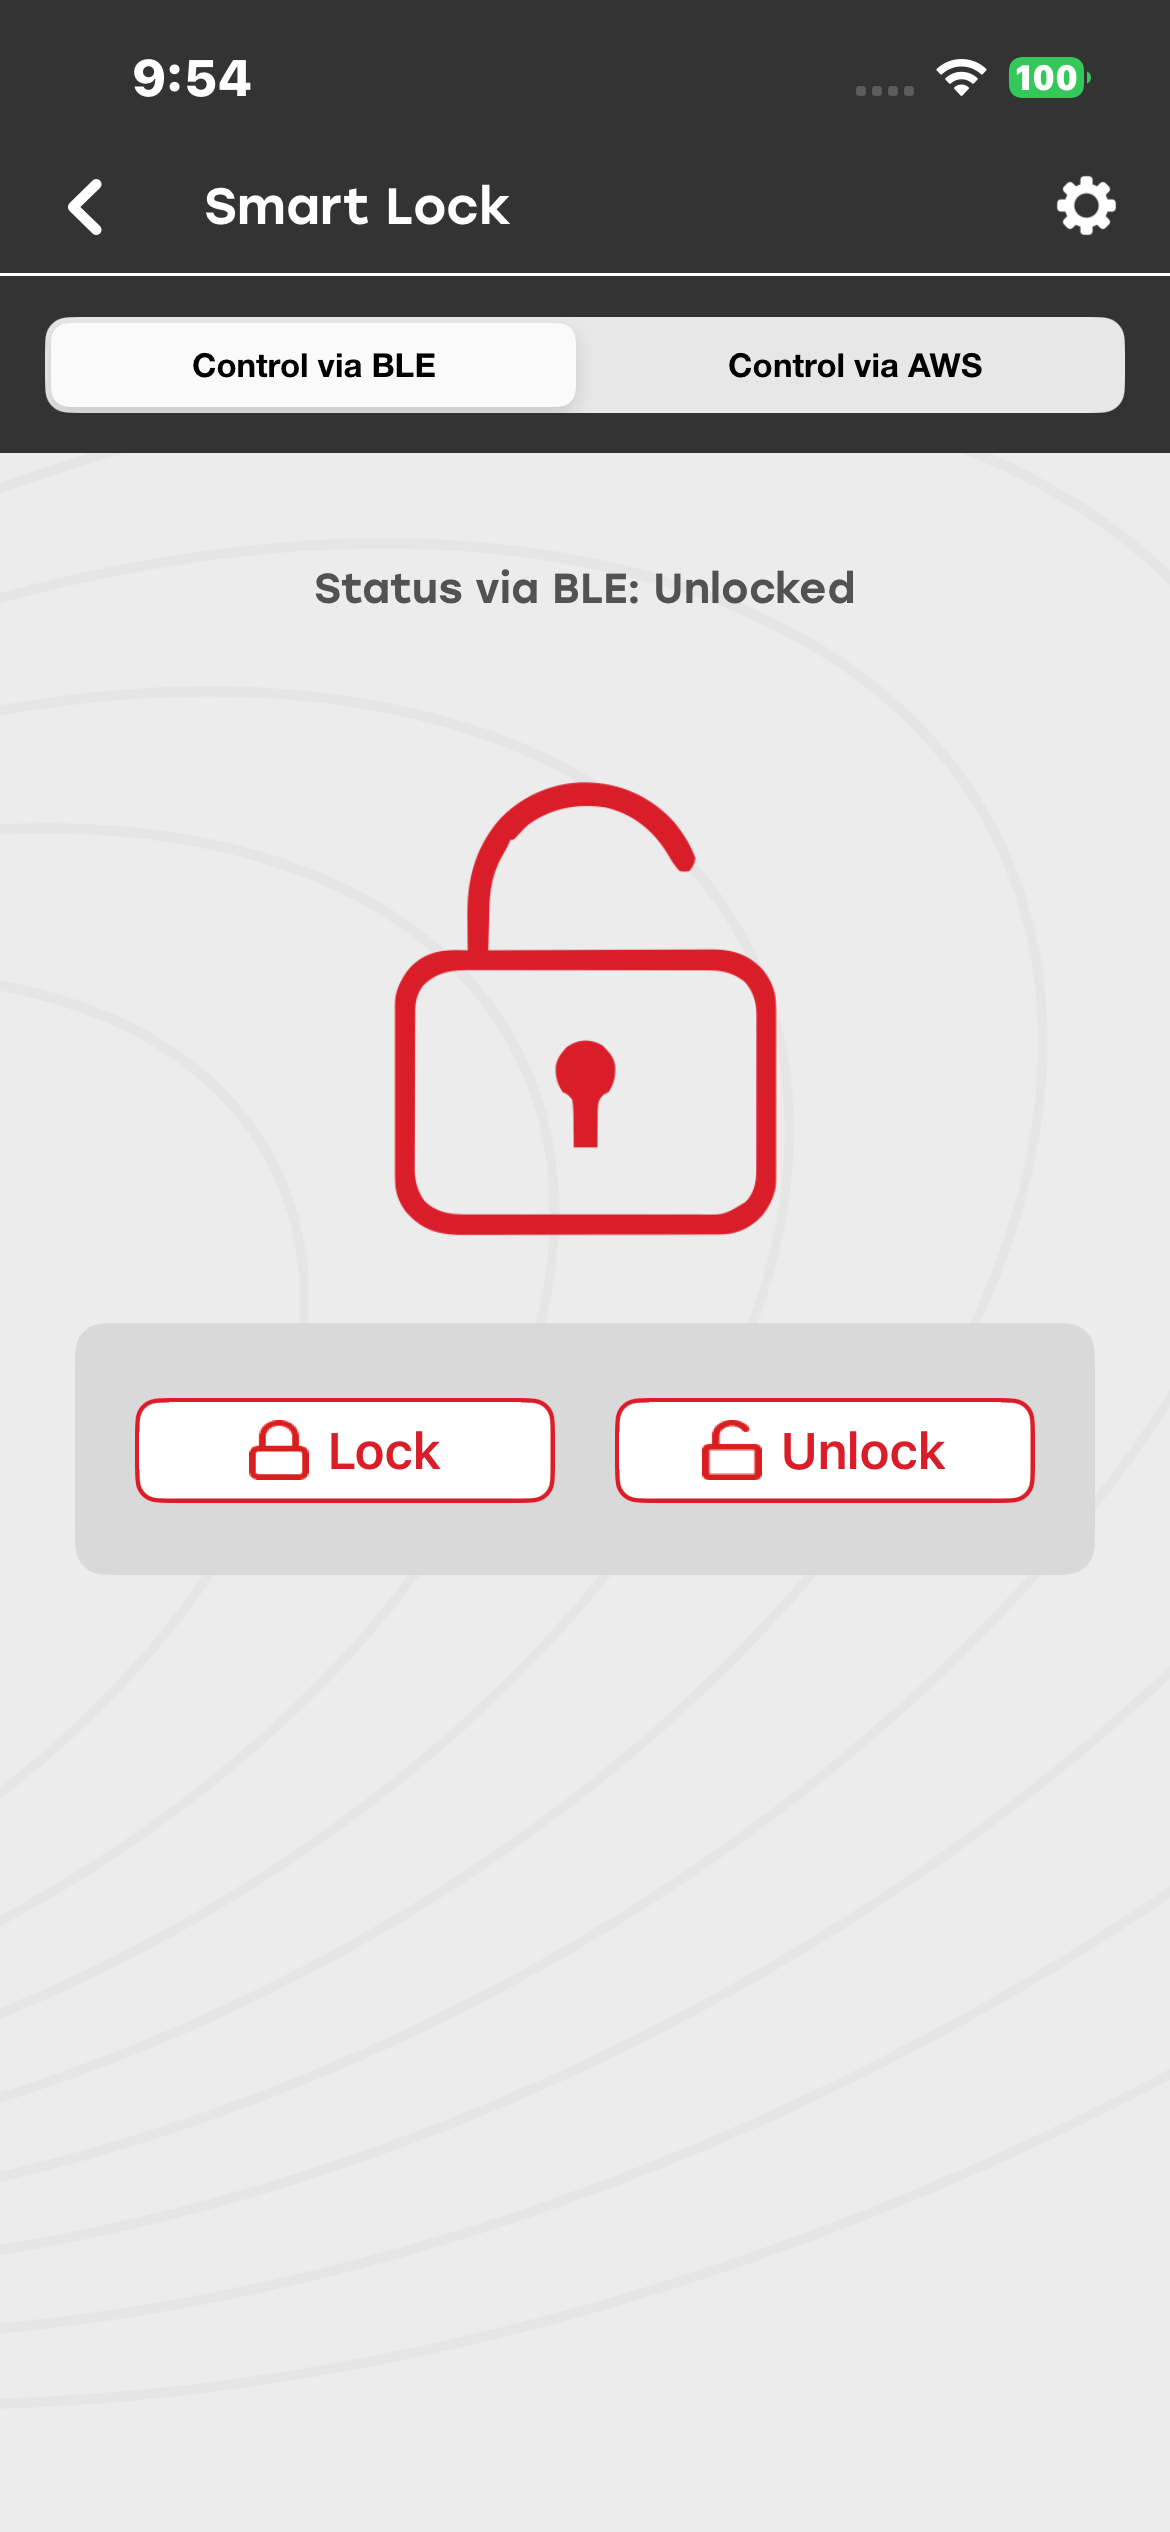
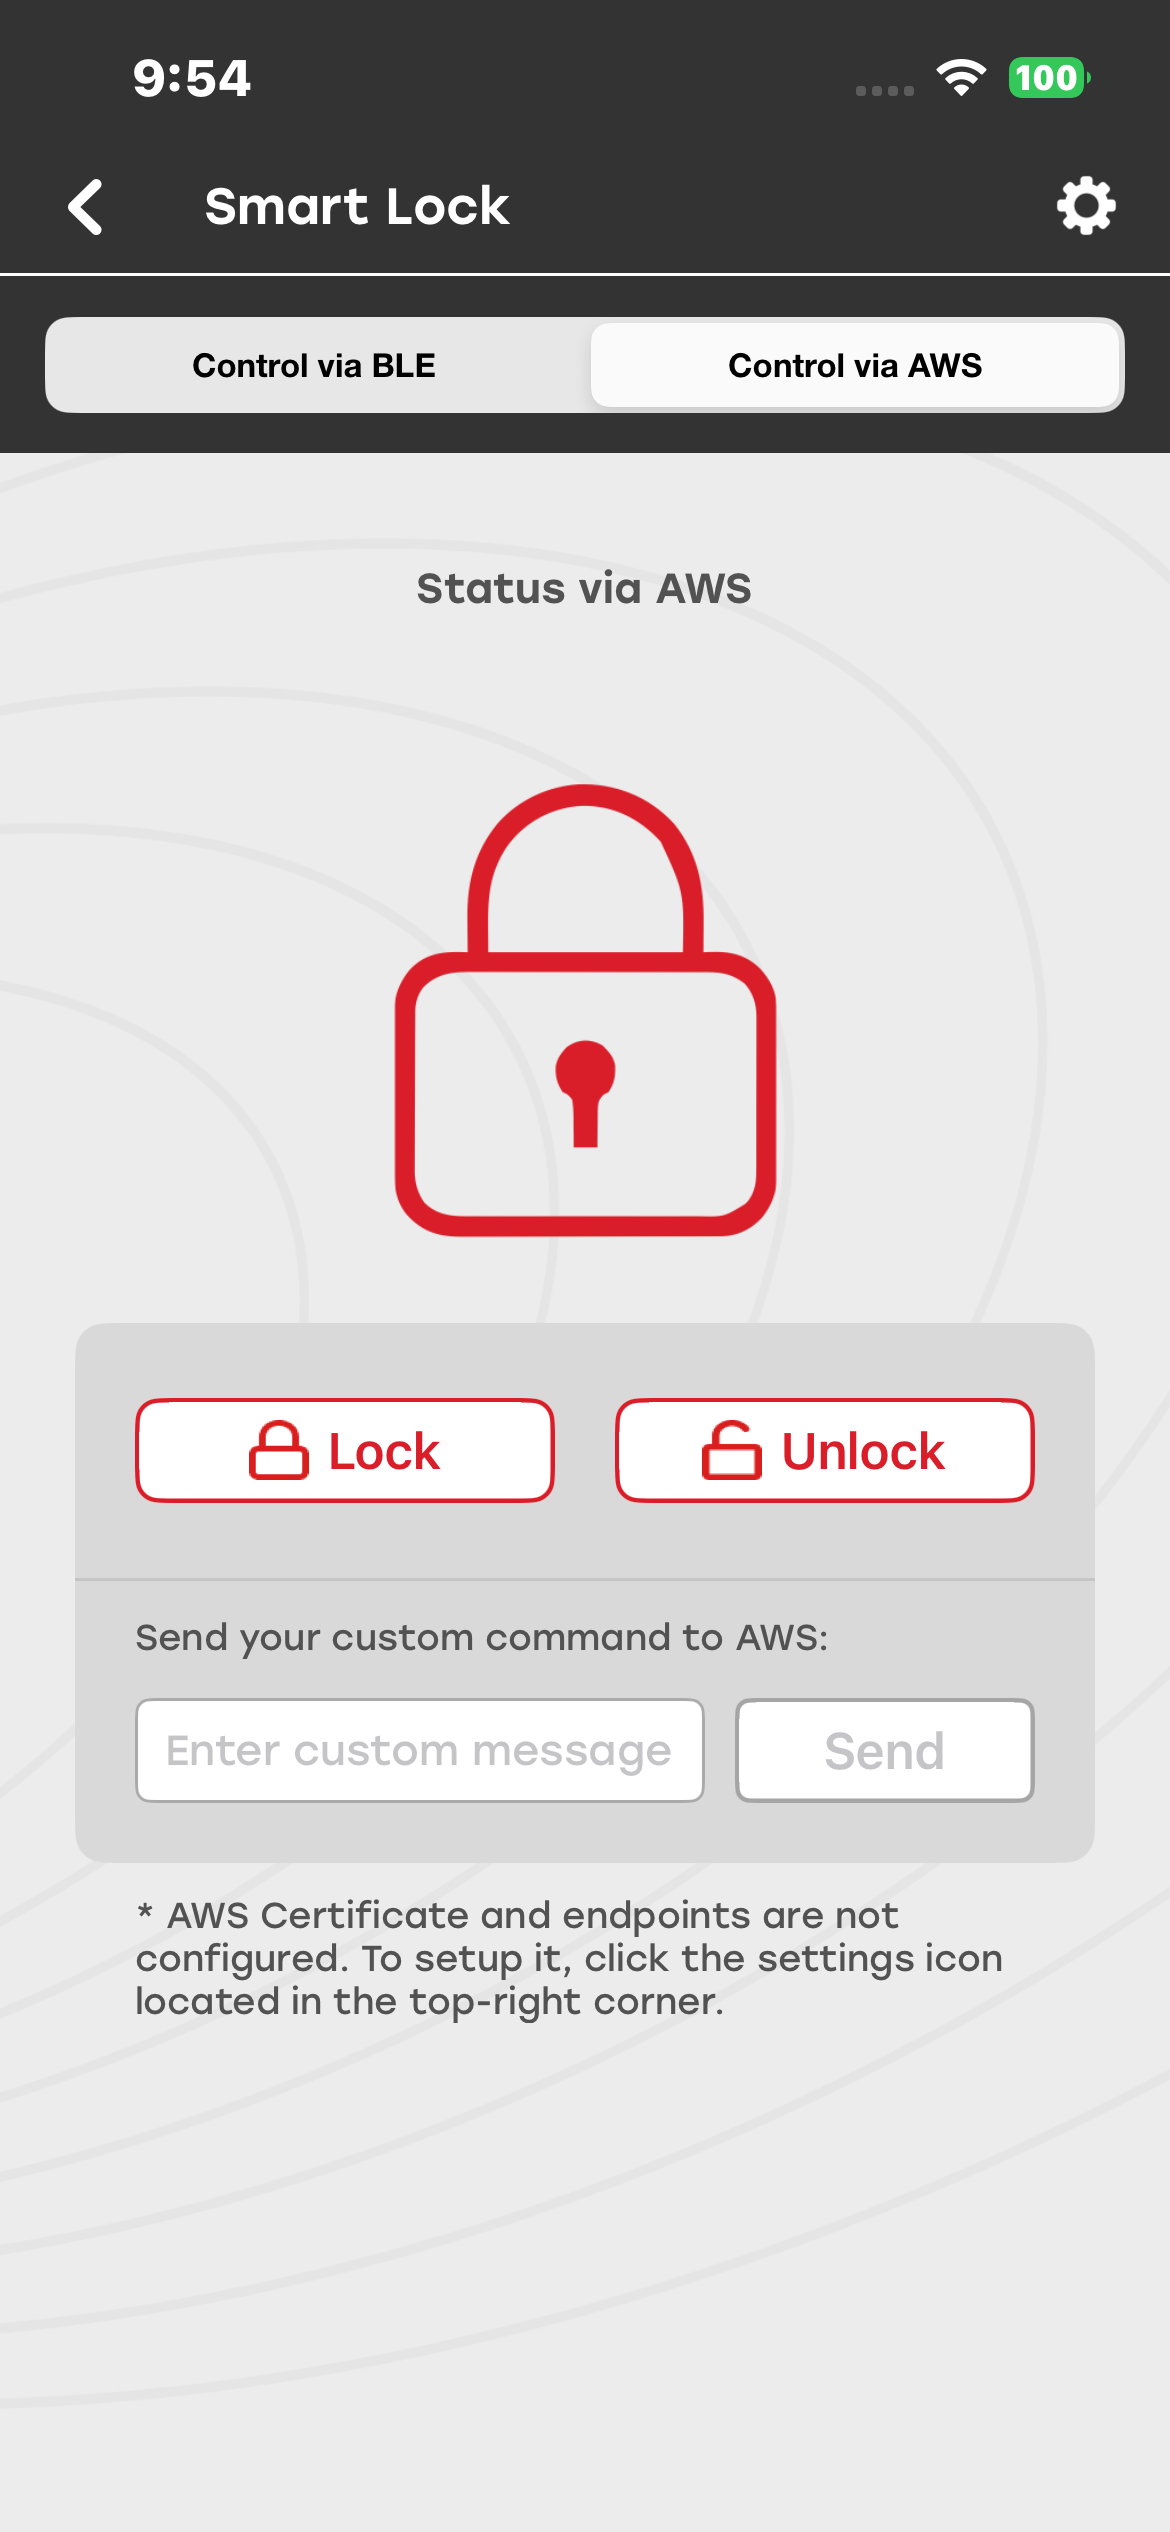
After the device connects to the access point, the Smart Lock screen appears. You can control the smart lock via BLE or AWS.
Control Over BLE#
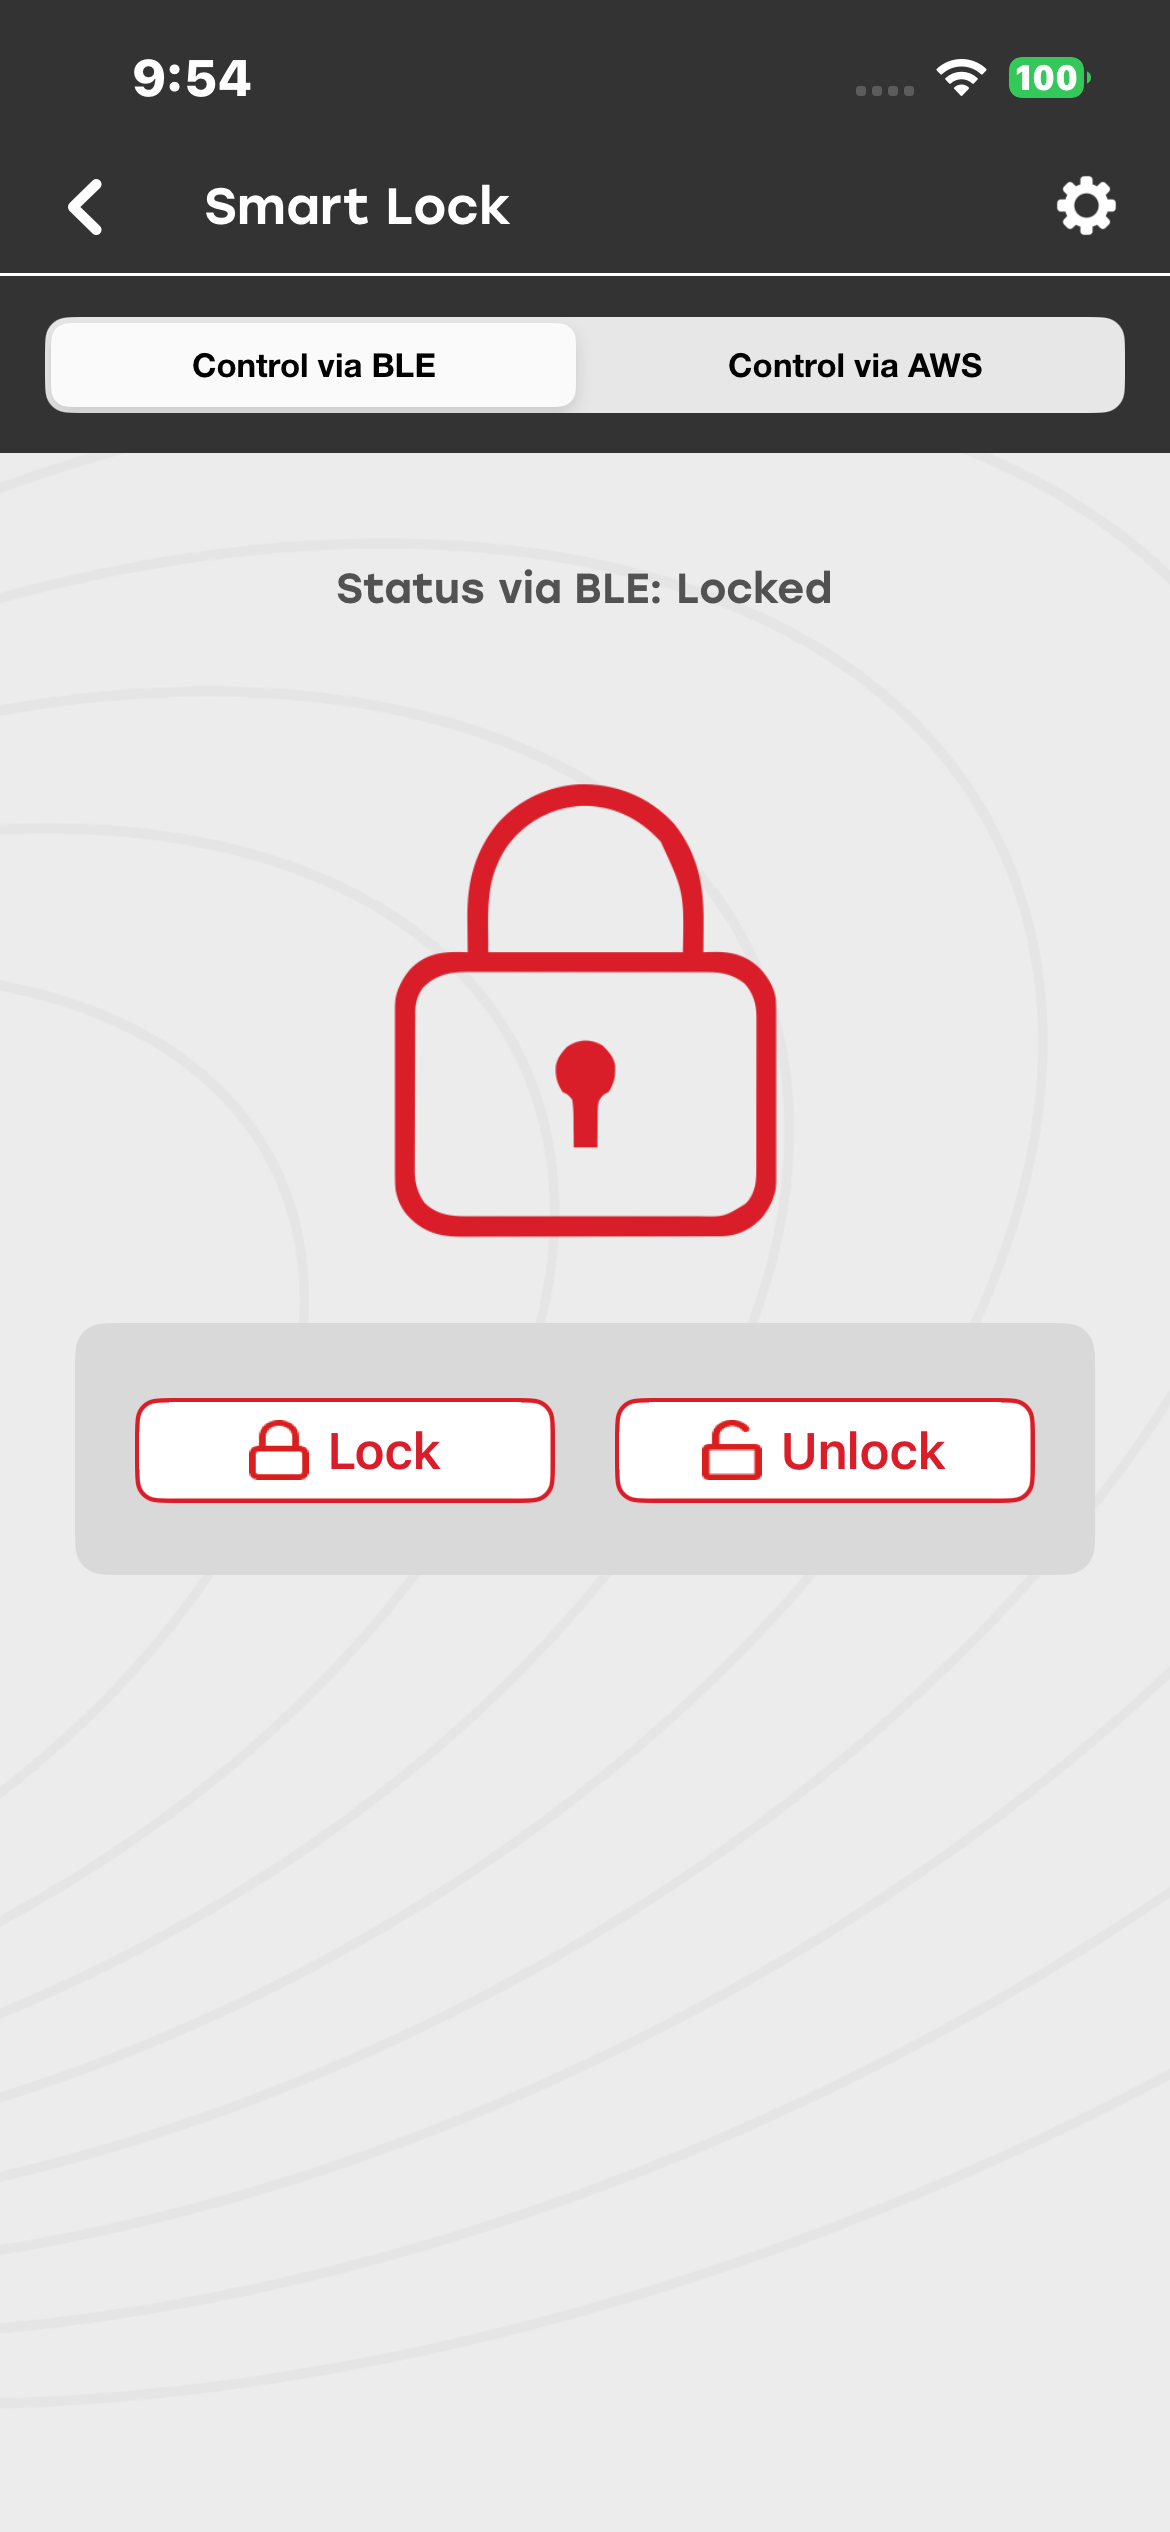
Select the lock or unlock button. The mobile app sends the command to the Dev Kit over BLE.
Based on the command, the Dev Kit toggles the LED on the board.
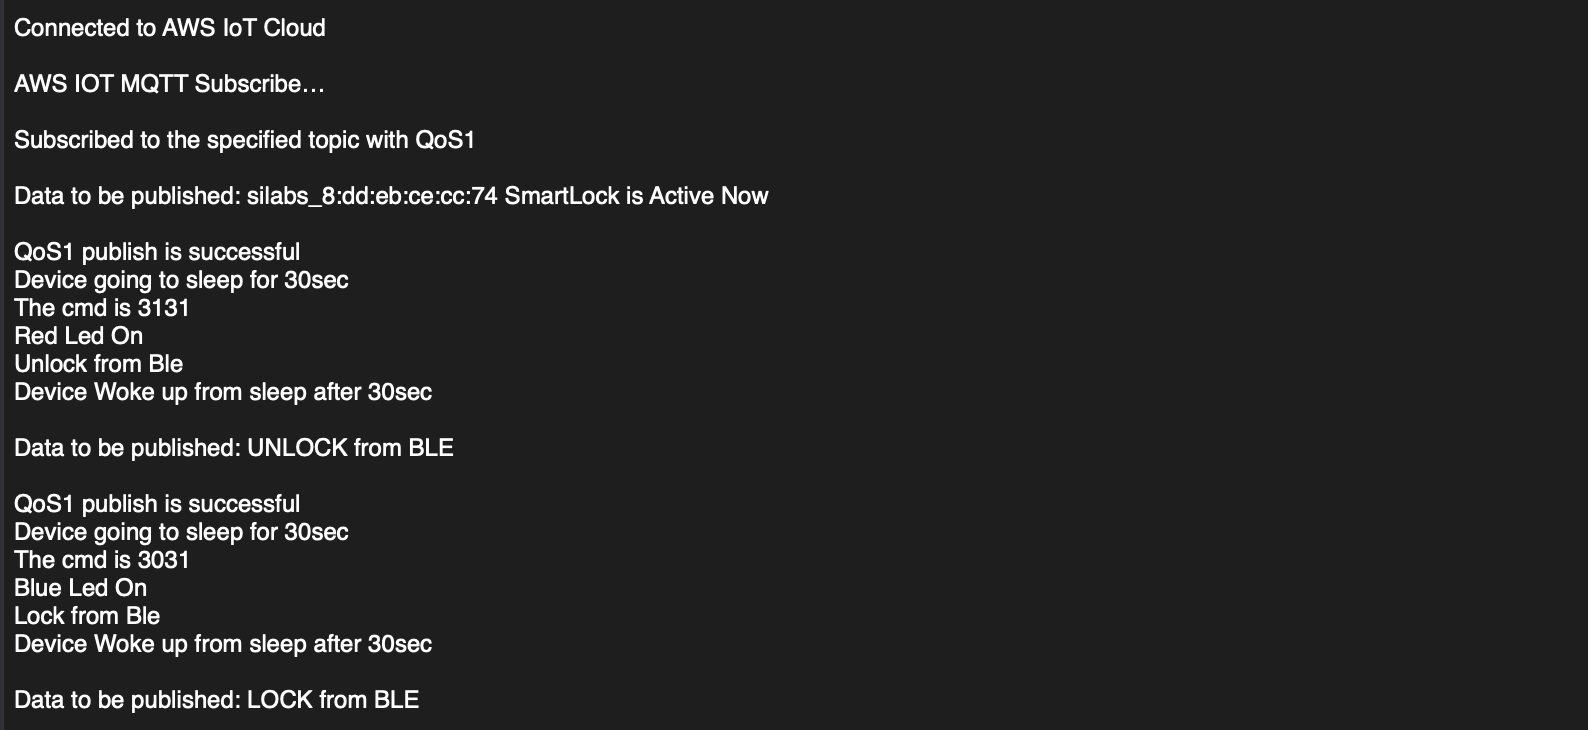
The Dev Kit (BRD2605A) also updates the lock status in AWS. You can view the updated status in the UART log.
UART Log:
Control Over AWS#
Before selecting the lock or unlock button, ensure that the following parameters are configured. To open the configuration screen, select the settings button in the upper-right corner of the screen.
i. Generate the AWS certificates as described here.
ii. Provide the publish and subscribe topics as described here.
iii. Provide the endpoint details as described here.
The mobile app publishes the lock or unlock command to the configured topic.
Script to Create a .p12 Certificate File#
Run the following command to generate the certificate file:
OpenSSL pkcs12 -export -legacy -out <Certificate_File_Name.p12> -in aws-certificate.pem.crt -inkey aws-private.pem.key


When you run the command, OpenSSL prompts you to enter an export password. Enter the password for the .p12 file.
Note: Send the certificate files to the mobile device in a ZIP file, and then extract the files on the device.
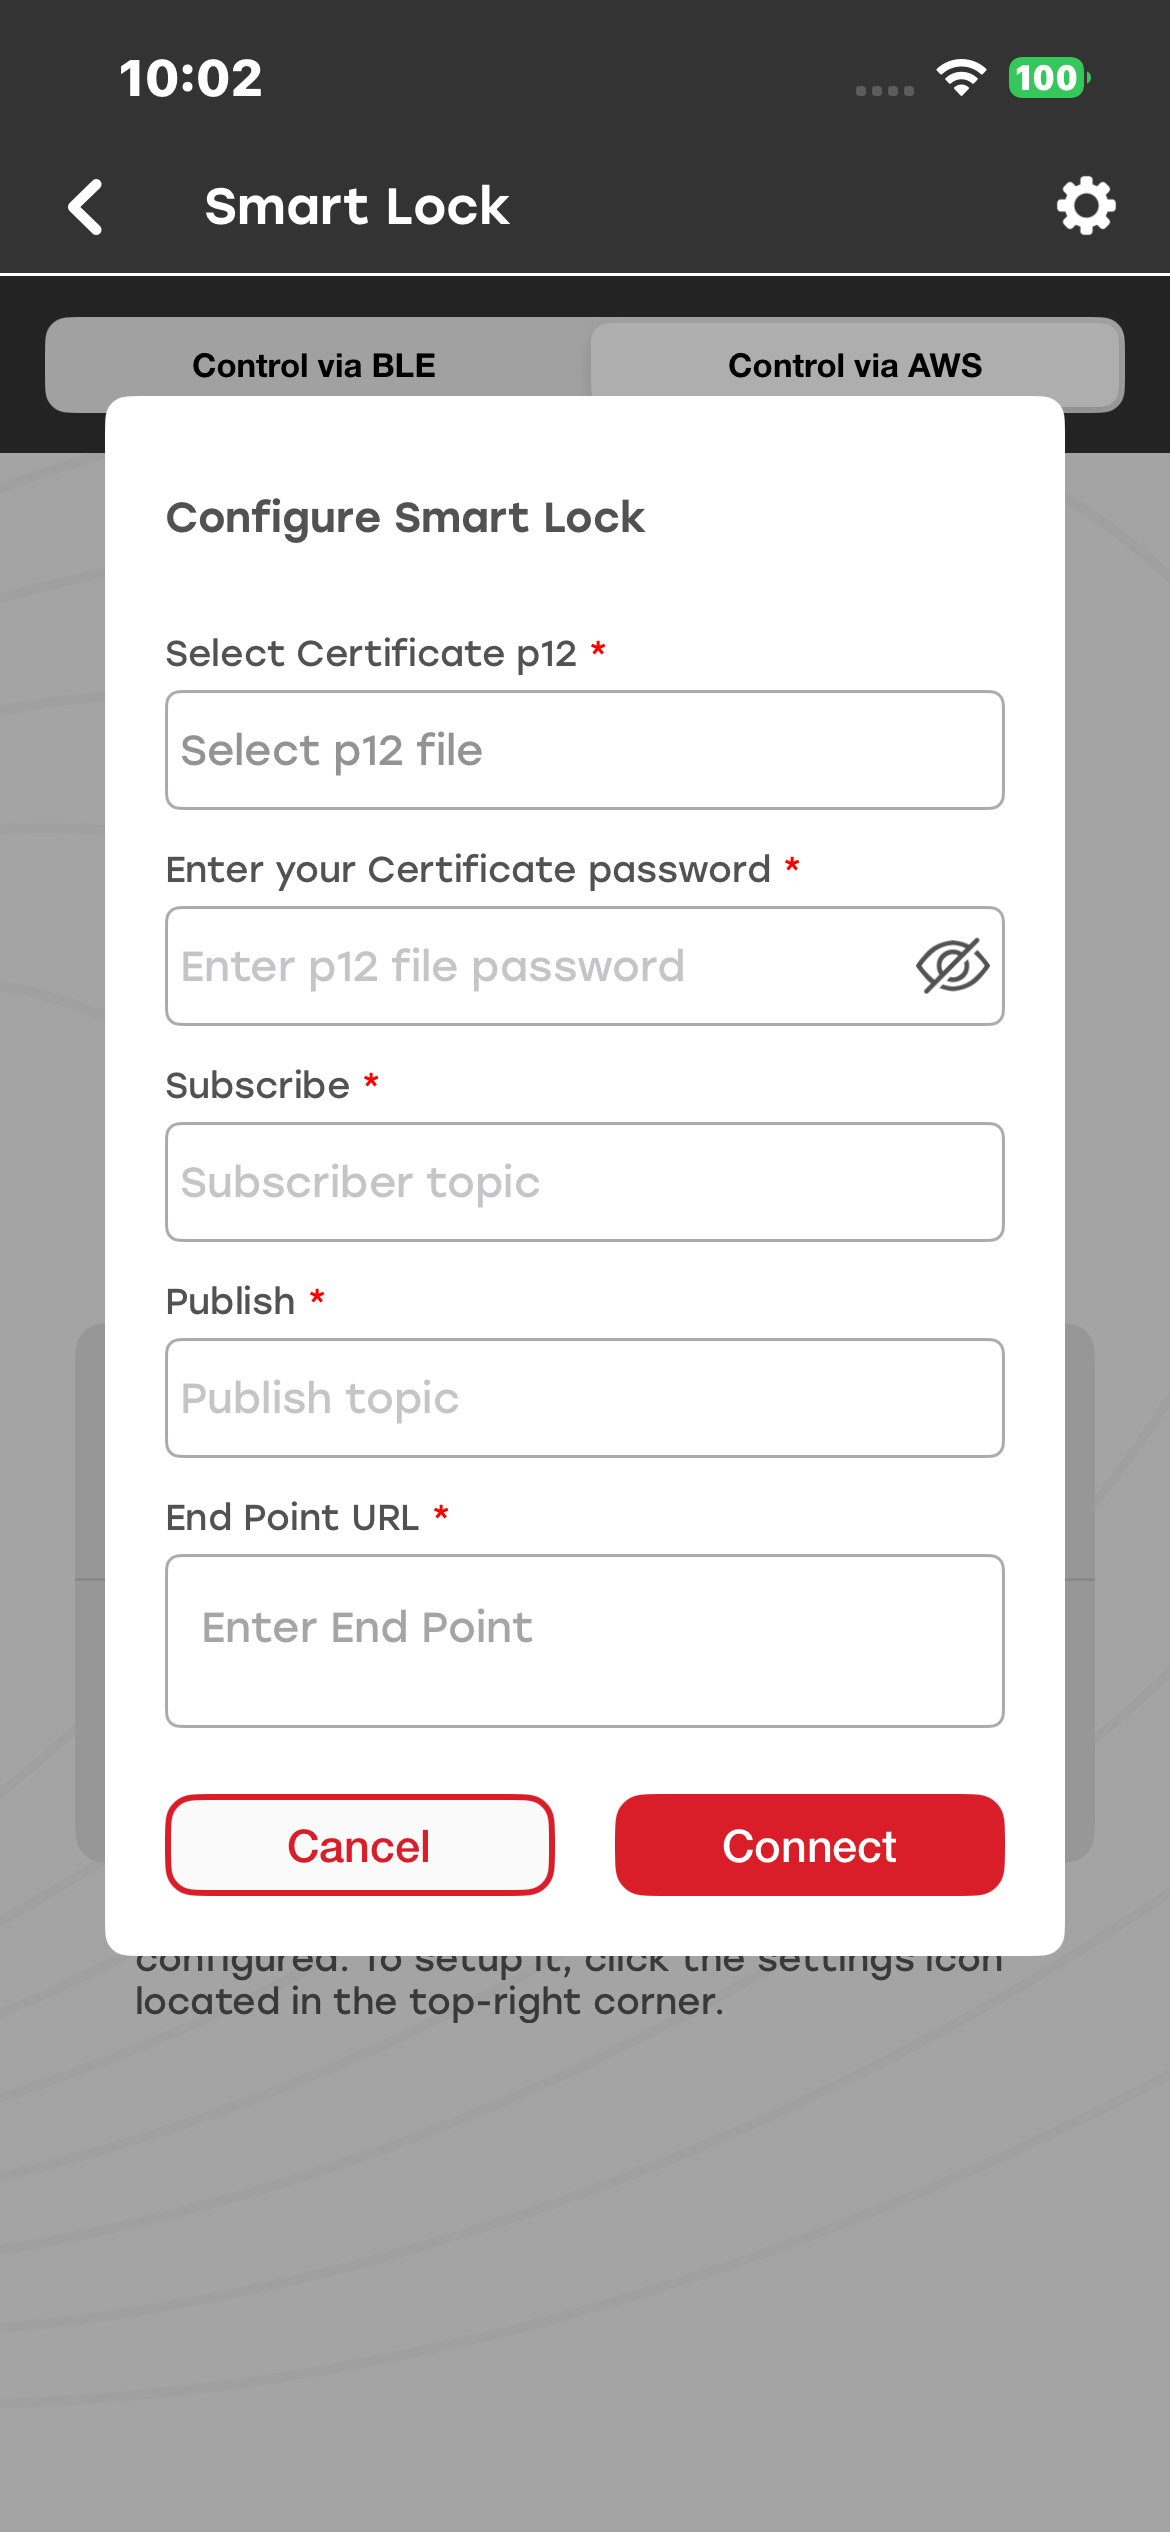
Note: Ensure that the information entered on the mobile device matches the information entered in SiWx91x Dev Kit Setup.
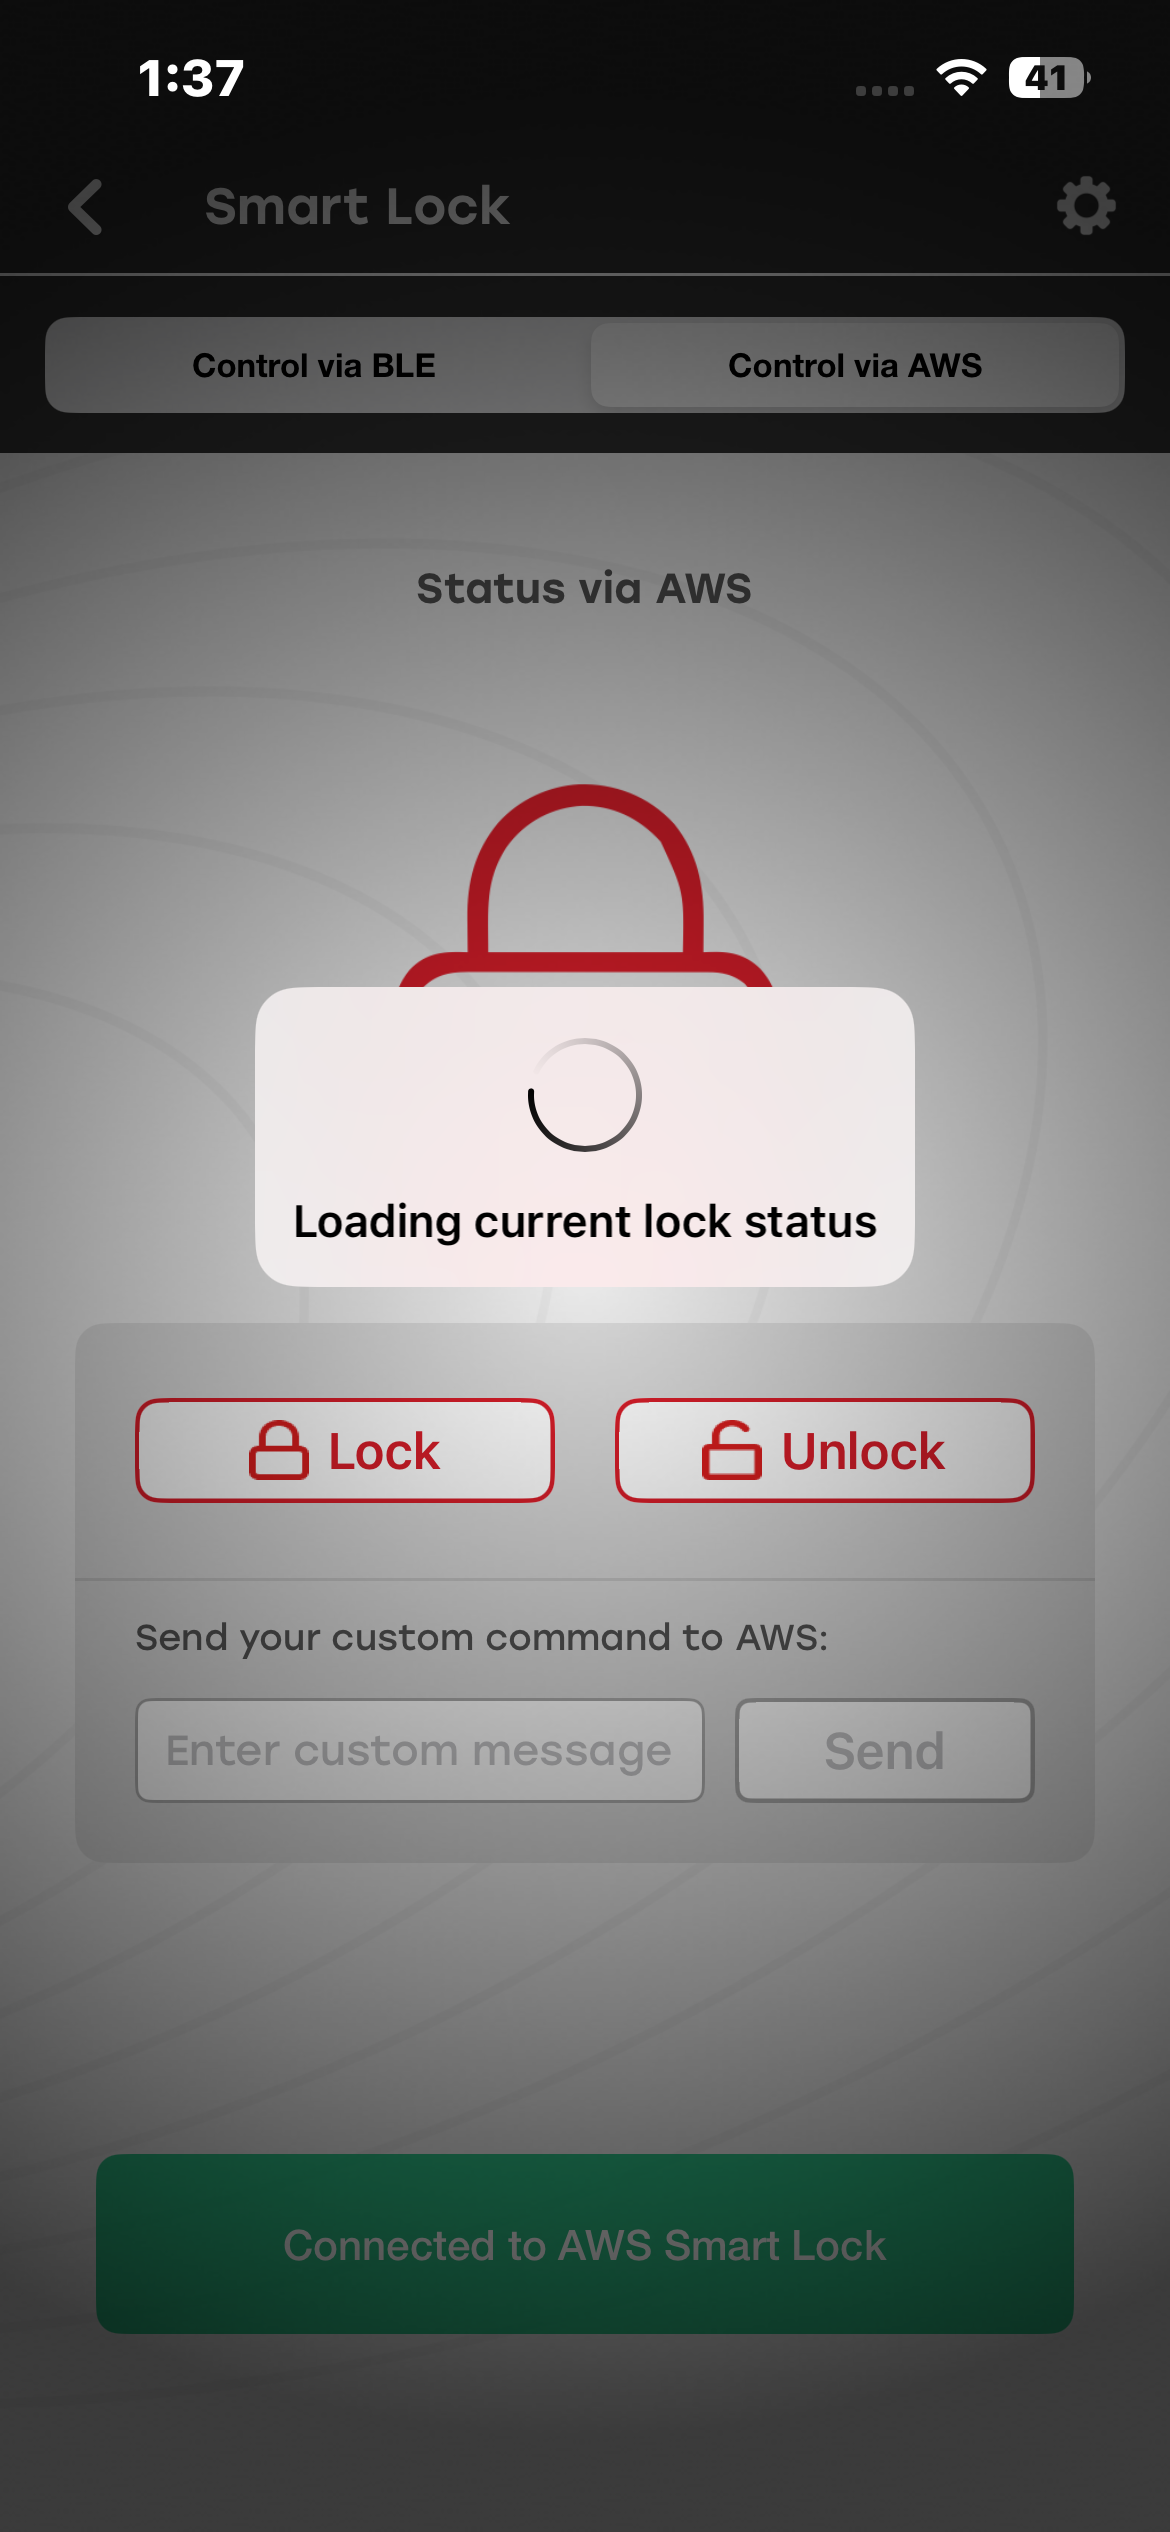
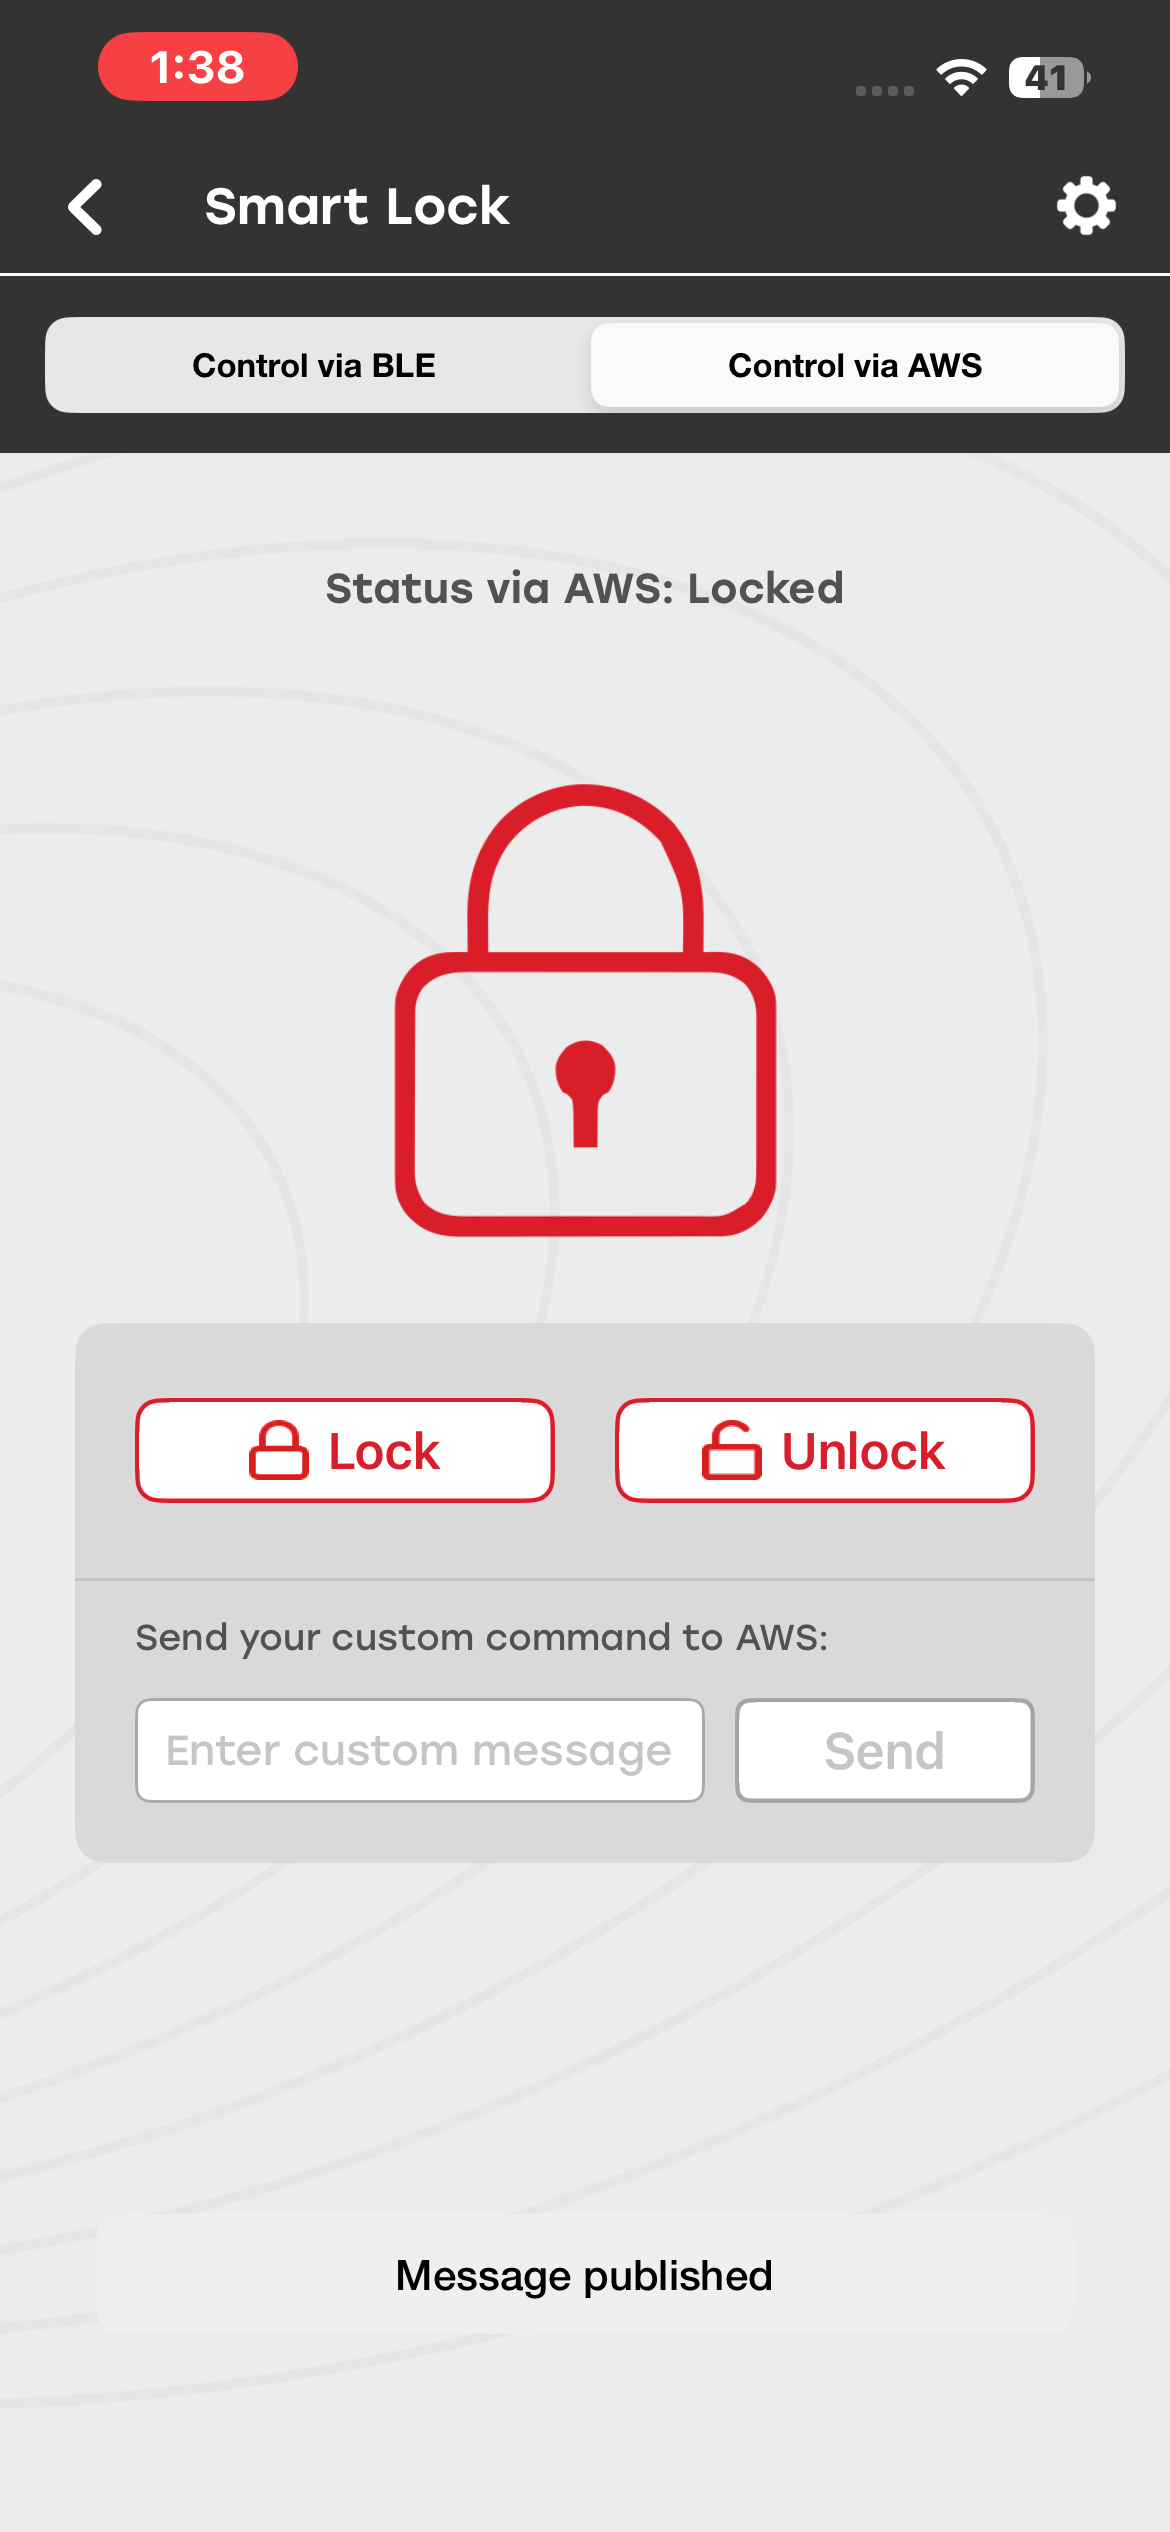
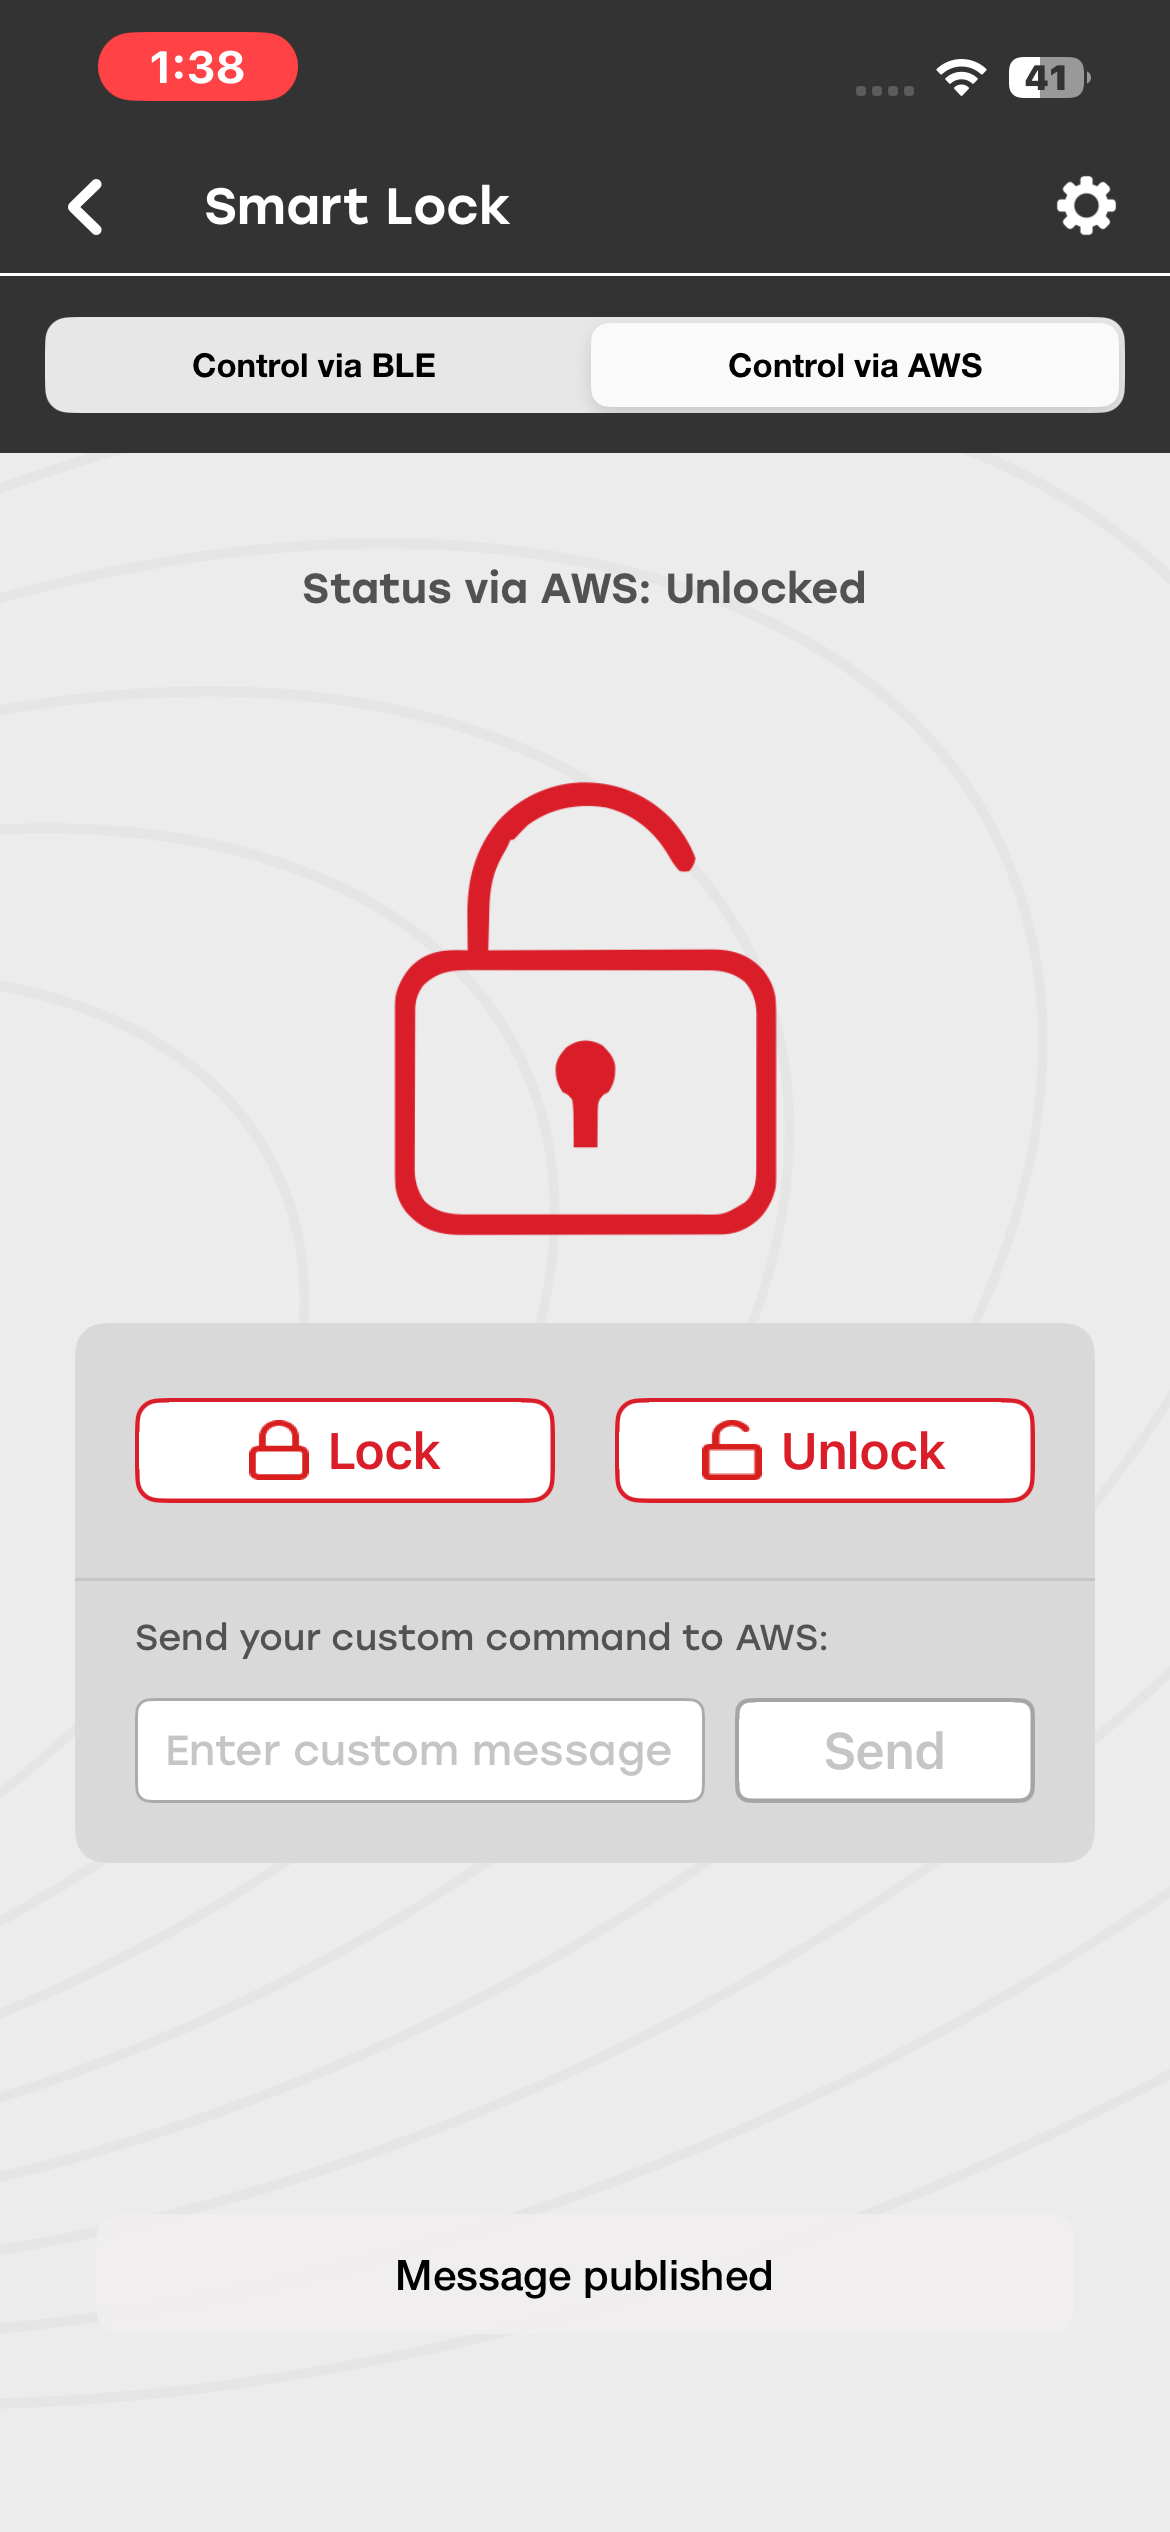
You can send custom commands, such as lock, unlock, erase, or reset, to AWS IoT by entering them in the Custom Command text field.
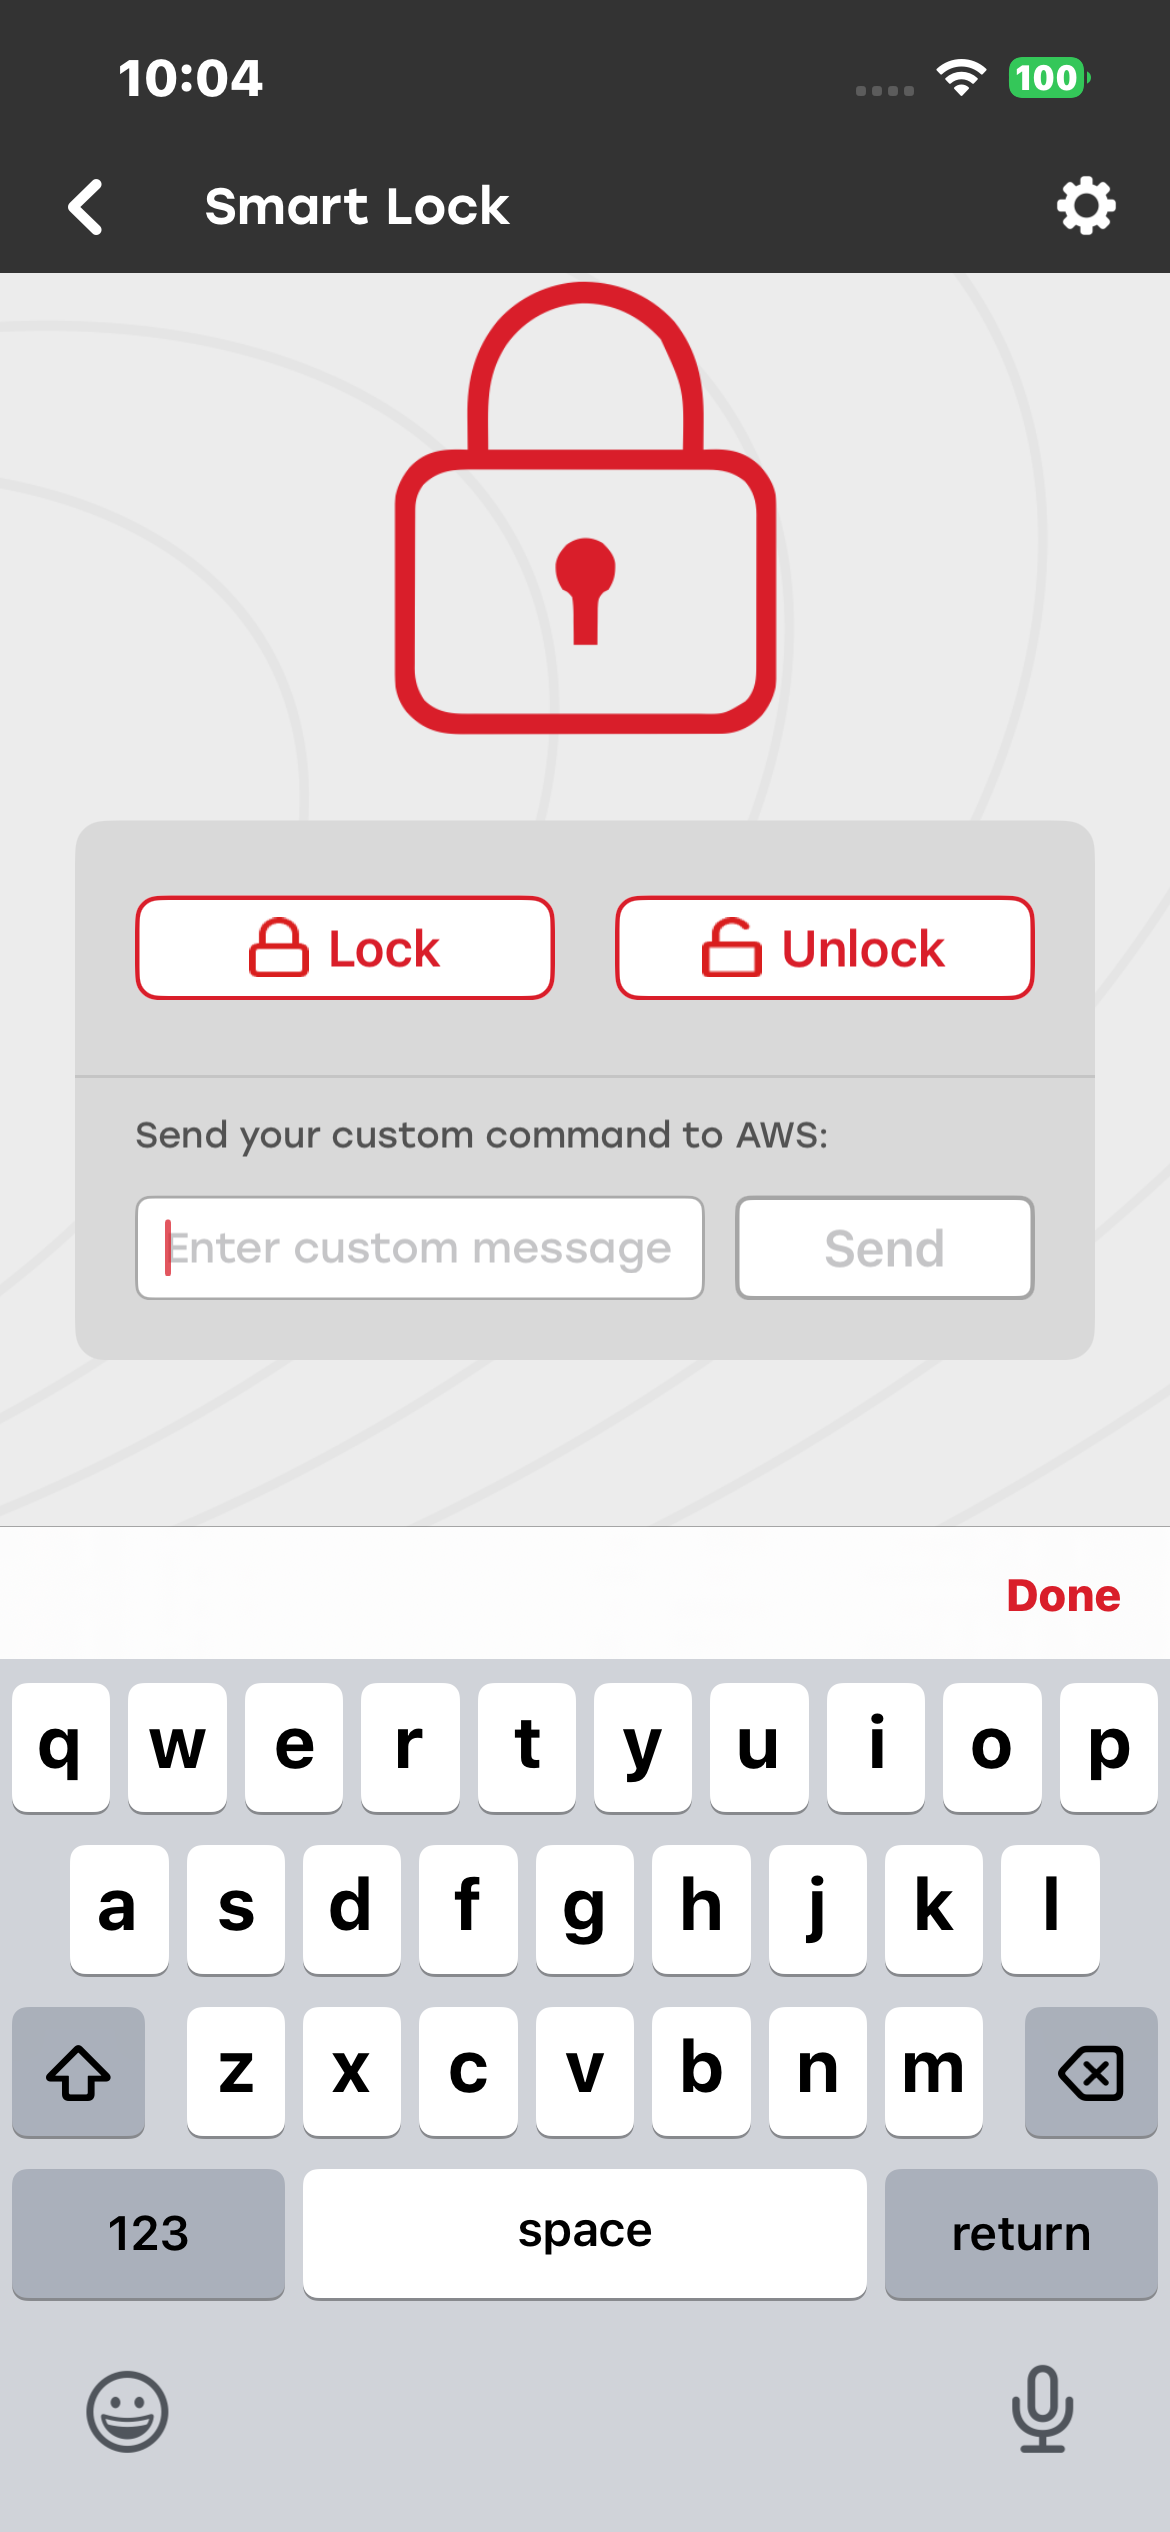
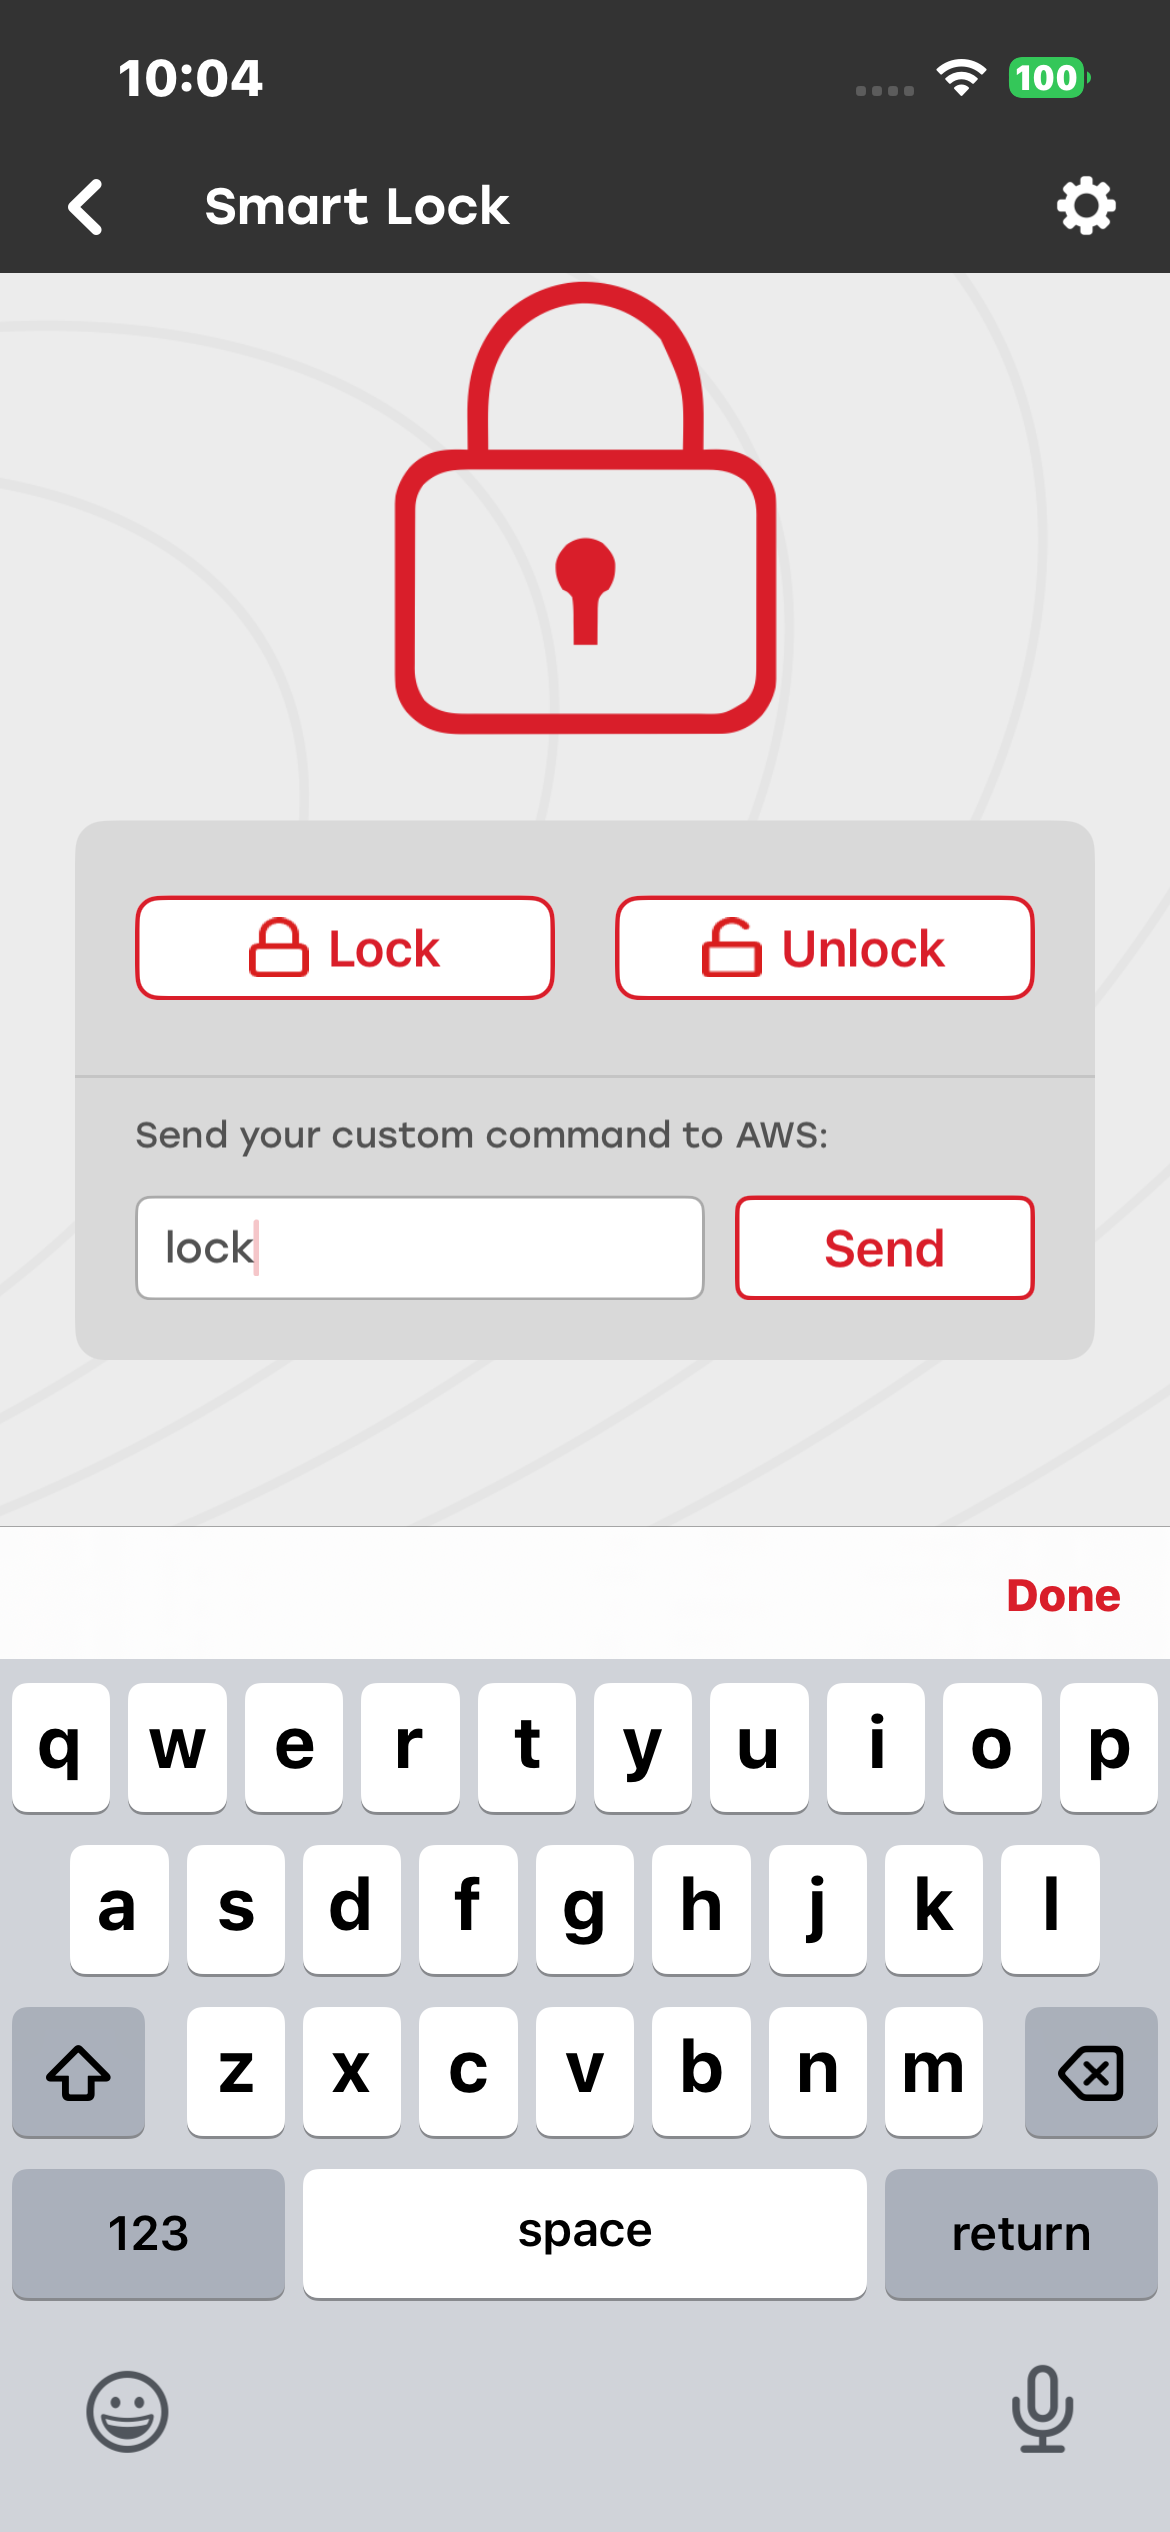
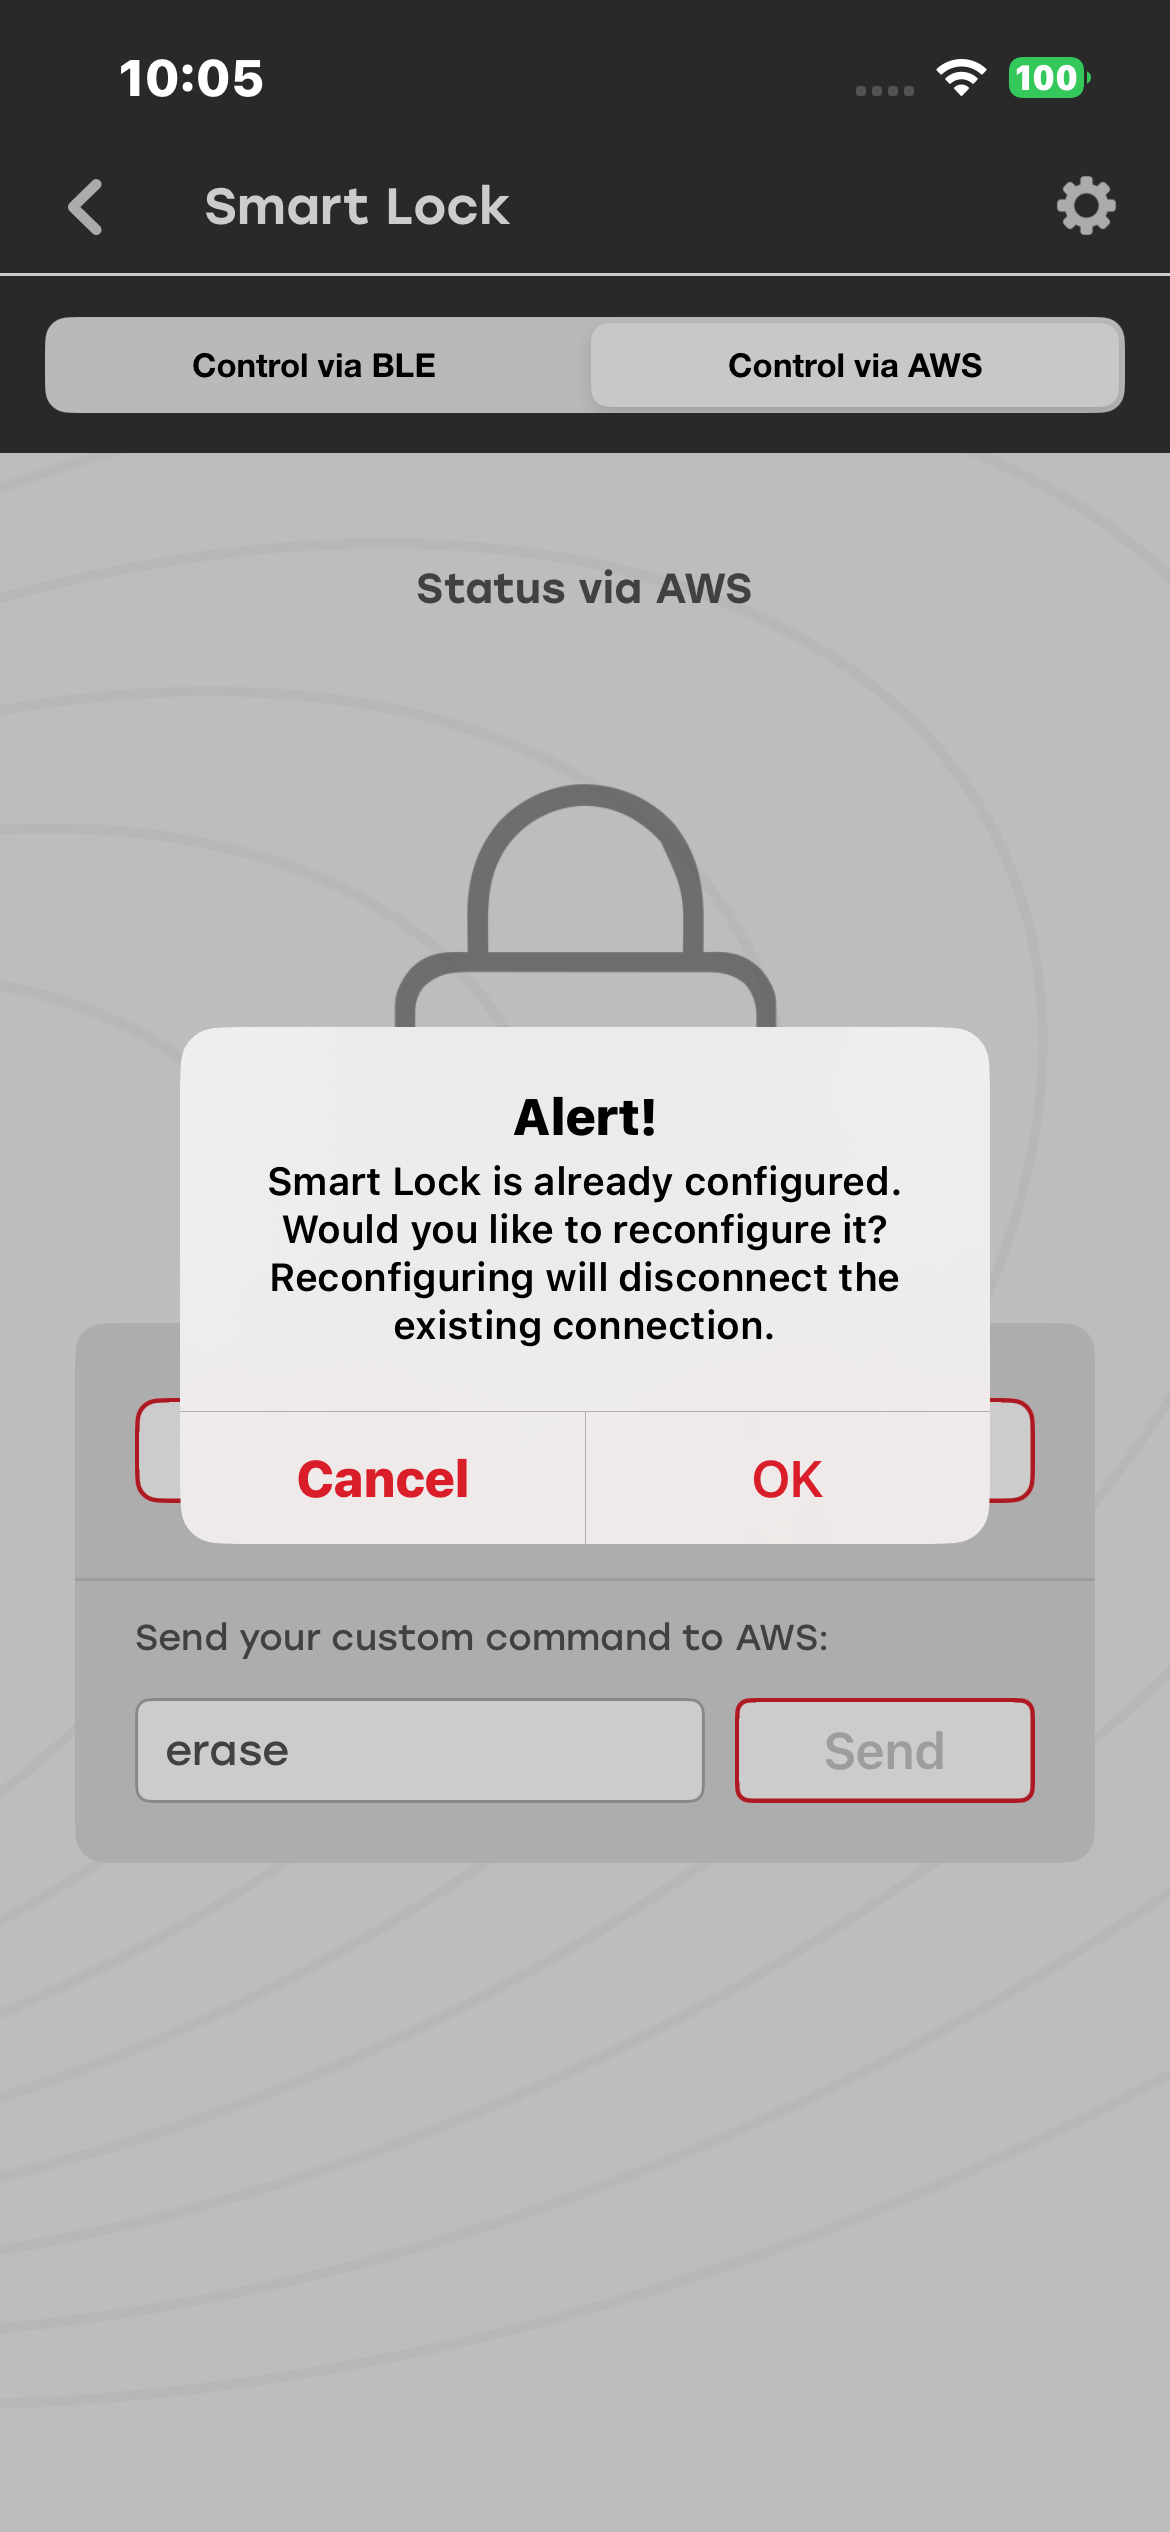
You can erase the Smart Lock Dev Kit by sending the erase command through AWS IoT.
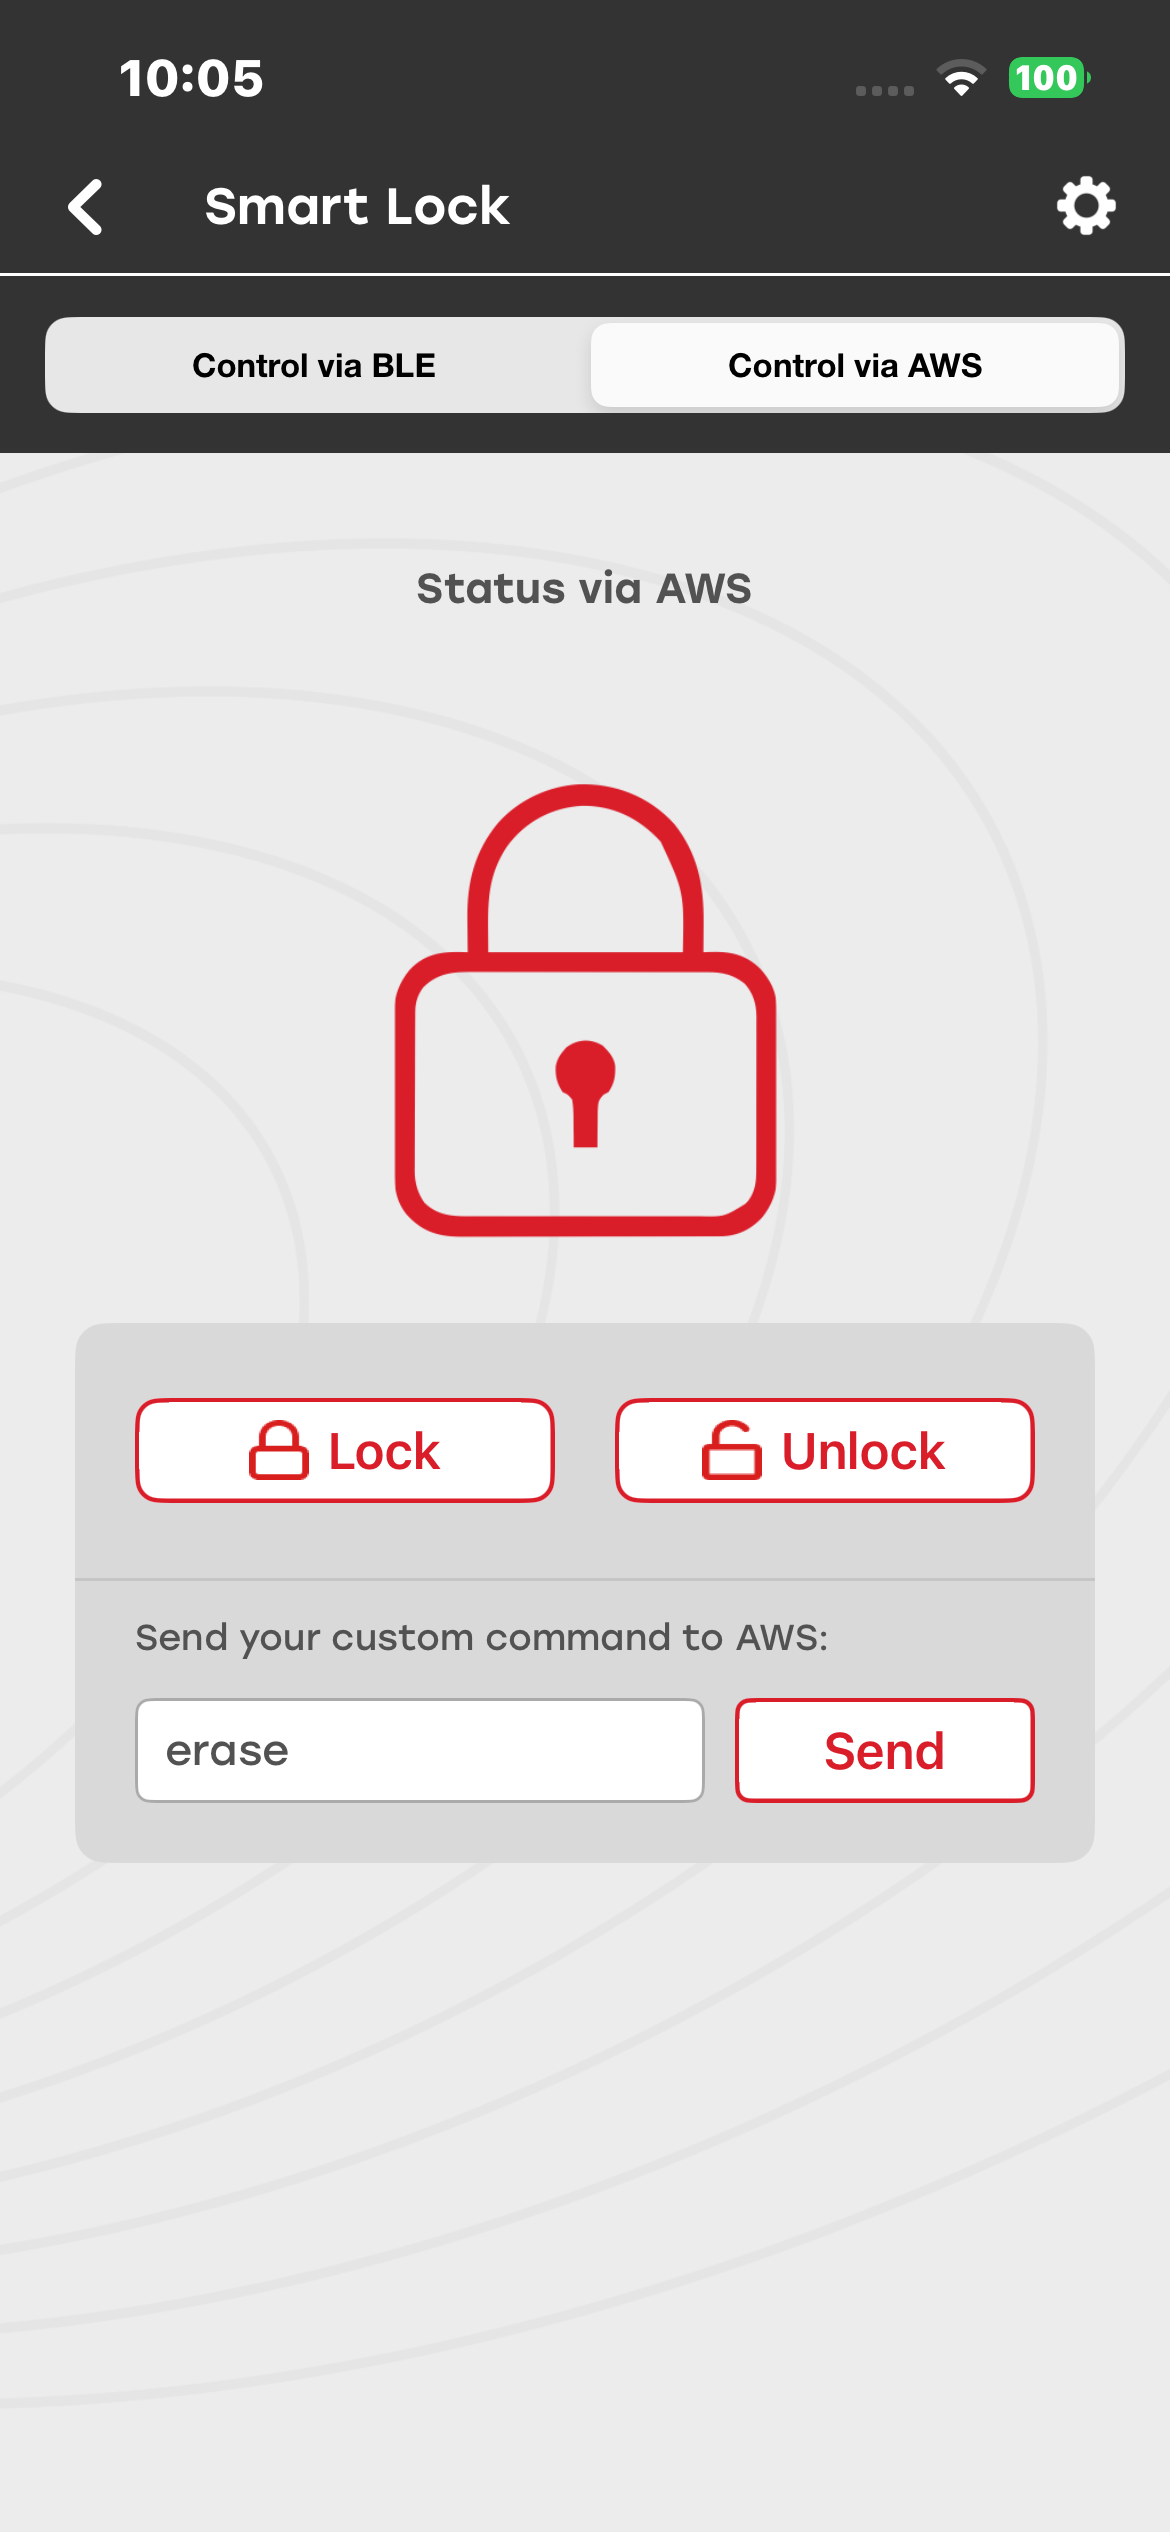
If you tap Configure in the upper-right corner while connected to AWS IoT, a dialog box appears. Select OK to reconfigure AWS IoT using the same or different configuration information.