Raspberry Pi: Raspbian Wi-Fi Lower MAC Driver Example
Note: if you have an SD card version 2.2, please use this documentation (the version is printed on the SD card's package)
The WF200/WFM200 Wi-Fi Expansion Boards are the best to explore the capabilities of the WF(M)200 Wi-Fi Transceivers. The kits contain an expansion board that can be connected to a Rapsberry Pi 2B, 3B, 3B+ or 4B. The expansion board allows the Raspberry Pi MCU to connect to a WF(M)200 Wi-Fi part, which can connect to Wi-Fi networks, but also be an Access Point to which other devices can connect.
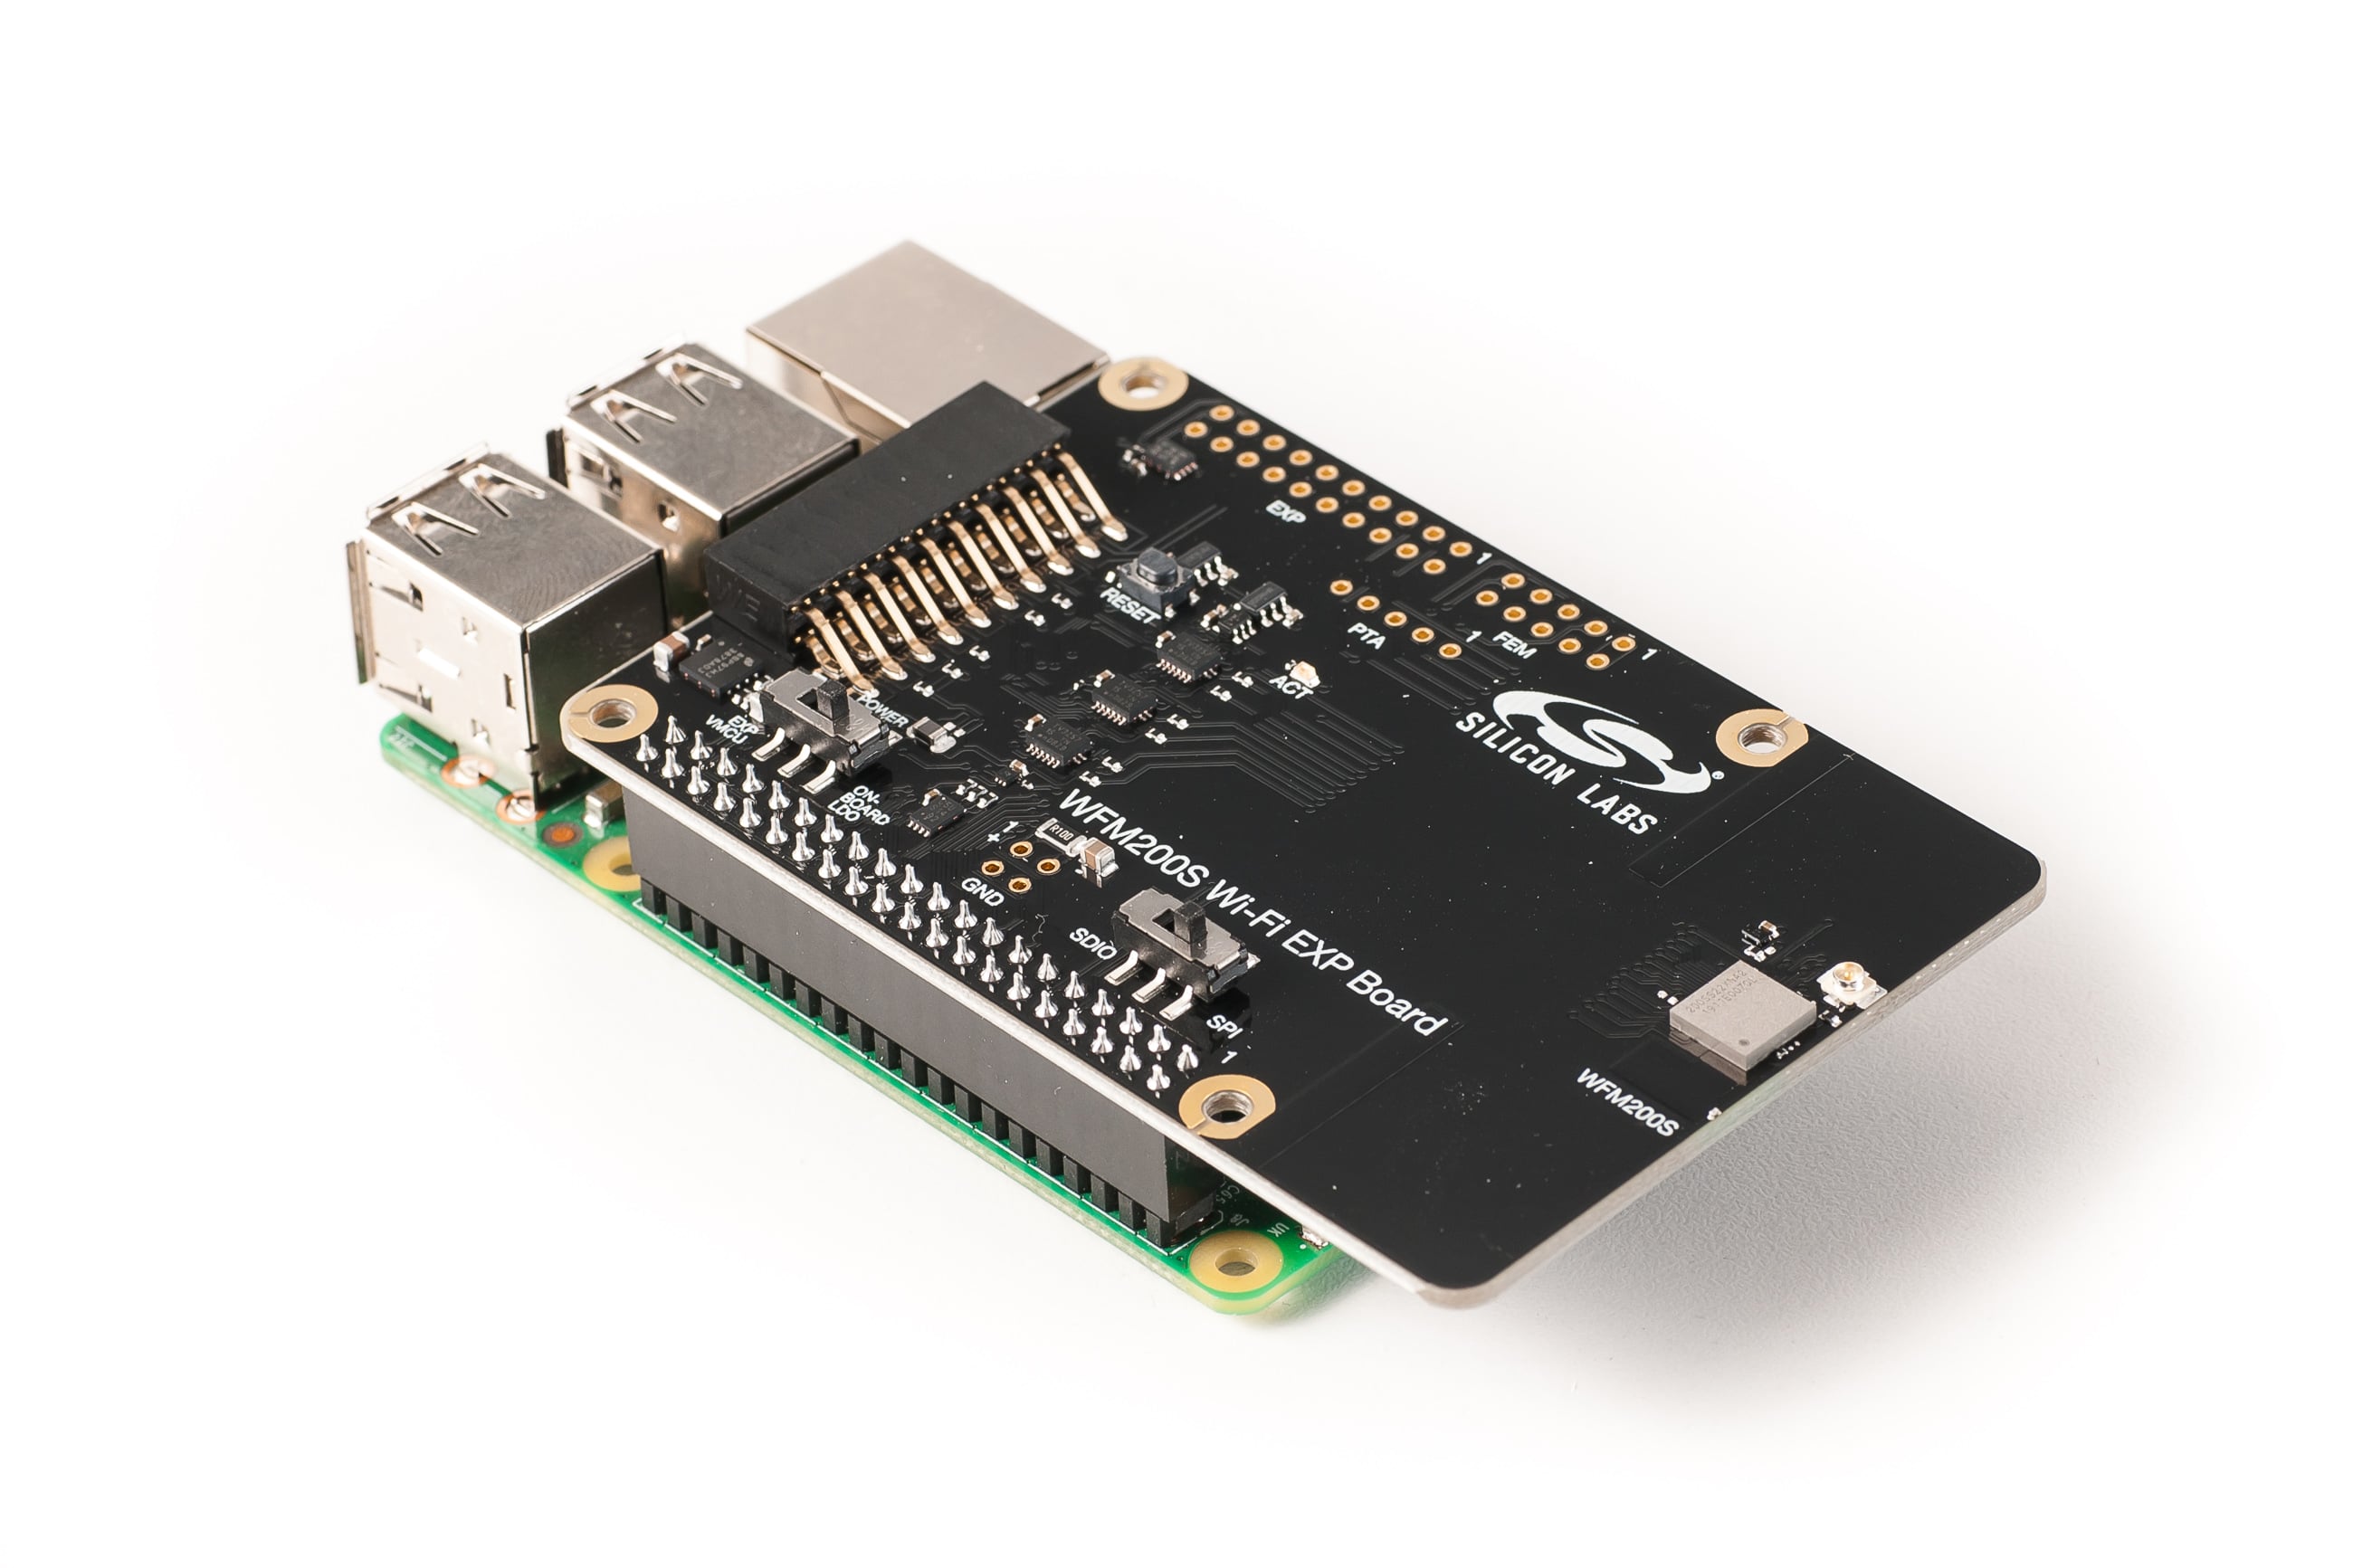
This document describes how to connect the WF(M)200 Wi-Fi EXP Board to a Raspberry Pi and run a demo.
Getting Started
This demonstration runs the Wi-Fi Lower MAC driver meant to communicate with the WF(M)200 Silicon Labs Wi-Fi transceivers. The Wi-Fi Lower MAC driver is used by mac80211/cfg80211 like many other Linux Wi-Fi drivers.
Naming convention
- SoftAP : WF(M)200 configured in Wi-Fi Software-enabled Access Point mode
- Station : WF(M)200 configured in Wi-Fi Station mode
- AP : Any 'home network' or 'office network' Wi-Fi Access Point
- Device : The PC or phone used to access the demo
Requirements
Hardware Prerequisites
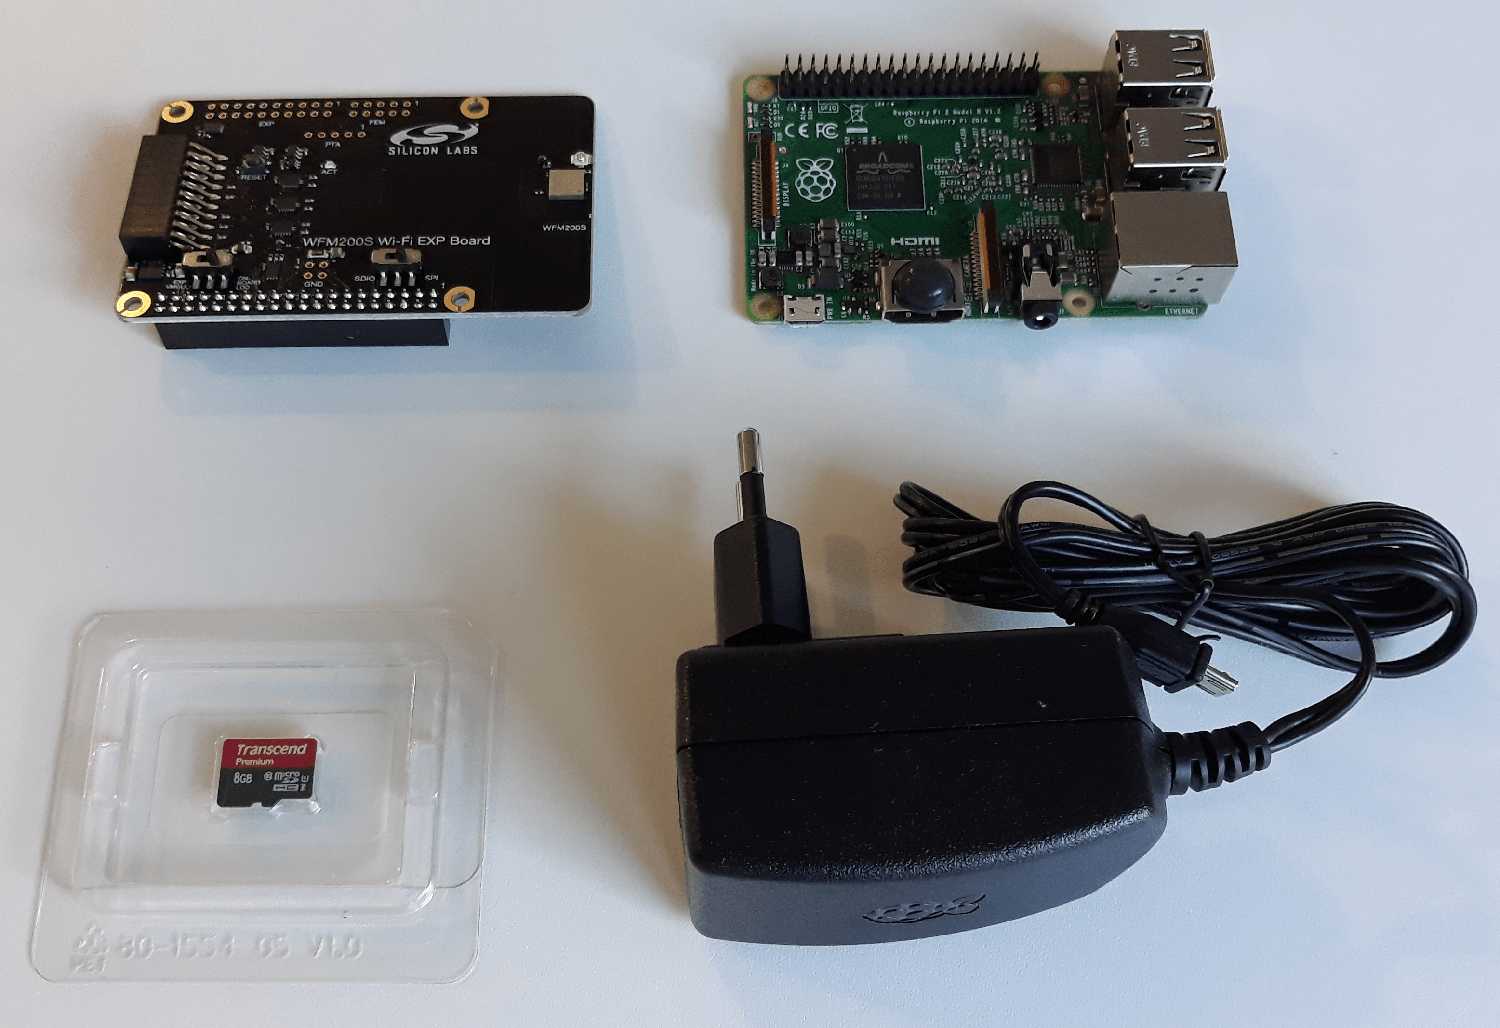
To properly use the example you need the following hardware:
| SLEXP8022A = WF200 Expansion Board BRD8022A + SD Card SLEXP8022C = SLEXP8022A + Raspberry Pi (2B) + power supply | SLEXP8023A = WFM200 Expansion Board BRD8023A + SD Card SLEXP8023C = SLEXP8023A + Raspberry Pi (2B) + power supply |

|

|
-
A
Raspberry Pi
(if not included in your kit)
- As from SD 3.1 onwards the SD card image is compatible with Raspberry Pi 2B, 3B, 3B+ & 4B, so any Raspberry Pi in this list is ok
- A Raspberry Pi Power Supply (if not included in your kit)
- A micro SD Card with at least 8Gbyte capacity
- A Device with Wi-Fi capability (to connect to the SoftAP)
- A home or office Wi-Fi AP you can connect to (with known credentials)
Software Prerequisites
For initial demonstration purposes, no software is required except the SD card delivered with the kit.
Set up your Kit
Once you have the above resources, follow the steps described below (you can refer to the image below):
-
On the Wi-Fi Expansion Kit
- Set the [POWER] switch to On Board LDO
- Set the 'communication' switch to SDIO
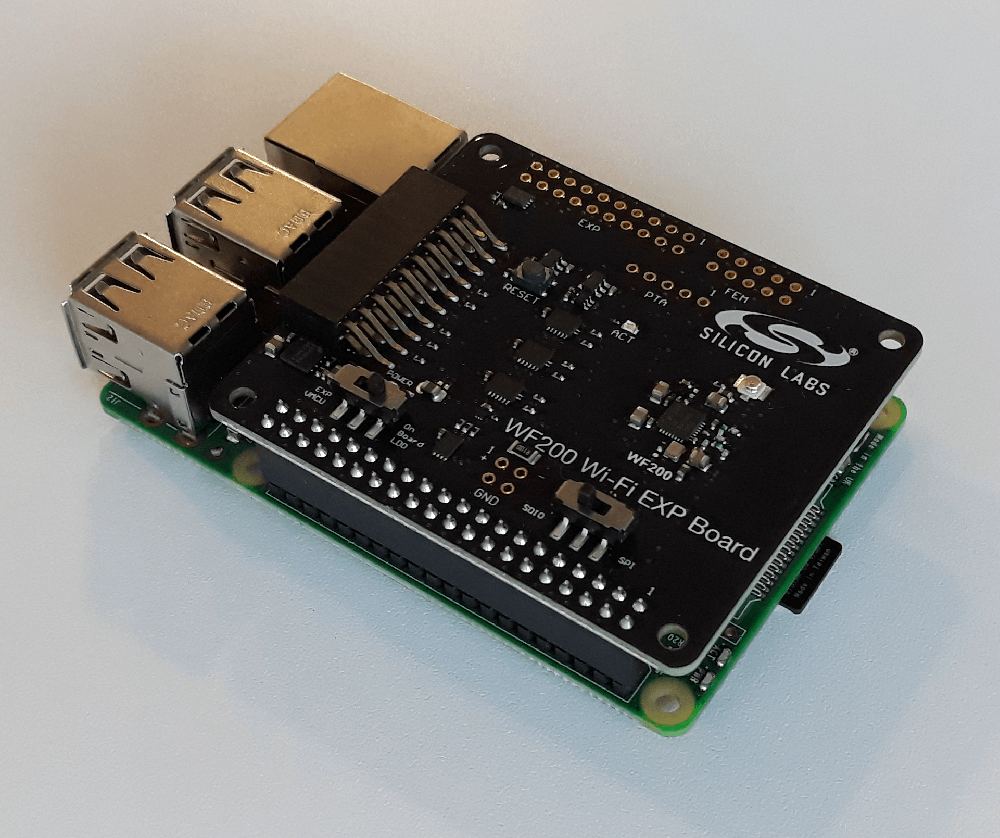
- Plug the Wi-Fi Expansion Kit on top of the Raspberry Pi
- Insert the SD Card in the Raspberry Pi SD card slot
Network Security Notice
Since the SoftAP credentials are publicly documented in the following pages, refer to our security notice .
Start the Example
- Connect the power supply to the USB port of the Raspberry Pi
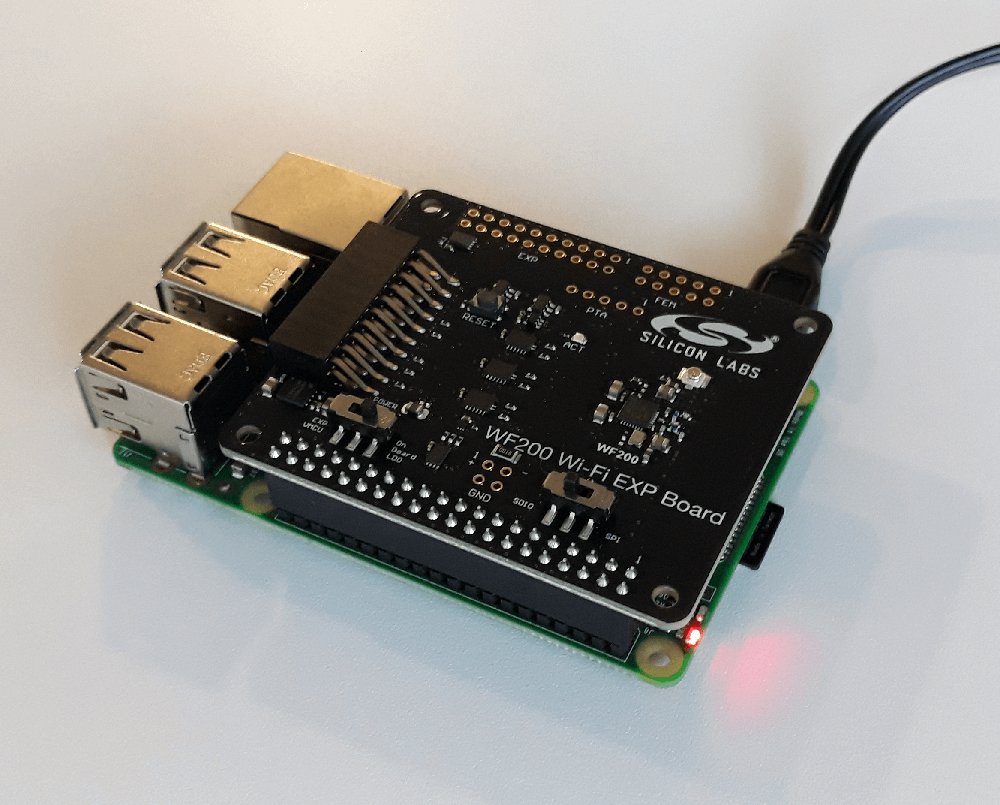
The Raspberry Pi will boot and start the SoftAP .
Note : On the very first boot, make sure to leave the Raspberry Pi powered for at least 1 minute, since it will automatically expand the file system to take advantage of the entire SD card capacity.
You're ready to move to the demonstration matching your SD card version: