Wi-Fi Commissioning Micrium OS Example on WGM160P (BRD4321A)
This document describes how to run the Wi-Fi Commissioning example on a WGM160P. The example is based on the combo capacity of the WF200 where the WF200 can act as an Access Point and a Station simultaneously to demonstrate a typical use case of field deployment where an operator installs the device and configures it to connect to a specific Access Point using a Webpage.
Getting Started
This demo runs the Wi-Fi Full MAC driver meant to communicate with the WF(M)200 Silicon Labs Wi-Fi transceivers.
Naming convention
- SoftAP : WF(M)200 configured in Wi-Fi Software-enabled Access Point mode
- Station : WF(M)200 configured in Wi-Fi Station mode
- AP : Any 'home network' or 'office network' Wi-Fi Access Point
- Device : The PC or phone used to access the demo
Requirements
Hardware Prerequisites
The WGM160P Wi-Fi Module Radio Board is a standalone module that can run once powered up through the USB port, but a Silicon Labs Wireless STK baseboard ( SLWSTK6121A ) is necessary to flash the module. It also offers all the possibilities provided by Simplicity Studio (download, debug, energy profiler, and so on).

Software Prerequisites
-
The required software includes Simplicity Studio v5 and the Gecko SDK Suite (32-bit MCU SDK v6.0 or newer, Gecko Platform SDK v3.1 or newer, and Micrium OS Kernel SDK v5.10 or newer)
-
The example project and the Wi-Fi Full MAC driver (available in the Gecko Platform SDK)
The main software components used by this example are as follows:
-
Micrium OS Kernel, which is a Real-Time Operating System (RTOS) designed to run on Silicon Labs devices only. It is provided free of charge.
-
Lightweight IP (LwIP), which is an open-source TCP/IP stack licensed under the BSD license.
Set up Your Kit
-
Connect the WGM160P Module Board to the Silicon Labs Wireless STK baseboard.
-
Ensure that the power selector switch on the Silicon Labs Wireless STK baseboard is in the [AEM] position.
-
Provide power by connecting the [DBG] USB connector on the Silicon Labs Wireless STK baseboard to the PC using the provided USB cable.

Install Simplicity Studio 5 and the SDKs
Simplicity Studio 5 is a free software suite needed to start developing your application. To install Simplicity Studio 5, follow this procedure by selecting the options [Install by connecting device(s)] and [Auto] .
Get the Example
An SDK with a version 3.2 or higher is necessary. If this does not match your case, install it from the Simplicity Studio Installation Manager
-
Connect the Silicon Labs Starter Kit and open Simplicity Studio 5.
-
Select the [Launcher] perspective.
-
From the [Debug Adapters] panel on the left top corner, select your Silicon Labs Starter Kit.
-
Ensure that an SDK is selected in the [General Information] tile of the [Overview] tab.
-
Select the [EXAMPLE PROJECTS] tab in [Launcher] perspective.
-
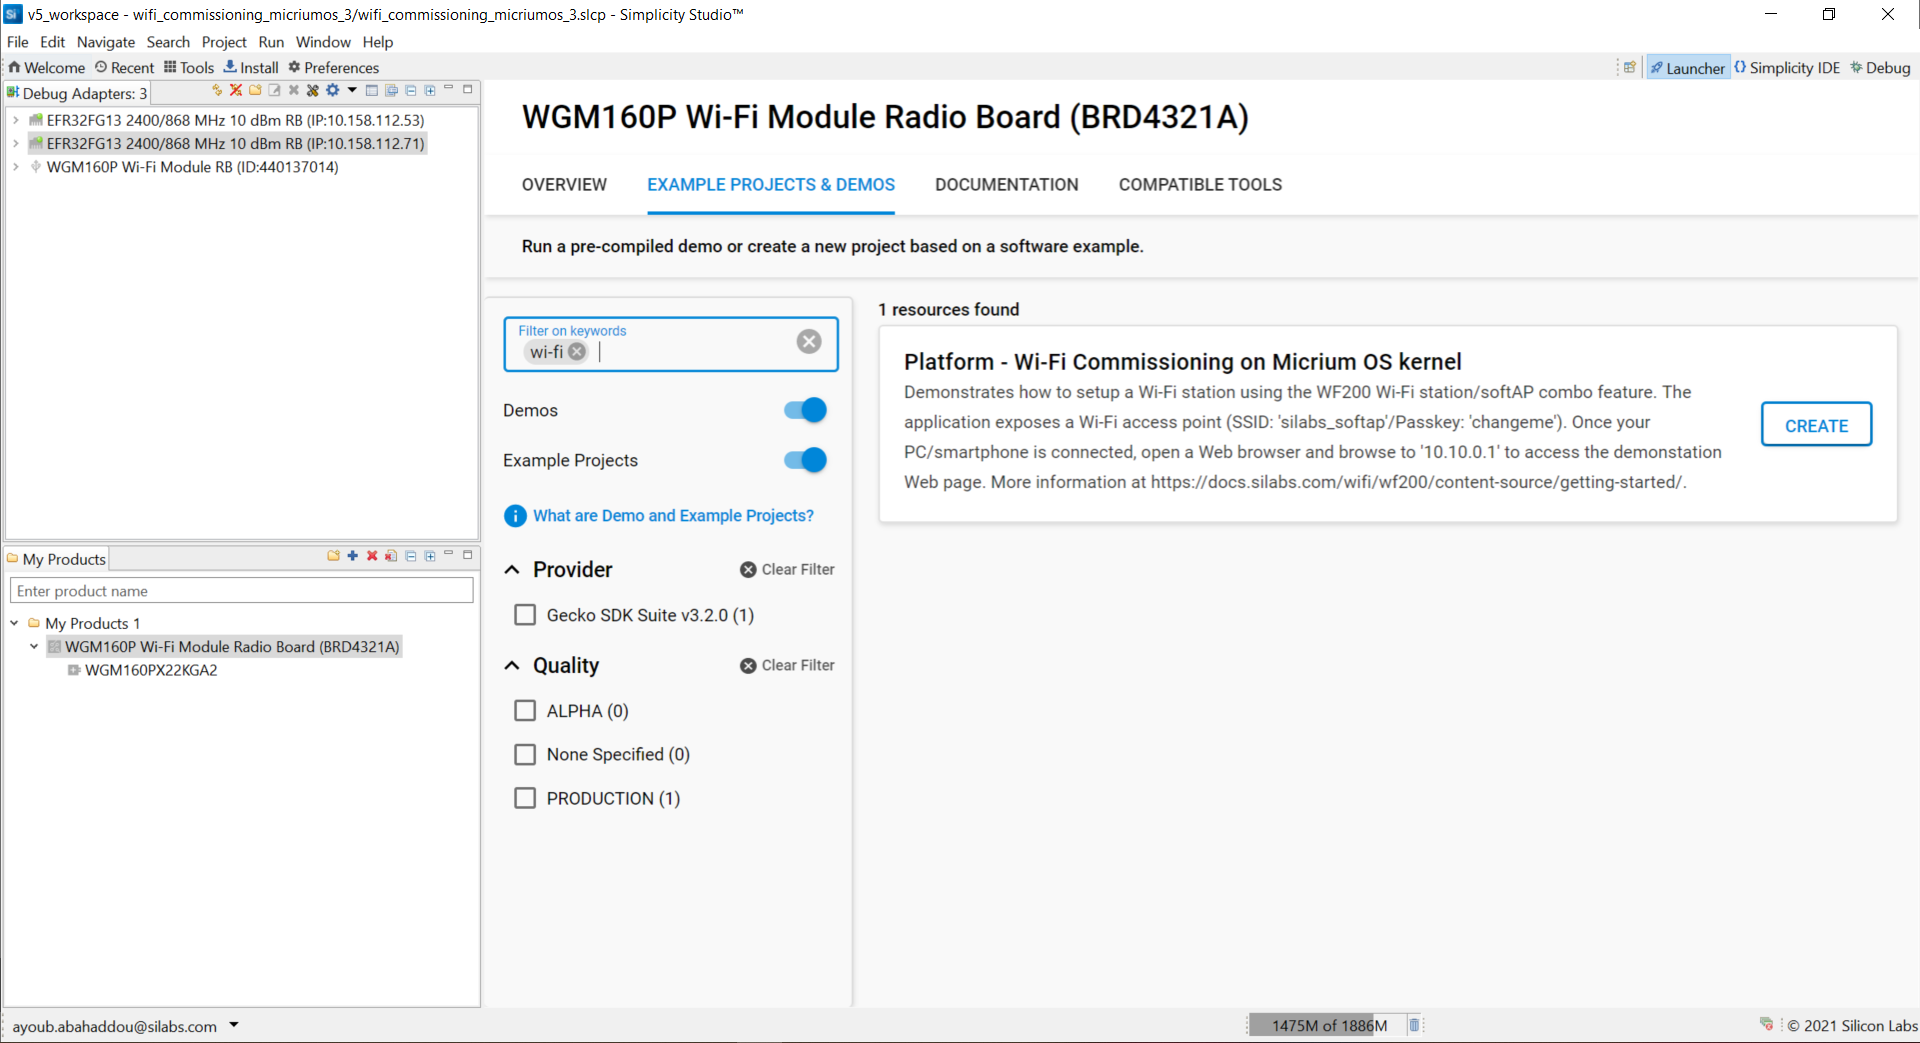
Search for the example [Platform - Wi-Fi Commissioning Micrium OS Kernel] from the Software Examples list as illustrated in the image below. Notice the search field, which makes it easy to find the example by entering wi-fi .
-
Click on the [Create] button of the example.
-
Click on [Finish] .
At the end of this procedure, Simplicity Studio has created the project in your workspace and your display will be similar to the picture below:
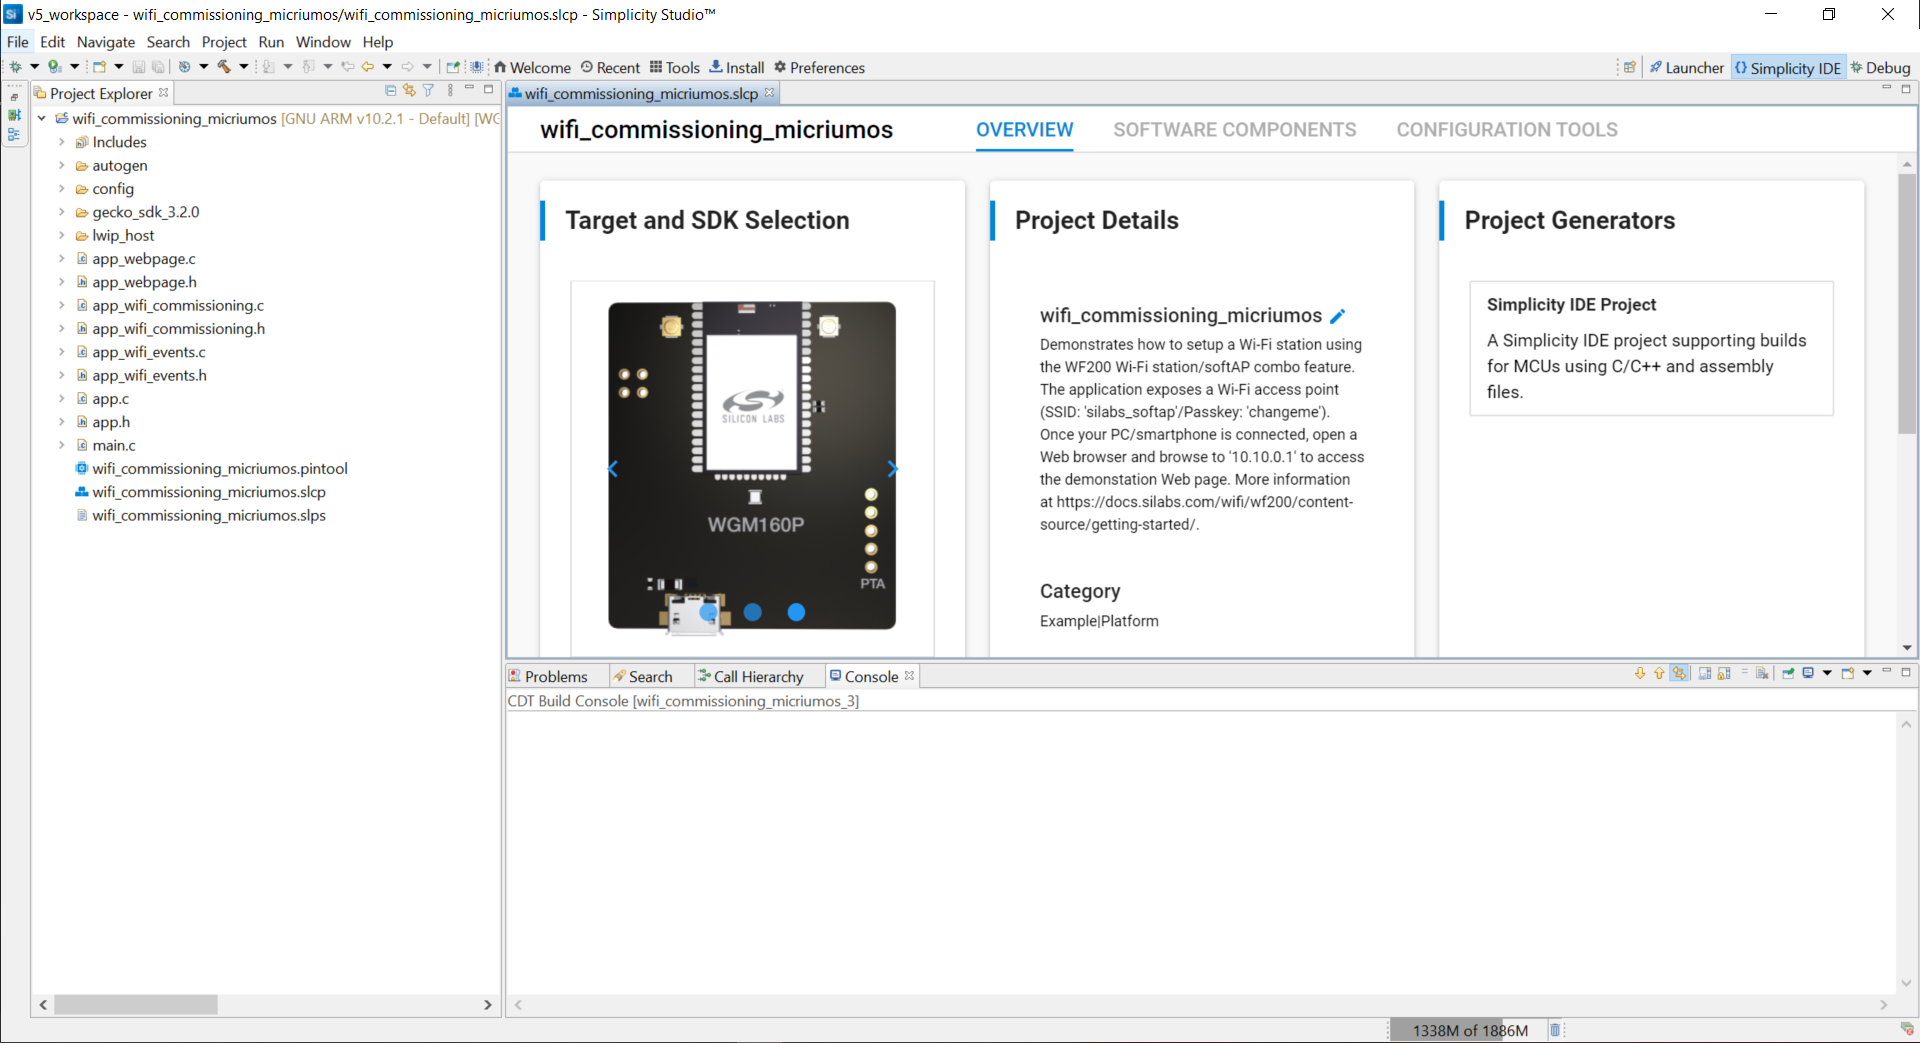 Studio 5 Created Project
Start the Example
-
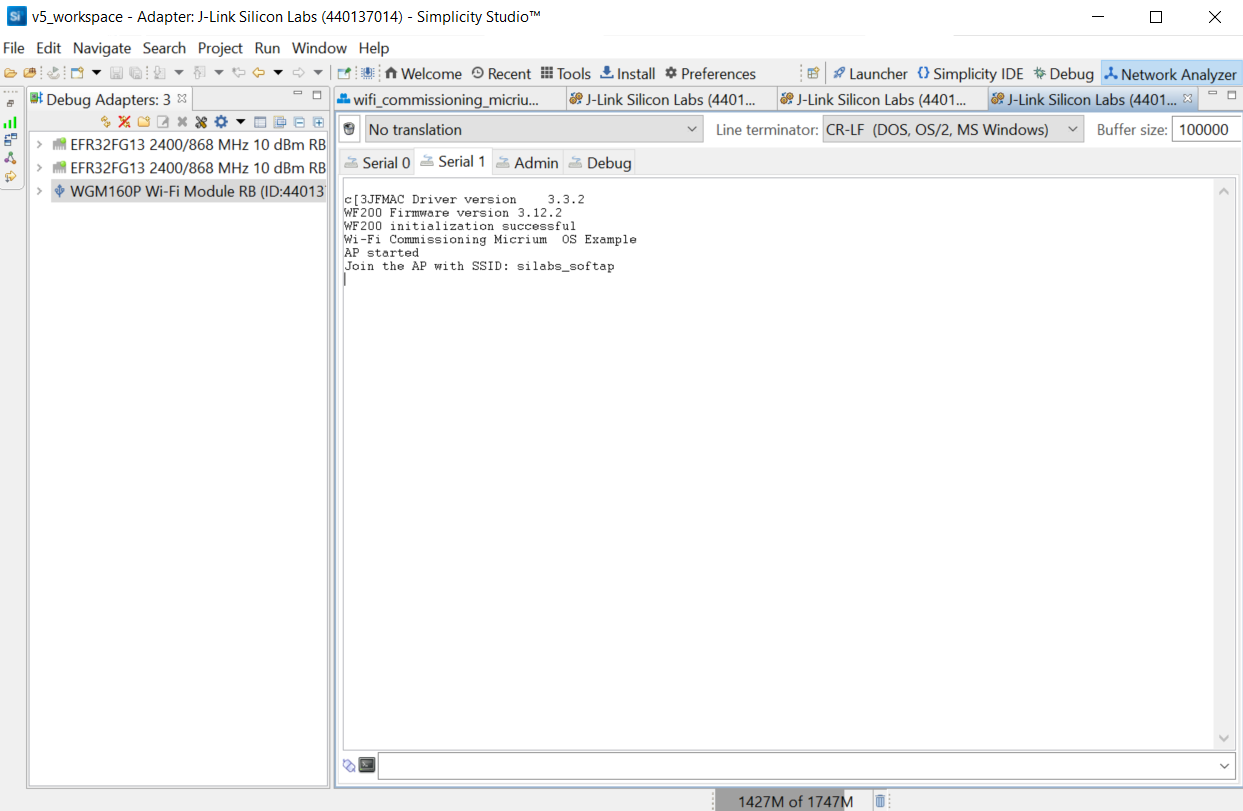
Start a console in Studio by right clicking on the Silicon Labs Starter Kit in the [Debug Adapters] panel and select [Launch console] .
-
Select the [Serial 1] tab from the console window and make sure the console is connected. To do that, check the icon in the bottom left corner of the console panel. If its status is console not connected. See the image below.
 Then, the serial console is not yet connected. Press
[Enter]
in the console, the icon should change its status to console connected. See the image below.
Then, the serial console is not yet connected. Press
[Enter]
in the console, the icon should change its status to console connected. See the image below.

-
Compile the example. For more information about how to build a project, refer to the dedicated Simplicity Studio 5 documentation .
-
Open the Simplicity Flash Programmer. For more information about the Flash Programmer, see a dedicated section of the Simplicity Studio 5 documentation .
-
Browse the wifi_commissioning_micriumos.hex file created in the build folder inside your workspace.

- Click on [Program] to flash the Silicon Labs Starter Kit with the example.
Logs appear in the console input field once the programming is done to look like the image below:
You are ready to move to the Wi-Fi commissioning demonstration page.